
Tera HW0006 Pro
Tera Pro 1D 2D QR Wireless Barcode Scanner User Manual
Model: HW0006 Pro
1. Introduction
This manual provides detailed instructions for the proper use and maintenance of your Tera Pro 1D 2D QR Wireless Barcode Scanner. Please read this manual thoroughly before operating the device to ensure optimal performance and longevity.

Figure 1: Tera Pro 1D 2D QR Wireless Barcode Scanner with its charging cradle and connectivity cables.
2. Product Overview
The Tera Pro HW0006 Pro is a versatile 3-in-1 barcode scanner designed for various applications, including retail, warehouse management, and library systems. It features an LED display screen, multiple connectivity options (2.4Ghz wireless, USB 2.0 wired, and Bluetooth), and advanced decoding capabilities for both 1D and 2D barcodes.

Figure 2: The Tera Pro barcode scanner highlighting its display screen.
3. Package Contents
Upon unpacking, please verify that all items listed below are included and in good condition:
- Barcode Scanner x1
- Charging Cradle Base x1
- USB Cable x1
- Dongle x1
- User Manual x1
4. Setup
4.1 Initial Setup and Charging
Connect the charging cradle to a power source using the provided USB cable. Place the barcode scanner into the cradle to begin charging. The LED display will indicate the battery level.

Figure 3: The scanner can be charged via the cradle or directly with a USB cable.
4.2 Connectivity Options
The Tera Pro scanner offers three primary connection methods: 2.4Ghz Wireless, USB 2.0 Wired, and Bluetooth. No drivers are typically needed for standard operation.
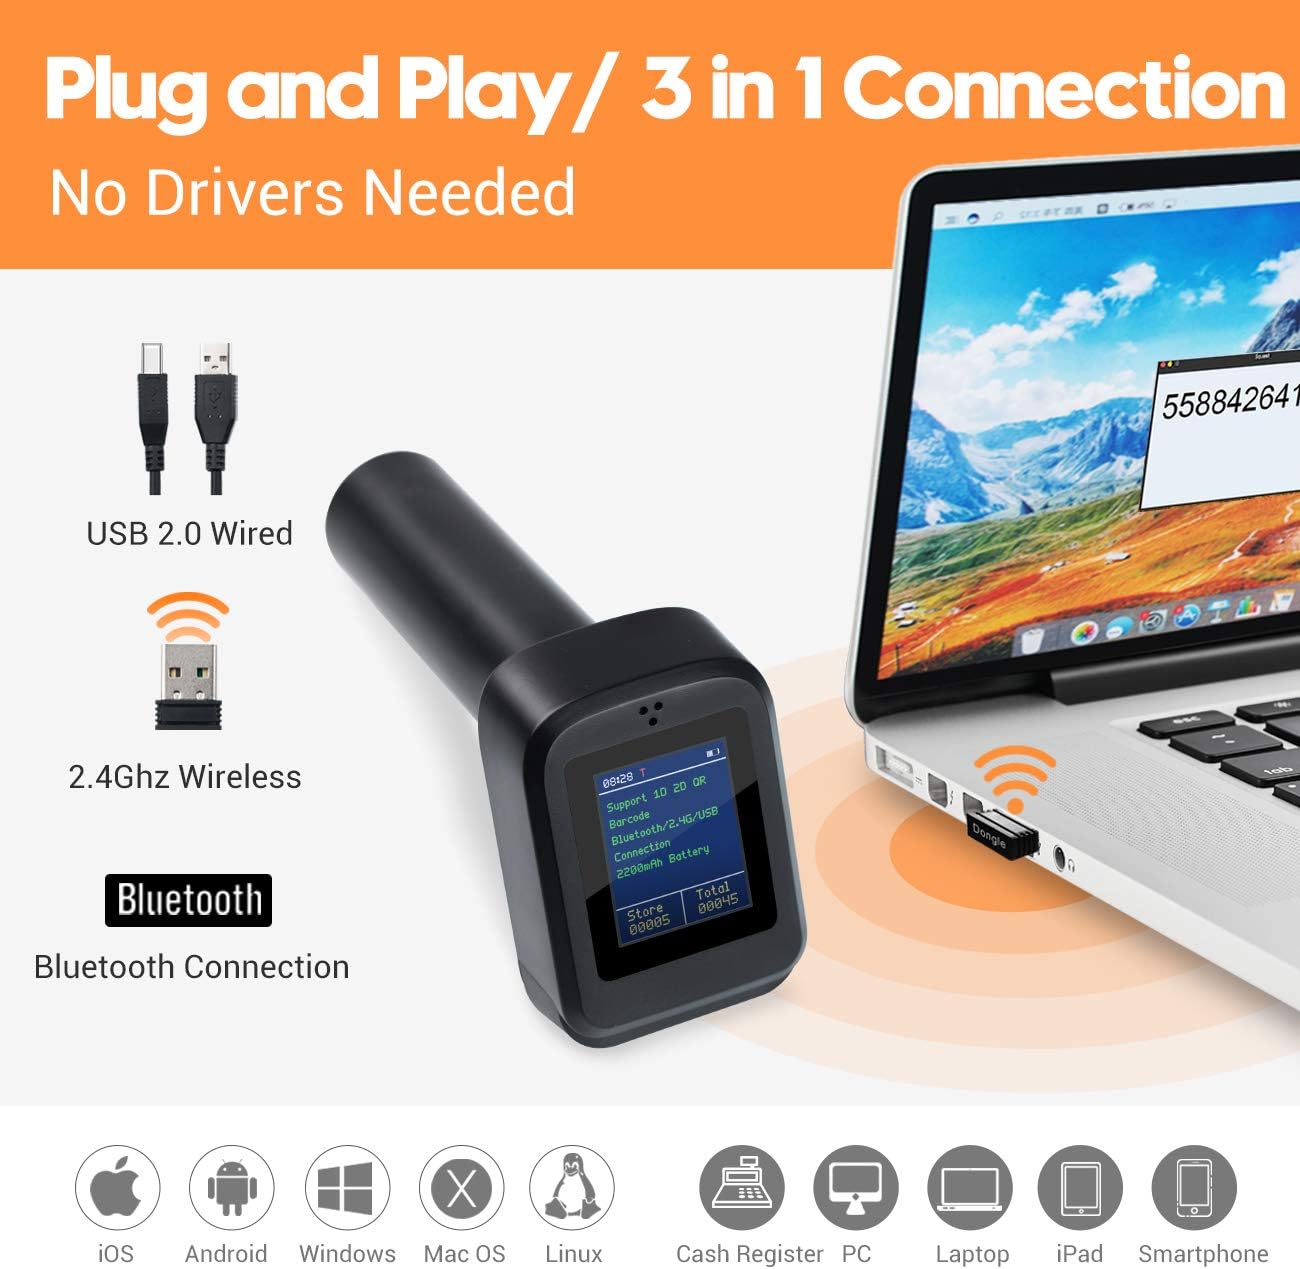
Figure 4: Illustration of the scanner's versatile 3-in-1 connectivity.
4.3 Bluetooth Pairing (Mac Specific Instructions)
For Mac users, it is crucial to use the correct Bluetooth pairing mode. The scanner supports both Bluetooth SPP Mode and Bluetooth HID Mode. For seamless integration with most applications on Mac, the Bluetooth HID Mode is recommended.
Video 1: A user demonstrates how to set up the Tera Pro Barcode Scanner on a Mac, highlighting the importance of selecting the correct Bluetooth pairing mode.
To ensure proper functionality on Mac, scan the 'Bluetooth HID Mode' barcode from your user manual. After scanning, the scanner's display should flash, indicating it is ready for pairing. Then, enable Bluetooth on your Mac and locate 'BarCode Scanner HID' in the device list to connect.

Figure 5: Scan this barcode to activate Bluetooth HID Mode for Mac compatibility.
5. Operating Modes
5.1 Scanning Modes
The scanner supports two primary scanning modes:
- Key Trigger Mode: Press the trigger to scan each barcode individually.
- Continuous Scanning Mode: The scanner continuously emits a scan beam, allowing for hands-free operation when placed in the charging cradle.
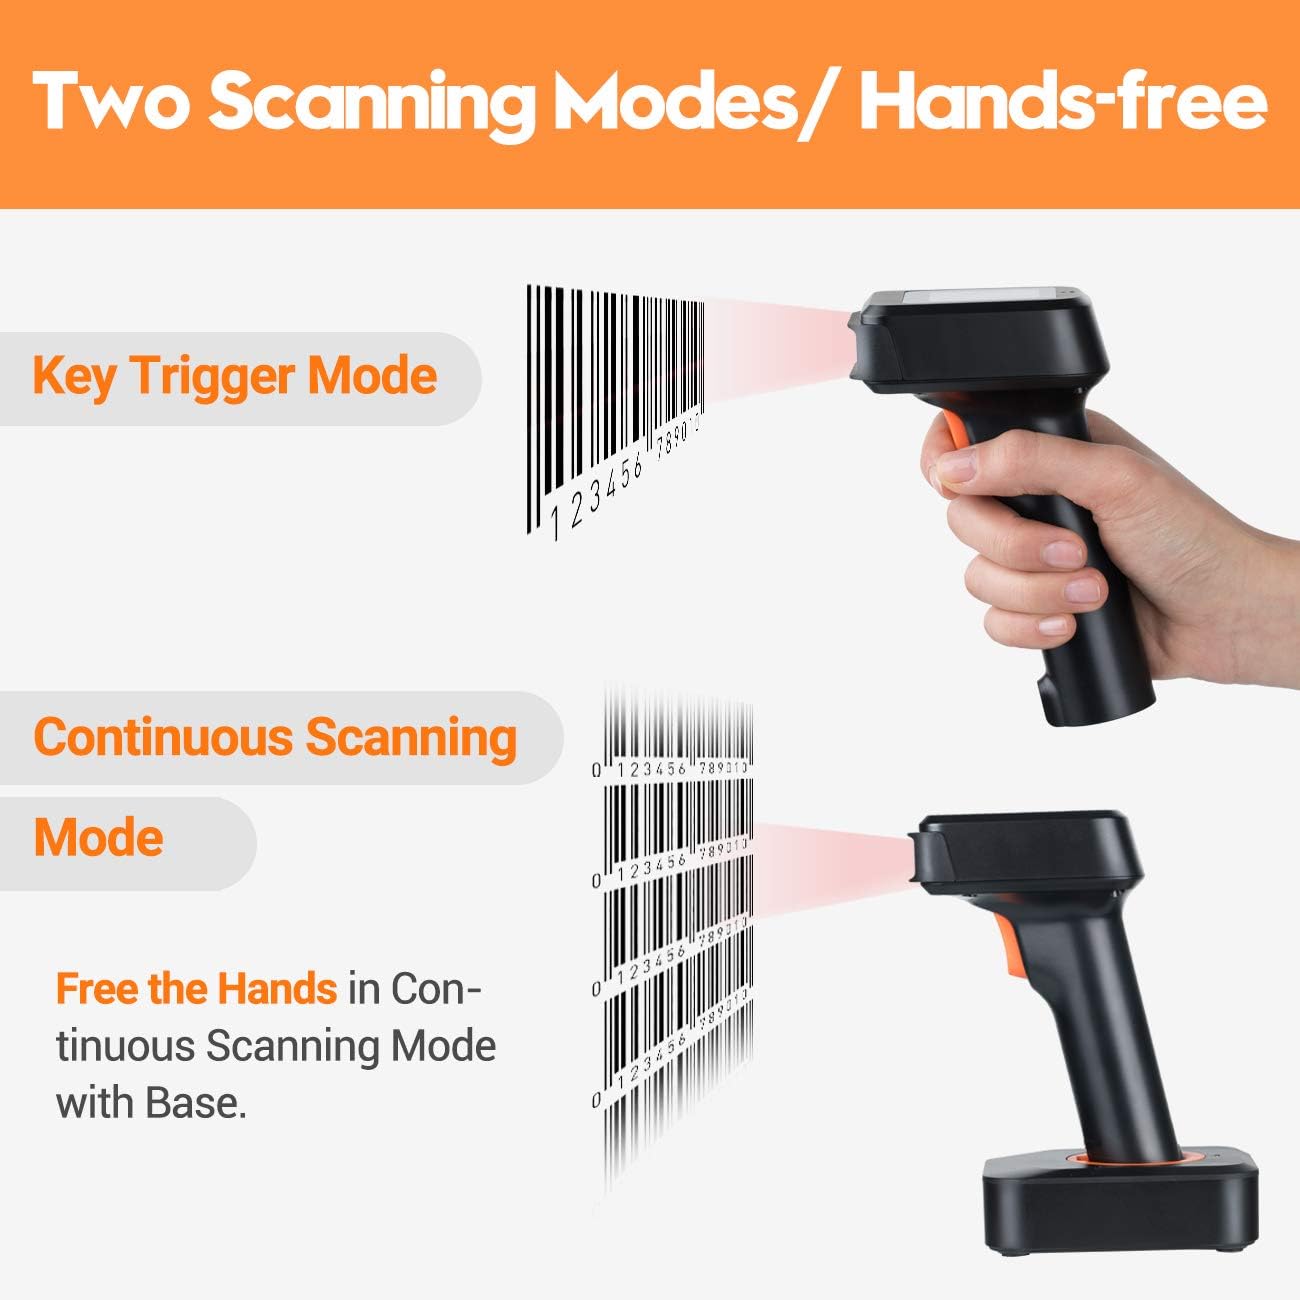
Figure 6: Visual representation of the two available scanning modes.
5.2 Data Upload Modes
Choose between two data upload methods based on your operational needs:
- Instant Upload Mode: Barcode data is synchronously uploaded to your connected device immediately after scanning.
- Storage Mode: Barcodes are stored in the scanner's internal 16MB memory (up to 50,000 barcodes) and can be uploaded to your device later when needed.
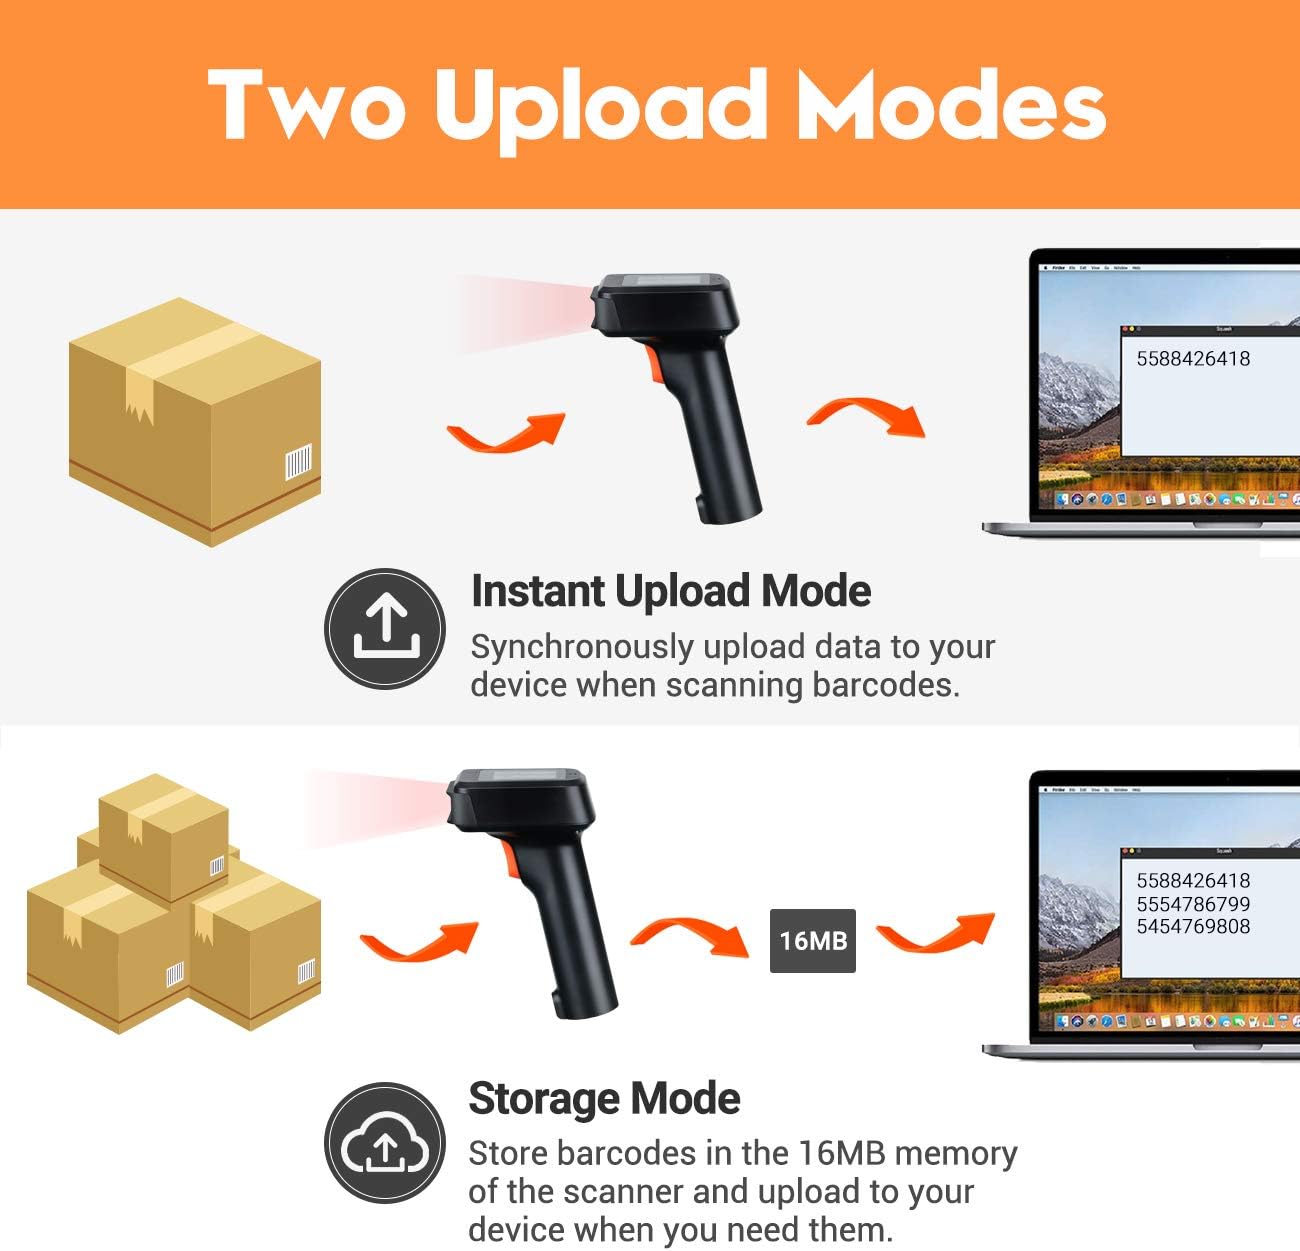
Figure 7: Comparison of instant and storage data upload modes.
6. Features
6.1 LED Display Screen
The exclusive LED display provides real-time information, enhancing user experience:
- Scanning status
- Connection mode
- Battery level
- Current time
- Barcode information
- Total stored barcodes

Figure 8: Detailed view of the scanner's LCD screen and its displayed information.
6.2 Excellent Decoding Ability
The scanner can read various 1D and 2D barcodes (≥ 4mil) from paper or screens, including those that are fuzzy, smudged, reflective, or damaged.
Supported Digital and Printed 1D 2D Codes:
- 1D: Codabar, Code 11, Code93, MSI, Code 128, UCC/EAN-128, Code 39, EAN-8, EAN-13, UPC-A, ISBN, Industrial 25, Interleaved 25, Standard25, Matrix
- 2D: QR, DataMatrix, PDF417, Aztec, Hanxin, Micro PDF417
Figure 9: The scanner's ability to read various barcode types, including damaged ones.
6.3 Customization Features
The scanner offers several customizable settings to adapt to different workflows:
- Add Time Prefix and Suffix to scanned data
- Voice Setting adjustments
- Stand-by Setting configuration
- Support for Uppercase / Lowercase Setting
- Ability to Identify Barcode Type
- Option to Hide characters
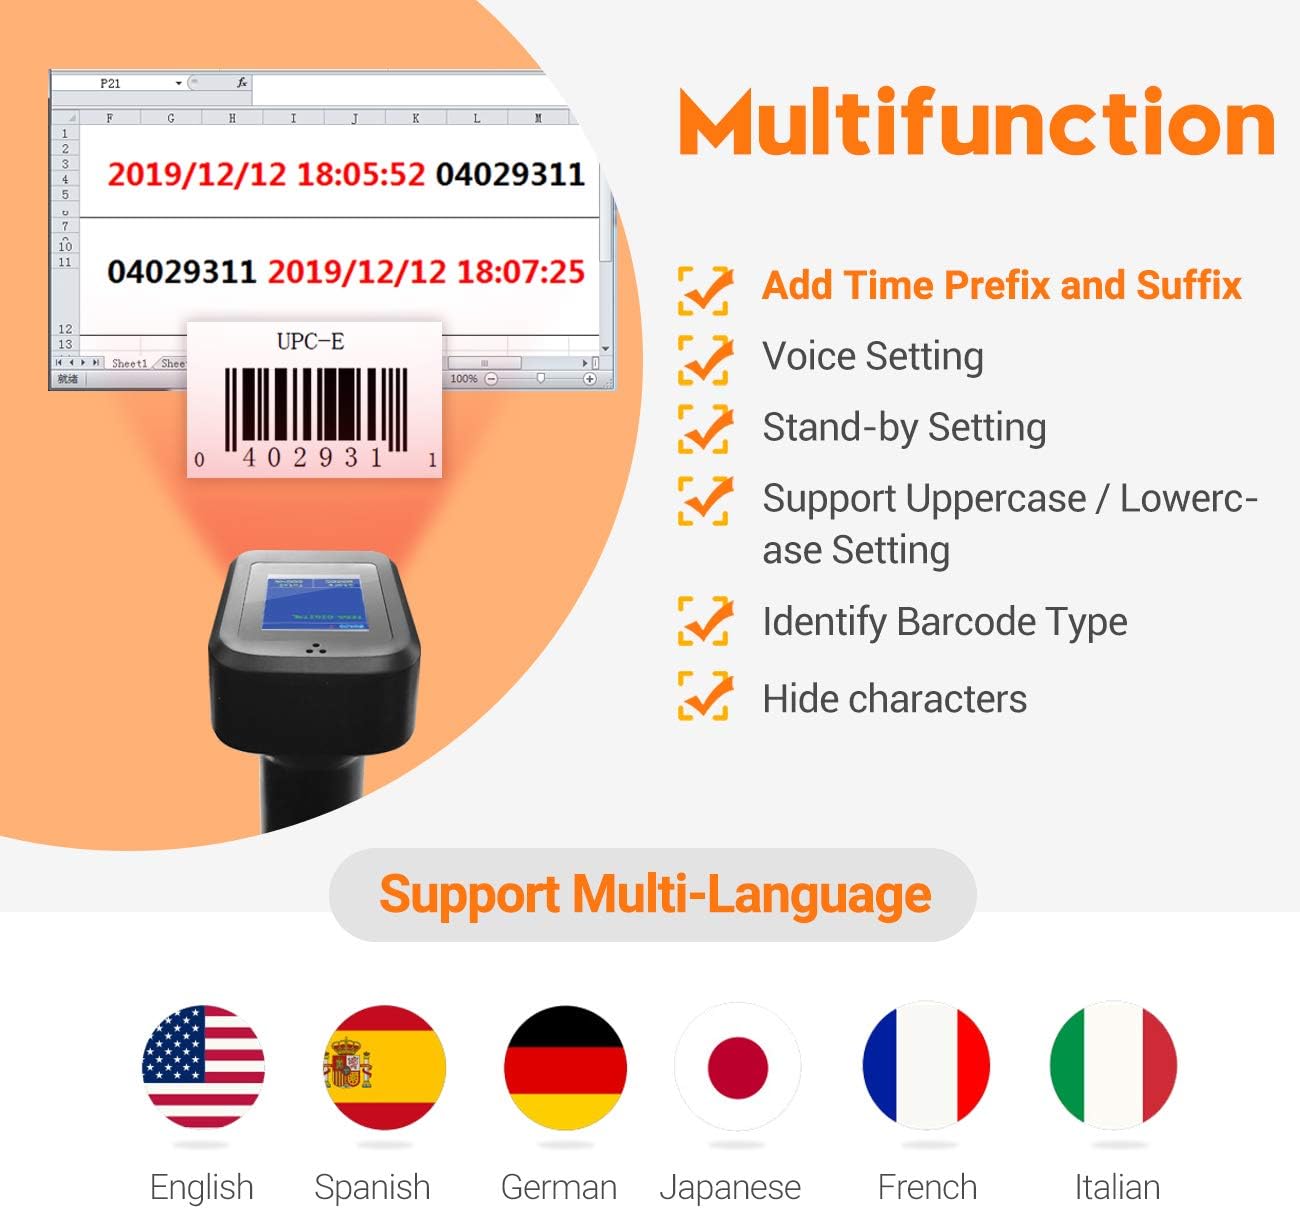
Figure 10: Examples of the scanner's customizable features.
6.4 Battery Life and Charging
Equipped with an 1800mAh large-capacity battery, the scanner provides extended operation. It offers up to 4-6 hours of continuous scanning time and an impressive 360 hours (15 days) of standby time. Full charge is achieved in approximately 2 hours.
Video 2: Official product video demonstrating the Tera Pro Barcode Scanner's features, including connectivity, scanning capabilities, and charging methods.
7. Specifications
| Attribute | Detail |
|---|---|
| Product Dimensions | 7 x 4.2 x 4.1 inches |
| Item Weight | 1.34 pounds |
| Item Model Number | HW0006 Pro |
| Batteries | 1 Lithium Ion batteries required. (included) |
| Manufacturer | Tera |
| Country of Origin | China |
| Compatible Devices | Laptop, Desktop, Smartphone |
| Power Source | Battery Powered |
| Connectivity Technology | Bluetooth, 2.4G Wireless, USB Cable |
8. Troubleshooting
If you encounter any issues with your Tera Pro Barcode Scanner, please refer to the following common troubleshooting tips:
- Scanner Not Responding: Ensure the scanner is fully charged. Check the connection method (wired, 2.4G wireless, or Bluetooth) and ensure it is properly established.
- Bluetooth Pairing Issues (Mac): As highlighted in the setup section, ensure you have scanned the 'Bluetooth HID Mode' barcode from your manual to enable the correct pairing protocol for Mac computers. If the scanner is in SPP mode, it may not communicate correctly with standard Mac applications.
- Inaccurate Scans: Ensure the barcode is clean and well-lit. Adjust the scanning distance. For damaged or poorly printed barcodes, try scanning from different angles.
- Data Not Appearing on Computer: Verify the connection. If using storage mode, ensure you have initiated the upload process. If using instant upload, check that the cursor is active in the desired input field on your computer.
For more detailed troubleshooting steps and advanced configurations, please consult the full User Manual PDF.
9. Warranty and Support
Tera products typically come with a manufacturer's warranty. Please refer to the warranty card included in your product packaging for specific terms and conditions. For technical support, product inquiries, or to access the complete user guide, please visit the official Tera website or contact their customer service.
A comprehensive User Manual is available in PDF format for detailed instructions and advanced settings:
Related documentsHW0006 Pro


Ask a question about this manual
Ask about setup, troubleshooting, compatibility, parts, safety, or missing instructions. Manuals+ will review the question and use this page’s manual context to help answer it.