1. Introduction
This manual provides essential instructions for the safe and efficient installation, operation, and maintenance of your Aoxun 120-inch 4:3 Motorized Projector Screen. Please read this manual thoroughly before use and retain it for future reference.

Image: Aoxun 120-inch motorized projector screen in use.
2. Safety Information
- Electrical Safety: Ensure the power supply matches the screen's requirements. Do not operate with damaged cords or plugs. Disconnect power before cleaning or maintenance.
- Installation: Installation should be performed by two people due to the product's weight and size. Ensure mounting surfaces (walls or ceilings) are structurally sound and can support the screen's weight. Use appropriate mounting hardware for your specific wall/ceiling type.
- Operation: Keep hands and objects clear of the screen during operation to prevent injury or damage. Do not attempt to manually force the screen up or down.
- Environment: Avoid exposing the screen to extreme temperatures, high humidity, or direct sunlight for prolonged periods. Keep away from heat sources and open flames.
- Children and Pets: Keep children and pets away from the screen and controls during operation.
3. Package Contents
Verify that all components are present in the package:
- Aoxun 120-inch 4:3 Motorized Projector Screen
- RF Remote Control
- Wall-mountable Control Panel
- Power Cable
- Mounting Hardware (screws, anchors)
- Instruction Manual
4. Product Features
- Screen Dimensions: 120-inch diagonal, 4:3 aspect ratio (93.7 x 69.69 inches viewing area).
- Motor System: Energy-efficient, quiet motor (less than 42dB) for smooth and extended operation.
- Control System: Dual control via long-distance radio frequency (RF) remote and a wall-mountable control panel.
- Screen Material: Four-layer premium PVC matte screen with 1.2 gain and a 160° viewing angle. Features a black-backed layer to prevent light penetration and enhance color reproduction.
- Durability: Constructed with a durable alloy steel casing.
- Versatility: Suitable for various applications including home theater, education, conference rooms, and outdoor use.

Image: Screen layer construction and steel casing.
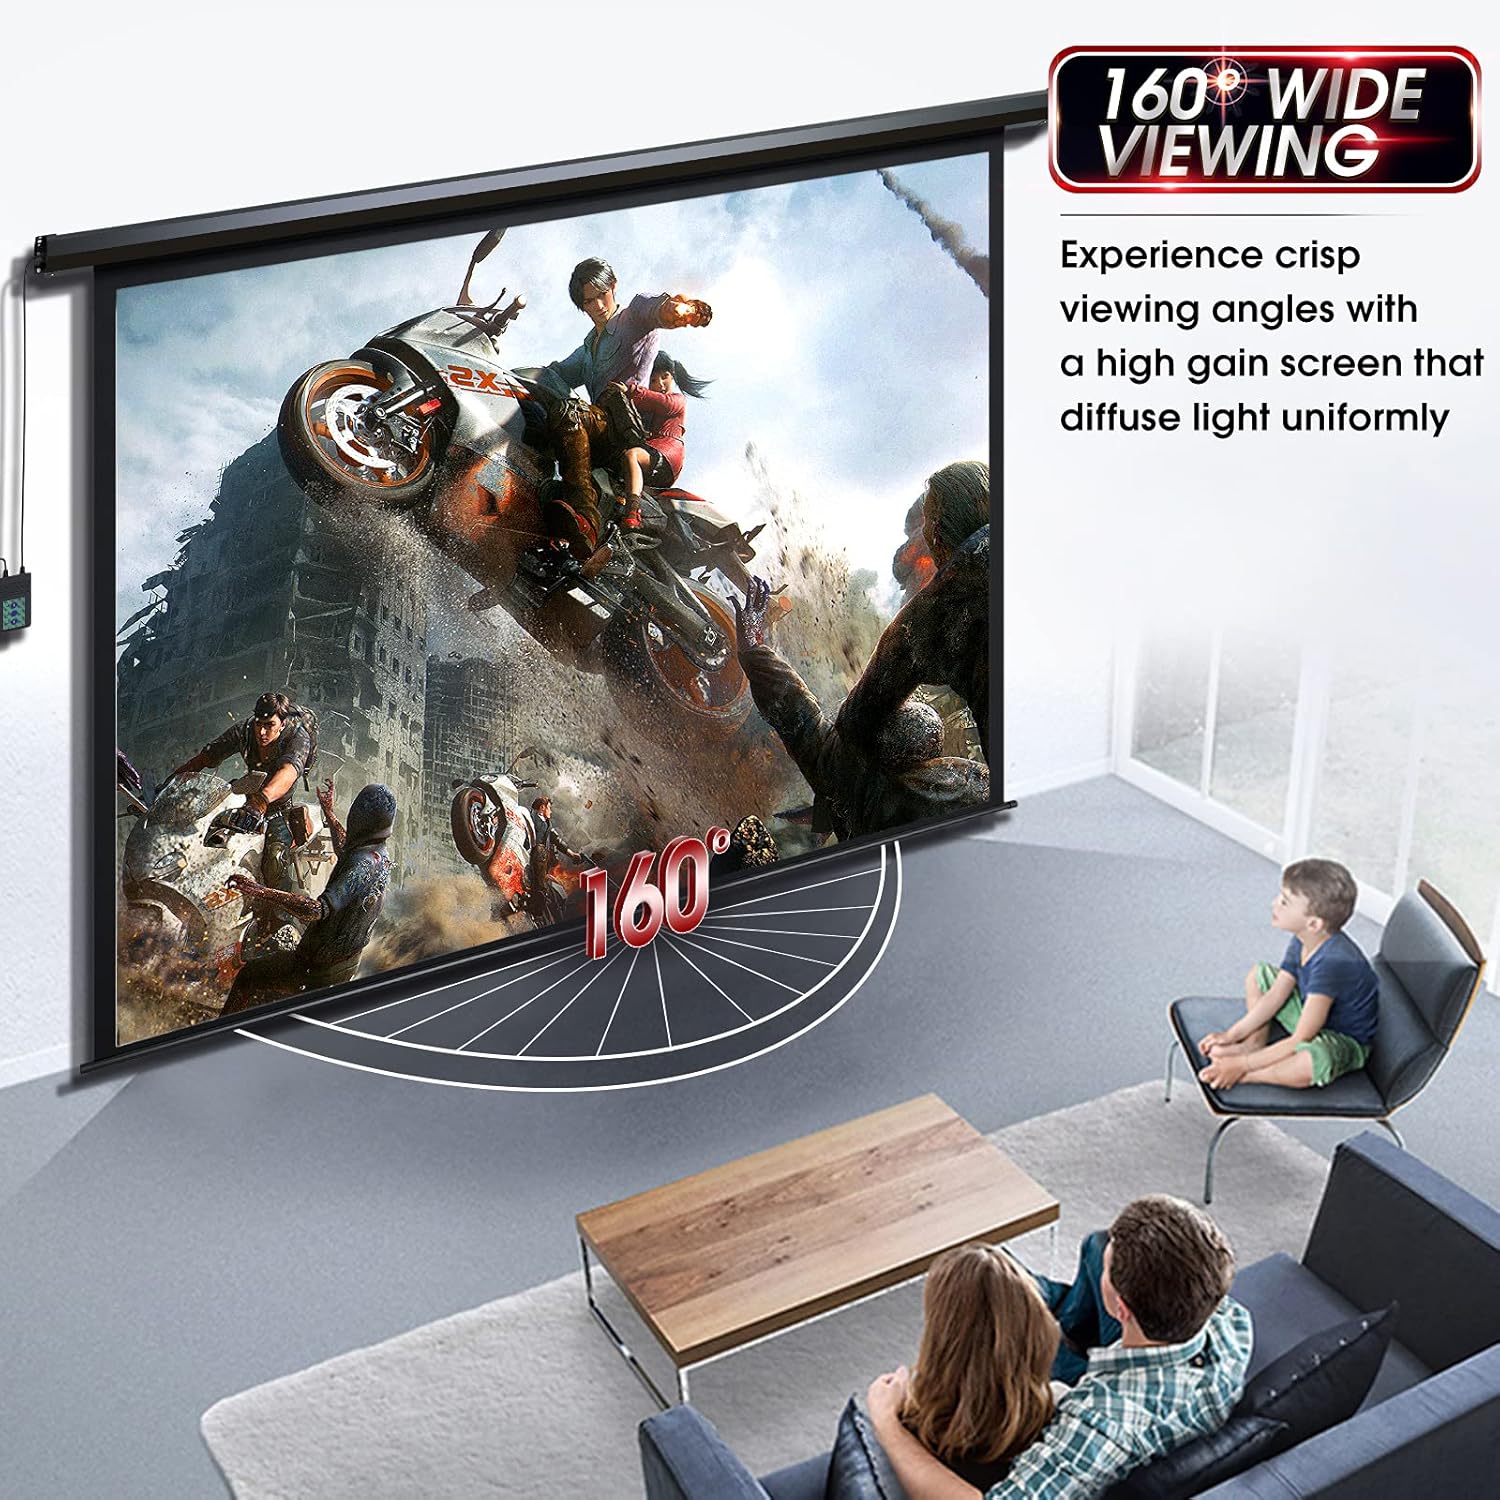
Image: Wide 160-degree viewing angle demonstration.
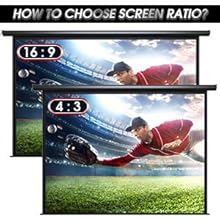
Image: High-quality ultra-quiet motor.
5. Setup and Installation
The projector screen arrives fully assembled and is designed for plug-and-play readiness. It supports both wall and ceiling mounting.
5.1 Pre-Installation Considerations
- Location: Choose a location free from obstructions, direct sunlight, and excessive airflow.
- Mounting Surface: Ensure the wall or ceiling can safely support the screen's weight (approximately 23.9 lbs). Locate studs or joists for secure mounting.
- Power Outlet: Plan for access to a power outlet. The power cord is integrated with the control panel.
- Tools Required (not included): Drill, drill bits, measuring tape, level, screwdriver.
5.2 Mounting Instructions
- Measure and Mark: Using the provided dimensions, mark the desired mounting points on your wall or ceiling. The hole spacing for mounting is approximately 104.96 inches. Use a level to ensure marks are perfectly horizontal.
- Drill Holes: Drill pilot holes at the marked locations. If mounting into drywall without studs, use appropriate heavy-duty anchors (not necessarily those provided if they are insufficient for your wall type).
- Secure Brackets/Screen: Attach the screen casing directly to the wall/ceiling using the appropriate screws and anchors. Ensure it is firmly secured.
- Connect Power: Plug the power cable into a standard electrical outlet.

Image: Screen dimensions and hole spacing for installation.
6. Operation
The Aoxun motorized projector screen can be operated using either the integrated wall-mountable control panel or the included RF remote control.
6.1 Using the Wall Control Panel
- UP Button: Press to retract the screen upwards.
- DOWN Button: Press to extend the screen downwards.
- STOP Button: Press to stop the screen at any desired position.
6.2 Using the RF Remote Control
The RF remote control allows for convenient operation from a distance.
- UP Button: Press to retract the screen upwards.
- DOWN Button: Press to extend the screen downwards.
- STOP Button: Press to stop the screen at any desired position.
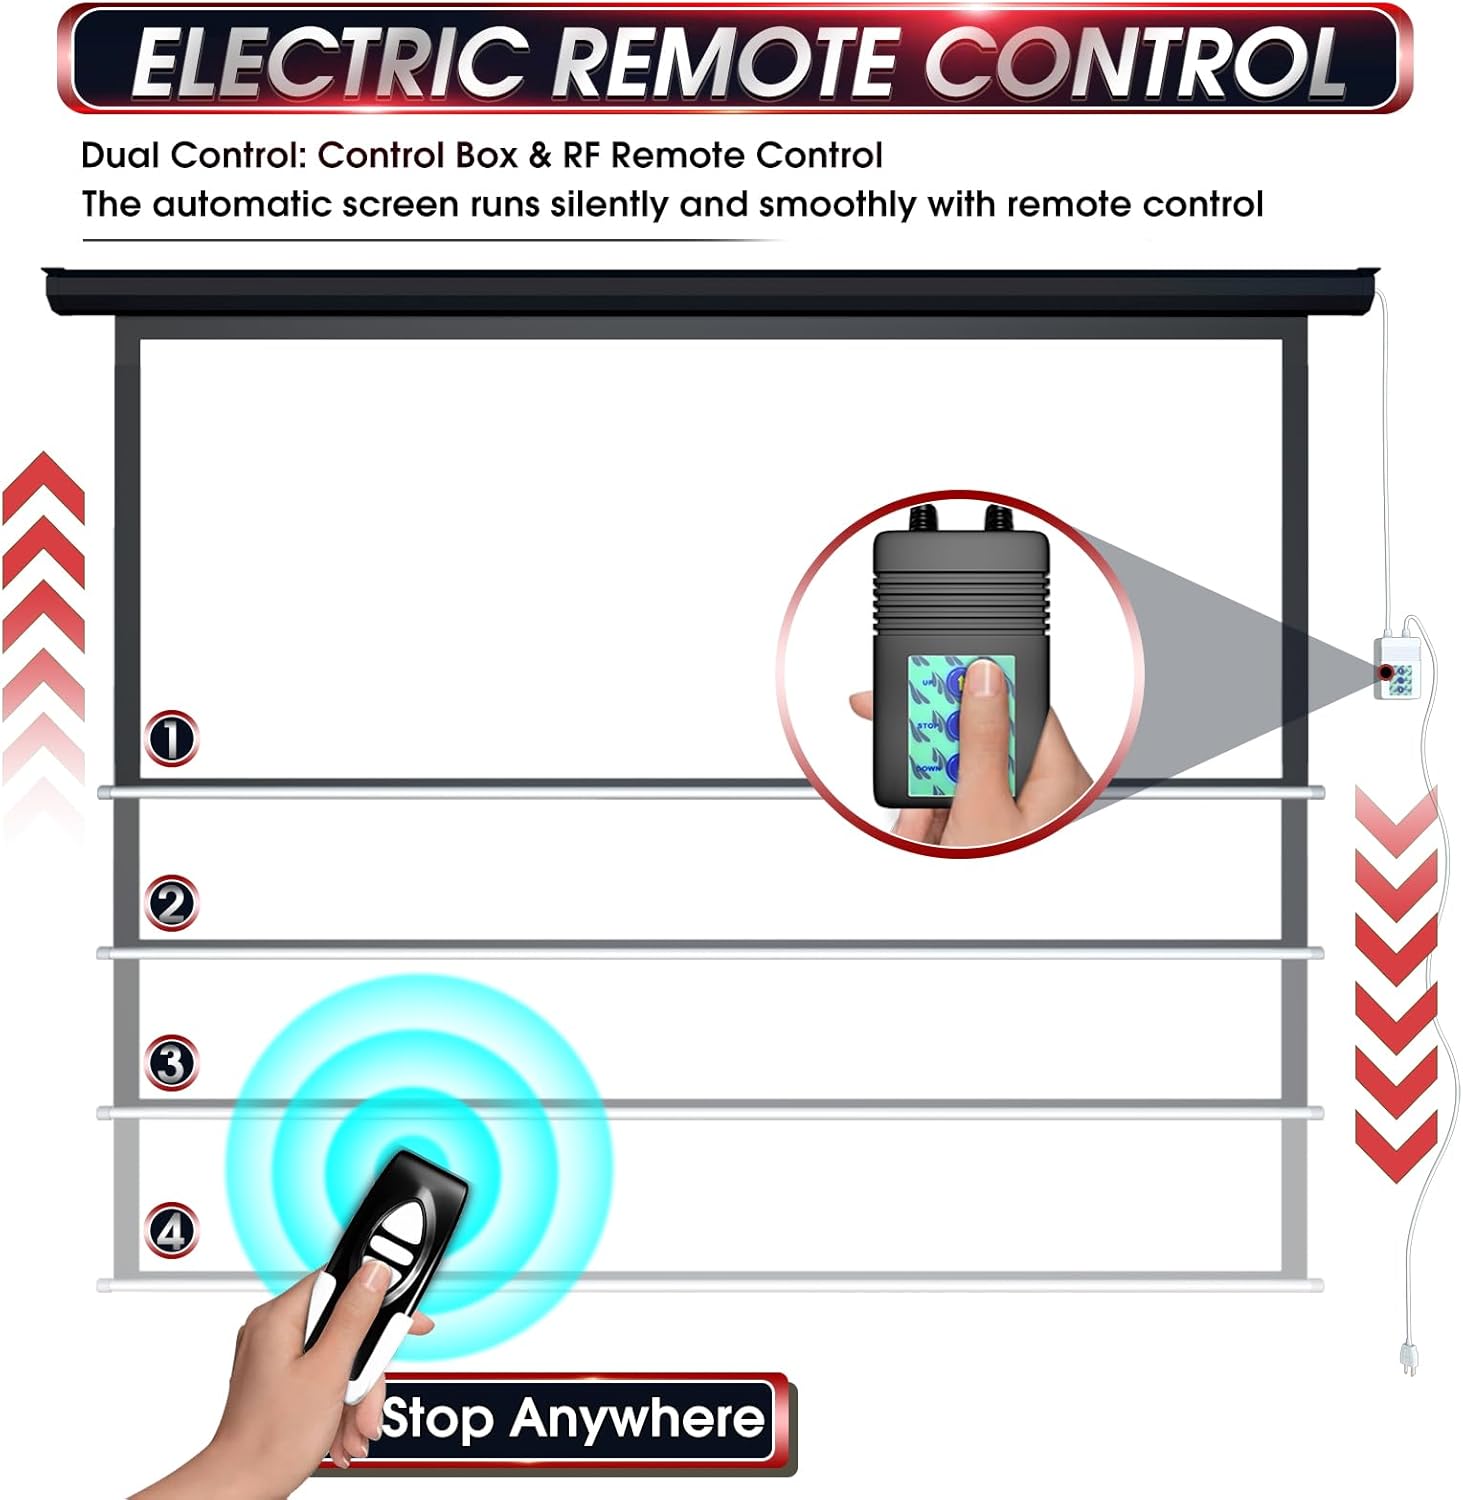
Image: Dual control system with wall panel and remote control.

Image: Control box and remote control details.
7. Maintenance and Care
- Cleaning the Screen Surface: The 4-layer PVC matte screen is designed for easy cleaning. Gently wipe the screen surface with a soft cloth dampened with mild soap and water. Avoid abrasive cleaners or harsh chemicals.
- Casing Maintenance: Wipe the alloy steel casing with a dry or slightly damp cloth to remove dust.
- Motor Inspection: Periodically check the motor and power cord for any signs of wear or damage. If any issues are observed, discontinue use and contact support.
- Odor: Upon initial unboxing, a slight 'new vinyl' odor may be present. This is normal and will dissipate over a few days with good ventilation. It is recommended to extend the screen fully in a well-ventilated area for a day or two after installation.
Image: Wrinkle-free screen surface.
8. Troubleshooting
If you encounter issues with your projector screen, please refer to the following common solutions:
- Screen Does Not Respond:
- Ensure the power cable is securely plugged into a working electrical outlet.
- Check if the remote control batteries need replacement.
- Verify that there are no obstructions blocking the remote's signal (for RF remote, this is less common but still possible).
- Screen Stops Mid-Operation:
- The screen has an automatic stop feature at its fully extended and retracted positions. If it stops elsewhere, ensure no physical obstructions are present.
- If the motor overheats from continuous operation, it may temporarily shut down. Allow it to cool before attempting to operate again.
- Screen Appears Uneven or Wrinkled:
- The screen is designed to be wrinkle-free. Ensure proper installation and that the screen casing is level.
- Minor ripples may occur due to temperature changes; these typically resolve with use.
- Unusual Noise from Motor:
- The motor operates quietly (below 42dB). If loud or unusual noises occur, discontinue use and contact customer support.
For issues not covered here, please contact Aoxun customer service.
9. Specifications
| Feature | Specification |
|---|---|
| Model Number | 120-4:3-Black |
| Screen Size (Diagonal) | 120 inches |
| Aspect Ratio | 4:3 |
| Viewing Area (W x H) | 93.7 x 69.69 inches |
| Product Dimensions (W x H) | 104.96"W x 75.99"H |
| Item Weight | 23.9 pounds |
| Mounting Type | Wall Mount, Ceiling Mount |
| Screen Material | 4-Layer Premium PVC Matte |
| Gain | 1.2 |
| Viewing Angle | 160 degrees |
| Motor Noise Level | <42dB |
| Casing Material | Alloy Steel |
| Control System | RF Remote Control, Wall Control Panel |
10. Warranty and Support
Aoxun provides customer service for this product. For any questions, technical assistance, or warranty claims, please contact Aoxun customer support through the retailer where the product was purchased or refer to the official Aoxun website for contact information.
Please retain your purchase receipt as proof of purchase for warranty purposes.


