1. Introduction
This manual provides essential information for the safe and efficient operation, installation, and maintenance of your new Haier HWM60-1269DB Fully Automatic Top Load Washing Machine. Please read this manual thoroughly before using the appliance and retain it for future reference.

Figure 1: Front view of the Haier HWM60-1269DB Washing Machine.
2. Safety Information
To prevent personal injury or property damage, adhere to the following safety precautions:
- Electrical Safety: Ensure the power supply matches the appliance's requirements. Do not use extension cords. Always unplug the machine before cleaning or maintenance.
- Water Connection: Connect the water inlet hose securely to prevent leaks. Use only new hoses provided with the appliance.
- Child Safety: Keep children away from the washing machine during operation. The Child Lock feature should be activated to prevent accidental program changes.
- Flammable Materials: Do not wash items that have been soiled with flammable liquids (e.g., gasoline, kerosene).
- Installation: The appliance must be installed on a firm, level surface. Ensure adequate ventilation around the machine.
3. Product Overview
Your Haier washing machine is designed for efficient and convenient laundry care. Key features include:
- Oceanus Wave Drum: Designed for effective and abrasion-free cleaning.
- Magic Filter: Optimizes lint collection during each wash cycle.
- Fuzzy Control: Automatically detects the laundry load and optimizes water level and wash cycle.
- Child Lock: Prevents children from tampering with the control panel.
- Anti-Rat Mesh: Protects the machine from rodent damage.

Figure 2: Key features including Oceanus Wave Drum, Magic Filter, and Anti-Rat Mesh.

Figure 3: Illustration of the Oceanus Wave Drum technology.

Figure 4: Illustration of the Magic Filter for lint collection.
4. Setup and Installation
Proper installation is crucial for the performance and longevity of your washing machine.
4.1 Unpacking
Carefully remove all packaging materials. Inspect the machine for any damage incurred during transit. Report any damage to your retailer immediately.
4.2 Placement
Place the washing machine on a flat, stable surface. Ensure there is sufficient space around the machine for ventilation and access (at least 10 cm on sides and back). Adjust the leveling feet to ensure the machine is perfectly balanced.
4.3 Water Connection
- Connect the cold water inlet hose to the water tap and the corresponding inlet on the back of the machine.
- Ensure all connections are tight to prevent leaks.
4.4 Drain Hose Installation
Position the drain hose correctly to allow for proper water drainage. It should be placed in a sink or a standpipe, ensuring it is not kinked or blocked.

Figure 5: Side view illustrating water inlet and drain hose connections.

Figure 6: Rear view detailing power and water connections.
4.5 Power Connection
Plug the power cord into a grounded electrical outlet. Do not share the outlet with other appliances.
5. Operating Instructions
Follow these steps for a typical wash cycle:
5.1 Control Panel Overview

Figure 7: Detailed view of the control panel and its functions.
- Power Button: Turns the machine on/off.
- Program Selector: Use to choose from 8 available wash programs.
- Water Level: Adjusts water level manually or automatically with Fuzzy Control.
- Start/Pause: Initiates or pauses the wash cycle.
- Child Lock: Press and hold for a few seconds to activate/deactivate.
- Quick Wash: Select for faster wash cycles.
5.2 Loading Laundry
- Open the lid and place clothes loosely into the drum. Do not overload the machine.
- Close the lid securely.
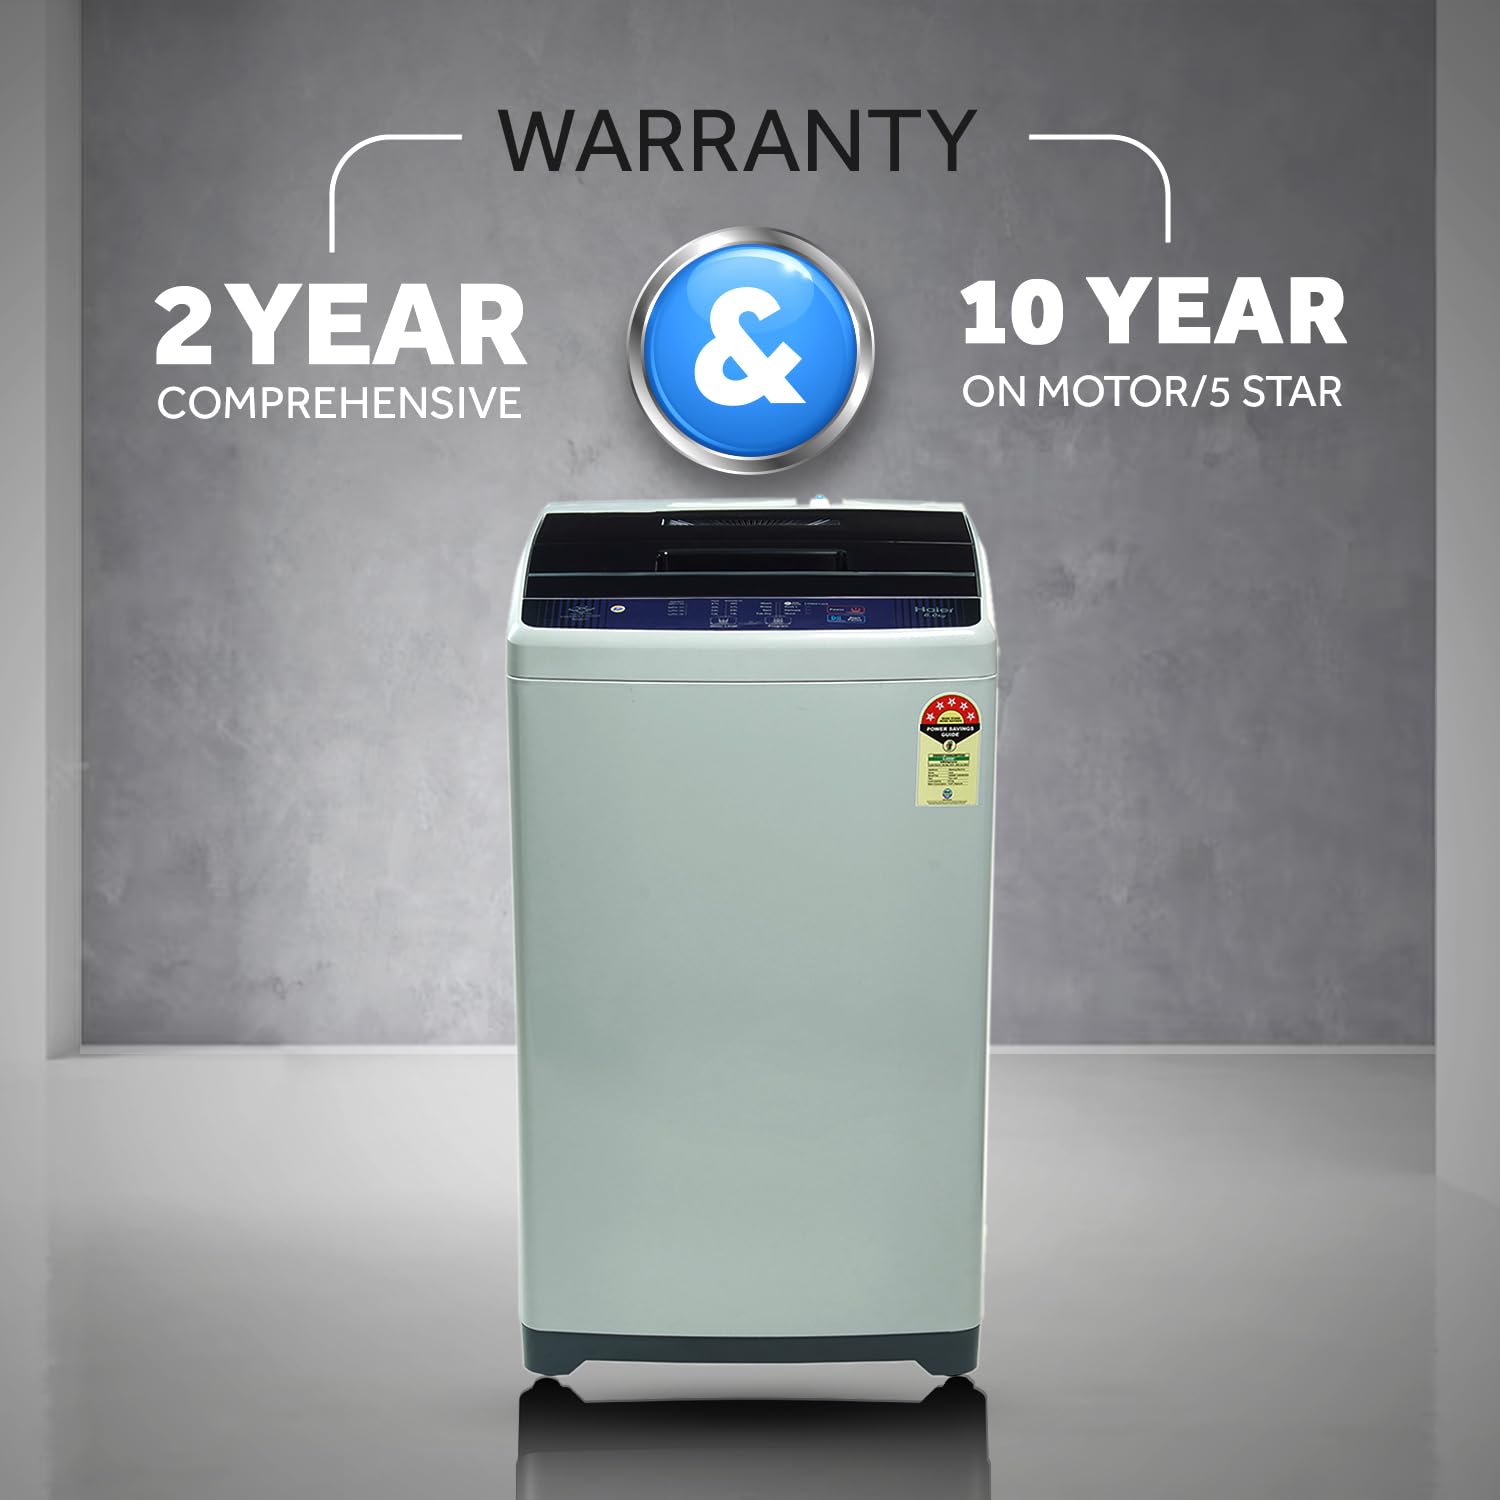
Figure 8: View of the washing machine drum with the lid open, ready for loading.
5.3 Adding Detergent
Add the appropriate amount of detergent and fabric softener to their respective dispensers. Refer to detergent packaging for dosage recommendations.
5.4 Selecting a Wash Program
- Press the Power button.
- Use the Program button to cycle through the 8 available wash programs (e.g., Standard, Quick Wash, Delicate).
- The display will show the selected program and estimated time.

Figure 9: Overview of the 8 available wash programs.
5.5 Starting the Wash Cycle
Press the Start/Pause button to begin the wash cycle. The machine will automatically fill with water and proceed with the selected program.
5.6 Special Functions
- Quick Wash: Ideal for lightly soiled clothes or when time is limited.
- Time Delay: Allows you to set a delayed start time for the wash cycle.
- Auto Restart: The machine will resume operation from where it left off after a power outage.

Figure 10: Features such as Child Lock and Quick Wash for enhanced user experience.
6. Maintenance
Regular maintenance ensures optimal performance and extends the life of your washing machine.
6.1 Cleaning the Magic Filter
The Magic Filter should be cleaned regularly (e.g., once a week or after every few washes) to remove lint and debris. Pull out the filter, rinse it under running water, and reinsert it.
6.2 Cleaning the Drum
Run a 'Tub Clean' cycle (if available) or a hot wash cycle with a washing machine cleaner or a cup of white vinegar to remove detergent residue and odors.
6.3 Exterior Cleaning
Wipe the exterior of the machine with a soft, damp cloth. Do not use abrasive cleaners or solvents.
6.4 Winterization (for cold climates)
If the machine is in an unheated area and temperatures may drop below freezing, drain all water from the hoses and pump to prevent damage.
7. Troubleshooting
Refer to the table below for common issues and their solutions:
| Problem | Possible Cause | Solution |
|---|---|---|
| Machine does not start | No power, lid not closed, program not selected | Check power cord, ensure lid is closed, select a program and press Start. |
| Water not filling | Water tap closed, inlet hose kinked, water supply issue | Open water tap, straighten hose, check household water supply. |
| Water not draining | Drain hose kinked/blocked, filter clogged | Straighten drain hose, clean drain filter. |
| Excessive vibration/noise | Machine not level, load unbalanced, transit bolts not removed | Adjust leveling feet, redistribute laundry, ensure transit bolts are removed (if applicable). |
| Child Lock activated | Control panel locked | Press and hold the Child Lock button for several seconds to deactivate. |
8. Specifications
| Feature | Specification |
|---|---|
| Brand | Haier |
| Model | HWM60-1269DB |
| Capacity | 6 Kilograms |
| Energy Efficiency | 5 Star |
| Maximum Rotational Speed | 800 RPM |
| Installation Type | Freestanding |
| Form Factor | Top-Loading |
| Wattage | 380 Watts |
| Material | Metal |
| Item Dimensions (LxWxH) | 55 x 53 x 90 Centimeters |
| Item Weight | 6 kg |

Figure 11: Product dimensions for installation planning.
9. Warranty and Support
Your Haier HWM60-1269DB washing machine comes with a comprehensive warranty:
- Product Warranty: 2 years on the entire product.
- Motor Warranty: 10 years on the motor.
For service, support, or warranty claims, please contact Haier customer service or your authorized dealer. Keep your purchase receipt as proof of purchase.

Figure 12: Warranty details for the washing machine.


