
Introduction
Thank you for choosing the VINLUZ 5-Light Brushed Nickel Linear Chandelier. This fixture is designed to provide elegant and functional lighting for your dining room, kitchen island, or other living spaces. Please read this manual thoroughly before installation and use to ensure safe and proper operation.
Safety Information
- Always turn off the main power supply at the circuit breaker before beginning installation.
- Consult a qualified electrician if you are unsure about the installation process.
- Ensure all electrical connections are secure and comply with local codes and ordinances.
- Do not exceed the maximum wattage specified for the bulbs.
- Handle glass components with care to prevent breakage.
- This fixture is intended for indoor use only.
Package Contents
Carefully unpack all components and inspect for any damage. Keep all packaging materials until you are satisfied with the product.
- Chandelier Frame (Brushed Nickel)
- 5 Clear Glass Shades
- Mounting Hardware (Canopy, Mounting Plate, Screws, Wire Nuts)
- Adjustable Rods
- Instruction Manual
Note: E26 base bulbs (Max. 60W) are not included and must be purchased separately.
Specifications
| Feature | Detail |
|---|---|
| Brand | VINLUZ |
| Model Number | 1811-5-SN |
| Color | Brushed Nickel |
| Material | Metal, Glass |
| Style | Contemporary |
| Number of Lights | 5 |
| Bulb Base | E26 |
| Max Wattage per Bulb | 60W |
| Voltage | 120 Volts |
| Dimensions (L x W x H) | 41.54" x 9.45" x 9.84" |
| Mounting Type | Hanging |
| Dimmable | Yes (with dimmable bulbs and compatible dimmer switch) |
Setup and Installation
Follow these steps for proper installation. It is recommended to have two people for installation.
- Prepare for Installation: Turn off power at the circuit breaker. Ensure you have all necessary tools (screwdriver, wire strippers, ladder, etc.) and components.
- Attach Mounting Plate: Secure the mounting plate to your ceiling junction box using the provided screws.
- Assemble Rods: Determine the desired hanging height. The fixture includes adjustable rods to customize the length. Connect the appropriate rod sections to the canopy and the fixture body.
- Wire Connections: Connect the fixture's wires to your household electrical wires (black to black, white to white, ground to ground) using the wire nuts. Ensure connections are tight and secure.
- Secure Canopy: Carefully push the canopy up to the ceiling, covering the junction box, and secure it with the provided screws or nuts.
- Install Glass Shades: Gently attach each clear glass shade to the fixture.
- Insert Bulbs: Screw in five E26 base bulbs (Max. 60W, not included) into the sockets.

Figure 1: Components for easy installation, including adjustable rods and clear glass shades.

Figure 2: The chandelier's height can be adjusted to suit various ceiling heights and room settings.
Video 1: Official VINLUZ video demonstrating the assembly and installation process of a similar chandelier, highlighting ease of setup and design features.
Operating Instructions
Once installed, restore power at the circuit breaker. The chandelier is now ready for use.
- Bulb Requirements: This fixture requires 5 x E26 base bulbs with a maximum wattage of 60W each. Compatible bulb types include CFL, LED, Incandescent, and Halogen.
- Dimmable Feature: The chandelier is fully dimmable when used with dimmable bulbs and a compatible dimmer switch (sold separately).
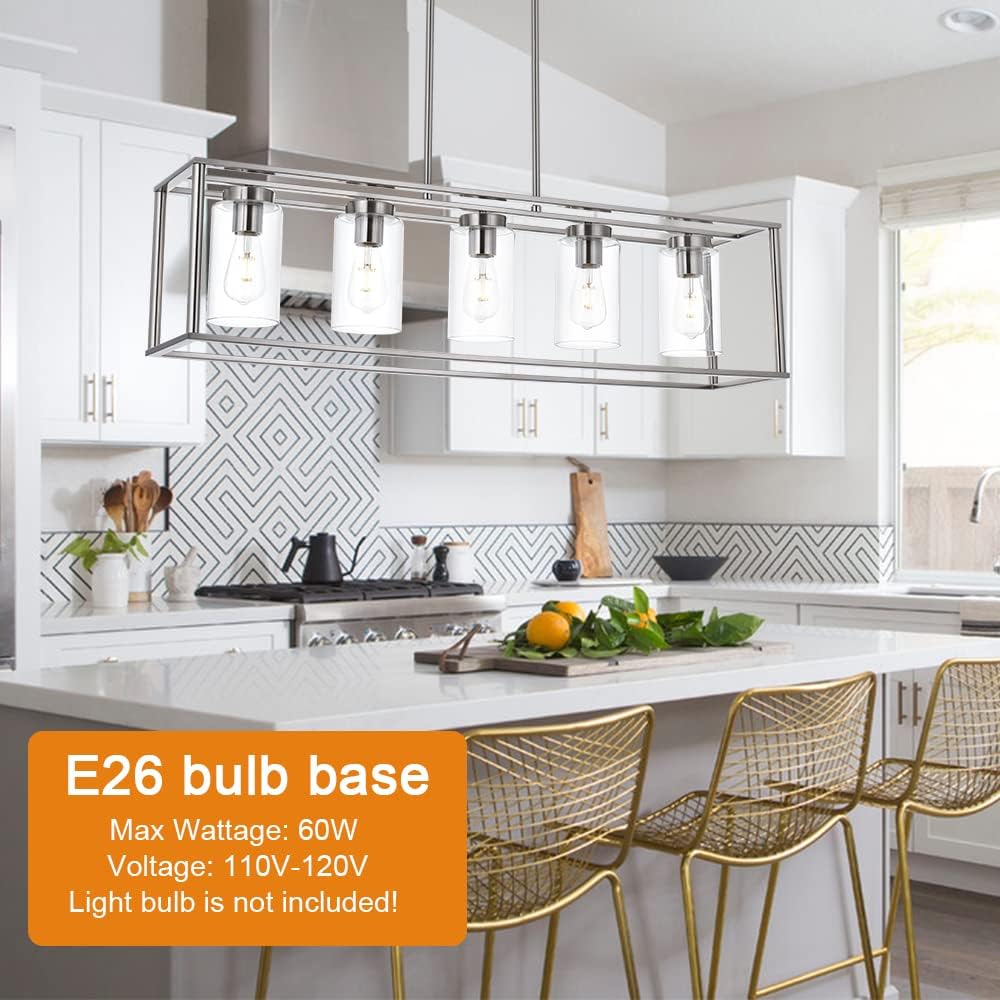
Figure 3: Details on bulb type and wattage for the chandelier.
Maintenance
To maintain the appearance and functionality of your VINLUZ chandelier, follow these simple maintenance tips:
- Cleaning: Turn off the power before cleaning. Wipe the metal frame with a soft, dry cloth. For glass shades, use a mild glass cleaner and a soft cloth. Avoid abrasive cleaners or solvents that may damage the finish.
- Bulb Replacement: Ensure the fixture is cool and power is off before replacing bulbs. Screw in new E26 base bulbs, ensuring they do not exceed 60W.
Troubleshooting
If you encounter any issues with your chandelier, refer to the following common problems and solutions:
| Problem | Possible Cause | Solution |
|---|---|---|
| Light does not turn on | No power, loose wiring, faulty bulb | Check circuit breaker. Verify wire connections. Replace bulb. |
| Lights flicker | Loose bulb, incompatible dimmer, faulty wiring | Tighten bulbs. Ensure dimmer is compatible with LED/CFL bulbs if used. Check wiring. |
| Fixture is crooked | Improper mounting, uneven rod assembly | Adjust mounting plate or rod connections to ensure level hanging. |
If the problem persists after trying these solutions, please contact customer support.
Warranty and Support
VINLUZ is committed to providing quality products and excellent customer service. This product comes with a manufacturer's warranty. For any quality or skill problems, including free glass shade replacement if broken, please contact us directly.
You can reach our customer service by clicking on "LightingPlus" (the original manufacturer) and then clicking on "Ask a question" on the product page. We are here to help with replacement parts and any other inquiries.
Product Overview

Figure 4: The VINLUZ 5-Light Brushed Nickel Linear Chandelier in a kitchen setting.

Figure 5: Detailed dimensions of the chandelier for planning installation.