
Katsu katsu high pressure washer 180bar
Katsu 180 Bar High Pressure Washer User Manual
Model: katsu high pressure washer 180bar
1. Introduction and Safety Information
This manual provides essential instructions for the safe and efficient operation, maintenance, and troubleshooting of your Katsu 180 Bar High Pressure Washer. Please read this manual thoroughly before using the appliance to prevent personal injury or damage to the unit.
1.1 General Safety Warnings
- Always wear appropriate personal protective equipment (PPE), including safety glasses and hearing protection, during operation.
- Ensure the power supply matches the voltage specified on the product label.
- Never direct the high-pressure spray at people, animals, electrical devices, or the unit itself.
- Keep children and pets away from the operating area.
- Disconnect the power supply before performing any maintenance or cleaning.
- Do not operate the pressure washer if the power cord or other essential parts are damaged.
2. Product Components
Familiarize yourself with the main components of your Katsu 180 Bar High Pressure Washer:
- Main Unit: Contains the motor and pump assembly.
- High-Pressure Hose: Connects the main unit to the spray gun.
- Spray Gun: Handheld device for directing the high-pressure water stream.
- Nozzles: Interchangeable tips for various spray patterns and intensities.
- Water Inlet Connector: For connecting the garden hose to the unit.
- Power Cord: For electrical connection.
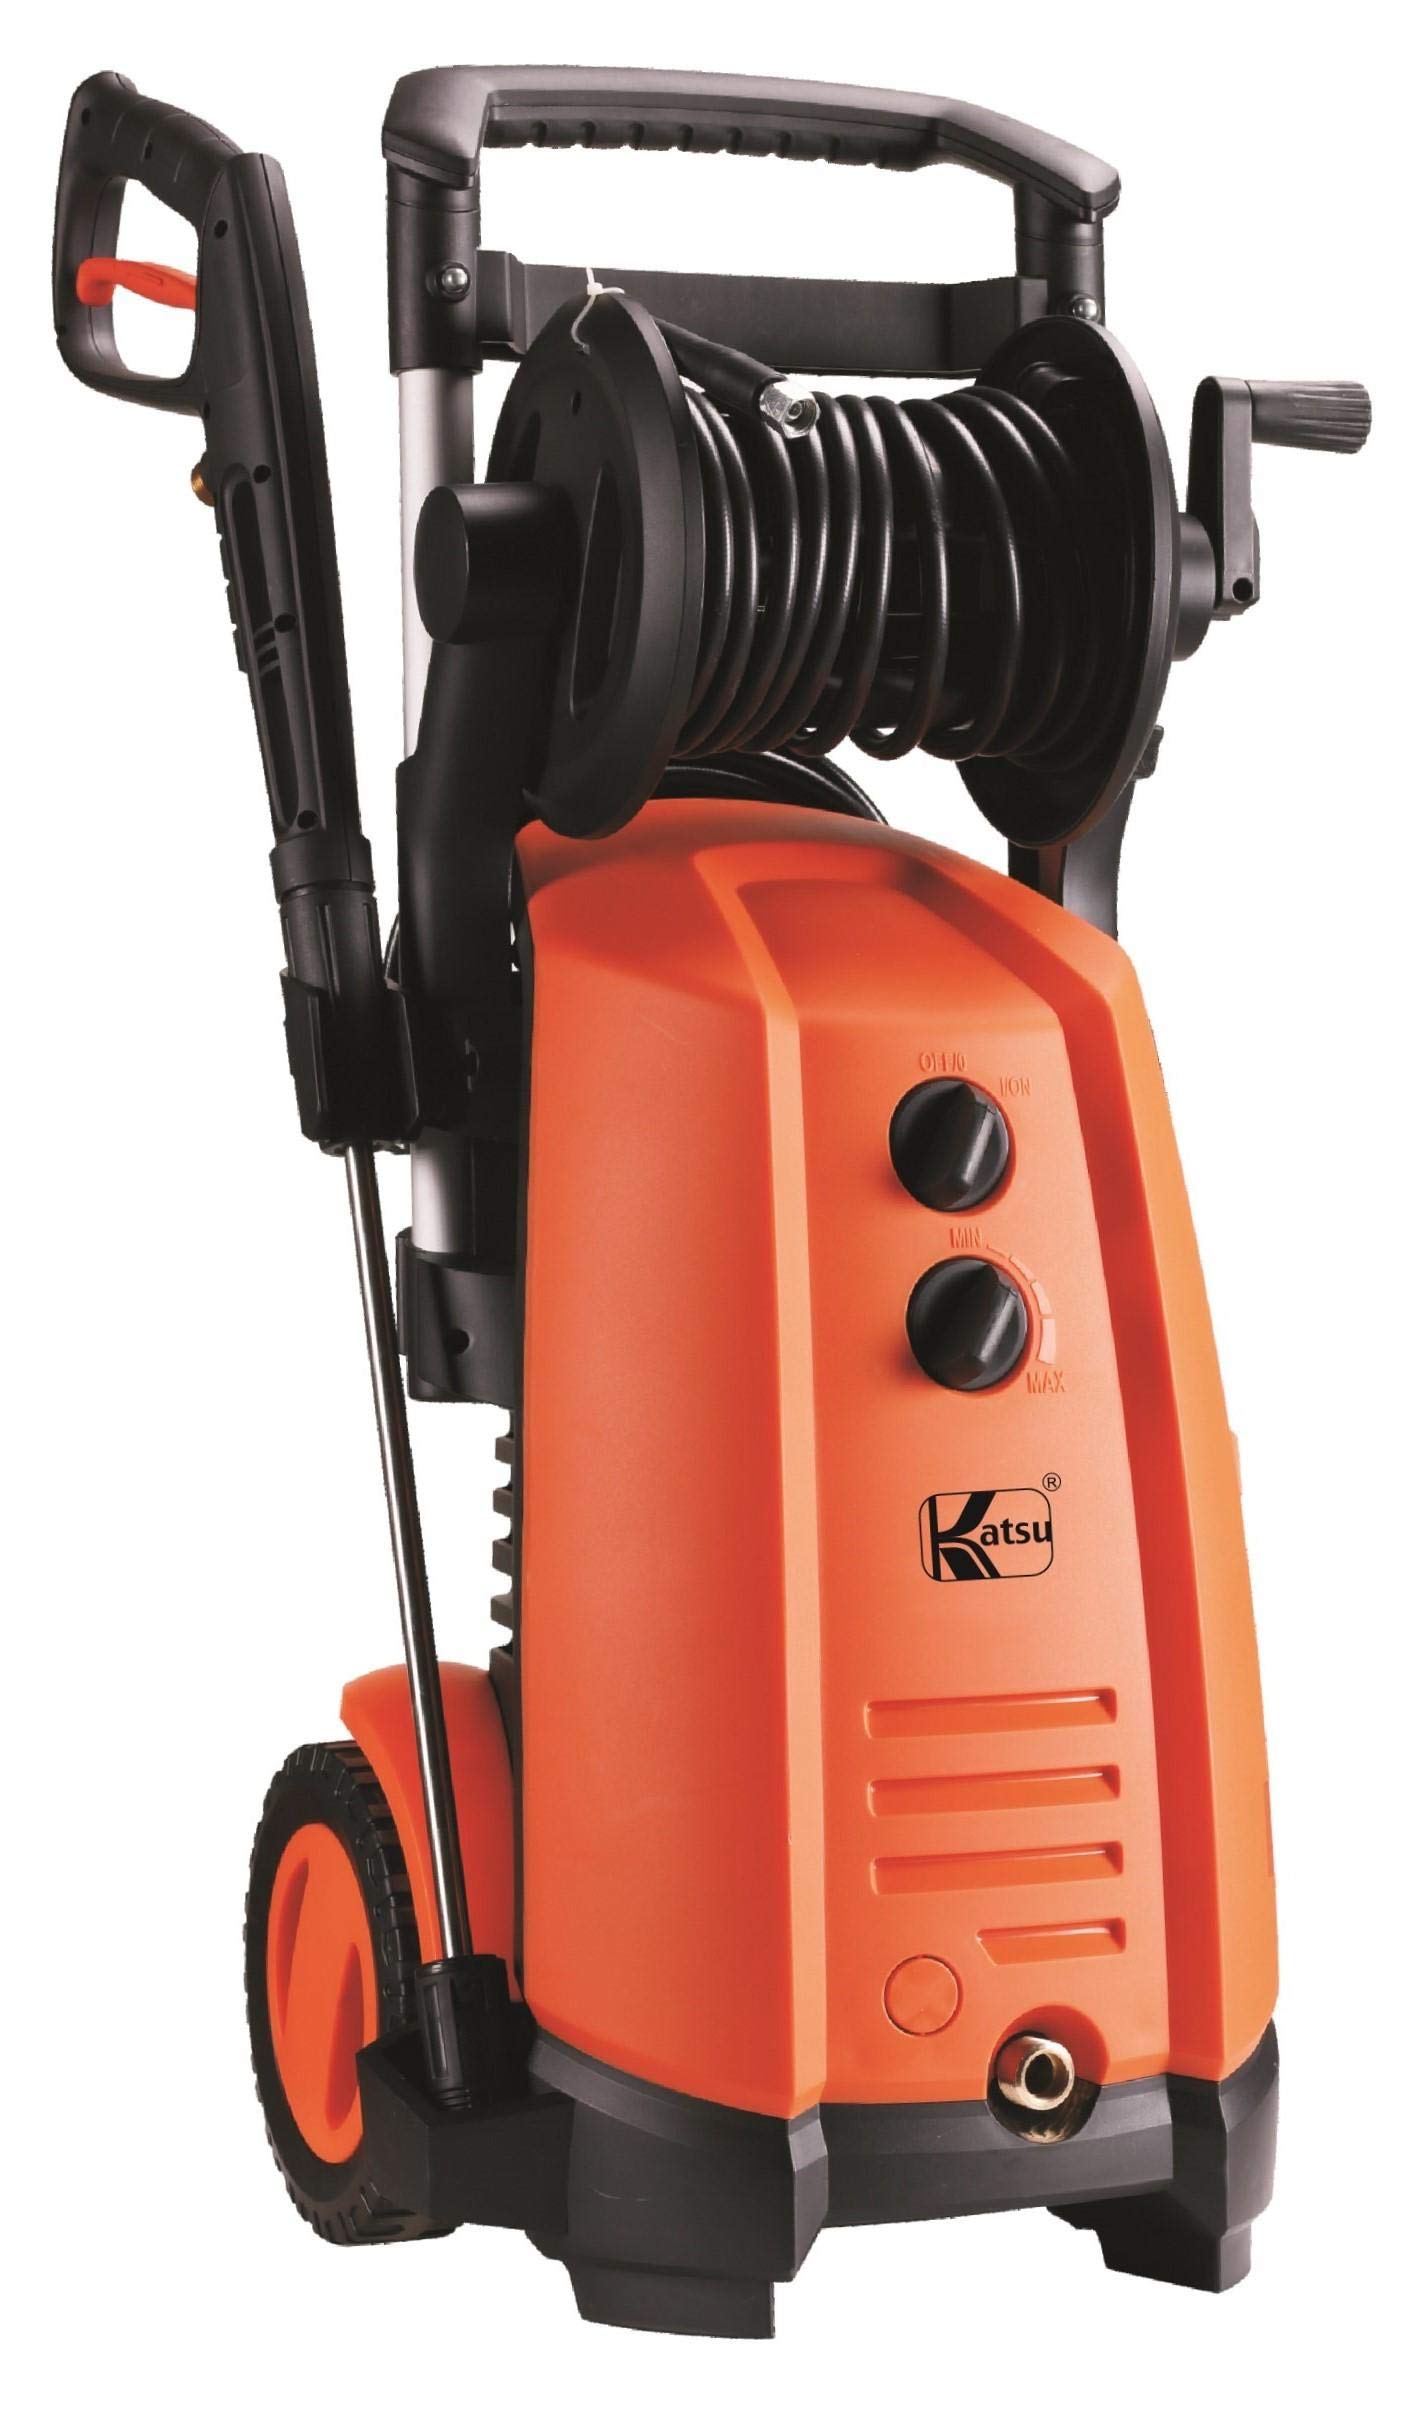
Image: The Katsu 180 Bar High Pressure Washer, showing the main orange and black unit, high-pressure hose, and spray gun. This image illustrates the primary components of the pressure washer.
3. Setup Instructions
Follow these steps to set up your pressure washer before first use:
- Unpack Components: Carefully remove all parts from the packaging and ensure no components are missing or damaged.
- Assemble Handle (if applicable): Attach the handle to the main unit according to the diagrams in the separate assembly guide.
- Connect High-Pressure Hose: Securely connect one end of the high-pressure hose to the outlet on the main unit and the other end to the spray gun. Ensure connections are tight to prevent leaks.
- Connect Water Supply: Attach a standard garden hose (not supplied) to the water inlet connector on the pressure washer. Ensure the water supply is clean and free of debris. Turn on the water tap fully.
- Connect Power: Plug the power cord into a grounded electrical outlet. Ensure the outlet meets the power requirements of the unit.
- Prime the Pump: Before starting the motor, squeeze the trigger on the spray gun to allow water to flow through the system and expel any trapped air. Continue until a steady stream of water emerges from the nozzle. This prevents damage to the pump.
4. Operating the Pressure Washer
4.1 Starting the Unit
- Ensure the unit is properly set up and the water supply is on.
- Select the appropriate nozzle for your cleaning task and attach it to the spray gun.
- Point the spray gun in a safe direction.
- Turn the power switch on the main unit to the 'ON' position. The motor will start.
- Squeeze the trigger on the spray gun to begin spraying. The motor will run continuously while the trigger is depressed.
4.2 Using Nozzles
Different nozzles provide varying spray patterns:
- 0° (Red) Nozzle: Provides a concentrated, pencil-point jet for tough stains and hard-to-reach areas. Use with extreme caution as it can damage surfaces.
- 15° (Yellow) Nozzle: Offers a narrow, high-impact spray for intensive cleaning of small areas.
- 25° (Green) Nozzle: Delivers a wider, medium-impact spray for general cleaning of most surfaces.
- 40° (White) Nozzle: Provides a broad, gentle spray for delicate surfaces and rinsing.
- Soap (Black) Nozzle: Used for applying detergent at low pressure.
4.3 Shutting Down
- Release the trigger on the spray gun.
- Turn the power switch on the main unit to the 'OFF' position.
- Turn off the water supply at the tap.
- Squeeze the spray gun trigger to release any remaining pressure in the system.
- Disconnect the power cord from the outlet.
- Disconnect the garden hose and high-pressure hose.
5. Maintenance
Regular maintenance ensures the longevity and optimal performance of your pressure washer.
5.1 Cleaning Nozzles
If a nozzle becomes clogged, use the provided nozzle cleaning tool (or a thin wire) to clear any obstructions. Rinse the nozzle thoroughly with water.
5.2 Water Inlet Filter
Periodically check and clean the water inlet filter. Remove the filter, rinse it under running water, and reinsert it. A clogged filter can restrict water flow and damage the pump.
5.3 Storage
- Drain all water from the pump, hoses, and spray gun before storing, especially in freezing temperatures. Running a pump protector solution through the unit is recommended for winter storage.
- Store the pressure washer in a dry, frost-free environment.
- Coil the high-pressure hose and power cord neatly.
6. Troubleshooting
Refer to this section for common issues and their solutions:
| Problem | Possible Cause | Solution |
|---|---|---|
| Unit does not start | No power supply; Faulty outlet; Power switch off. | Check power cord connection; Try a different outlet; Ensure switch is 'ON'. |
| No or low pressure | Insufficient water supply; Air in pump; Clogged nozzle; Kinked hose. | Ensure water tap is fully open; Prime the pump; Clean nozzle; Straighten hose. |
| Water leaks | Loose connections; Damaged O-rings. | Tighten all connections; Replace damaged O-rings. |
| Motor pulsates | Air in pump; Clogged nozzle; Water supply restriction. | Prime the pump; Clean nozzle; Check water inlet filter and hose for kinks. |
7. Specifications
| Feature | Detail |
|---|---|
| Brand | Katsu |
| Model Number | katsu high pressure washer 180bar |
| Power Source | Electric |
| Maximum Pressure | 180 Bar |
| Item Weight | 65 kg |
| Color | Orange |
| Certifications | CE, CSA |
8. Warranty and Support
For detailed warranty information, please refer to the warranty card included with your purchase or visit the official Katsu website. If you require technical support or have questions not covered in this manual, please contact Katsu customer service through their official channels.
Keep your purchase receipt as proof of purchase for warranty claims.
Ask a question about this manual
Ask about setup, troubleshooting, compatibility, parts, safety, or missing instructions. Manuals+ will review the question and use this page’s manual context to help answer it.