
1. Introduction
This manual provides detailed instructions for the installation, operation, and maintenance of your Wuloo Door and Window Alarm Sensor. Please read this manual thoroughly before use to ensure proper function and safety.
The Wuloo Door and Window Alarm Sensor is designed to enhance home security by detecting the opening of doors and windows. It features adjustable volume, multiple chime options, and a rechargeable battery for convenience.
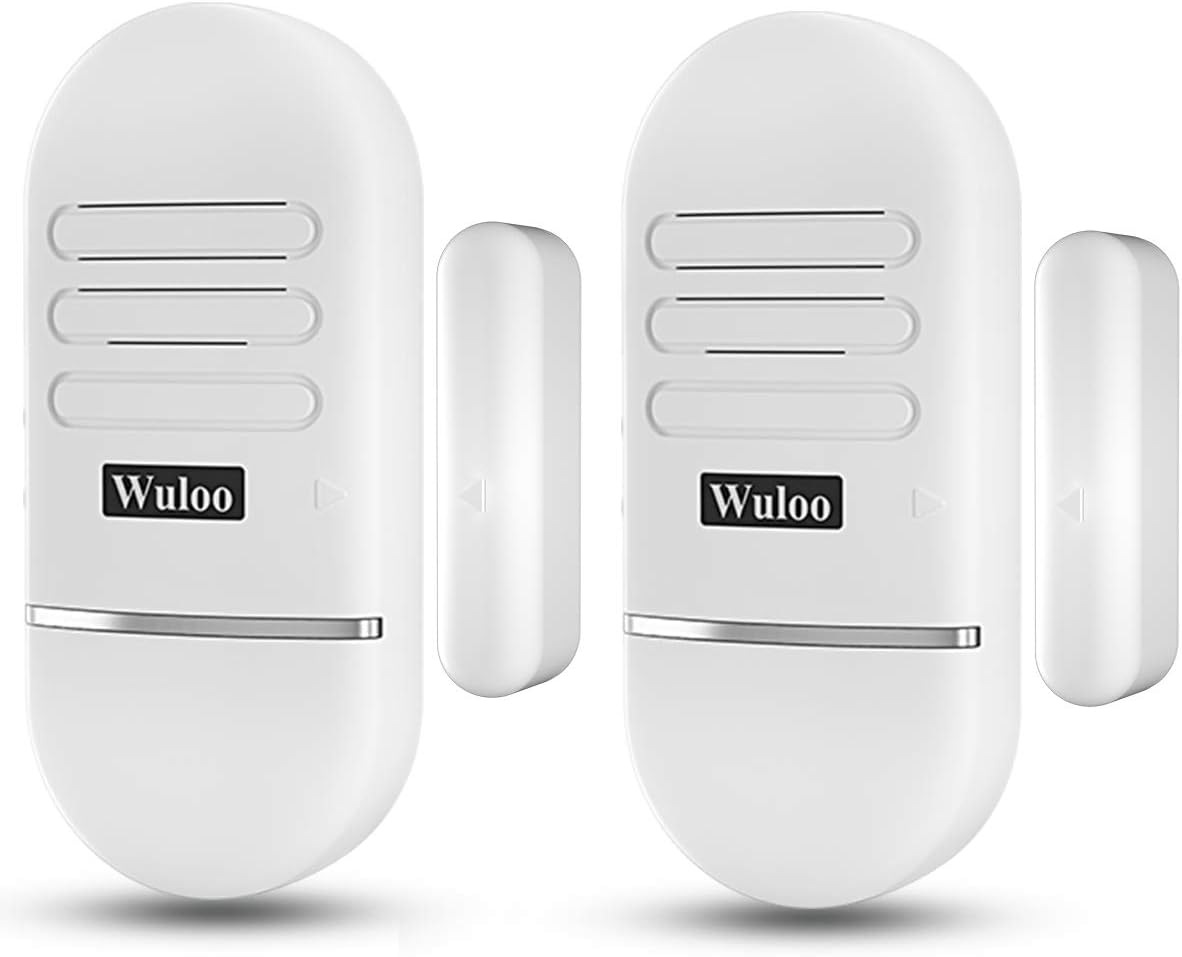
Figure 1: Wuloo Door and Window Alarm Sensors
2. Safety Information
Always handle the device with care. Do not expose the device to extreme temperatures or moisture. Keep out of reach of children. Do not attempt to disassemble or repair the device yourself, as this may void the warranty and pose a safety risk.
3. Package Contents
Verify that all items are present in your package:
- 2 x Host Components (with built-in rechargeable battery)
- 2 x Sensor Components
- 1 x Quick Start Guide
- 1 x Detailed Manual
- 4 x Screws
- 4 x Anchors
- 4 x 3M Adhesive Pads
- 1 x USB Charging Cable (DC 5V-1A adapter not included)
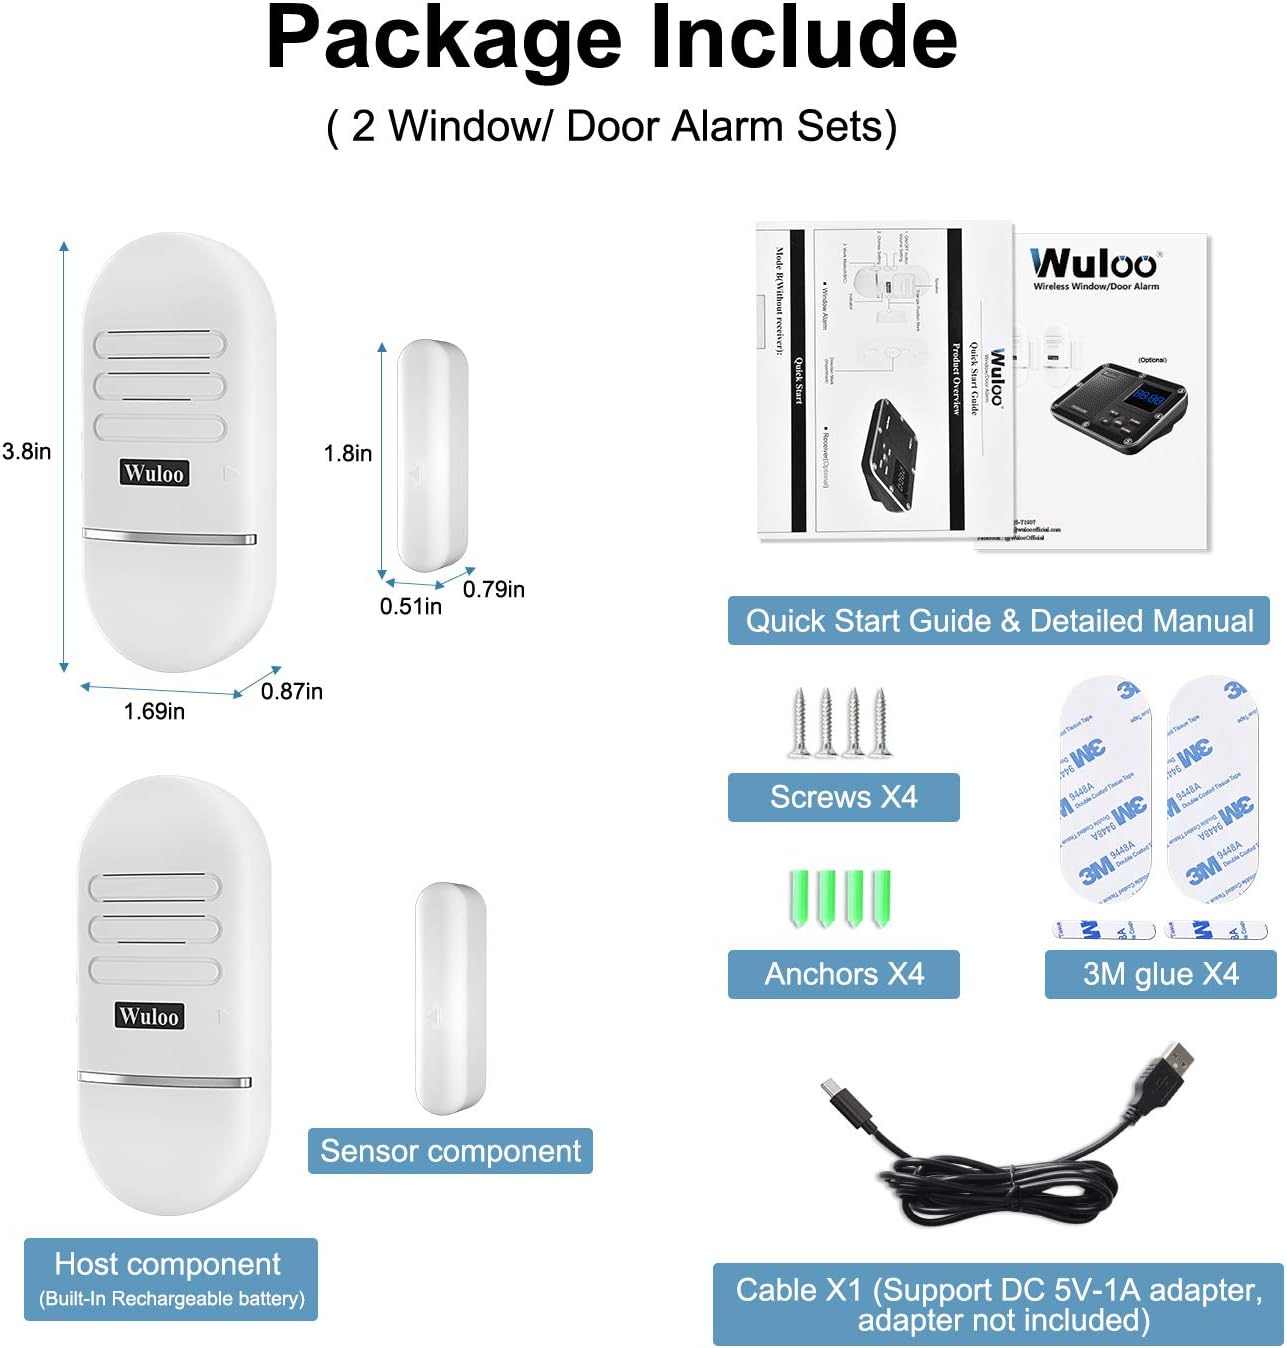
Figure 2: Package Contents
4. Product Overview
The Wuloo Door and Window Alarm Sensor consists of a main host component and a smaller magnetic sensor component. Key features and controls are:
- ON/OFF Button & Volume Setting: Press and hold for 3 seconds to power on/off. Click to adjust volume (3 levels, up to 120dB).
- Chimes Setting: Select from 10 available chimes.
- Work Mode (A/B/C): Configures how the alarm functions (e.g., receiver only, alarm only, or both).
- Charge Port: Micro USB port for recharging the built-in battery.
- Indicator Light: Flashes red for low power.

Figure 3: Host Component Overview
5. Setup
5.1 Initial Charging
The alarm sensors are shipped with approximately 20% battery charge. For optimal performance, fully charge the host component before installation. Charging typically takes about 2 hours for a full charge, indicated by a green light.
5.2 Powering On/Off and Volume Setting
- To turn the alarm ON or OFF, press and hold the ON/OFF button for 3 seconds.
- To adjust the volume, simply click the ON/OFF button. There are 3 volume levels available.
5.3 Chime Setting
Click the Chime Setting button to cycle through the 10 available chimes. Select the chime you prefer.
5.4 Work Mode Setting
The alarm has three work modes:
- Mode A: Only the receiver will produce the alarm sound.
- Mode B: Only the door/window alarm sensor itself will produce the alarm sound.
- Mode C: Both the receiver and the door/window alarm sensor will sound the alarm.
Select the desired work mode using the A/B/C switch on the host component.
6. Installation
The Wuloo Door and Window Alarm Sensor can be installed using either 3M adhesive pads or screws, depending on the surface and desired permanence.

Figure 4: Installation Steps
- Surface Preparation: Use a clean, dry towel to clean the area where you intend to install the alarm. This is crucial for adhesive effectiveness.
- Base Plate Installation (Adhesive): Paste the 3M adhesive onto the base plate. Then, paste the base plate onto the desired installation position on the door/window frame. Wait at least 30 minutes to allow the adhesive to set completely.
- Host Component Installation: After 30 minutes, install the host component onto the base plate.
- Sensor Component Installation: Use 3M adhesive to install the smaller magnetic sensor component on the moving part of the door or window.
- Important Alignment: Ensure the host component and the magnetic sensor component are aligned with their corresponding triangle marks. The distance between the two components must be less than 0.4 inches (approximately 1 cm) when the door/window is closed. If the gap is larger, the alarm may not function correctly.
Note: You can use screws to install the base plate if the intended installation position does not fit typical 3M glue installation or for a more secure mount.

Figure 5: Alarm Trigger Mechanism (Gap less than 0.4 inches)
7. Operation
7.1 Basic Operation
Once installed and powered on, the alarm system will activate when the magnetic sensor separates from the host component by more than 0.4 inches. This typically occurs when a door or window is opened.

Figure 6: Alarm Activation
7.2 Low Power Indication
When the battery is low, the indicator light on the host component will flash red, signaling that it's time to recharge the device.
7.3 Compatibility with Wuloo Receiver
This door and window alarm sensor can connect with a Wuloo receiver for expanded functionality and centralized monitoring. Refer to the Wuloo receiver's manual for pairing instructions.
8. Maintenance
8.1 Charging
The host component contains a built-in rechargeable Lithium Polymer battery. When the low power indicator flashes red, connect the device to a 5V-1A USB power source using the provided charging cable. A full charge typically provides 2-6 months of operation, depending on the selected work mode (Mode A: 4-6 months, Mode B: 3-4 months, Mode C: 2-3 months).
8.2 Cleaning
Wipe the device with a soft, dry cloth. Do not use abrasive cleaners or solvents.
9. Troubleshooting
- Alarm not sounding: Check if the device is powered on. Ensure the distance between the host and sensor components is less than 0.4 inches when closed. Verify the work mode setting (Mode B or C for local alarm, Mode A or C for receiver alarm).
- Low battery indication: Recharge the host component using the provided USB cable.
- False alarms: Ensure the sensor components are securely mounted and the alignment is correct. Check for any external factors that might cause movement or interference.
10. Specifications
- Brand: Wuloo
- Model: WUL-WA-2P-White-S
- Power Source: Manual (Rechargeable Lithium Polymer Battery)
- Number of Batteries: 1 Lithium Polymer battery required (included)
- Sound Level: 120 Decibels
- Item Weight: 7.2 ounces
- Package Dimensions: 5.2 x 3.9 x 1.4 inches
- Compatible Devices: Home Security System (Wuloo Receiver)
11. Warranty and Support
Wuloo specializes in FM/ASK/FSK wireless technology. For any questions or assistance, please refer to the detailed manual included in the package or contact Wuloo customer service. Wuloo offers a "Love it or refund" promise for their products.
For more information, visit the Wuloo Store on Amazon.
