1. Introduction
This user manual provides detailed instructions for the setup, operation, and maintenance of your Explore Scientific RDC1004 Radio-Controlled Desk Clock. This compact and modern clock features an LED backlit display, alarm with snooze function, and displays indoor temperature and humidity. Please read this manual thoroughly before using the device to ensure proper functionality and longevity.
2. Safety Information
- Do not expose the device to extreme temperatures, direct sunlight, or high humidity.
- Avoid dropping or subjecting the device to strong impacts.
- Do not attempt to disassemble or repair the device yourself. Refer all servicing to qualified personnel.
- Keep batteries out of reach of children. Dispose of used batteries responsibly according to local regulations.
- Clean the device with a soft, dry cloth. Do not use abrasive cleaners or solvents.
3. Package Contents
Please check the package contents to ensure all items are present:
- Explore Scientific RDC1004 Radio-Controlled Desk Clock
- 3 x AAA Batteries
- User Manual (this document)
4. Product Overview
Familiarize yourself with the components and display of your RDC1004 clock.

Figure 4.1: Front view of the Explore Scientific RDC1004 Radio-Controlled Desk Clock. The clock features a large, clear digital display showing the current time prominently. Below the time, smaller digits indicate the indoor temperature and humidity. An alarm icon and set alarm time are visible in the upper right corner. The base of the clock shows touch-sensitive buttons labeled "SET", "AL.SET", "UP", "DOWN", and "ON/OFF" for backlight control.
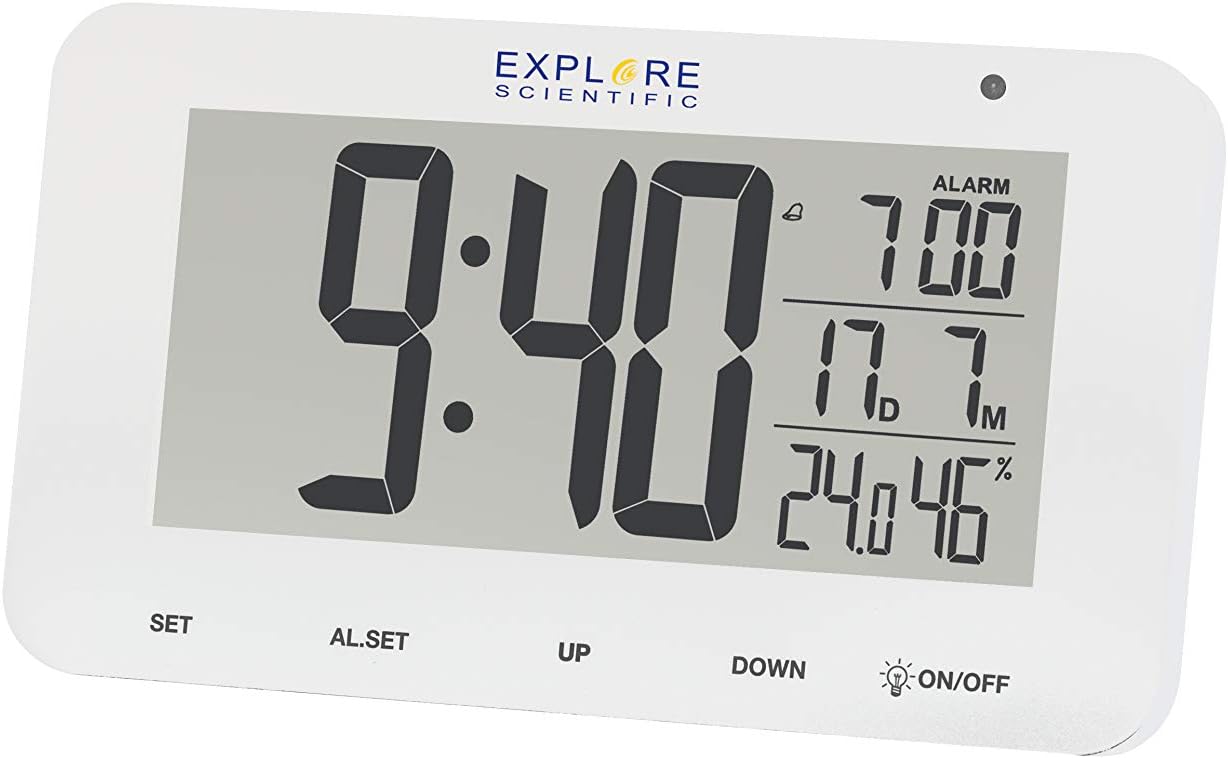
Figure 4.2: Detailed view of the RDC1004 clock's display. This image provides a closer look at the LCD screen, emphasizing the crisp white LED backlight. The main display shows "9:40" as the current time. To the right, the alarm is set for "7:00". Below that, the indoor temperature is "17.7°C" and humidity is "46%". The touch-sensitive controls are clearly visible at the bottom of the clock's face.
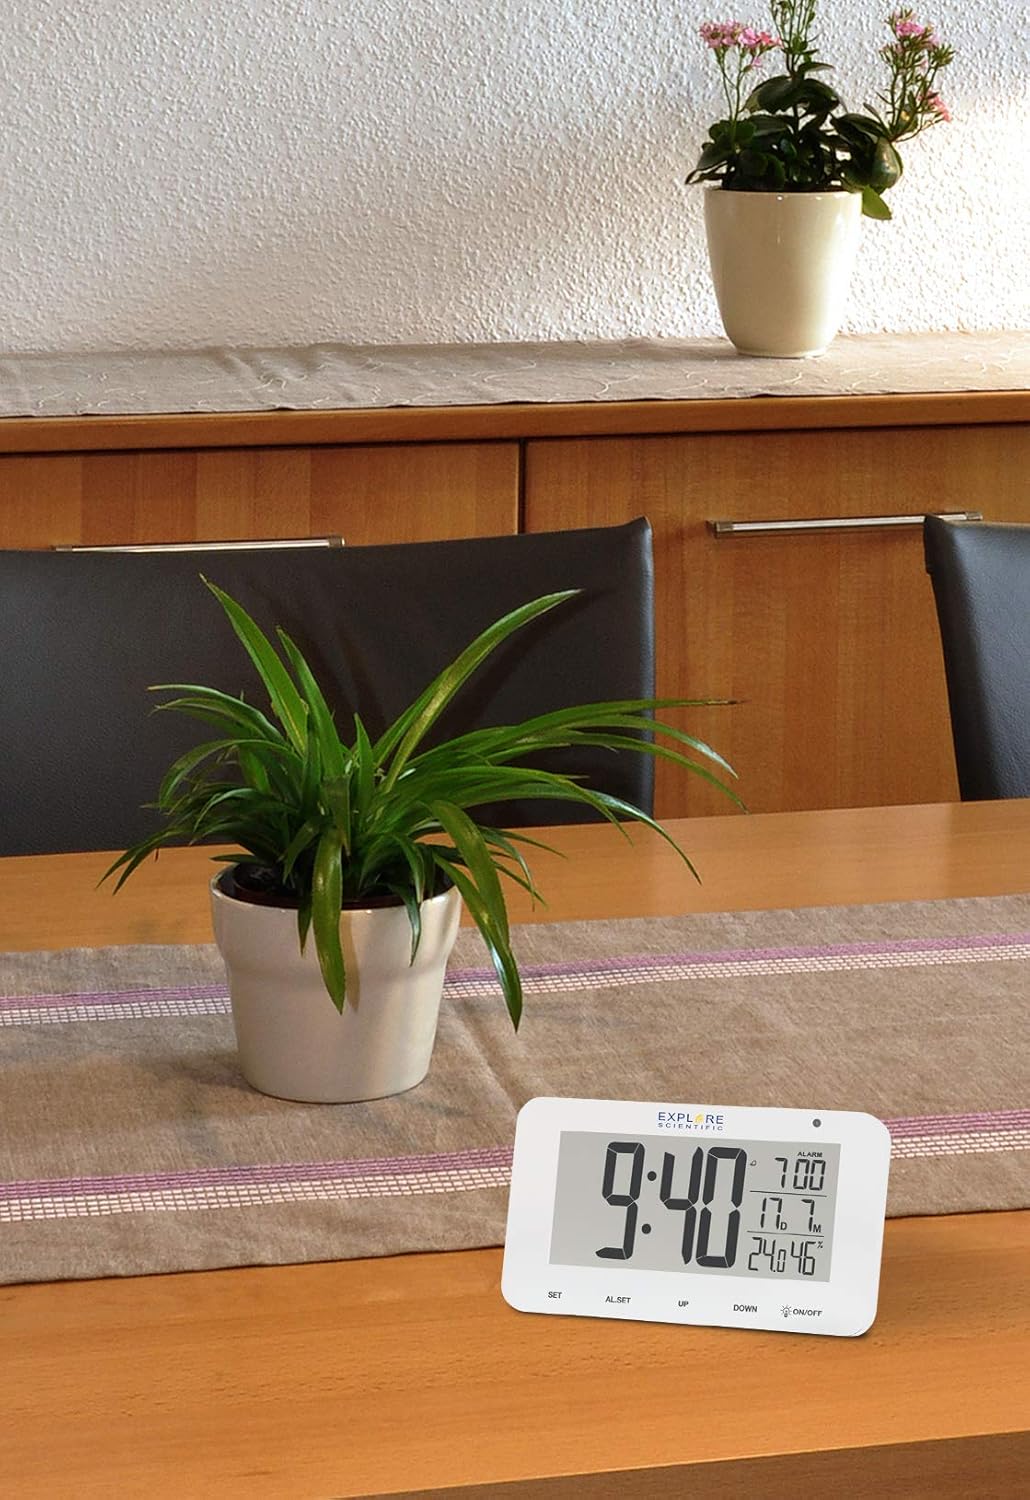
Figure 4.3: The RDC1004 clock in a typical home environment. The white clock is positioned on a light wooden table, demonstrating its compact size and modern aesthetic. A green potted plant is visible behind it, suggesting its suitability as a desk or bedside accessory. The display is clearly visible from a distance, indicating good readability.
4.1 Display Layout
- Time Display: Large digits for hours and minutes.
- Alarm Time: Smaller digits, typically in the upper right.
- Indoor Temperature: Displays current indoor temperature in Celsius or Fahrenheit.
- Indoor Humidity: Displays current indoor relative humidity percentage.
- Date/Month Display: Shows the current month and date.
- Radio Control Icon: Indicates successful synchronization with the radio time signal.
- Alarm Icon: Indicates if the alarm is active.
4.2 Controls
- SET Button: Used to enter time/date setting mode and confirm selections.
- AL.SET Button: Used to enter alarm setting mode.
- UP Button: Used to increase values during setting or toggle display modes.
- DOWN Button: Used to decrease values during setting or toggle display modes.
- ON/OFF (Backlight) Button: Activates the white LED backlight and night light mode. This is a touch-sensitive control.
5. Setup
5.1 Battery Installation
- Locate the battery compartment on the back of the clock.
- Open the battery compartment cover.
- Insert 3 new AAA batteries, ensuring the correct polarity (+ and -) as indicated inside the compartment.
- Close the battery compartment cover securely.
Note: The clock will power on automatically once batteries are inserted.
5.2 Initial Setup and Radio-Controlled Time Synchronization
Upon initial power-on, the clock will automatically attempt to synchronize with the DCF (radio-controlled) time signal. This process may take several minutes to several hours, depending on your location and signal strength. During synchronization, the radio control icon will typically flash on the display.
- Place the clock near a window or in an open area for optimal signal reception.
- Avoid placing it near electronic devices that may cause interference (e.g., TVs, computers, microwaves).
- Once synchronized, the radio control icon will appear solid on the display, and the time will be automatically set and updated daily.
If the time does not synchronize automatically after several hours, you may need to manually set the time zone or initiate a manual search for the signal. Refer to the "Operating Instructions" section for manual settings.
6. Operating Instructions
6.1 Manual Time and Date Setting
While the clock is radio-controlled, you can manually set the time and date if needed, or adjust the time zone.
- Press and hold the SET button for approximately 3 seconds to enter time setting mode. The digit to be set will flash.
- Use the UP or DOWN buttons to adjust the flashing value (e.g., time zone, 12/24 hour format, hour, minute, year, month, date).
- Press the SET button again to confirm the current setting and move to the next setting item.
- Repeat steps 2 and 3 until all desired settings are configured.
- The clock will automatically exit setting mode if no button is pressed for approximately 15 seconds.
6.2 Setting the Alarm
- Press and hold the AL.SET button for approximately 3 seconds to enter alarm setting mode. The alarm hour will flash.
- Use the UP or DOWN buttons to adjust the alarm hour.
- Press AL.SET again to confirm the hour and move to the alarm minute setting.
- Use the UP or DOWN buttons to adjust the alarm minute.
- Press AL.SET again to confirm and exit alarm setting mode.
6.3 Activating/Deactivating the Alarm
Briefly press the AL.SET button to toggle the alarm ON or OFF. An alarm icon will appear on the display when the alarm is active.
6.4 Snooze Function
When the alarm sounds, touch the ON/OFF area (or any button, depending on model variation) on the top of the clock to activate the snooze function. The alarm will temporarily stop and sound again after approximately 5 minutes. To completely stop the alarm, press the UP button.
6.5 Backlight and Night Light
- Instant Backlight: Briefly touch the ON/OFF area on the top of the clock to activate the bright white LED backlight. It will illuminate for a few seconds and then turn off automatically.
- Night Light Mode: Press and hold the ON/OFF area for approximately 3 seconds to activate a continuous, dim night light. Repeat this action to turn off the night light.
6.6 Temperature Unit Selection
Briefly press the DOWN button to switch between Celsius (°C) and Fahrenheit (°F) temperature display.
7. Maintenance
- Cleaning: Wipe the clock's surface with a soft, dry, lint-free cloth. Do not use liquid cleaners, aerosols, or abrasive materials.
- Battery Replacement: When the display dims or the clock stops functioning, replace all 3 AAA batteries with new ones. Ensure correct polarity.
- Storage: If storing the clock for an extended period, remove the batteries to prevent leakage.
8. Troubleshooting
| Problem | Possible Cause | Solution |
|---|---|---|
| Clock display is blank or dim. | Low or dead batteries. | Replace with new AAA batteries. Ensure correct polarity. |
| Time is incorrect or not synchronizing. | Poor radio signal reception; incorrect time zone setting. | Move the clock to a location with better signal (e.g., near a window, away from electronics). Manually set the correct time zone. Initiate a manual signal search if available (refer to manual for specific steps if not covered in 6.1). |
| Alarm does not sound. | Alarm is not activated; alarm volume too low (if adjustable). | Ensure the alarm icon is displayed. Check alarm time setting. |
| Touch controls are unresponsive. | During radio signal search; temporary software glitch. | Wait for the radio signal search to complete (approx. 7 minutes). Remove and reinsert batteries to reset the device. |
| Temperature/Humidity readings seem inaccurate. | Device placed near heat/cold source; sensor obstruction. | Ensure the clock is placed in a stable environment, away from direct heat sources, vents, or direct sunlight. |
9. Specifications
| Feature | Detail |
|---|---|
| Model Number | RDC1004GYE000 |
| Display Type | Digital LCD with White LED Backlight |
| Time Synchronization | Radio-controlled (DCF) |
| Functions | Time, Date, Month, Alarm, Snooze, Indoor Temperature, Indoor Humidity, Night Mode |
| Temperature Unit | °C / °F selectable |
| Power Source | 3 x AAA Batteries (included) |
| Dimensions (L x W x H) | 15.4 x 4.2 x 9.2 cm (approx. 6.06 x 1.65 x 3.62 inches) |
| Weight | 180 g (approx. 0.4 lbs) |
| Color | White |
10. Warranty and Support
Explore Scientific products are designed for reliability and performance. For specific warranty terms and conditions, please refer to the warranty card included with your purchase or visit the official Explore Scientific website. If you encounter any issues not covered in this manual, or require further assistance, please contact Explore Scientific customer support.
For the latest information and support, please visit: www.explorescientific.com


