
ANNKE N48PAW2T
Contents
ANNKE 4K 8-Channel NVR User Manual
Model: N48PAW2T
Product Overview
The ANNKE 4K 8-Channel Network Video Recorder (NVR) is designed for comprehensive home security camera systems. This NVR supports up to 8 PoE IP security cameras, enabling high-resolution live streaming, playback, and continuous 24/7 recording with its integrated 2TB hard drive. It incorporates advanced H.265+ video compression for efficient storage and features like email alerts, app pushes, and secure remote access, making it a robust solution for surveillance needs.

Image: The ANNKE 4K 8-Channel NVR unit, shown with a 2TB hard drive, highlighting its storage capability.
What's in the Box
Upon unboxing your ANNKE 4K 8-Channel NVR, verify that all components listed below are present:

Image: A visual representation of the ANNKE NVR package contents, including the NVR unit, Ethernet cable, power adapter, mouse, HDMI cable, and user manual.
- 1x ANNKE 4K PoE NVR
- 1x 1M Ethernet Cable
- 1x Power Adapter
- 1x Mouse
- 1x 1.8M HDMI Cable
- 1x User Manual for NVR
NVR Interface and Controls
Familiarize yourself with the front and rear panels of the NVR for proper connection and operation.

Image: Detailed diagram illustrating the front panel indicators (Power Status, Recording Status, Network Status, Control Panel, USB Port) and the rear panel connections (Camera Input, Router, Audio Output, Audio Input, VGA/HDMI Output, Mouse/USB Backup, 48V Power).
Front Panel Indicators:
- Power Status: Indicates if the NVR is powered on.
- Recording Status: Shows active recording.
- Network Status: Indicates network connectivity.
- Control Panel: Buttons for menu navigation and selection.
- USB Port: For mouse connection or USB backup.
Rear Panel Connections:
- Camera Input (PoE Ports): Connect PoE IP cameras directly.
- Router (LAN Port): Connect to your network router for internet access.
- Audio Output: For connecting to an audio device.
- Audio Input: For connecting an external microphone.
- VGA/HDMI Output: Connect to a monitor or TV for video display.
- Mouse/USB Backup: Additional USB port for peripherals or data backup.
- 48V Power: Power input for the NVR.
Setup Guide
1. Hard Drive Installation (if not pre-installed)
The NVR supports a 3.5-inch hard drive (up to 8TB). If your model did not come with a pre-installed hard drive, follow these steps:
- Unscrew and remove the top cover of the NVR.
- Connect the SATA data and power cables from the NVR to the hard drive.
- Secure the hard drive to the NVR chassis using the provided screws.
- Replace the top cover and secure it with screws.
2. Initial Connections
- Connect Cameras: Use Ethernet cables to connect your PoE IP cameras to the PoE ports on the rear of the NVR. The PoE connection provides both power and data transmission.
- Connect to Monitor: Connect a monitor or TV to the NVR's HDMI or VGA output port using the appropriate cable.
- Connect Mouse: Plug the included USB mouse into one of the NVR's USB ports (front or rear).
- Connect to Network: Connect the NVR's LAN port to your router using an Ethernet cable for internet access and remote viewing capabilities.
- Power On: Connect the power adapter to the NVR's 48V power input and then plug it into a power outlet. The NVR will power on automatically.

Image: A visual guide demonstrating the plug-and-play PoE system setup, showing IP cameras connected directly to the NVR, which is then connected to a monitor and a network.
3. First-Time Setup Wizard
Upon first boot, the NVR will guide you through a setup wizard. Follow the on-screen prompts to:
- Set up administrator password.
- Configure date and time settings.
- Initialize the hard drive (if newly installed).
- Scan and add connected IP cameras.
- Configure network settings (DHCP is recommended for most users).
Operating Instructions
Live View and Playback
Once cameras are added, you can view live feeds on the connected monitor. Use the mouse to navigate the interface. To review recorded footage, access the playback menu and select the desired date and time.
Recording Management
The NVR supports 24/7 continuous recording. You can configure recording schedules, motion detection recording, or alarm-triggered recording through the NVR's menu. The H.265+ video compression technology optimizes storage space, allowing for longer recording durations.

Image: A graphic illustrating the ANNKE NVR's capability for 24/7 non-stop recording, emphasizing continuous surveillance.
Remote Access and Notifications
The ANNKE NVR allows remote access to live view and playback via a smartphone app or web browser. Download the official ANNKE Vision app from your device's app store. Configure email alerts and app push notifications in the NVR settings to receive instant alerts for unusual activities.

Image: A smartphone screen displaying a live camera feed from the ANNKE NVR, with icons for downloading the app from the App Store and Google Play, indicating unlimited remote access.
Advanced Features
- H.265+ Video Compression: This advanced compression standard significantly reduces file sizes while maintaining video quality, saving hard drive space and bandwidth.
- Smart Playback: Quickly locate vital motion-triggered videos.
- AI Camera Compatibility: The NVR is compatible with ANNKE AI IP cameras, supporting advanced features like person and vehicle detection.
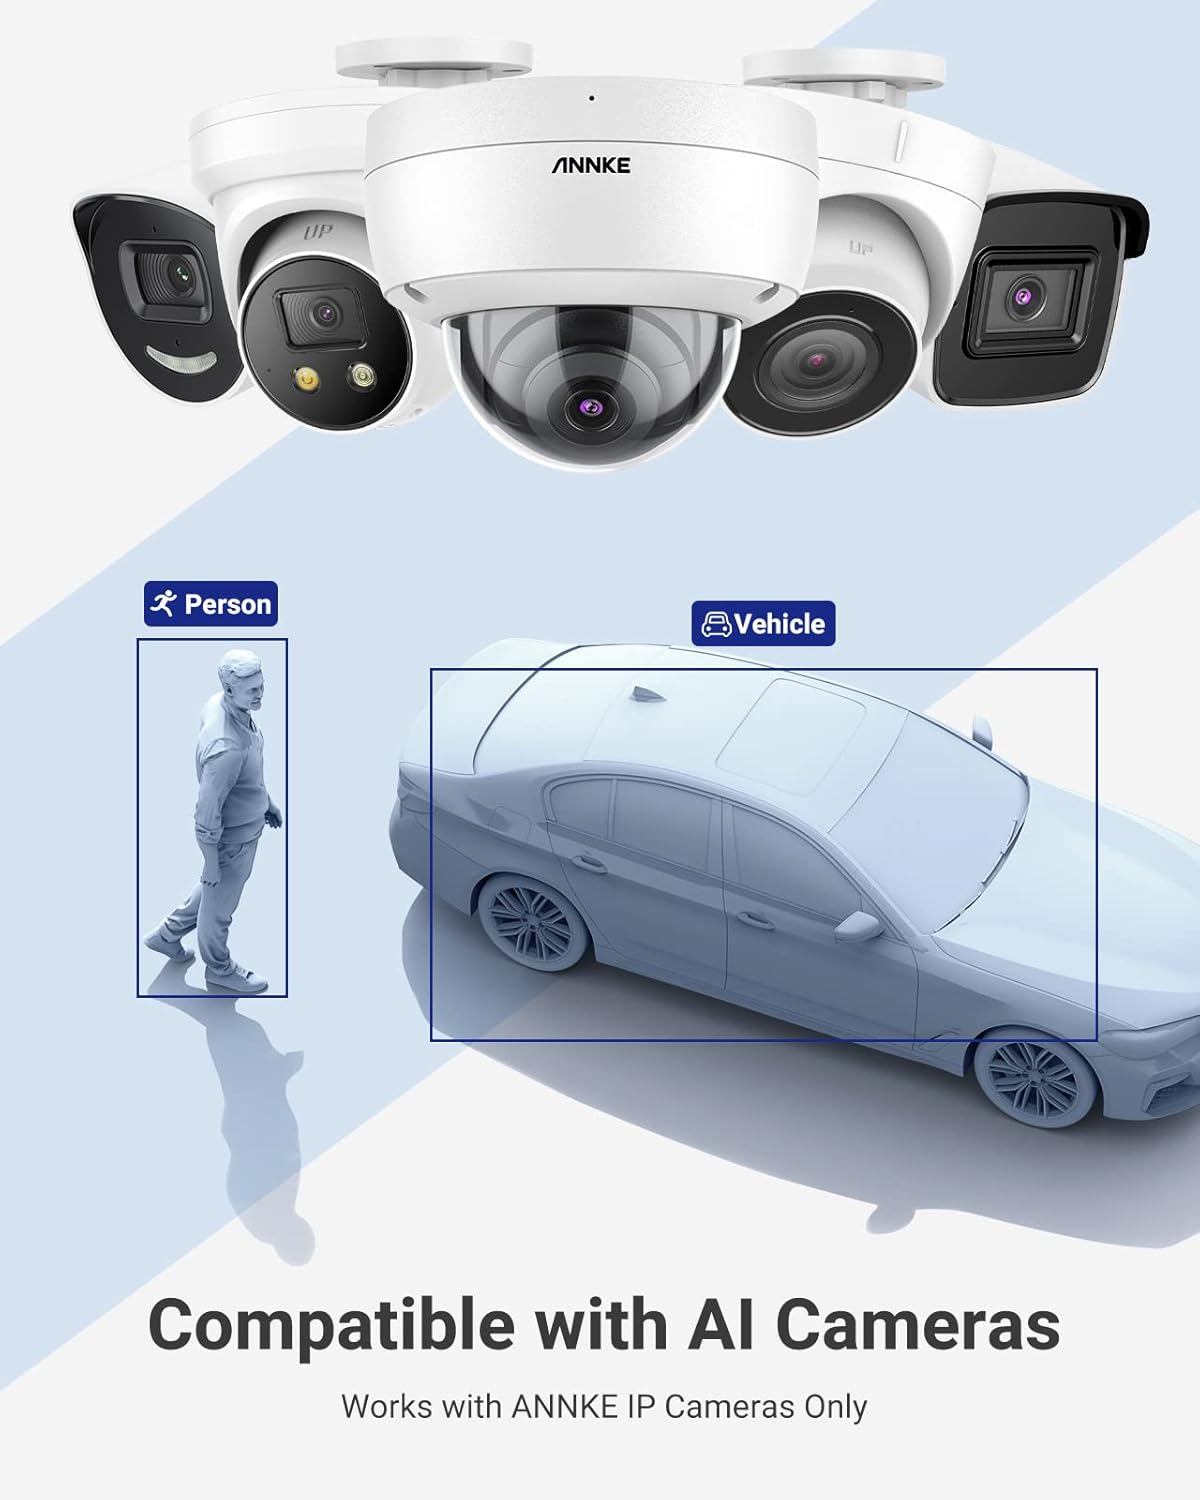
Image: A graphic illustrating the efficiency of H.265+ compression, showing a 25% reduction in storage compared to older standards, maximizing storage and lengthening recording time.
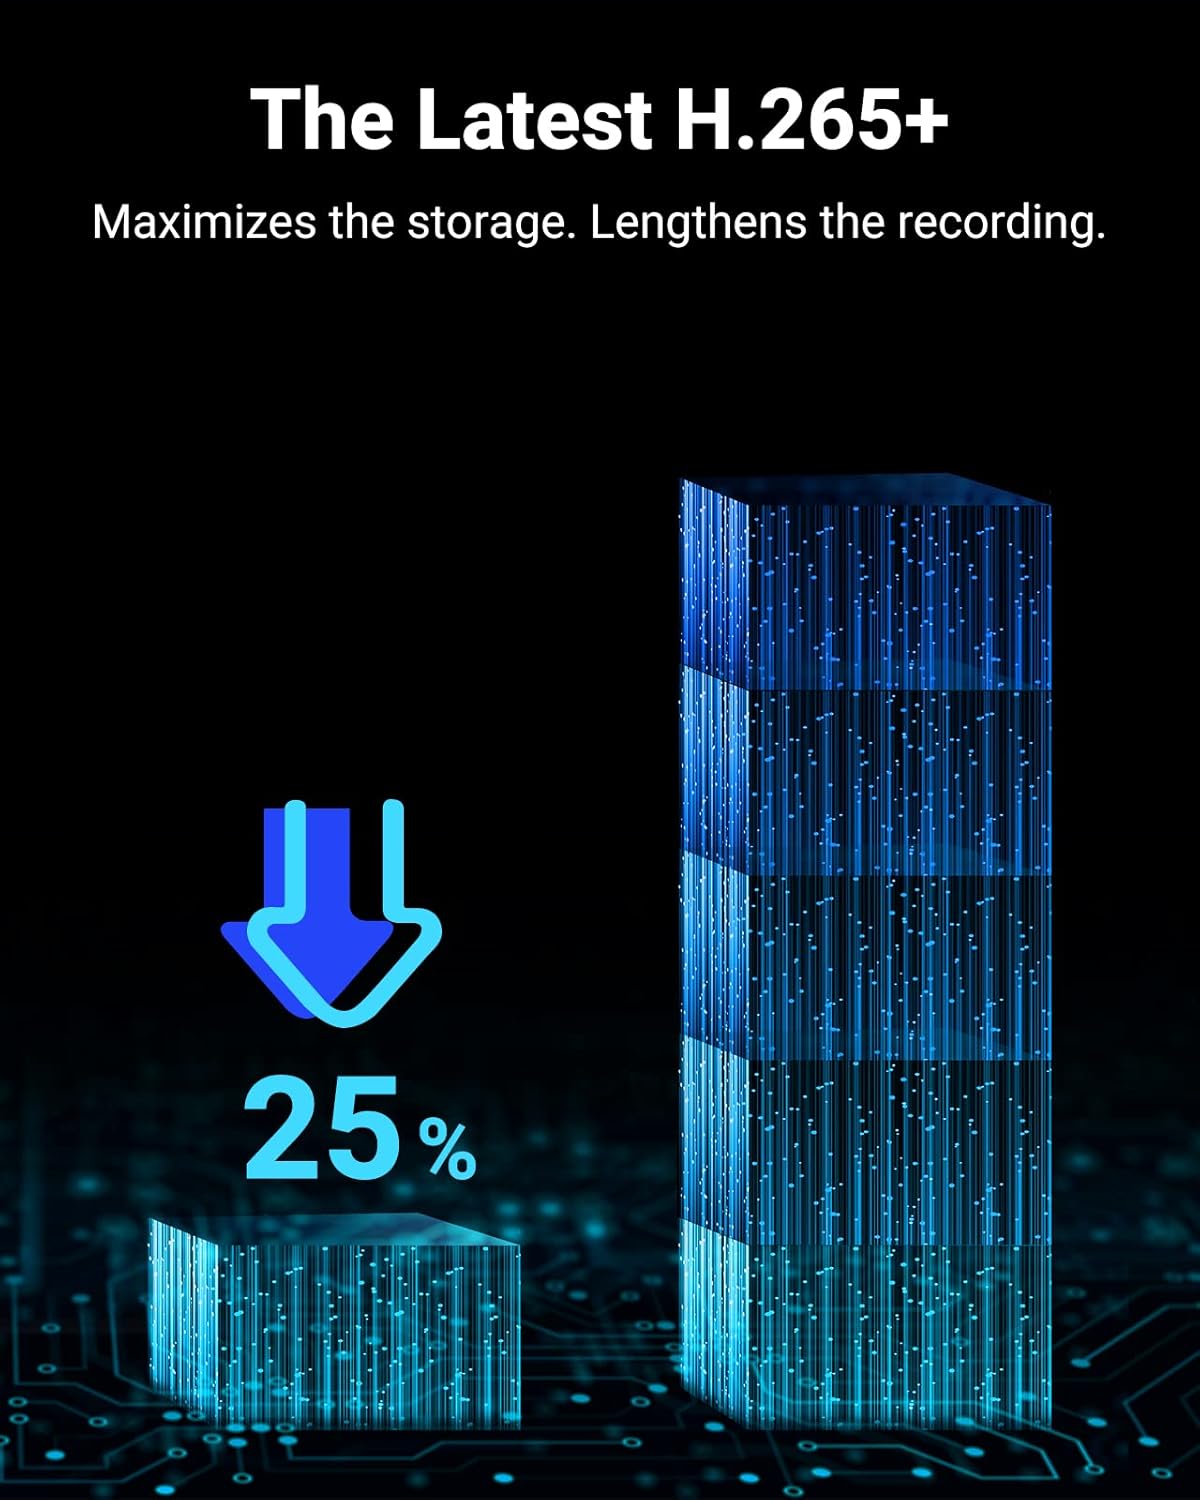
Image: A visual demonstrating the NVR's compatibility with AI cameras, highlighting person and vehicle detection capabilities.
Maintenance
- Regular Cleaning: Keep the NVR unit free from dust. Use a soft, dry cloth to clean the exterior. Ensure ventilation openings are not blocked to prevent overheating.
- Firmware Updates: Periodically check the ANNKE official website for firmware updates. Updating firmware can improve performance, add new features, and enhance security. Follow the provided instructions carefully during the update process.
- Hard Drive Health: Monitor the health of the hard drive through the NVR's system settings. If the hard drive shows signs of failure, back up important footage and replace it promptly.
- Password Security: Regularly change your NVR and app passwords to strong, unique combinations to maintain system security.
- Network Security: Ensure your home network is secure. Use strong Wi-Fi passwords and keep your router's firmware updated.
Troubleshooting
No Video Output on Monitor
- Check HDMI/VGA cable connections to both the NVR and the monitor.
- Ensure the monitor is set to the correct input source (HDMI/VGA).
- Verify the NVR is powered on (check Power Status indicator).
Cameras Not Displaying / Offline
- Ensure cameras are properly connected to the NVR's PoE ports.
- Check Ethernet cables for damage or loose connections.
- Verify that the cameras are compatible with the NVR (ANNKE PoE IP cameras are recommended).
- If using non-ANNKE cameras, ensure their IP addresses are within the NVR's network range and that they support ONVIF protocol. Manual IP configuration may be required.
- Reboot the NVR and the cameras.
Remote Access / App Connectivity Issues
- Ensure the NVR is connected to your router and has internet access (check Network Status indicator).
- Verify your smartphone or viewing device has a stable internet connection.
- Check that the ANNKE Vision app is updated to the latest version.
- Confirm the NVR's P2P/Cloud service is enabled in its network settings.
- Double-check the NVR's serial number or QR code used for adding the device to the app.
- If issues persist, try restarting your router, NVR, and mobile device.
No Recording / Hard Drive Issues
- Check the Recording Status indicator on the NVR.
- Ensure the hard drive is properly installed and initialized in the NVR's settings.
- Verify recording schedules are correctly configured.
- Check the hard drive's status in the NVR's system information; if it shows errors, it may need replacement.
Specifications
| Feature | Detail |
|---|---|
| Model Number | N48PAW2T |
| Video Input | 8 Channels PoE IP Camera Input |
| Video Resolution Support | Up to 8MP (4K) |
| Hard Disk Size | 2TB (Pre-installed) |
| Max HDD Capacity | Up to 6TB (for 8CH+0TB variant) / Up to 8TB (general compatibility) |
| Video Compression | H.265+, H.265, H.264+, H.264 |
| Connectivity | USB, Ethernet, HDMI, VGA |
| Compatible Devices | Television, Camera, Smartphone |
| Item Weight | 6 pounds |
| Package Dimensions | 14 x 12 x 5 inches |
| Manufacturer | ANNKE |
Note: Specifications are subject to change without prior notice. For the most up-to-date information, please refer to the official ANNKE website.
Warranty and Support
ANNKE products are designed with security and reliability in mind. For specific warranty terms and conditions, please refer to the warranty card included with your product or visit the official ANNKE website. ANNKE security solutions utilize private protocols and encryption to protect your data.
For technical assistance, product inquiries, or support, please visit the official ANNKE support page or contact their customer service. You can often find FAQs, troubleshooting guides, and contact information on the brand's website.
Official ANNKE Store: Visit the ANNKE Store on Amazon
Ask a question about this manual
Ask about setup, troubleshooting, compatibility, parts, safety, or missing instructions. Manuals+ will review the question and use this page’s manual context to help answer it.