Introduction
This instruction manual provides essential information for the proper handling, installation, operation, and maintenance of the MCC Condenser, Model 21-1350. This component is designed as a direct replacement for automotive air conditioning systems, facilitating the heat exchange process necessary for efficient cooling. Adherence to these instructions will help ensure optimal performance and longevity of the condenser.
Safety Information
- Always wear appropriate personal protective equipment (PPE), including safety glasses and gloves, when handling automotive components and refrigerants.
- Automotive air conditioning systems operate under high pressure. Only qualified personnel should perform refrigerant recovery, evacuation, and recharging procedures.
- Ensure the vehicle's battery is disconnected before beginning any installation or maintenance work to prevent electrical hazards.
- Handle the condenser with care to avoid damaging the delicate fins and tubes. Damage can impair performance and lead to leaks.
- Dispose of old refrigerants and components according to local environmental regulations.
Product Overview
The MCC Condenser 21-1350 is a critical component in your vehicle's air conditioning system. It is responsible for dissipating heat from the high-pressure refrigerant gas, causing it to condense into a liquid. This process is essential for the AC system to cool the vehicle's interior effectively.

Image 1: Front view of the MCC Condenser 21-1350, showing the black fin and tube assembly and connection points.

Image 2: Rear view of the MCC Condenser 21-1350, highlighting the overall structure and mounting brackets.
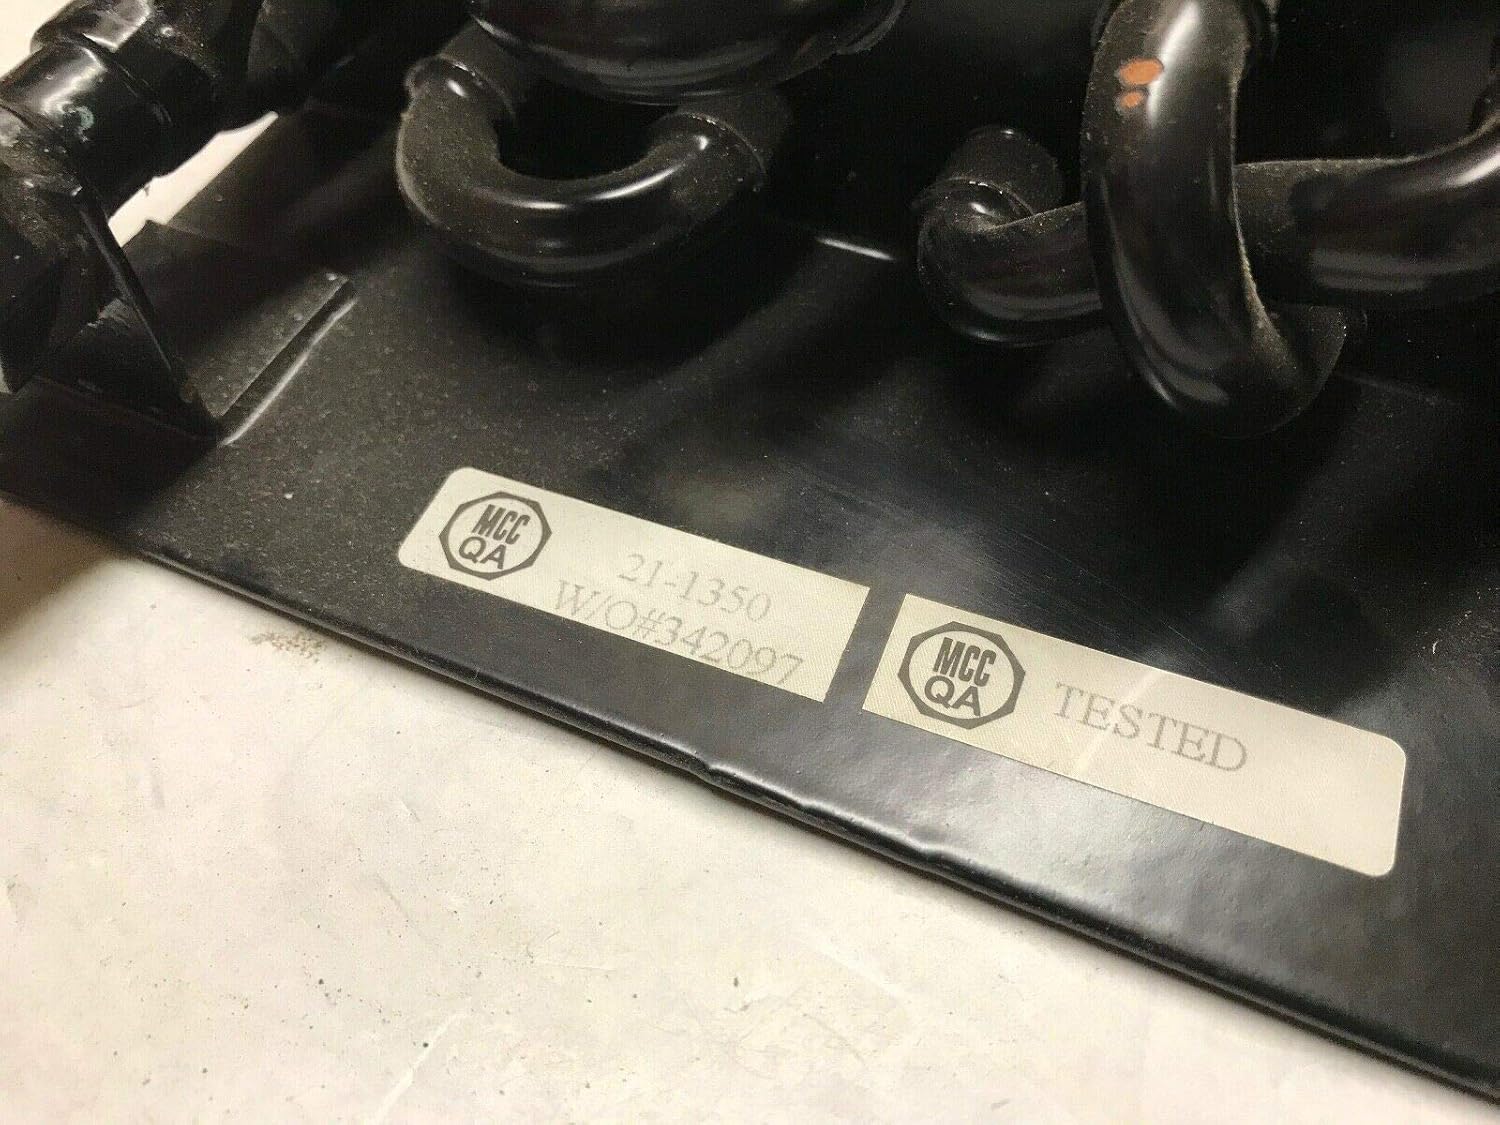
Image 3: Close-up of the MCC QA label on the condenser, showing model number 21-1350 and work order number 342097.
Specifications
| Attribute | Value |
|---|---|
| Manufacturer | MCC |
| Brand | MCC |
| Manufacturer Part Number | 21-1350 |
| ASIN | B081FLKH9C |
| Dimensions (Approximate) | 22.75'' x 14'' x 1.75'' |
| Date First Available | November 13, 2019 |
Setup and Installation
Installation of an automotive air conditioning condenser typically requires specialized tools and knowledge of automotive AC systems. It is highly recommended that installation be performed by a certified automotive technician.
Pre-Installation Checks:
- Verify that the new condenser matches the original part in terms of dimensions, mounting points, and connection types.
- Inspect the new condenser for any shipping damage, such as bent fins or damaged connections.
- Ensure all necessary O-rings and seals are available and in good condition for the connections.
General Installation Steps (Consult Vehicle Service Manual for Specifics):
- Refrigerant Recovery: Safely recover all refrigerant from the AC system using proper equipment.
- Access: Remove any components obstructing access to the old condenser (e.g., bumper, grille, radiator).
- Disconnect: Disconnect the refrigerant lines from the old condenser. Be prepared for residual pressure and oil.
- Remove Old Condenser: Unbolt and carefully remove the old condenser from its mounting points.
- Install New Condenser:

Image 4: Close-up view of the condenser's connection points, where refrigerant lines attach.
Carefully position the new MCC Condenser 21-1350 into place. Secure it with the appropriate bolts. Connect the refrigerant lines, ensuring new O-rings are used and connections are tightened to manufacturer specifications. Avoid overtightening.
- Evacuation: Evacuate the AC system using a vacuum pump to remove air and moisture. This is crucial for system performance and longevity.
- Leak Test: Perform a vacuum decay test or use a leak detector to ensure there are no leaks in the system.
- Recharge: Recharge the AC system with the correct type and amount of refrigerant and PAG oil as specified by the vehicle manufacturer.
- Test: Start the vehicle and test the AC system for proper operation and cooling performance.
- Reassemble: Reinstall any removed components (e.g., bumper, grille).
Operating Principles
The MCC Condenser 21-1350 operates as a heat exchanger. High-pressure, high-temperature refrigerant gas from the compressor enters the condenser. As air flows over the condenser's fins, heat is transferred from the refrigerant to the ambient air. This cooling causes the refrigerant gas to condense into a high-pressure, liquid state before it proceeds to the expansion valve and evaporator, completing the refrigeration cycle.
Maintenance
Regular maintenance helps ensure the efficiency and lifespan of your AC system and condenser.
- Visual Inspection: Periodically inspect the condenser fins for debris (leaves, bugs, dirt) or damage (bent fins). Clean any accumulated debris carefully using a soft brush or low-pressure air/water. Avoid high-pressure washing, which can damage fins.
- Leak Checks: If you suspect a refrigerant leak (e.g., reduced cooling performance), have the system professionally inspected for leaks.
- System Performance: If the AC system's cooling performance degrades, it may indicate an issue with the condenser or other AC components. Consult a qualified technician for diagnosis.
Troubleshooting
Below are common issues that may relate to the condenser and general AC system performance. Professional diagnosis is recommended for all complex AC system problems.
| Problem | Possible Cause (Condenser Related) | Solution |
|---|---|---|
| Poor AC Cooling | Clogged or damaged condenser fins restricting airflow; internal blockage; refrigerant leak from condenser. | Clean condenser fins; inspect for damage; professional leak detection and repair; replace condenser if severely damaged or blocked. |
| AC System Not Cooling At All | Major refrigerant leak from condenser or connections. | Professional leak detection, repair, and system recharge. |
| High System Pressures | Restricted airflow through condenser (e.g., debris, bent fins); internal blockage in condenser. | Clean condenser; inspect for damage; professional diagnosis for internal blockages. |
Warranty and Support
For information regarding product warranty, returns, or technical support, please refer to the purchase documentation or contact the seller directly. The product is typically covered by a standard return policy, as indicated by the 30-day refund/replacement policy mentioned at the time of purchase.
For further assistance, you may also contact MCC, the manufacturer, through their official support channels.


