Sharper Image 100X Ultrazoom Binoculars
Sharper Image 100X Ultrazoom Binoculars User Manual
Model: 100X Ultrazoom Binoculars
Introduction
Thank you for choosing the Sharper Image 100X Ultrazoom Binoculars. These binoculars are designed to provide exceptional clarity and powerful magnification, making them ideal for a wide range of activities including sports, concerts, birding, and other outdoor adventures. This manual will guide you through the setup, operation, and maintenance of your new binoculars to ensure optimal performance and longevity.
Product Overview
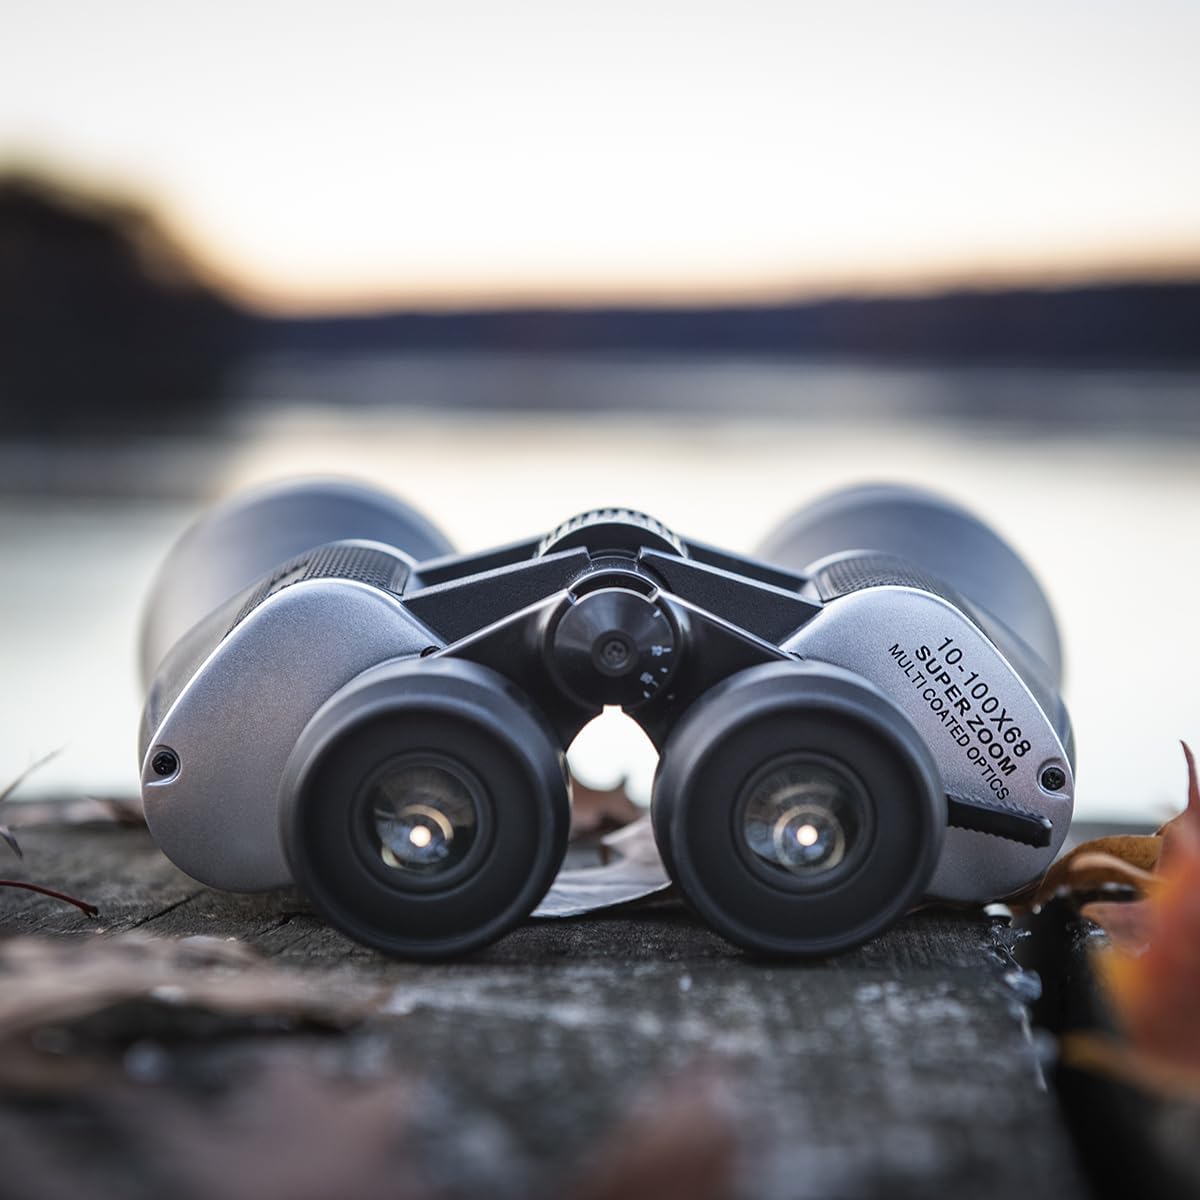
The Sharper Image 100X Ultrazoom Binoculars feature a robust design with advanced optical capabilities. Key components include:
- Objective Lenses: The large front lenses that gather light.
- Eyepieces: Where you look through to view the image.
- Center Focus Wheel: Used to adjust the focus for both eyepieces simultaneously.
- Diopter Adjustment Ring: Located on the right eyepiece, used to compensate for differences in vision between your eyes.
- Zoom Lever: Allows for quick adjustment of magnification from 10X to 100X.
- Nonslip Hand Grips: Provide a secure and comfortable hold.
Setup
Before using your binoculars for the first time, follow these steps:
- Unpacking: Carefully remove the binoculars and any accessories from the packaging. Inspect for any signs of damage.
- Neck Strap Attachment (Optional): If desired, attach the provided neck strap to the strap lugs on the sides of the binoculars. Ensure it is securely fastened to prevent accidental drops.
- Lens Caps: Remove the objective lens caps and eyepiece caps before use. Replace them after use to protect the lenses from dust and scratches.
Operating Instructions
To achieve the best viewing experience, follow these steps for proper operation:
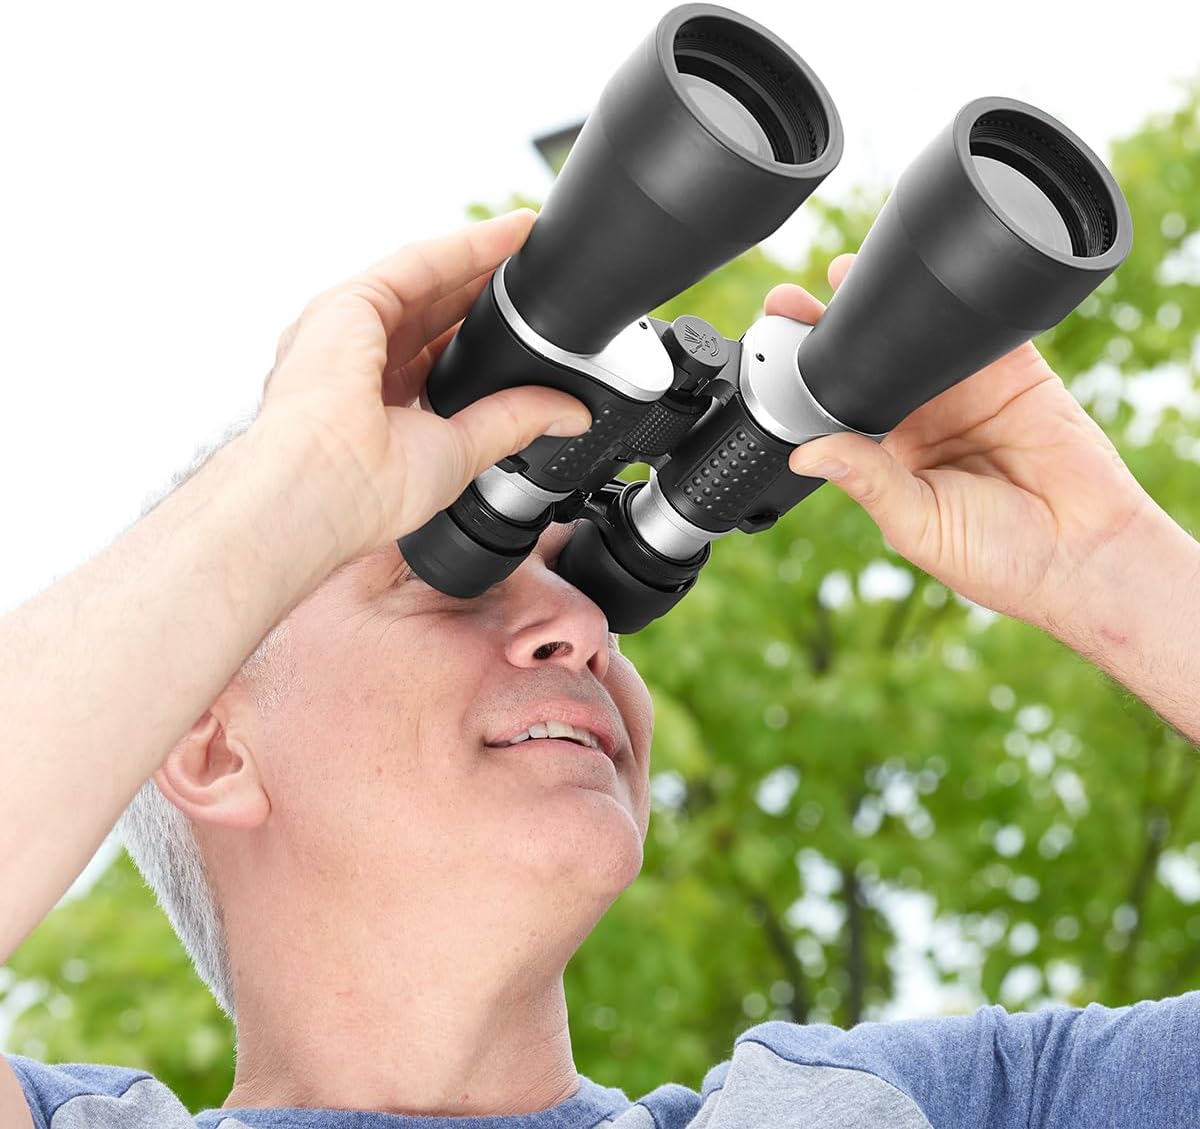
- Adjusting Interpupillary Distance: Hold the binoculars with both hands and look through the eyepieces. Bend the binoculars at the hinge until you see a single, clear circular field of view. This adjusts the distance between the eyepieces to match the distance between your eyes.
- Focusing:
- Close your right eye and look through the left eyepiece. Rotate the center focus wheel until the image is sharp and clear.
- Open your right eye and close your left eye. Look through the right eyepiece and rotate the diopter adjustment ring (on the right eyepiece) until the image is sharp and clear.
- Now, with both eyes open, the image should be in focus. For subsequent focusing, only use the center focus wheel.
- Zooming: Use the zoom lever to adjust the magnification from 10X to 100X. As you increase magnification, the field of view will narrow, and the image may appear darker. You may need to slightly readjust the focus after changing the zoom level.
- Viewing: Hold the binoculars steady. For extended viewing, consider using a tripod (not included) for increased stability, especially at higher magnifications.

Maintenance and Care
Proper care will extend the life and performance of your binoculars:
- Cleaning Lenses: Use a soft, lint-free cloth specifically designed for optical lenses. Breathe lightly on the lenses to create a slight mist, then gently wipe. For stubborn smudges, use a small amount of lens cleaning fluid on the cloth, not directly on the lens.
- Cleaning Body: Wipe the body of the binoculars with a soft, damp cloth. Avoid harsh chemicals or abrasive cleaners.
- Storage: Store the binoculars in a cool, dry place, away from direct sunlight and extreme temperatures. Use the provided case or a protective bag to prevent dust and scratches.
- Avoid Impact: Do not drop or subject the binoculars to severe shocks, as this can damage the internal optics.
- Water Resistance: While rugged, these binoculars are not fully waterproof. Avoid submerging them in water or exposing them to heavy rain.
Troubleshooting
If you encounter issues with your binoculars, refer to the following common problems and solutions:
| Problem | Possible Cause | Solution |
|---|---|---|
| Image is blurry or out of focus. | Incorrect focus adjustment. | Adjust the center focus wheel and diopter ring as described in the "Operating Instructions" section. |
| Double image or two overlapping circles. | Interpupillary distance is not correctly set. | Adjust the hinge of the binoculars until a single, clear circular field of view is achieved. |
| Image is dark, especially at high magnification. | Low light conditions or inherent characteristic at high zoom. | Binoculars gather less light at higher magnifications. Use in brighter conditions or reduce zoom. |
| Dust or smudges on lenses. | Lenses are dirty. | Clean lenses carefully using a proper lens cleaning cloth and solution. |
Specifications
| Feature | Detail |
|---|---|
| Model Name | 100X Ultrazoom Binoculars |
| Brand | Sharper Image |
| Magnification | 10X to 100X (Variable Zoom) |
| Objective Lens Diameter | 2.4 Inches (68mm) |
| Item Weight | 1.8 pounds |
| Special Features | Lightweight, Portable, Nonslip Hand Grips, Smooth Center Focus, Right Diopter Adjustment |
| ASIN | B081D953PZ |
Warranty and Support
Your Sharper Image 100X Ultrazoom Binoculars are covered by a standard manufacturer's warranty. For specific warranty details, product support, or to inquire about replacement parts, please refer to the warranty information included with your purchase or visit the official Sharper Image website. You can also contact Sharper Image customer service directly for assistance.
For more information, visit the Sharper Image Store on Amazon.
Ask a question about this manual
Ask about setup, troubleshooting, compatibility, parts, safety, or missing instructions. Manuals+ will review the question and use this page’s manual context to help answer it.