Introduction
Thank you for purchasing the Byron DBY-22321 Wireless Portable Doorbell Set. This manual provides detailed instructions for the installation, operation, and maintenance of your new doorbell system. Please read this manual thoroughly before use and retain it for future reference.

Figure 1: Byron DBY-22321 Wireless Portable Doorbell Set (Chime Unit and Push Button)
The Byron DBY-22321 is a wireless doorbell system designed for ease of use and reliable performance. It features a 150-meter unobstructed range, 16 selectable melodies, 5 adjustable volume levels, and a visual alert system, ensuring you never miss a visitor.
Safety Information
- Do not expose the units to extreme temperatures, direct sunlight, or excessive moisture.
- Do not attempt to open or repair the units yourself. Refer all servicing to qualified personnel.
- Keep batteries out of reach of children. Dispose of used batteries responsibly according to local regulations.
- Ensure the push button is installed in a location protected from direct heavy rain to prolong its lifespan, despite its IP44 rating.
Package Contents
Please check the box for the following items:
- 1 x Wireless Portable Door Chime Unit (Receiver)
- 1 x Wireless Push Button (Transmitter) with integrated CR2 battery
- Mounting materials (screws, wall plugs, adhesive pad)
- Instruction Manual (this document)
Product Overview
The Byron DBY-22321 set consists of two main components:
1. Chime Unit (Receiver)
This is the indoor unit that produces the sound. It is portable and can be placed anywhere within range of the push button.
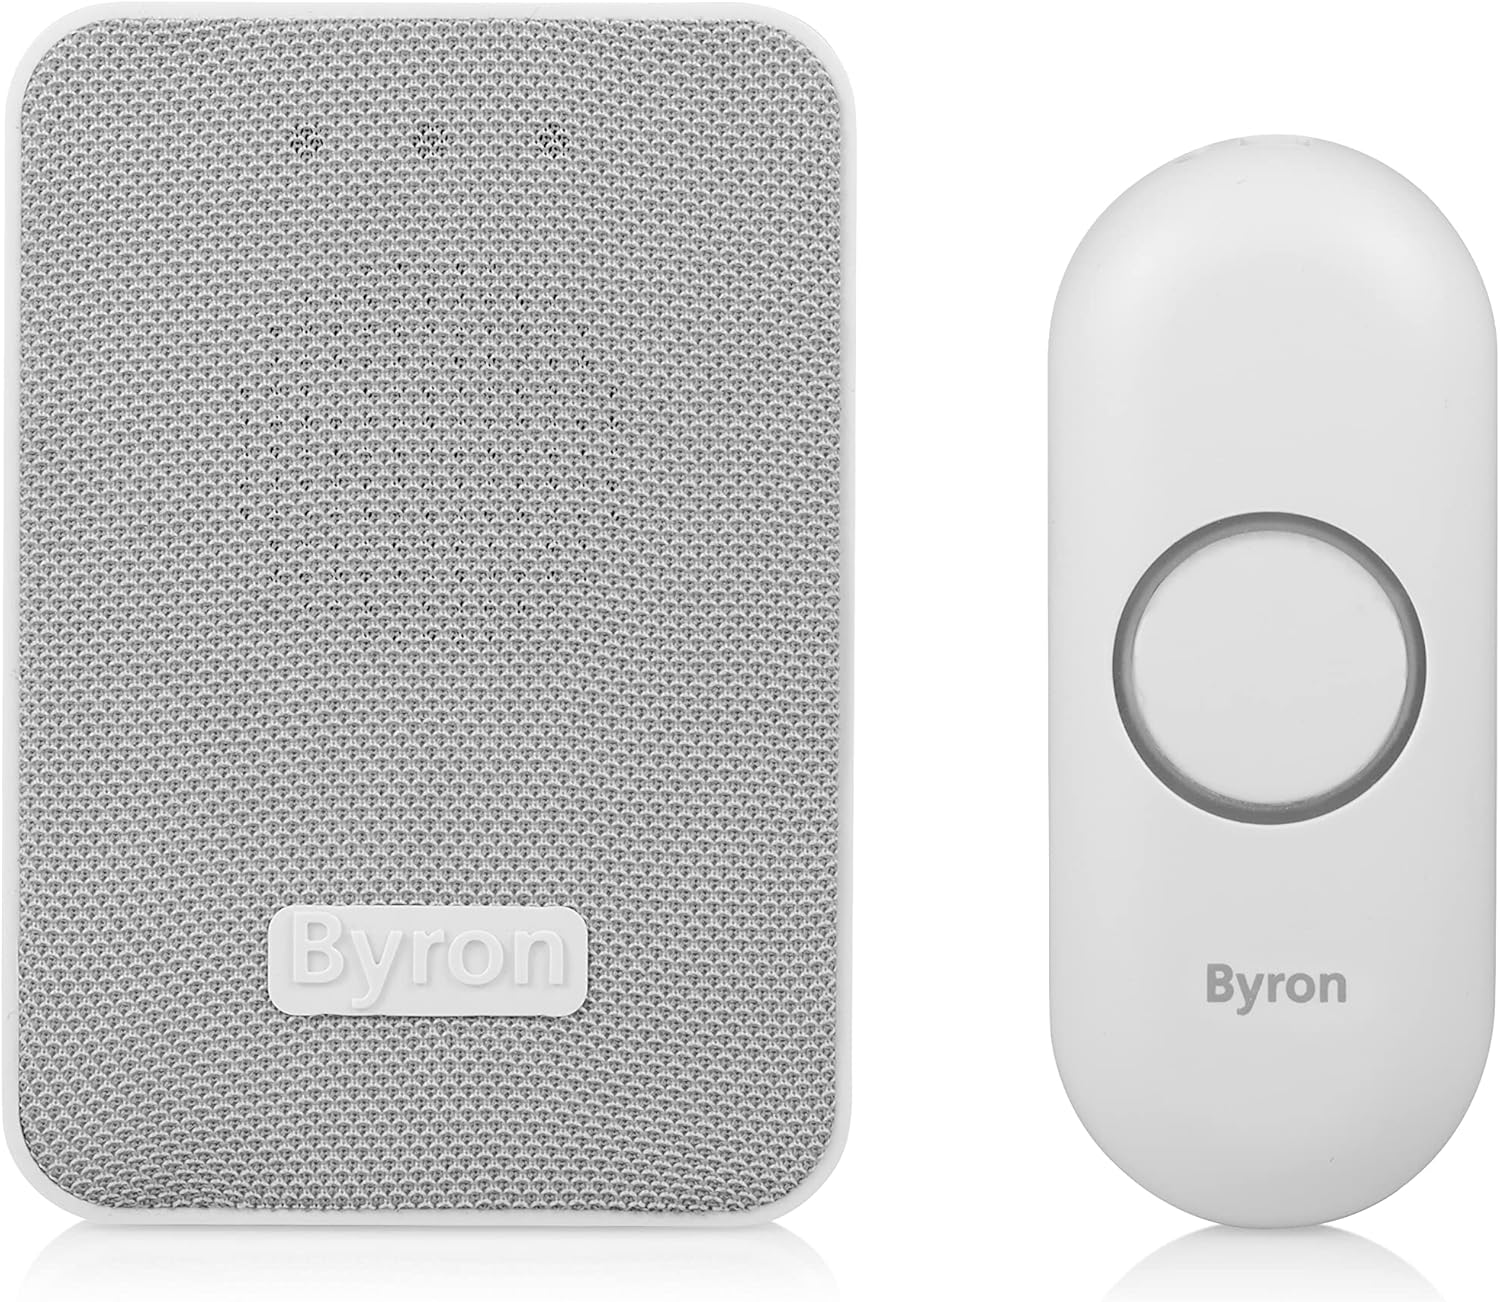
Figure 2: Byron Doorbell Chime Unit
2. Push Button (Transmitter)
This is the outdoor unit that sends a signal to the chime unit when pressed. It is designed for wall mounting.
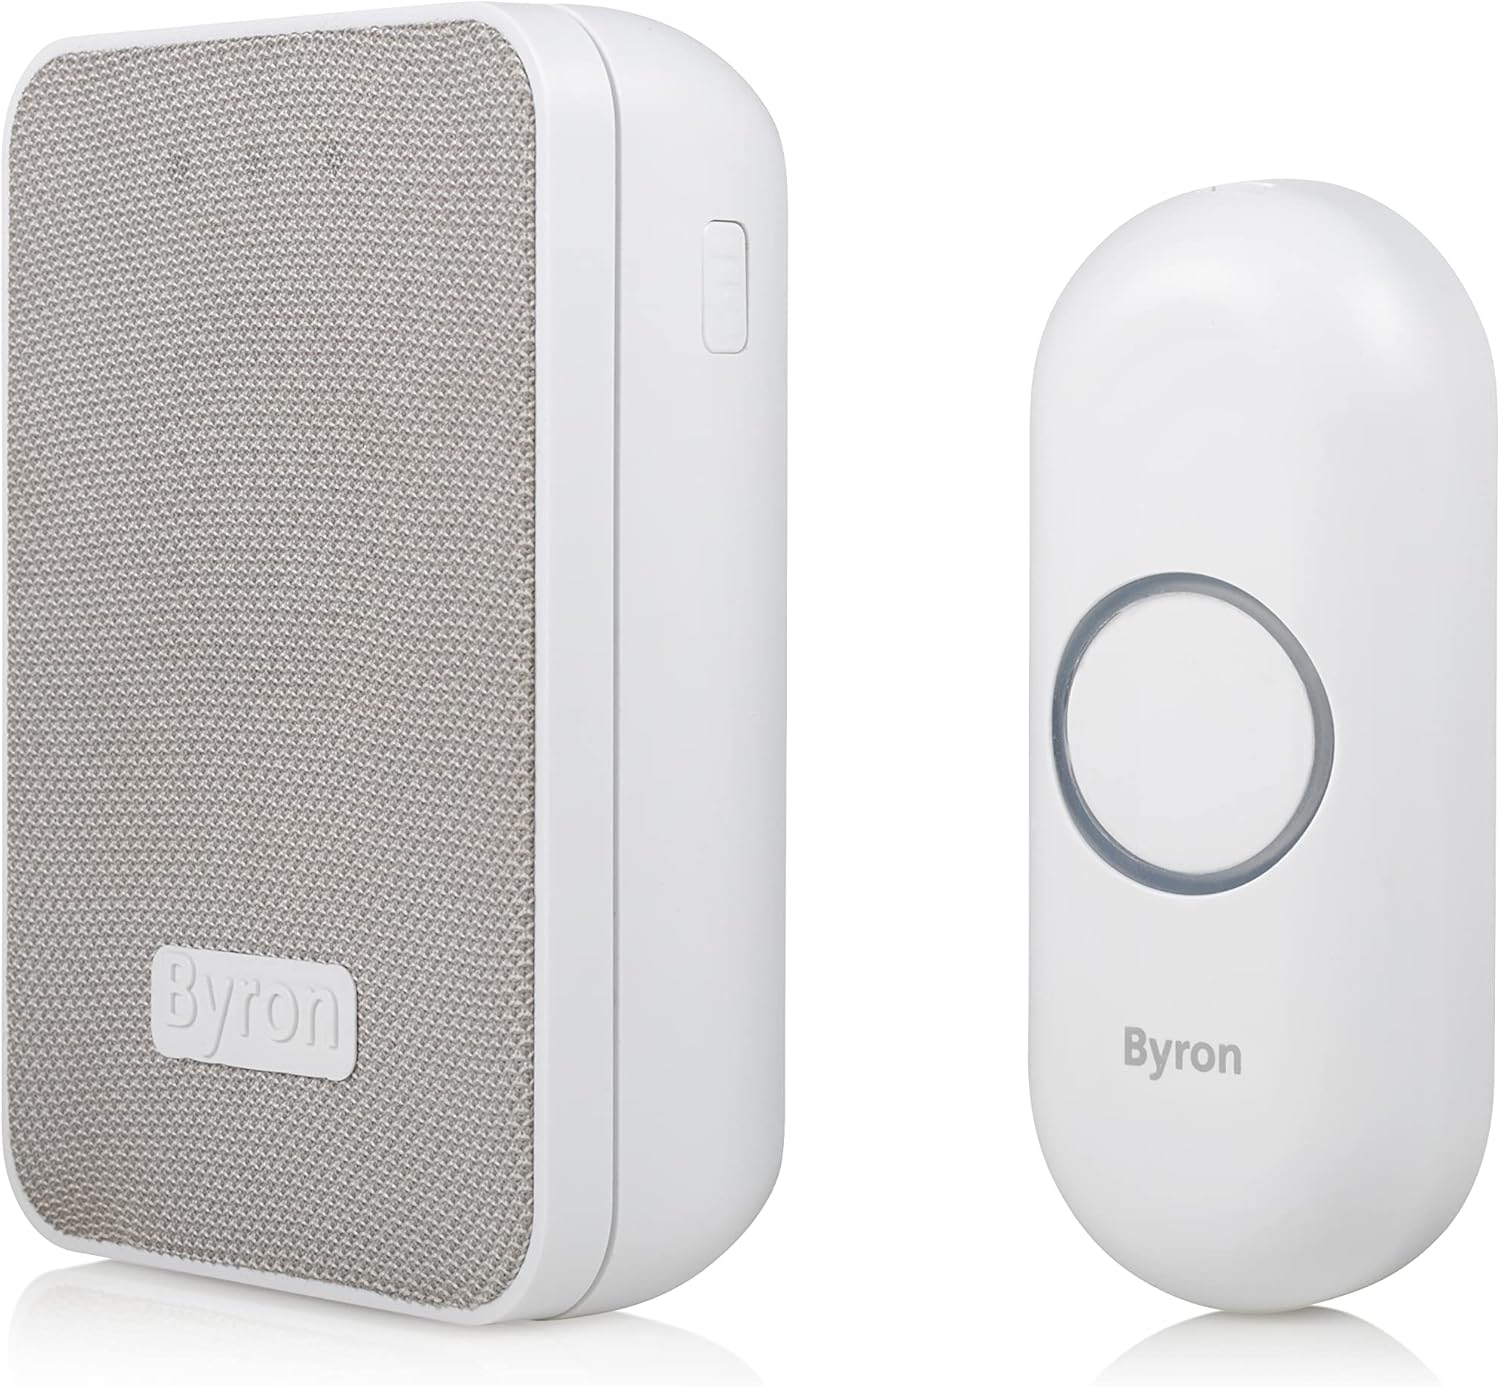
Figure 3: Byron Doorbell Push Button
Setup
1. Installing the Push Button (Transmitter)
The push button comes with an integrated CR2 battery. Choose a suitable location near your entrance, ensuring it is within the 150m unobstructed range of your chime unit. The push button has an IP44 protection rating, meaning it is protected against solid objects over 1mm and splashing water from any direction. For best longevity, install it in a sheltered spot.
You can mount the push button using the provided screws and wall plugs or the adhesive pad:
- Screw Mounting: Mark the desired drilling points, drill holes, insert wall plugs, and secure the push button using the screws.
- Adhesive Mounting: Clean the surface thoroughly. Peel off the protective film from the adhesive pad and firmly press the push button onto the desired location for at least 30 seconds.
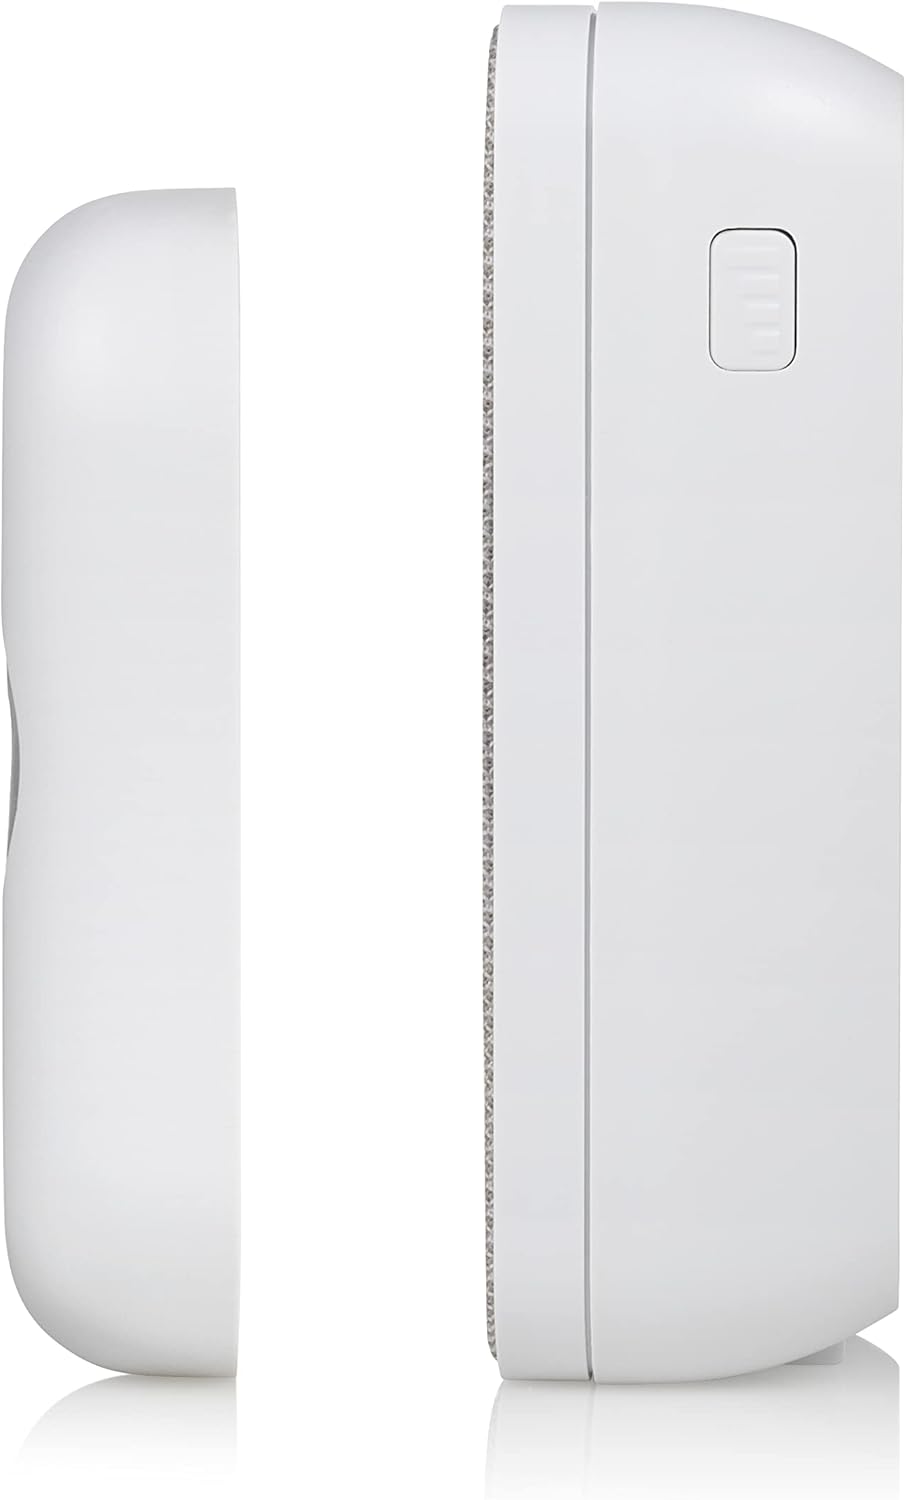
Figure 4: Back of Chime Unit and Push Button for Mounting
2. Installing the Chime Unit (Receiver)
The chime unit is battery-powered and portable. Insert the required batteries (not included for the chime unit, typically AA or AAA depending on model, refer to packaging for exact type) into the battery compartment located on the back of the unit. Ensure correct polarity (+/-).
Place the chime unit in a central location within your home where the sound can be heard clearly. Its portability allows you to move it to different rooms or even outdoors (within range and protected from elements) as needed.
3. Pairing the Units
The units are typically pre-paired from the factory. If they do not work immediately, or if you wish to pair additional push buttons or chime units, follow these steps:
- Ensure both the chime unit and push button have working batteries.
- On the chime unit, locate the pairing button (often a small button on the side or back).
- Press and hold the pairing button on the chime unit for a few seconds until you hear a short beep or see an indicator light flash.
- Within 10 seconds, press the push button once. The chime unit should ring, indicating successful pairing.
- If pairing fails, repeat the process. Ensure no other wireless devices are interfering during the pairing process.
Operating
1. Changing Melodies
The chime unit offers 16 different melodies. To change the melody:
- Locate the melody selection button on the side of the chime unit.
- Press the button repeatedly to cycle through the available melodies.
- Stop pressing when you hear your desired melody. This melody will be saved for future use.

Figure 5: Chime Unit Side Button (Melody/Volume Control)
2. Adjusting Volume
The chime unit has 5 adjustable volume levels. To adjust the volume:
- Locate the volume control button (often the same as the melody button, or a separate one) on the chime unit.
- Press the button repeatedly to cycle through the volume levels.
- Stop pressing when you reach your desired volume level.
3. Visual Alert System
In addition to the audible chime, the unit features a visual alert system. When the push button is pressed, the chime unit will illuminate LED indicators, providing a visual cue that someone is at the door. This is particularly useful in noisy environments or for individuals with hearing impairments.

Figure 6: Chime Unit with Visual Alert Indicators
Maintenance
1. Battery Replacement
Push Button (Transmitter): The push button uses a CR2 battery (included). When the push button no longer illuminates or the chime unit does not respond, it's time to replace the battery. Carefully open the push button casing (refer to diagrams on the back of the unit if available) and replace the CR2 battery, ensuring correct polarity.
Chime Unit (Receiver): The chime unit uses standard batteries (e.g., AA or AAA, check your specific model's compartment). Replace these when the chime sound becomes weak or stops functioning. Ensure correct polarity.
2. Cleaning
Clean the doorbell units with a soft, dry cloth. Do not use abrasive cleaners, solvents, or harsh chemicals, as these can damage the surface and internal components. For the outdoor push button, occasionally wipe away dirt or debris to ensure the button mechanism remains free.
3. IP44 Protection Rating
The push button has an IP44 rating, indicating protection against splashing water. While it can withstand typical outdoor conditions, prolonged exposure to heavy rain or submersion in water should be avoided to ensure optimal performance and longevity.
Troubleshooting
| Problem | Possible Cause | Solution |
|---|---|---|
| Doorbell does not ring. | Low or dead batteries in either unit. Units are not paired. Out of range. Interference. | Replace batteries in both units. Follow pairing instructions in the Setup section. Move chime unit closer to the push button. Relocate units away from other wireless devices. |
| Chime unit rings intermittently. | Weak batteries. Interference. Obstructions between units. | Replace batteries. Check for sources of interference (e.g., large metal objects, thick walls). Ensure clear line of sight or reduce distance. |
| Sound quality is poor or distorted. | Low batteries. Volume set too high. | Replace batteries. Reduce the volume level. |
| Cannot change melody or volume. | Buttons not functioning correctly. Low batteries. | Ensure buttons are not stuck. Replace batteries. |
Specifications
| Feature | Detail |
|---|---|
| Model Number | DBY-22321 |
| Brand | Byron |
| Wireless Range | Up to 150 meters (unobstructed) |
| Melodies | 16 selectable |
| Volume Levels | 5 adjustable |
| Visual Alert | Yes (LED indicators) |
| Push Button Battery | 1 x CR2 (included) |
| Chime Unit Power Source | Battery Powered (batteries not included for chime unit) |
| Push Button IP Rating | IP44 |
| Material | Plastic |
| Colour | Mesh |
| Product Dimensions | 2.91 x 15.3 x 19.3 cm (approximate package dimensions) |
| Item Weight | 160 g |
Warranty and Support
Byron products are manufactured to high quality standards. For information regarding warranty terms and conditions, please refer to the documentation provided with your purchase or visit the official Byron website. For technical support or further assistance, please contact Byron customer service through their official channels.
You can find more information about Byron products and support at the Byron Store on Amazon.


