
Toptekits H116
H116 Low-Profile CPU Cooler User Manual
Model: H116 | Brand: Toptekits
Product Overview
The H116 CPU Cooler is engineered for compact systems, featuring a low-profile design suitable for HTPC, All-in-one PCs, and 1U servers. It integrates a silent 80mm fan with a premium aluminum heatsink to provide efficient cooling while maintaining a low noise level.
Key features include:
- Compatible with Intel CPU Sockets LGA 1150, 1151, 1155, and 1156.
- Ultra-compact 27mm height, ideal for space-constrained enclosures.
- Pre-pasted thermal compound for convenient installation.
- 80mm quiet fan with a 3-pin connector.

Figure 1: Angled view of the H116 CPU Cooler, highlighting its compact design and integrated fan.
Package Contents
Verify that all items listed below are included in your package:
- 1 x H116 CPU Cooler (with pre-pasted thermal compound)
- 1 x Mounting Bracket
- 1 x English User Manual (this document)
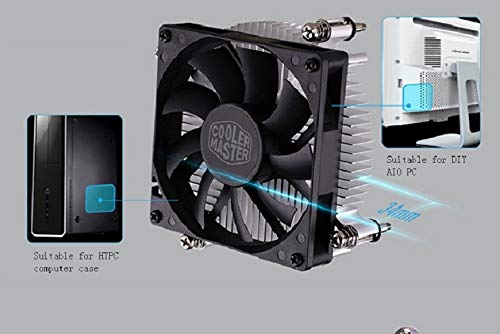
Figure 2: The retail packaging for the H116 CPU Cooler.
Setup and Installation
This section provides step-by-step instructions for installing the H116 CPU Cooler onto your compatible Intel LGA motherboard.
Compatibility Check:
Ensure your motherboard uses one of the following Intel CPU sockets: LGA 1150, LGA 1151, LGA 1155, or LGA 1156.
Installation Steps:
- Prepare the Motherboard: Ensure your motherboard is removed from the PC case or that you have sufficient access to the CPU socket area. If a backplate is required for your specific motherboard, install it according to your motherboard's manual. The H116 cooler typically uses a standard push-pin or screw-in mounting mechanism compatible with the specified LGA sockets.
- Prepare the CPU: Ensure your CPU is correctly seated in the LGA socket and the retention arm is locked. The H116 cooler comes with thermal compound pre-applied to its base. If you prefer to use your own thermal paste, gently clean off the pre-applied paste from the cooler's base using isopropyl alcohol and a lint-free cloth, then apply a small amount of your preferred thermal paste to the center of the CPU's integrated heat spreader (IHS).
- Position the Cooler: Carefully align the mounting holes on the H116 cooler's bracket with the corresponding holes around the CPU socket on your motherboard.
- Secure the Cooler: Gently press down on the cooler to engage the mounting pins or screws into the motherboard holes. For screw-type mounts, tighten the screws in a diagonal pattern (e.g., top-left, bottom-right, top-right, bottom-left) until snug, but do not overtighten. Ensure even pressure is applied to the CPU.
- Connect the Fan Cable: Locate the 3-pin fan header on your motherboard, typically labeled "CPU_FAN". Connect the H116 cooler's 3-pin fan cable to this header. Ensure the connector is oriented correctly.
- Final Check: Double-check all connections and ensure the cooler is securely mounted and does not wobble. Confirm that no cables are obstructing the fan blades.

Figure 3: Bottom view of the H116 cooler, showing the pre-applied thermal compound on the copper core.
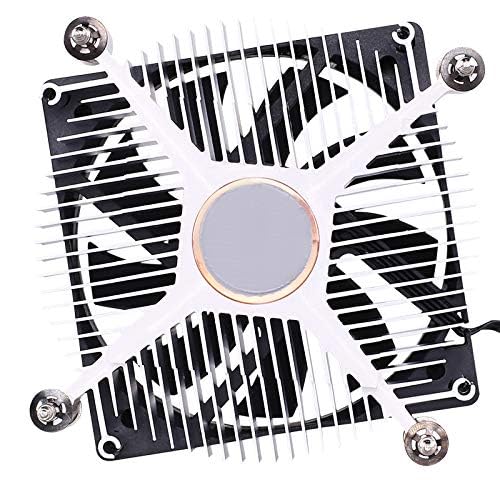
Figure 4: Side view illustrating the heatsink fins and the mounting screw mechanism.
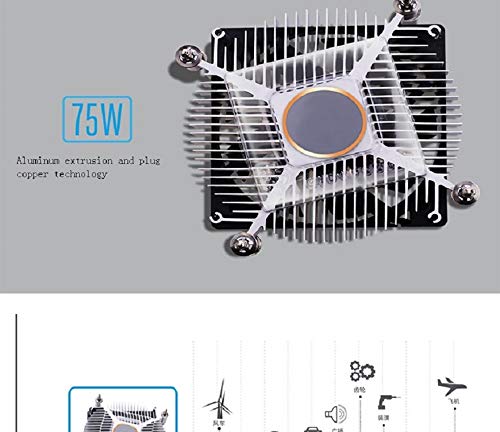
Figure 5: The H116 cooler's compact dimensions make it suitable for HTPC and All-in-One PC builds.
Operating Instructions
Once installed, the H116 CPU Cooler operates automatically, regulated by your motherboard's fan control settings. It is designed for continuous operation to maintain optimal CPU temperatures.
- Automatic Operation: The fan speed is controlled by the motherboard based on CPU temperature. While the H116 uses a 3-pin connector, many modern motherboards can still regulate its speed via voltage control.
- Low Noise Design: The 80mm fan is engineered for quiet operation, with a typical noise level of 23±3 dBA, ensuring a peaceful computing environment.
- Efficient Cooling: The aluminum heatsink with a copper core effectively dissipates heat from the CPU, maintaining stable operating temperatures.

Figure 6: Front view of the 80mm fan, designed for quiet and efficient airflow.
Maintenance
Regular maintenance ensures the longevity and optimal performance of your H116 CPU Cooler.
- Dust Removal: Periodically (e.g., every 3-6 months, depending on environment), use compressed air to gently blow dust out of the heatsink fins and fan blades. Ensure the fan does not spin rapidly during this process by holding it in place.
- Thermal Paste: The pre-pasted thermal compound is designed for long-term use. However, if you remove the cooler for any reason, it is recommended to clean off the old thermal paste from both the CPU and the cooler base and apply new thermal paste before reinstallation.
- Fan Inspection: Check the fan for any unusual noises or reduced rotational speed. Ensure the fan cable remains securely connected to the motherboard.
Troubleshooting
If you encounter issues with your H116 CPU Cooler, refer to the following common problems and solutions:
| Problem | Possible Cause | Solution |
|---|---|---|
| Fan not spinning or spinning slowly. |
|
|
| High CPU temperatures. |
|
|
| Unusual fan noise (grinding, rattling). |
|
|
Specifications
Detailed technical specifications for the H116 CPU Cooler:
| Attribute | Value |
|---|---|
| Model Number | H116 |
| Compatible CPU Sockets | Intel LGA 1150, 1151, 1155, 1156 |
| Heatsink Dimensions | 90 x 90 x 17 mm (L x W x H) |
| Fan Dimensions | 80 x 80 x 10 mm (L x W x H) |
| Overall Product Dimensions | 10 x 10 x 4.5 cm (approx.) |
| Total Height | 27 mm |
| Rated Voltage | DC 12V |
| Power Connector | 3-Pin |
| Noise Level | 23±3 dBA (Max 25 dB) |
| Fan Speed | 2700 RPM ±10% |
| Thermal Compound | Pre-pasted |
| Cooling Method | Air |
| Material | Aluminum, Copper |
| Compatible Devices | Server, Desktop (HTPC, All-in-one PC, 1U Server) |
| Wattage (TDP) | 75 Watts |
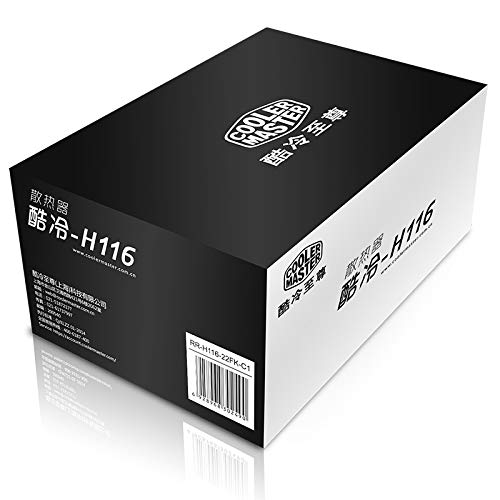
Figure 7: Illustration highlighting the 75W thermal design power and the cooler's aluminum and copper construction.
Warranty and Support
Warranty Information: Specific warranty terms and conditions for the H116 CPU Cooler are typically provided with your purchase documentation or on the manufacturer's official website. Please retain your proof of purchase for warranty claims.
Technical Support: For further assistance, technical inquiries, or troubleshooting beyond the scope of this manual, please contact Toptekits customer support through their official channels. Refer to the product packaging or the retailer's website for contact details.
Ask a question about this manual
Ask about setup, troubleshooting, compatibility, parts, safety, or missing instructions. Manuals+ will review the question and use this page’s manual context to help answer it.