
Beldray BEL0987RG
Beldray 2-in-1 Cordless Steam Iron User Manual
Model: BEL0987RG
Brand: Beldray
1. Introduction
Thank you for choosing the Beldray 2-in-1 Cordless Steam Iron. This appliance is designed for efficient and convenient garment care, offering both corded and cordless operation. Please read this manual thoroughly before first use to ensure safe and optimal performance of your iron.

Figure 1.1: The Beldray 2-in-1 Cordless Steam Iron, highlighting its ergonomic design and ceramic soleplate.
2. Important Safety Instructions
When using electrical appliances, basic safety precautions should always be followed, including the following:
- Read all instructions before using the iron.
- Do not leave the iron unattended while it is connected to the mains supply or while it is on an ironing board.
- Unplug the iron from the power outlet before filling with water, emptying, or cleaning.
- Do not immerse the iron, charging base, or power cord in water or any other liquid.
- Keep the iron and its cord out of reach of children when it is switched on or cooling down.
- The iron must be used and rested on a stable surface.
- Do not operate any appliance with a damaged cord or plug, or after the appliance malfunctions or has been dropped or damaged in any manner.
- The soleplate of the iron can become extremely hot and should not be touched during use.
- Use distilled or demineralized water to prevent limescale buildup, especially in hard water areas.
3. Package Contents
Please check the box for the following items:
- Beldray 2-in-1 Cordless Steam Iron (Model: BEL0987RG)
- 360° Charging Base with Power Cord
- Water Filling Cup
- Instruction Manual (this document)
4. Parts Identification
Familiarize yourself with the components of your Beldray iron:
- Ceramic Soleplate: The heated surface that glides over fabrics.
- Water Tank: 300 ml capacity for water.
- Water Fill Inlet: Opening for adding water to the tank.
- Spray Nozzle: Emits a fine mist of water.
- Steam Control Dial/Button: Adjusts steam output.
- Temperature Control Dial: Selects heat setting for different fabric types.
- Easy-Grip Handle: For comfortable and secure handling.
- 360° Charging Base: Provides power for cordless operation, with LED indicators.
- Power Cord: Connects the charging base to the mains supply (1.9 meters).
- Self-Clean Button: Activates the self-cleaning function.
- Anti-Drip System: Prevents water leakage at low temperatures.
- Anti-Calc System: Reduces limescale buildup.

Figure 4.1: Detail of the temperature control dial, indicating settings for various fabric types.
5. Setup and First Use
5.1 Unpacking
Carefully remove all components from the packaging. Retain the packaging for future storage or disposal. Ensure all listed package contents are present and undamaged.
5.2 Placing the Charging Base
Place the 360° charging base on a stable, heat-resistant surface, such as an ironing board. Ensure the power cord (1.9 meters) can reach a suitable power outlet without being stretched or obstructed.

Figure 5.1: Positioning the iron on its charging base.
5.3 Filling the Water Tank
Before filling, ensure the iron is unplugged from the mains supply and has cooled down. Open the water fill inlet cover and use the provided water filling cup to pour water into the tank. Do not exceed the 'MAX' fill line (300 ml capacity). Close the inlet cover securely.
Note: For optimal performance and to prolong the life of your iron, use distilled or demineralized water. Tap water, especially in hard water areas, can lead to limescale buildup.

Figure 5.2: Filling the water tank of the iron.
6. Operating Your Iron
6.1 Cordless Operation
For maximum freedom of movement, use the iron in cordless mode:
- Plug the charging base into a suitable power outlet. The LED lights on the base will illuminate.
- Place the iron onto the 360° charging base. The iron will begin to heat up rapidly, reaching operating temperature in approximately 25 seconds. The LED lights on the base will indicate charging status.
- Once heated, remove the iron from the base and begin ironing.
- For continuous heat, return the iron to the charging base periodically (approximately every 5-10 seconds of ironing) for a quick 5-second recharge. The base's LED will confirm charging.

Figure 6.1: Iron on charging base, ready for cordless use.
6.2 Corded Operation
For longer ironing sessions without needing to return to the base, the iron can be locked onto the charging base for corded use:
- Place the iron onto the charging base.
- Locate the locking mechanism (usually a switch or button near the base connection) and engage it to secure the iron to the base.
- Plug the power cord into the mains supply. The iron will now function as a traditional corded iron.
6.3 Temperature Control
Rotate the temperature control dial to select the appropriate heat setting for your fabric. Always check the garment's care label. Start with lower temperatures for delicate fabrics and increase for heavier materials.
- Synthetics: Low heat
- Silk/Wool: Medium heat
- Cotton/Linen: High heat
6.4 Steam Functions
Ensure the water tank is filled before using steam functions.
- Variable Steam: Adjust the steam control dial to the desired steam output. Steam is typically available at medium to high temperature settings.
- Steam Shot (140 g/min): Press the steam shot button for an extra burst of steam to tackle stubborn creases. Wait a few seconds between shots to allow the iron to reheat.
- Water Spray Function: Press the spray button to emit a fine mist of water onto the fabric, useful for dampening dry areas before ironing.

Figure 6.2: Effective steam ironing in progress.

Figure 6.3: Smooth ironing action with the ceramic soleplate.
7. Maintenance and Care
Regular maintenance ensures the longevity and optimal performance of your iron.
7.1 Cleaning the Soleplate
Allow the iron to cool completely. Wipe the ceramic soleplate with a damp cloth and a non-abrasive cleaner if necessary. Do not use abrasive scouring pads or metal objects, as these can scratch the soleplate.
7.2 Self-Clean Function
To remove mineral deposits and impurities from the steam vents:
- Fill the water tank to the 'MAX' line.
- Set the temperature dial to maximum and plug in the iron (in corded mode or on the base).
- Once the iron reaches maximum temperature, unplug it.
- Hold the iron horizontally over a sink and press the Self-Clean button. Hot water and steam will be expelled from the soleplate, carrying impurities with them.
- Gently rock the iron back and forth until the water tank is empty.
- Repeat if necessary.
7.3 Descaling (Anti-Calc System)
Your iron is equipped with an Anti-Calc system to reduce limescale buildup. However, regular use of distilled or demineralized water is highly recommended to further minimize scale formation, especially in areas with hard water.
7.4 Storage
After use, ensure the iron has cooled down completely and the water tank is empty. Store the iron upright on its charging base in a dry, safe place, out of reach of children. The compact design allows for easy storage.
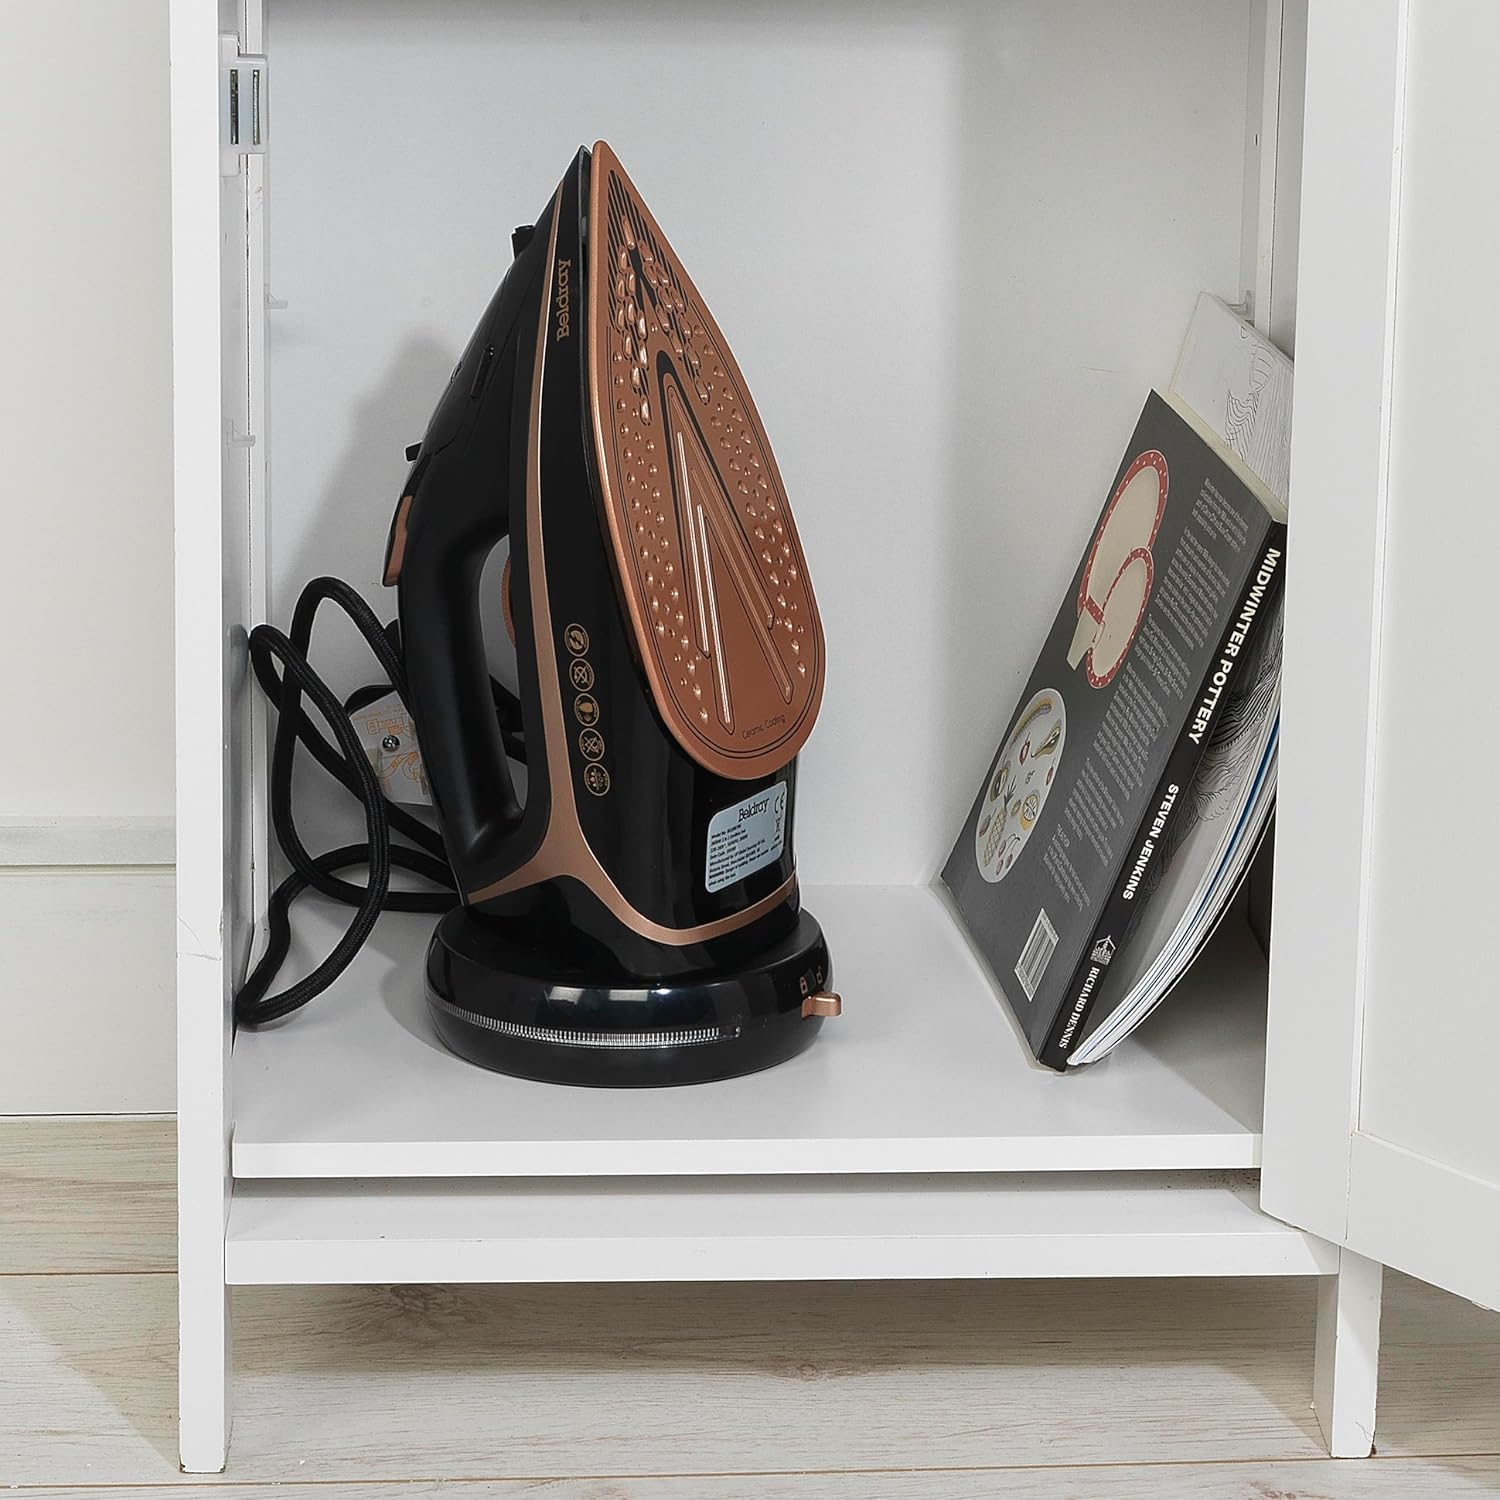
Figure 7.1: Proper storage of the iron.
8. Troubleshooting
If you encounter issues with your iron, consult the table below before contacting customer support.
| Problem | Possible Cause | Solution |
|---|---|---|
| Iron not heating up. | Not plugged in; power outage; temperature dial set to 'OFF'; iron not properly seated on base (cordless mode). | Check power connection; ensure power outlet is working; turn temperature dial to desired setting; ensure iron is correctly placed on charging base. |
| No steam or insufficient steam. | Water tank empty; temperature too low; steam vents clogged; steam control set to 'OFF'. | Fill water tank; increase temperature setting; perform self-clean function; adjust steam control. |
| Water leaking from soleplate. | Temperature too low for steam; water tank overfilled; self-clean needed. | Increase temperature; do not overfill water tank; perform self-clean function. |
| Iron sticking to fabric. | Soleplate dirty; temperature too high for fabric type. | Clean soleplate; reduce temperature setting. |
9. Product Specifications
| Feature | Specification |
|---|---|
| Brand | Beldray |
| Model Number | BEL0987RG |
| Color | Rose Gold |
| Power/Wattage | 2600 W |
| Voltage | 220-240 V ~ 50/60 Hz (Typical for EU) |
| Product Dimensions (L x W x H) | 35.2 x 14.5 x 15 cm |
| Weight | 1.61 kg |
| Water Tank Capacity | 300 ml |
| Steam Shot Output | 140 g/min |
| Power Cord Length | 1.9 meters |
| Heat-up Time | Approx. 25 seconds |
| Recharge Time (on base) | Approx. 5 seconds |
| Soleplate Material | Ceramic |
| Special Features | 2-in-1 (Corded/Cordless), Anti-Calc, Anti-Drip, Water Spray Function, Self-Clean Function, Easy-Grip Handle, Variable Temperature & Steam Control, 360° Charging Base with LEDs |
10. Warranty and Support
For information regarding warranty coverage, please refer to the warranty card included with your purchase or visit the official Beldray website. Keep your proof of purchase for any warranty claims.
For technical support, spare parts, or further assistance, please contact Beldray customer service through their official website or the contact details provided in your product documentation.
Related documentsBEL0987RG


Ask a question about this manual
Ask about setup, troubleshooting, compatibility, parts, safety, or missing instructions. Manuals+ will review the question and use this page’s manual context to help answer it.