
1. Introduction
This manual provides detailed instructions for the safe and effective use of your joyroom D-M229 Portable Car Jump Starter. This device is designed to jump-start vehicles with dead batteries and serve as a portable power bank for electronic devices. Please read this manual thoroughly before operation and retain it for future reference.

Image 1.1: joyroom D-M229 Portable Car Jump Starter with smart jumper cables.
2. Product Overview
The joyroom D-M229 is a versatile device featuring multiple functions:
- Vehicle Jump Starter: Capable of starting gasoline engines up to 7.0L and diesel engines up to 5.5L.
- Portable Power Bank: Equipped with QC 3.0 USB and standard USB outputs for charging mobile phones, tablets, and other USB-powered devices.
- LED Flashlight: Integrated flashlight with multiple modes (Strong, SOS, Strobe) for emergency situations.
- Advanced Safety Protection: Features over-current, overload, over-voltage, over-charge, and high-temperature protection.
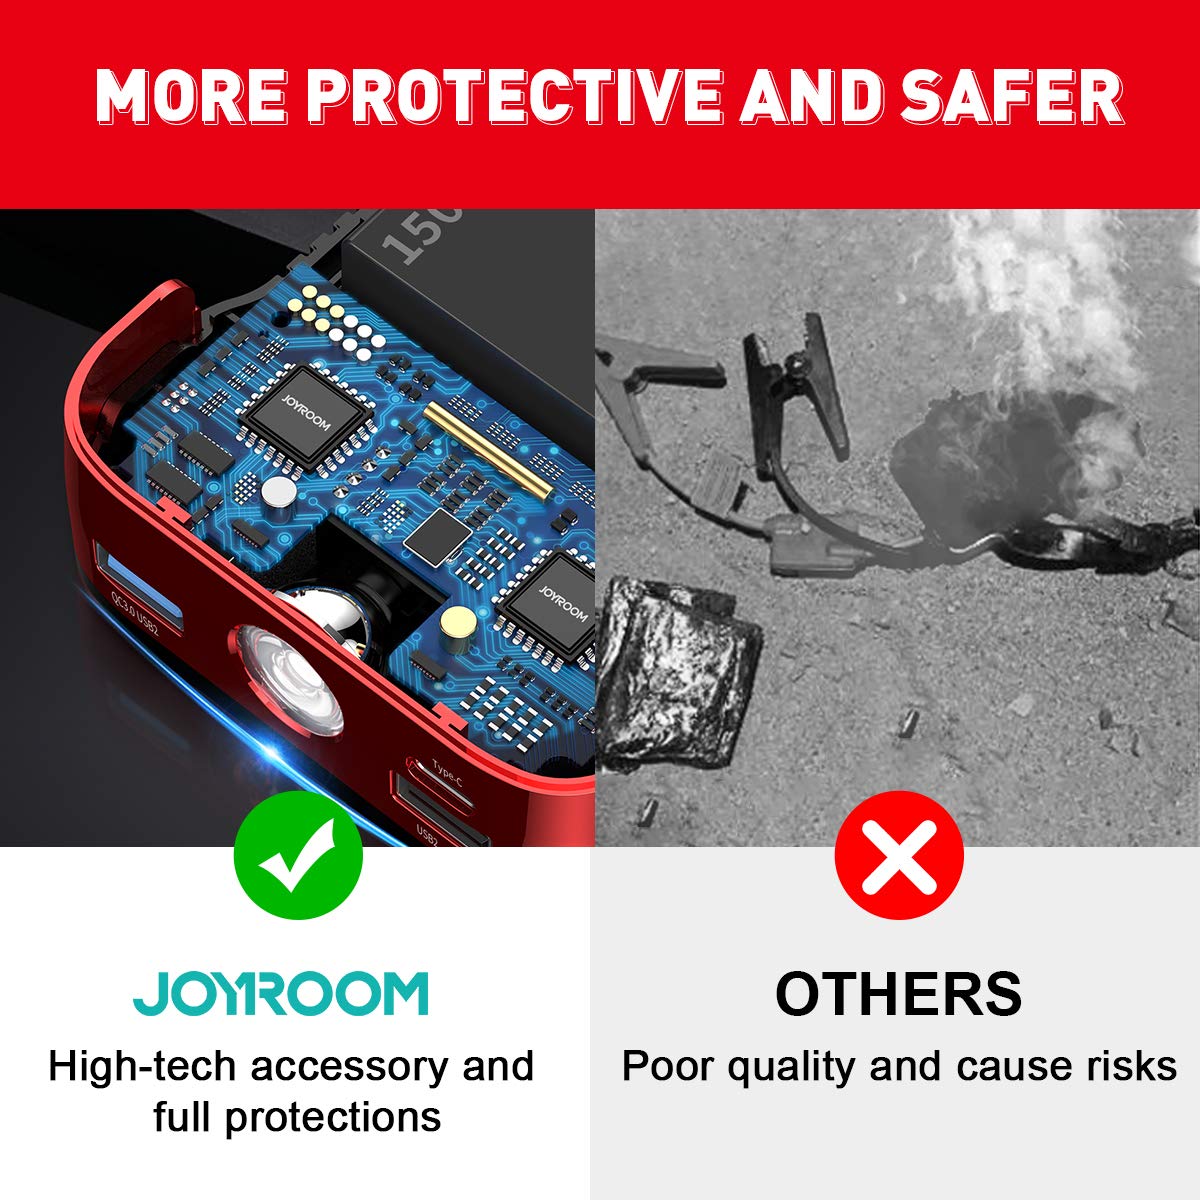
Image 2.1: Diagram of the joyroom D-M229 with labeled components including Jump Start Port, Power Button, QC3.0 USB Output, LED Flashlight, Input (Type-C Port), USB Output, and LCD Screen.
Package Contents:
- 1 x JOYROOM Car Jump Starter (D-M229)
- 1 x Smart Jumper Clamp
- 1 x USB-C Cable
- 1 x User Manual
3. Specifications
| Feature | Specification |
|---|---|
| Model | D-M229 |
| Battery Type | Lithium-ion Polymer Cell |
| Battery Capacity | 15000mAh / 55.5Wh |
| Peak Current | 800A |
| Start Current | 500A |
| Input (Type-C) | 5V/2A, 9V/2A, 12V/1.5A |
| Output (EC5) | 12V (Jump Start) |
| Output (USB1) | 5V/2.1A |
| Output (QC3.0) | 5V/2.4A, 9V/2A, 12V/1.5A |
| Item Dimensions | 15.49 x 7.87 x 3.4 cm (6.1 x 3.1 x 1.34 inches) |
| Item Weight | 396.89 g (14 oz) |
| Engine Compatibility | Up to 7L Gasoline, 5.5L Diesel |
| Safety Certifications | UL 2743 Certified, CE / FCC / RoHs |
4. Setup and Initial Charging
Before first use, fully charge the jump starter. It is recommended to charge the device every 3-6 months to maintain battery health, even if not in use.
- Connect the USB-C Cable: Plug the provided USB-C cable into the Type-C input port on the jump starter.
- Connect to Power Source: Connect the other end of the USB-C cable to a 5V/2A, 9V/2A, or 12V/1.5A USB wall adapter (not included).
- Monitor Charging: The LCD screen will indicate the charging status. The device is fully charged when the screen shows 100%.
5. Operating Instructions
5.1. Jump Starting a Vehicle
Ensure the jump starter is at least 50% charged before attempting to jump-start a vehicle. Follow these steps carefully:
- Connect Jumper Cables to Jump Starter: Insert the blue plug of the smart jumper clamp into the 12V EC5 jump start port on the jump starter. Ensure a secure connection.
- Connect Clamps to Car Battery:
- Connect the RED positive (+) clamp to the positive (+) terminal of the car battery.
- Connect the BLACK negative (-) clamp to the negative (-) terminal of the car battery.
The smart clamp indicator light will show its status. Refer to the smart clamp's manual for specific light indications.
- Start the Vehicle: Once the clamps are correctly connected and the smart clamp indicates readiness, turn on the jump starter (if it doesn't activate automatically) and then start your vehicle's engine.
- Remove Clamps: After the vehicle starts, immediately remove the smart jumper clamps from the car battery terminals, then disconnect the smart clamp from the jump starter.

Image 5.1: Illustration of connecting the joyroom jump starter to a car battery for jump-starting.
Important Safety Notes:
- Do not touch the red and black clamps together.
- Do not attempt to jump-start a frozen battery.
- If the engine does not start on the first attempt, wait at least 30 seconds before trying again.
- Disconnect the jump starter within 30 seconds after the vehicle starts.
5.2. Charging Electronic Devices
The jump starter can also function as a power bank for your electronic devices.
- Connect USB Cable: Use a compatible USB charging cable for your device.
- Plug into Output Port: Plug the USB cable into either the USB1 (5V/2.1A) or QC3.0 USB2 (5V/2.4A, 9V/2A, 12V/1.5A) output port on the jump starter.
- Connect to Device: Connect the other end of the cable to your electronic device. Charging will begin automatically.

Image 5.2: The joyroom D-M229 jump starter providing power to various electronic devices via its USB ports.
5.3. Using the LED Flashlight
The integrated LED flashlight has three modes:
- Turn On/Off: Press and hold the power button for 3 seconds to turn on the flashlight (Strong mode). Press and hold again to turn it off.
- Change Modes: While the flashlight is on, short press the power button to cycle through modes: Strong → SOS → Strobe.

Image 5.3: The joyroom D-M229 jump starter's LED flashlight in use, illustrating its strong, SOS, and strobe modes.
6. Maintenance
- Storage: Store the jump starter in a cool, dry place away from direct sunlight and extreme temperatures.
- Charging: Recharge the device every 3-6 months to prevent deep discharge and prolong battery life.
- Cleaning: Use a soft, dry cloth to clean the exterior of the device. Do not use harsh chemicals or abrasive cleaners.
- Battery Care: Do not disassemble the unit. Improper handling can lead to fire, explosion, or injury.
7. Troubleshooting
| Problem | Possible Cause | Solution |
|---|---|---|
| Jump starter does not turn on. | Battery is completely discharged. | Charge the jump starter fully. |
| Vehicle does not start. |
|
|
| Smart clamp indicator shows error. | Reverse polarity, short circuit, or other safety trigger. | Disconnect clamps, check connections, and re-attempt. Refer to smart clamp manual for specific error codes. |
| Electronic devices not charging. |
|
|
8. Warranty and Support
All JOYROOM jump starters come with a 36-month warranty and lifetime technology support. For warranty claims or technical assistance, please contact JOYROOM customer service with your purchase details.
Please retain your proof of purchase for warranty validation.