Introduction
This manual provides detailed instructions for the safe and efficient installation, operation, and maintenance of your Wagan 2000 Lumens Outdoor LED Solar Street Light, Model EL8589-9. Please read this manual thoroughly before use and retain it for future reference.
Product Components
The Wagan Solar Street Light system includes the following components:
- LED Solar Street Light Unit with integrated solar panel and motion sensor
- Remote Control
- Mounting Bracket
- Pole Mount Accessories (U-bolts, nuts, washers)
- Wall Mount Accessories (expansion bolts, nuts, washers)

Figure 1: Product Components Overview. This image displays the main unit with its integrated solar panel, PIR motion sensor, and power switch. Also shown are the remote control and the included hardware for both pole and wall mounting.
Key Features
- High Brightness: 2000 Lumens output from 60 LED lights, providing broad illumination.
- Motion Sensor: Automatically switches from low-power standby mode to high-power illumination upon motion detection.
- Remote Control: Allows for convenient control of power, mode selection (high/low), and timer settings.
- Extended Operation: The integrated battery provides illumination for up to 3 full nights on a single full charge.
- Durable Design: IP65 rated for waterproof and weatherproof performance, ensuring reliability in various outdoor conditions.
- Safety Features: Includes over-charge and over-discharge protection for battery longevity and user safety.
- Easy Installation: Designed for simple mounting on various hard surfaces such as fences, poles, walls, or trees.

Figure 2: Key Features. This image visually represents the main functionalities of the solar street light, including its brightness (note: this image indicates 3000 lumens, but this specific product variant is 2000 lumens), weather resistance, long operational duration, and motion detection capability.
Safety Information
- Ensure the solar panel receives direct sunlight for optimal charging.
- Do not disassemble or modify the product. This may void the warranty and pose safety risks.
- Keep the product away from open flames or extreme heat sources.
- Dispose of batteries according to local regulations.
- Mount the light securely to prevent it from falling.
- Avoid looking directly into the LED light when it is active, as it can be very bright.
Installation
The Wagan Solar Street Light can be mounted on a pole or a wall. Choose a location that receives maximum direct sunlight throughout the day for efficient charging.
1. Site Selection
Select a mounting location free from obstructions like trees, buildings, or other structures that could shade the solar panel, especially during peak sunlight hours.
2. Mounting Options

Figure 3: Multiple Mounting Options. This illustration demonstrates how the solar street light can be installed on both poles and walls, detailing the specific hardware used for each method.
Pole Mount Installation:
- Attach the mounting bracket to the back of the solar street light unit using the provided screws.
- Position the light unit on the desired pole.
- Secure the light to the pole using the U-bolts, nuts, and washers. Ensure all fasteners are tightened securely.
Wall Mount Installation:
- Attach the mounting bracket to the back of the solar street light unit using the provided screws.
- Mark the drilling points on the wall using the mounting bracket as a template.
- Drill holes at the marked points.
- Insert the expansion bolts into the drilled holes.
- Align the mounting bracket with the expansion bolts and secure the light unit to the wall using the nuts and washers.
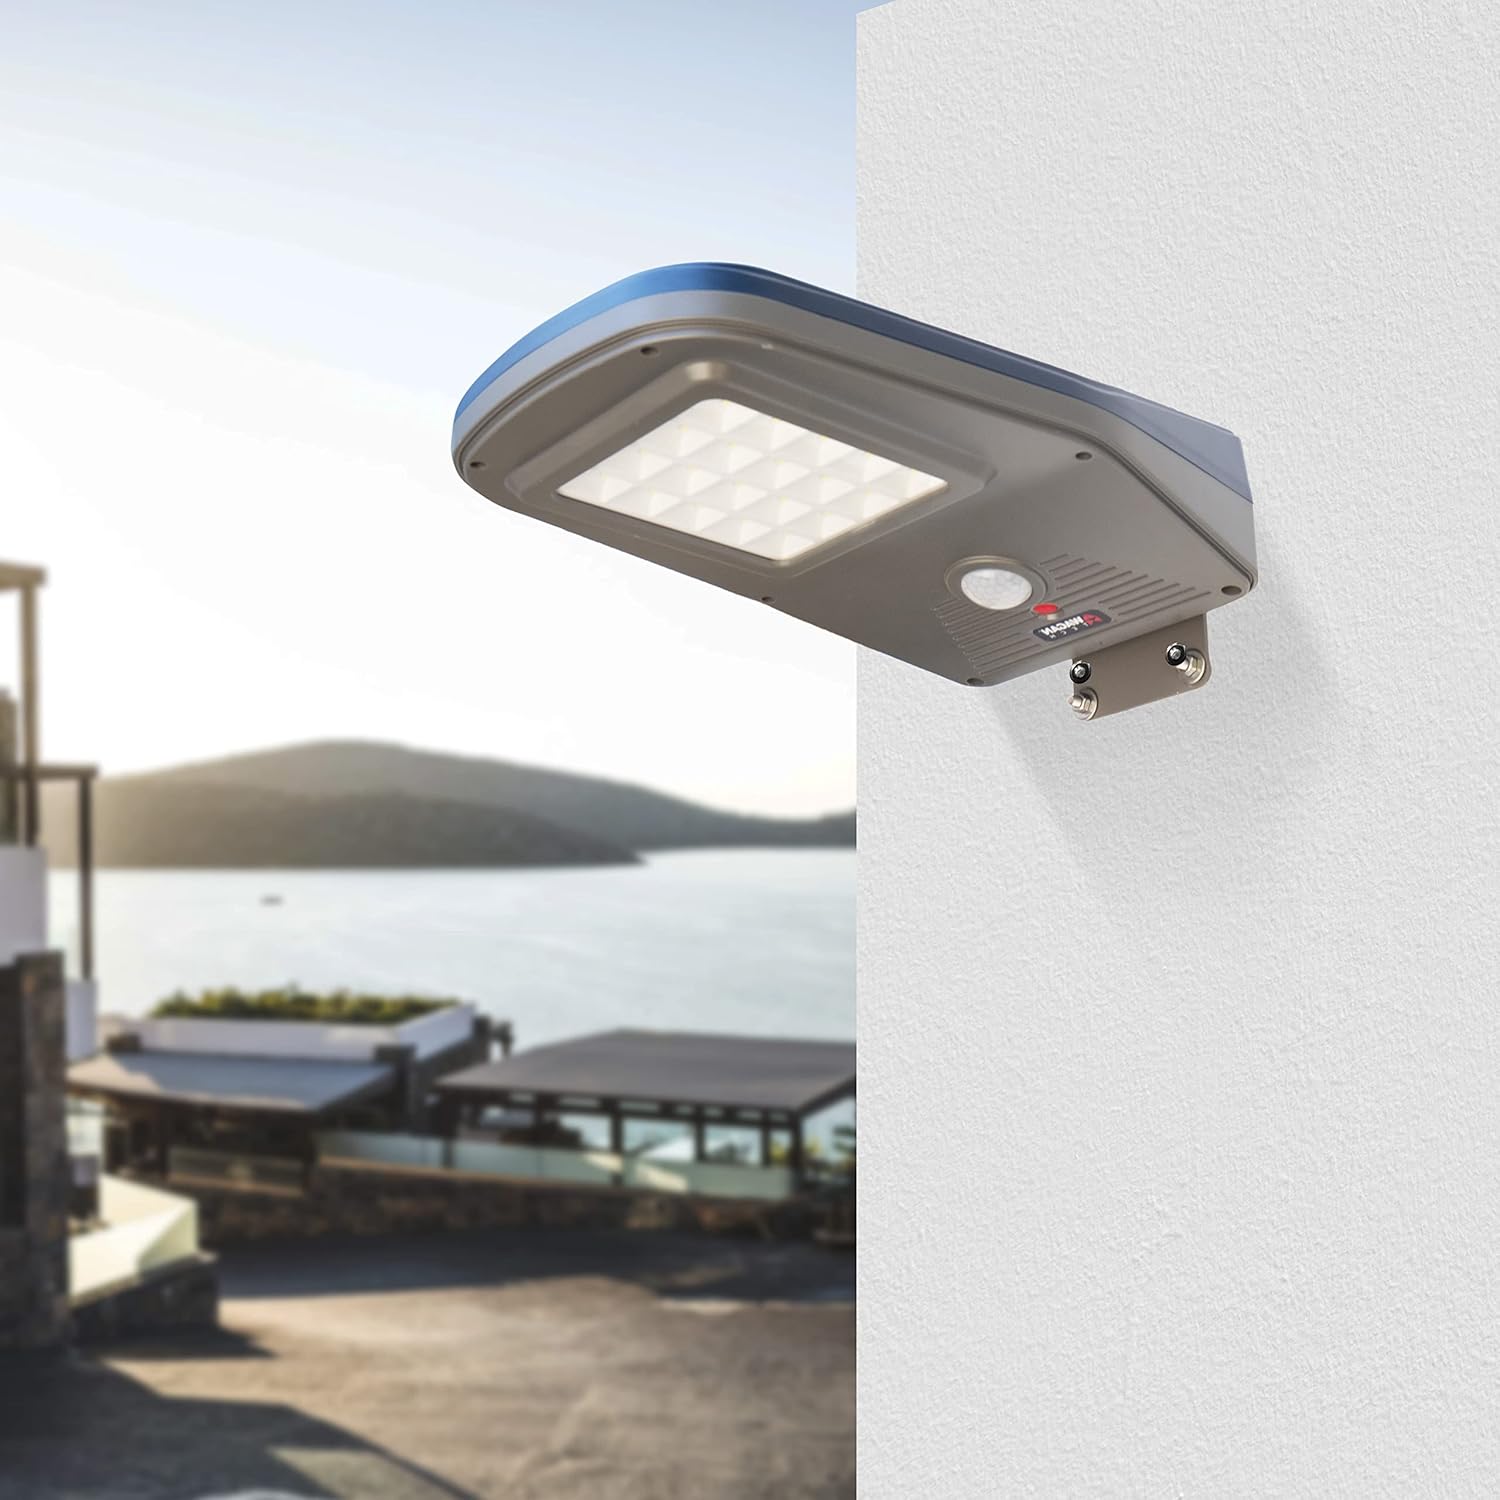
Figure 4: Wall Mount Example. This image shows the solar street light securely mounted on a wall, demonstrating a typical installation scenario.
Operating Instructions
The Wagan Solar Street Light operates automatically from dusk till dawn. The remote control provides additional functionality.
Initial Activation:
After installation, ensure the light is exposed to direct sunlight for at least 6-8 hours to allow the battery to charge sufficiently before first use.
Remote Control Functions:

Figure 5: Remote Control. The remote control unit for the solar street light, displaying its various function buttons.
- ON/OFF: Press to manually turn the light on or off.
- M1 (Motion Sensor Mode): The light stays in low brightness mode and switches to full brightness when motion is detected. After a period of no motion, it returns to low brightness.
- M2 (Constant Brightness Mode): The light maintains a constant medium brightness throughout the night.
- M3 (Timer Mode): Activates a timed operation for a set number of hours after dusk. Refer to the remote control for specific timer settings (e.g., 2H, 4H, 6H).
- T (Timer): Used to set the duration for timer modes.
Note: The remote control requires direct line-of-sight to the light's sensor for optimal functionality. The red LED on the light will flash to confirm remote commands.
Maintenance
- Solar Panel Cleaning: Regularly clean the surface of the solar panel with a soft, damp cloth to remove dust, dirt, or debris. A clean panel ensures maximum charging efficiency.
- Fixture Cleaning: Wipe the LED light fixture and casing with a soft, damp cloth as needed.
- Battery: The internal lithium-ion battery is designed for long life and is not user-replaceable.
- Inspection: Periodically check mounting hardware for tightness and ensure the light remains securely attached.
Troubleshooting
| Problem | Possible Cause | Solution |
|---|---|---|
| Light does not turn on at night. | Insufficient solar charge. | Ensure the solar panel is in direct sunlight for 6-8 hours daily. Clean the solar panel. |
| Light is dim or turns off quickly. | Partial charge or cloudy weather. | Allow several days of full sunlight for the battery to fully charge. Clean the solar panel. |
| Remote control not working. | Obstruction or distance. | Ensure direct line-of-sight to the light's sensor. Reduce distance to the light. Check remote battery. |
| Motion sensor not detecting. | Sensor obstructed or incorrect mode. | Clear any obstructions from the sensor. Ensure the light is in M1 (Motion Sensor) mode. |
Specifications
- Model: EL8589-9
- Brightness: 2000 Lumens
- Light Source: 60 LED
- Power Source: Solar Powered
- Battery: 1 Lithium Ion (included)
- Voltage: 12 Volts
- Wattage: 6.5 Watts
- Material: Aluminum, Glass
- Water Resistance: IP65 Waterproof
- Control Method: Remote Control, Motion Sensor
- Product Dimensions: 21.8 x 11.6 x 5.3 inches
- Item Weight: 5.5 Pounds
- Operating Temperature: -12°F to 149°F

Figure 6: Operating Temperature Range. This image illustrates the wide temperature range within which the solar street light is designed to operate effectively.
Warranty and Support
For warranty information or technical support, please refer to the official Wagan website or contact their customer service department. Keep your purchase receipt as proof of purchase.
Wagan Corporation is committed to providing reliable products and support. For further assistance, visit: www.wagan.com


