1. Introduction
This manual provides essential information for the assembly, operation, and maintenance of your Jamesdar Core Powered L-Shaped Gaming Desk. Please read these instructions carefully before assembly and retain for future reference.
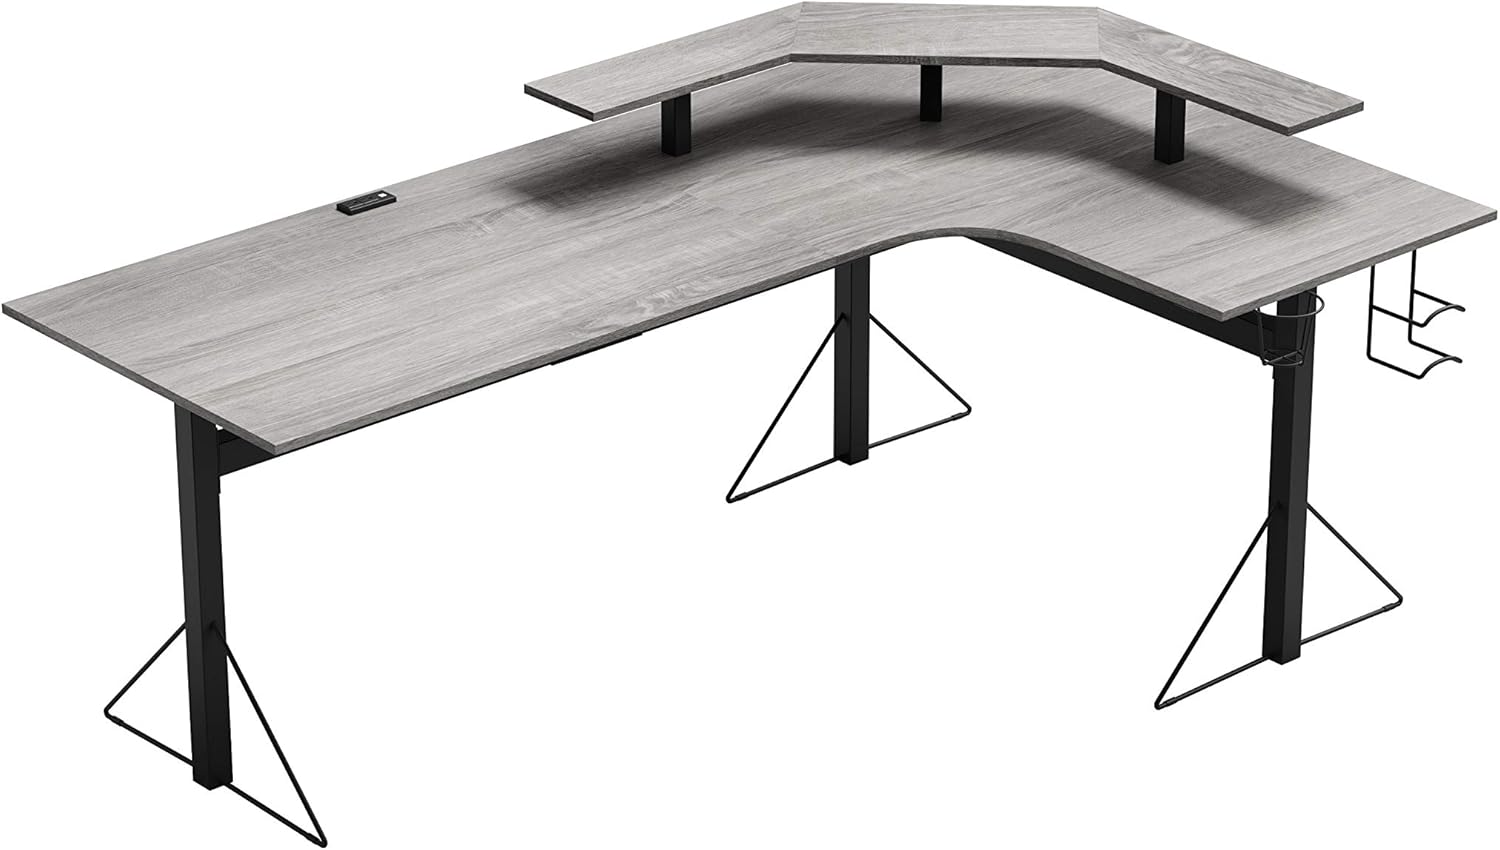
Image 1.1: Overview of the Jamesdar Core Powered L-Shaped Gaming Desk. This image displays the desk's L-shaped design, integrated monitor stand, and the grey wood finish of the desktop with black steel legs.
2. Safety Information
- Always assemble the desk on a soft, clean surface to prevent scratches.
- Ensure all screws and bolts are securely tightened before use. Periodically check and re-tighten as necessary.
- Do not overload the desk. Refer to the "Specifications" section for weight capacity.
- Keep small parts and packaging materials away from children.
- Use only the provided hardware for assembly.
- Do not stand or sit on the desk.
- Position the desk on a level surface to prevent instability.
- When connecting electrical devices to the integrated power outlets and USB ports, ensure they meet local electrical safety standards. Do not exceed the rated capacity of the power strip.
3. Package Contents
Verify that all components are present before beginning assembly. If any parts are missing or damaged, contact Jamesdar customer support.
- L-Shaped Desktop Panels (Main and Corner Sections)
- Monitor Stand Panels
- Steel Frame Legs and Support Beams
- Integrated Power Outlet and USB Hub
- Headphone Hooks and Cup Holder
- Assembly Hardware (screws, bolts, Allen wrench)
- Instruction Manual
4. Setup and Assembly
Assembly is required for this product. It is recommended to have two people for assembly. Follow the step-by-step instructions provided in the included assembly guide. Ensure all parts are correctly oriented before tightening screws.
- Unpack Components: Carefully remove all parts from the packaging and lay them out on a clean, soft surface to prevent damage.
- Assemble Frame: Attach the steel frame legs and support beams according to the assembly diagram. Ensure all connections are secure but do not fully tighten screws until the desk is mostly assembled.
- Attach Desktop Panels: Secure the L-shaped desktop panels to the assembled frame. Align pre-drilled holes carefully.
- Install Monitor Stand: Mount the monitor stand panels onto the designated supports on the desktop.
- Integrate Power Unit: Insert the power outlet and USB hub into its designated slot on the desktop. Connect any necessary internal wiring as per the assembly guide.
- Attach Accessories: Install the headphone hooks and cup holder to the side of the desk as desired.
- Final Tightening: Once all components are in place and aligned, fully tighten all screws and bolts.
- Position Desk: Carefully move the assembled desk to its desired location.

Image 4.1: Top-down view illustrating the L-shaped desktop layout and integrated power unit. This image shows the overall shape and key features from above, including the wire management grommet and the placement of the power outlets.
5. Operating Instructions
5.1. Using the Integrated Power and USB Ports
The desk features two standard power outlets and two USB ports for convenient device charging and power. Connect the desk's main power cord to a wall outlet. Ensure the wall outlet is properly grounded.
- Power Outlets: Plug in your computer, monitors, or other electronic devices.
- USB Ports: Use these ports to charge smartphones, tablets, or power USB-compatible accessories.
Caution: Do not exceed the maximum electrical load specified for the integrated power strip. Overloading can cause electrical hazards.
5.2. Monitor Stand Usage
The elevated monitor stand is designed to accommodate up to three 29-inch monitors, providing an ergonomic viewing height. The space underneath can be used for speakers, storage, or other peripherals.

Image 5.1: The desk configured with three monitors on the elevated stand, demonstrating its capacity for a multi-monitor setup. This image highlights the ample space for gaming equipment and accessories.
5.3. Accessory Holders
The desk includes steel wire holders for headphones, VR headsets, controllers, and a cup holder. These are designed for easy access and organization.
- Headphone/VR Headset Hooks: Hang your audio or VR gear on the side hooks.
- Cup Holder: Use the integrated cup holder to keep beverages secure and prevent spills on the desktop.

Image 5.2: Close-up view of the integrated cup holder and headphone hooks, showcasing their practical design for organizing accessories and beverages.
5.4. Wire Management
Utilize the wire management grommet to route cables neatly, reducing clutter and improving safety.
6. Maintenance
- Cleaning: Wipe surfaces with a soft, damp cloth. Avoid abrasive cleaners or harsh chemicals that may damage the finish.
- Hardware Check: Periodically inspect all screws and bolts to ensure they remain tight. Re-tighten if necessary to maintain stability.
- Spills: Clean up spills immediately to prevent staining or damage to the wood finish.
7. Troubleshooting
- Desk is Wobbly:
- Ensure all assembly hardware is fully tightened.
- Verify the desk is placed on a level surface.
- Power Outlets/USB Ports Not Working:
- Check if the desk's main power cord is securely plugged into a functional wall outlet.
- Ensure the internal connections for the power unit are correctly installed as per the assembly guide.
- Verify that the wall outlet itself is receiving power (test with another device).
- Do not exceed the maximum load capacity of the power strip.
- Missing Parts:
- Refer to the "Package Contents" section and contact Jamesdar customer support for assistance.
8. Specifications
| Brand | Jamesdar |
| Model | Core Powered L-Shaped Computer Gaming Desk |
| Dimensions (D x W x H) | 77.95"D x 47.25"W x 35.83"H |
| Desktop Material | MDF Wood with Melamine Veneer |
| Frame/Leg Material | Alloy Steel |
| Color | Grey Wood Finish (Desktop), Black (Frame) |
| Product Weight | 85.8 lbs |
| Weight Capacity | 110 lbs per side |
| Power Outlets | 2 (Standard AC) |
| USB Ports | 2 |
| Monitor Stand Capacity | Up to three 29-inch monitors |
| Assembly Required | Yes |
| UPC | 816949023365 |

Image 8.1: Side view illustrating the desk's height (35.83") and depth (77.95"), including the monitor stand's elevation (5.79").

Image 8.2: Front view displaying the desk's width (47.25") and the dimensions of the accessory holders (cup holder and headphone hooks).
9. Warranty and Support
The Jamesdar Core Powered L-Shaped Gaming Desk comes with a 1-year limited warranty. This warranty covers manufacturing defects under normal use.
For warranty claims, missing parts, or technical support, please refer to the manufacturer's official website or contact Jamesdar customer service directly. Keep your purchase receipt as proof of purchase.
Contact Information: Please visit www.jamesdar.com for the most up-to-date support information.


