
1. Introduction
Welcome to the KODAK PIXPRO AZ425 Astro Zoom Digital Camera user manual. This guide provides essential information for setting up, operating, and maintaining your camera to ensure optimal performance and longevity. The AZ425 is designed for ease of use while offering advanced features like a 42x optical zoom, 20-megapixel sensor, and optical image stabilization, allowing you to capture stunning photos and HD videos.
2. What's in the Box
Please check that all the following items are included in your package:
- KODAK PIXPRO AZ425 Astro Zoom 20MP Digital Camera (White)
- Rechargeable Li-ion Battery
- AC Adapter
- Micro USB Cable
- Neck Strap
- Lens Cap with Cord
- Quick Start Guide Manual
- KODAK 32GB Class 10 UHS-I U1 SDHC Memory Card
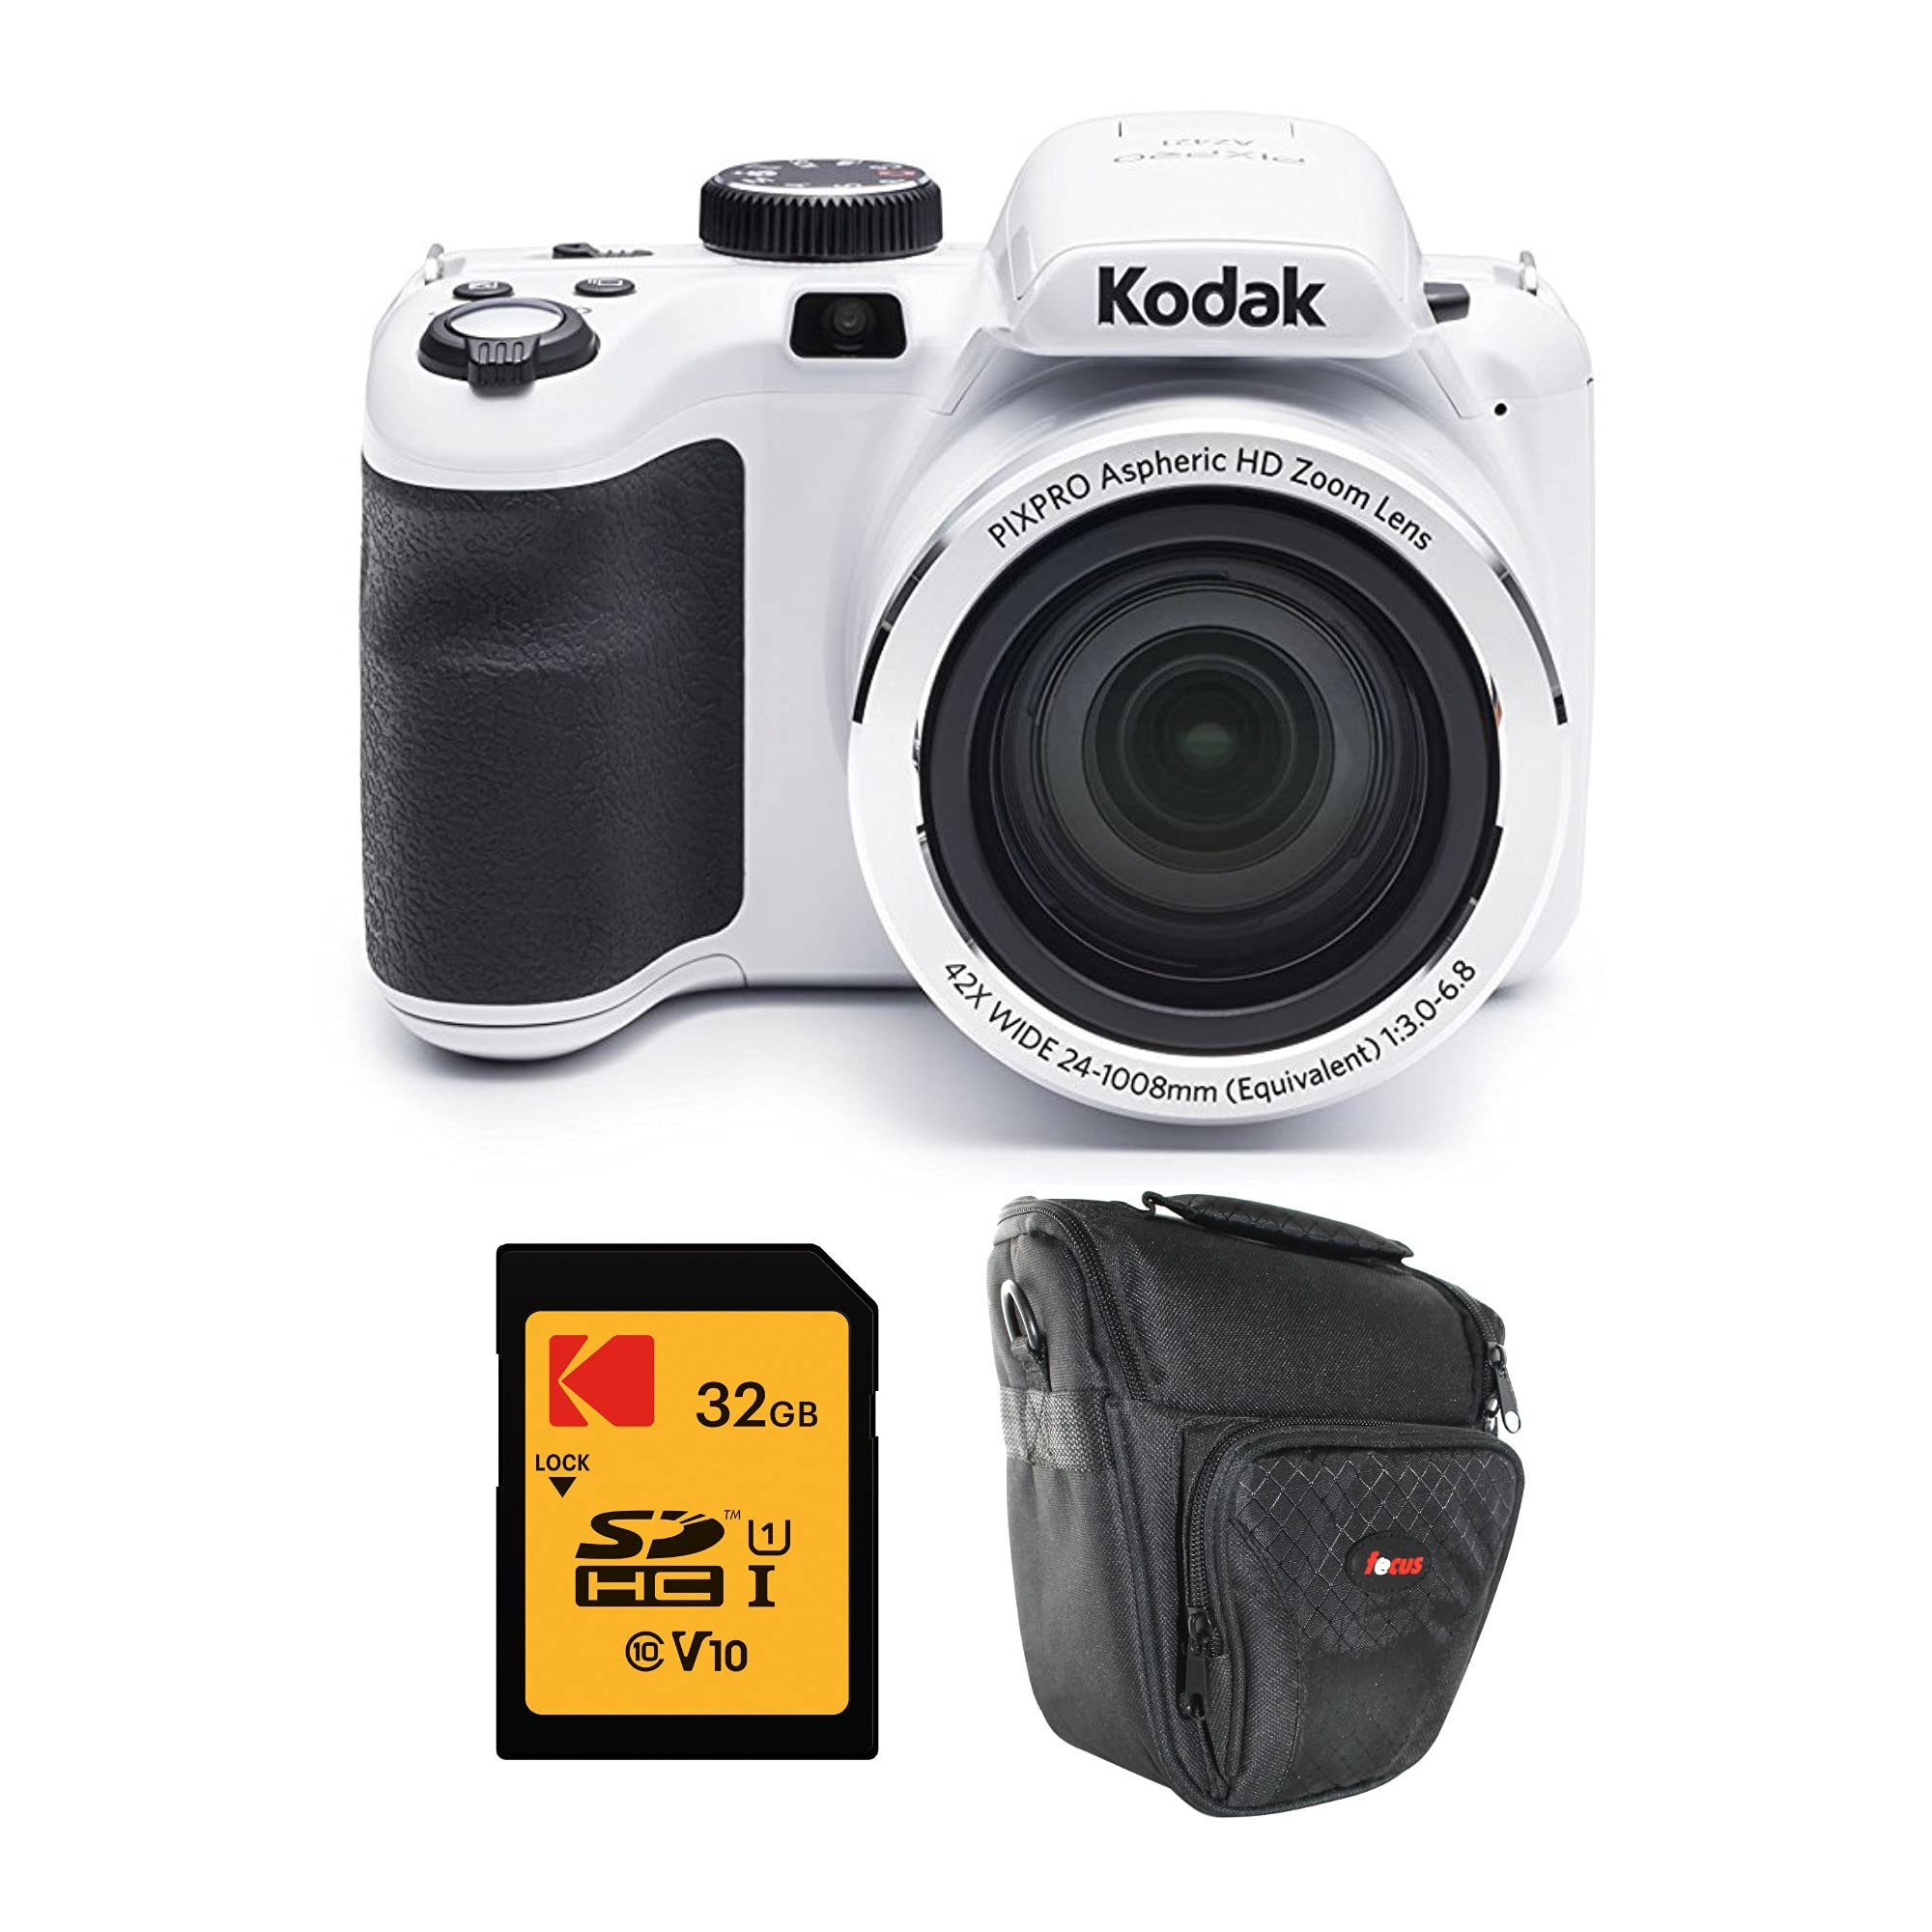
Image: KODAK PIXPRO AZ425 Astro Zoom Digital Camera in white, showing the front with the lens and pop-up flash.

Image: KODAK 32GB Class 10 UHS-I U1 SDHC Memory Card, yellow with black text and lock switch.
3. Camera Overview
Familiarize yourself with the main components of your KODAK PIXPRO AZ425 camera.
3.1 Front View

Image: Front view of the KODAK PIXPRO AZ425 camera with the lens retracted, showing the main lens, flash unit, and grip.
- Lens: 42x Optical Zoom, 24mm Wide Angle.
- Flash: Built-in pop-up flash for low-light conditions.
- Grip: Ergonomic grip for stable handling.
3.2 Rear View

Image: Rear view of the KODAK PIXPRO AZ425 camera, displaying the 3-inch LCD screen and various control buttons.
- LCD Screen: 3-inch display for viewing images and navigating menus.
- Control Buttons: Includes navigation, menu, playback, and delete buttons.
- Zoom Lever: Controls the optical zoom.
4. Setup
Follow these steps to prepare your camera for first use.
4.1 Charging the Battery
- Insert the rechargeable Li-ion battery into the camera.
- Connect the Micro USB cable to the camera's USB port.
- Connect the other end of the Micro USB cable to the AC Adapter.
- Plug the AC Adapter into a power outlet. The charging indicator will illuminate.
- Charge the battery fully before first use.
4.2 Inserting the Memory Card
The camera uses SD/SDHC memory cards. A KODAK 32GB Class 10 UHS-I U1 SDHC Memory Card is included.
- Locate the memory card slot on the camera (usually on the side or bottom, often with the battery compartment).
- Insert the SDHC memory card with the metal contacts facing the correct direction, as indicated by the diagram near the slot.
- Push the card gently until it clicks into place.
- To remove, push the card in again until it springs out.
Image: KODAK 32GB Class 10 UHS-I U1 SDHC Memory Card, ready for insertion.
4.3 Attaching the Neck Strap and Lens Cap
- Attach the neck strap to the camera's strap lugs for secure carrying.
- Secure the lens cap to the lens using its cord to prevent loss.
5. Operating the Camera
Learn how to capture photos and videos with your AZ425 camera.
5.1 Powering On/Off
- Press the Power button to turn the camera on or off.
5.2 Taking Photos
- Turn the camera on. The lens will extend.
- Select your desired shooting mode using the mode dial (e.g., Auto Scene for automatic settings).
- Frame your shot using the 3-inch LCD screen.
- Use the zoom lever to adjust the 42x optical zoom.
- Press the shutter button halfway down to focus. The focus frame will turn green when focus is achieved.
- Press the shutter button fully to capture the image.

Image: KODAK PIXPRO AZ425 camera with its 42x optical zoom lens fully extended, ready to capture distant subjects.
5.3 Recording Videos
- Switch to video recording mode (if available via mode dial or dedicated button).
- Press the dedicated video record button to start recording.
- Press the button again to stop recording. The camera records HD 720p video.
5.4 Playback and Review
- Press the Playback button to view your captured photos and videos.
- Use the navigation buttons to scroll through images.
- Press the Delete button to remove unwanted files.
5.5 Using Special Features
- Optical Image Stabilization: Automatically reduces blur caused by camera shake, especially useful with the 42x zoom.
- Panorama Capture: Follow the on-screen instructions to stitch multiple photos into a wide panoramic image.
- Object Tracking: Allows the camera to maintain focus on a moving subject.
6. Maintenance
Proper care will extend the life of your camera.
- Cleaning the Lens: Use a soft, lint-free cloth specifically designed for camera lenses. Do not use harsh chemicals.
- Cleaning the Body: Wipe the camera body with a soft, dry cloth. For stubborn dirt, slightly dampen the cloth with water.
- Battery Care: Store the battery in a cool, dry place when not in use. Avoid extreme temperatures.
- Storage: When storing the camera for extended periods, remove the battery and memory card. Store in a dry, dust-free environment.
7. Troubleshooting
If you encounter issues with your camera, refer to the following common solutions.
| Problem | Solution |
|---|---|
| Camera does not power on. | Ensure the battery is fully charged and correctly inserted. Try charging the battery again. |
| Cannot take photos. | Check if the memory card is inserted correctly and has sufficient free space. Ensure the lens cap is removed. |
| Images are blurry. | Ensure the lens is clean. Hold the camera steady or use a tripod. Check lighting conditions. Optical Image Stabilization helps reduce blur. |
| Flash does not fire. | Check flash settings; ensure it's not set to "Off" or "Red-eye Reduction" in bright conditions. Ensure the flash unit is popped up. |
| Memory card error. | Reinsert the memory card. If the problem persists, try formatting the card (this will erase all data) or use a different compatible SDHC card. |
8. Specifications
Key technical specifications for the KODAK PIXPRO AZ425 Digital Camera.
| Feature | Detail |
|---|---|
| Model Name | AZ425 (also referred to as AZ421 in some specifications) |
| Brand | KODAK |
| Photo Sensor Resolution | 20 MP |
| Optical Zoom | 42x |
| Lens Type | Wide Angle, Zoom (24mm wide-angle) |
| Image Stabilization | Digital, Optical |
| Screen Size | 3 Inches (LCD) |
| Video Resolution | 720p |
| Supported File Format | JPEG (Images), MP4 (Video) |
| Connectivity Technology | USB, Wi-Fi |
| Flash Memory Type | SD, SDHC (up to 32 GB supported) |
| Battery Type | Lithium Ion |
| Item Weight | 1 Pound |
| Color | White |
9. Warranty and Support
9.1 Warranty Information
Your KODAK PIXPRO AZ425 Digital Camera comes with a Limited 1-Year Manufacturer Warranty. Please retain your proof of purchase for warranty claims. The warranty covers defects in materials and workmanship under normal use. It does not cover damage caused by misuse, accidents, unauthorized repairs, or normal wear and tear.
9.2 Customer Support
For technical assistance, troubleshooting beyond this manual, or warranty service, please visit the official KODAK PIXPRO support website or contact their customer service. Refer to the packaging or the official KODAK website for the most current contact information.
Visit the KODAK Store on Amazon for more product information and accessories.