
Atomi Smart B07ZRY15WG
Contents
Atomi Smart Garage Door Opener User Manual
Model: B07ZRY15WG
Product Overview
The Atomi Smart Garage Door Opener is designed to provide convenient and secure control over your garage door from anywhere using your smartphone. It integrates a built-in camera for monitoring and offers compatibility with popular voice assistants like Amazon Alexa and Google Assistant. This device allows you to monitor and operate your garage door without needing to replace your existing opener system.

Image: The Atomi Smart Garage Door Opener unit shown alongside a smartphone displaying its control application.
Setup and Installation
Follow these steps to set up your Atomi Smart Garage Door Opener. Ensure your Wi-Fi network is 2.4GHz, as 5GHz networks are not supported by this device.
- Unpack and Identify Components: Carefully remove all items from the packaging. You should have the Atomi Smart Garage Door Opener unit, power adapter, and sensor wires.
- Mount the Device: Choose a suitable location near your garage door opener unit, typically on the wall or ceiling, ensuring it has a clear view of the garage door. Use the provided mounting hardware to secure the device.
- Connect Sensor Wires: Connect the sensor wires from the Atomi Smart device to your existing garage door opener's wall control terminals. These are typically the same terminals used for your wall-mounted push button. Refer to your garage door opener's manual for specific terminal locations if unsure.
- Power On: Plug the power adapter into the Atomi Smart Garage Door Opener and then into a power outlet. The device's indicator light should begin to flash, indicating it's ready for pairing.
- Download the Atomi Smart App: Download the free Atomi Smart app from your smartphone's app store (available for iOS and Android).
- Pair with App: Open the Atomi Smart app, create an account or log in, and follow the on-screen instructions to add a new device. Select the Garage Door Opener from the list of devices. Ensure your phone is connected to a 2.4GHz Wi-Fi network during the pairing process.
- Calibrate Sensor: The app will guide you through calibrating the door sensor to accurately detect the open and closed states of your garage door.
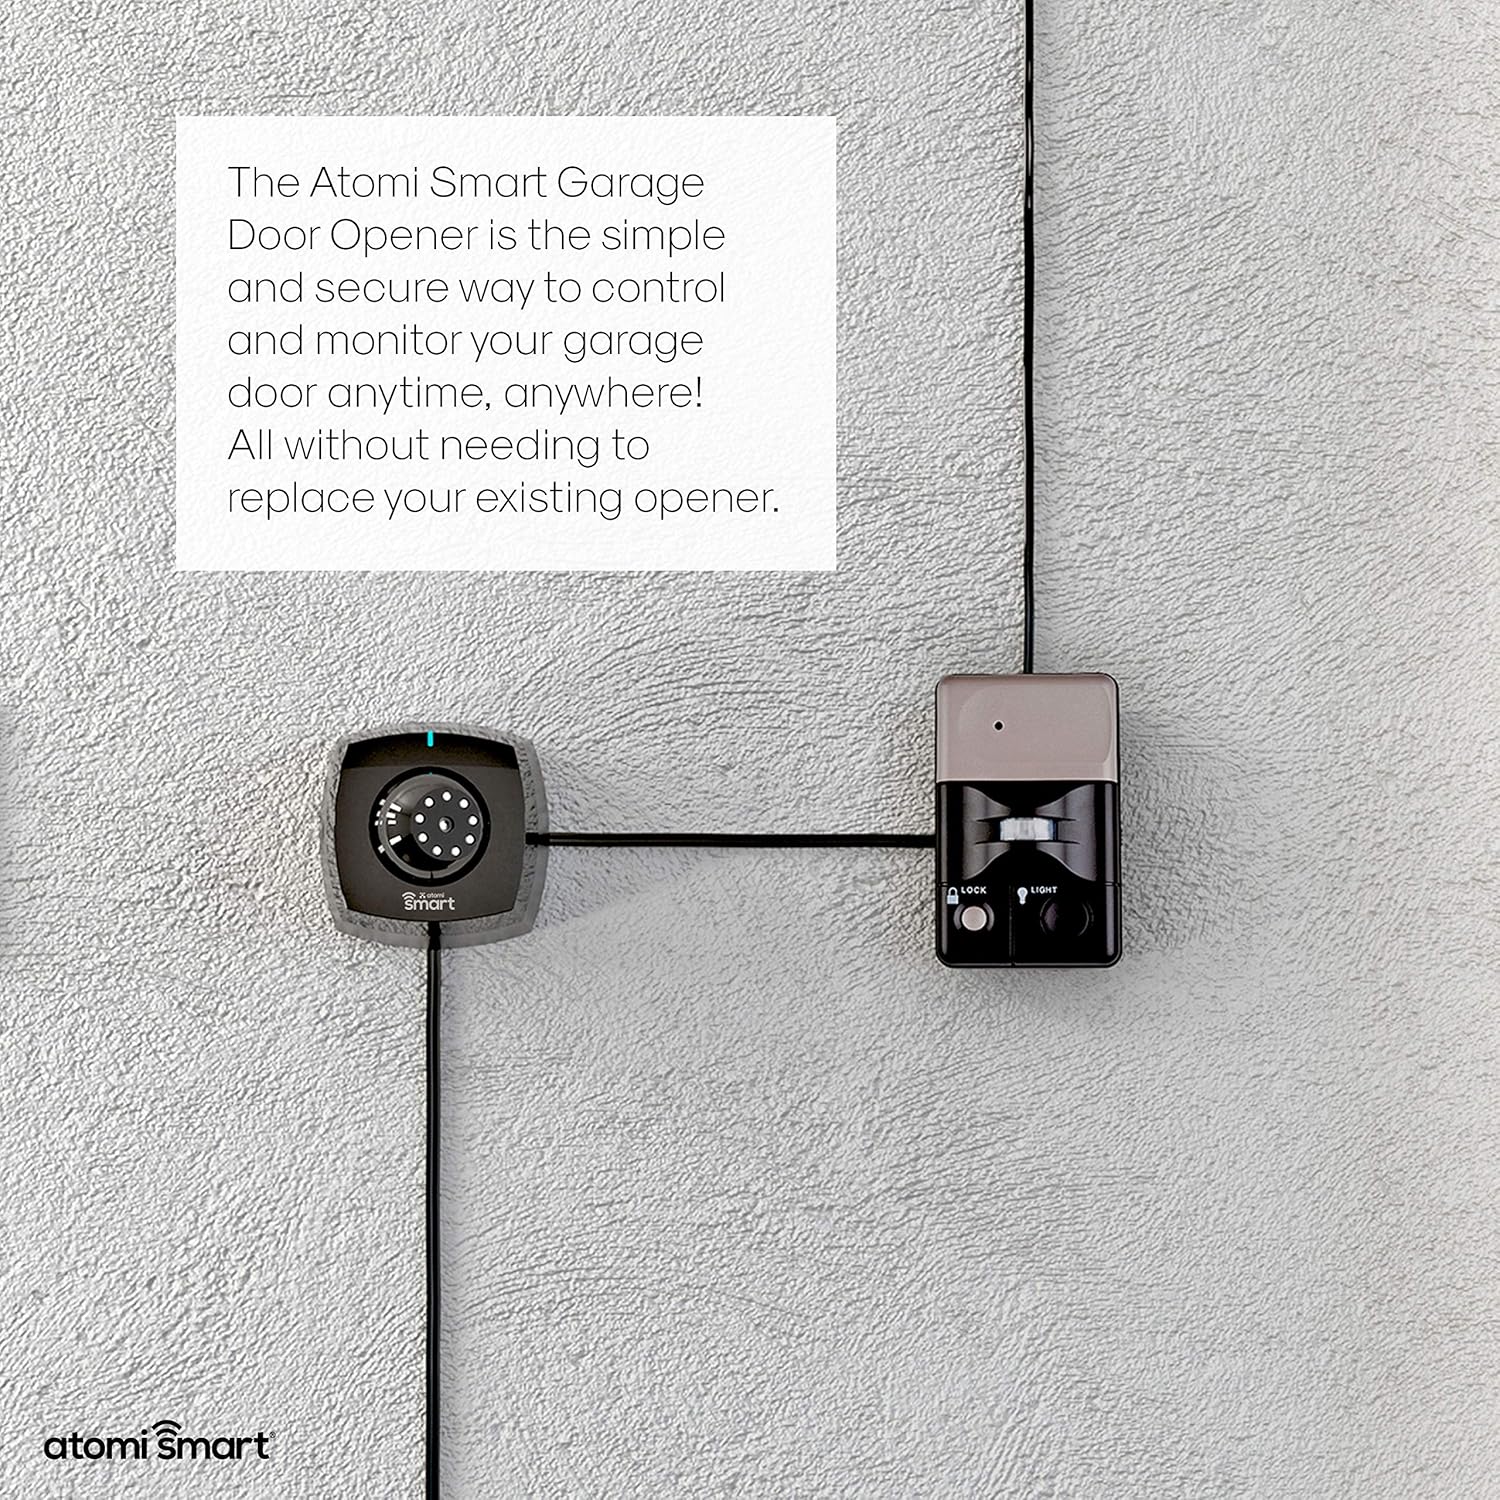
Image: Installation diagram illustrating how the Atomi Smart Garage Door Opener connects to your existing garage door system.
Video: Official product video demonstrating the setup process and key features of the Atomi Smart Garage Door Opener.
Operating the Device
Once installed and paired, you can control and monitor your garage door using the Atomi Smart app or voice commands.
Using the Atomi Smart App
- Open/Close Garage Door: From the main screen of the app, tap the garage door icon to open or close your door. The app will display the current status (open or closed).
- Real-Time Monitoring: The built-in camera provides a live view of your garage. You can manually capture a photo at any time by pressing the camera icon in the app.
- History Log: The app automatically captures a photo of your garage every time the door opens or closes. These images are stored in the app's history log, allowing you to review activity.
- Notifications: Enable push notifications in the app settings to receive real-time alerts when your garage door opens or closes.
- Scheduling: Set schedules for your garage door to open or close automatically at specific times.

Image: Control your garage door from your phone anytime, anywhere, as shown with the Atomi Smart app.

Image: The Atomi Smart app's history log, displaying captured images of the garage interior each time the door opens or closes.
Voice Control
The Atomi Smart Garage Door Opener is compatible with Amazon Alexa and Google Assistant. Link your Atomi Smart account within the Alexa or Google Home app to enable voice commands.
- Amazon Alexa: Say "Alexa, open the garage door" or "Alexa, close the garage door."
- Google Assistant: Say "Hey Google, open the garage door" or "Hey Google, close the garage door."

Image: Voice control functionality with Amazon Alexa and Google Assistant for opening and closing the garage door.
Maintenance
To ensure optimal performance and longevity of your Atomi Smart Garage Door Opener, consider the following maintenance tips:
- Software Updates: Regularly check the Atomi Smart app for firmware updates for your device. Keeping the firmware up-to-date ensures you have the latest features and security enhancements.
- Clean the Camera Lens: Periodically wipe the camera lens with a soft, dry cloth to ensure clear image quality.
- Check Connections: Occasionally inspect the power and sensor wire connections to ensure they are secure and free from damage.
- Wi-Fi Signal Strength: Ensure your Wi-Fi router is providing a strong and stable 2.4GHz signal to the device's location in the garage.
Troubleshooting
If you encounter issues with your Atomi Smart Garage Door Opener, refer to the following common troubleshooting steps:
- Device Not Connecting to Wi-Fi:
- Ensure your Wi-Fi network is 2.4GHz. This device does not support 5GHz networks.
- Verify that your Wi-Fi password is entered correctly in the app.
- Move the device closer to your Wi-Fi router to improve signal strength during setup.
- Restart your Wi-Fi router and the Atomi Smart device.
- If you have a mesh Wi-Fi system, ensure your phone is connected to the 2.4GHz band before attempting to pair the device.
- Garage Door Not Responding to Commands:
- Check if the device is connected to Wi-Fi (solid blue indicator light).
- Verify that the sensor wires are securely connected to both the Atomi Smart device and your garage door opener's wall control terminals.
- Ensure your existing garage door opener is powered on and functioning correctly with its original remote or wall button.
- Recalibrate the door sensor through the Atomi Smart app.
- Poor Camera Image Quality:
- Clean the camera lens with a soft cloth.
- Ensure adequate lighting in your garage for clearer images.
- Incorrect Door Status in App:
- Recalibrate the door sensor through the Atomi Smart app.
- Check for any obstructions that might prevent the sensor from accurately detecting the door's position.
Specifications
| Manufacturer | Atomi |
| Model Number | B07ZRY15WG |
| Item Weight | 14.1 ounces |
| Package Dimensions | 9.37 x 6.38 x 2.72 inches |
| Installation Method | Screw In |
| Mounting Type | Door Mount |
| Batteries Required? | No |
| Date First Available | November 23, 2019 |
Warranty and Support
For detailed warranty information, please refer to the official Atomi Smart website or the documentation included with your product. Warranty terms may vary based on the seller and region.
For technical support, troubleshooting assistance, or further inquiries, please visit the Atomi Smart support page or contact their customer service directly. You can also refer to the User Guide (PDF) for additional information.
Ask a question about this manual
Ask about setup, troubleshooting, compatibility, parts, safety, or missing instructions. Manuals+ will review the question and use this page’s manual context to help answer it.