
1. Introduction
This manual provides essential information for the proper use and installation of the Stens Gasket Set 480-051. This gasket set is designed as a direct replacement for Briggs & Stratton OEM part 592174 and is compatible with specific Briggs & Stratton engine models including 110P02, 110P05, 111P02, 112P02, 114P02, 11P902, 11P907, and 121P02. Please read this manual thoroughly before attempting any installation or maintenance.
2. Safety Information
Always prioritize safety when working with engine components. Failure to follow safety precautions can result in injury or damage to equipment.
- Disconnect Power: Ensure the engine is completely off and cooled down. Disconnect the spark plug wire to prevent accidental starting.
- Wear Protective Gear: Use appropriate personal protective equipment (PPE) such as safety glasses and gloves.
- Work in a Ventilated Area: Ensure adequate ventilation when working with fuels, oils, and cleaning agents.
- Consult Engine Manual: Always refer to the specific service manual for your Briggs & Stratton engine model for detailed disassembly and assembly procedures.
- Handle with Care: Gaskets are delicate; avoid bending or damaging them during handling and installation.
3. Product Overview
The Stens Gasket Set 480-051 provides the necessary gaskets for engine repair or rebuilds. Gaskets are crucial for sealing mating surfaces, preventing leaks of fluids (oil, fuel, coolant) and gases (combustion gases, exhaust). This set is specifically designed to meet or exceed OEM specifications for the listed Briggs & Stratton engines.
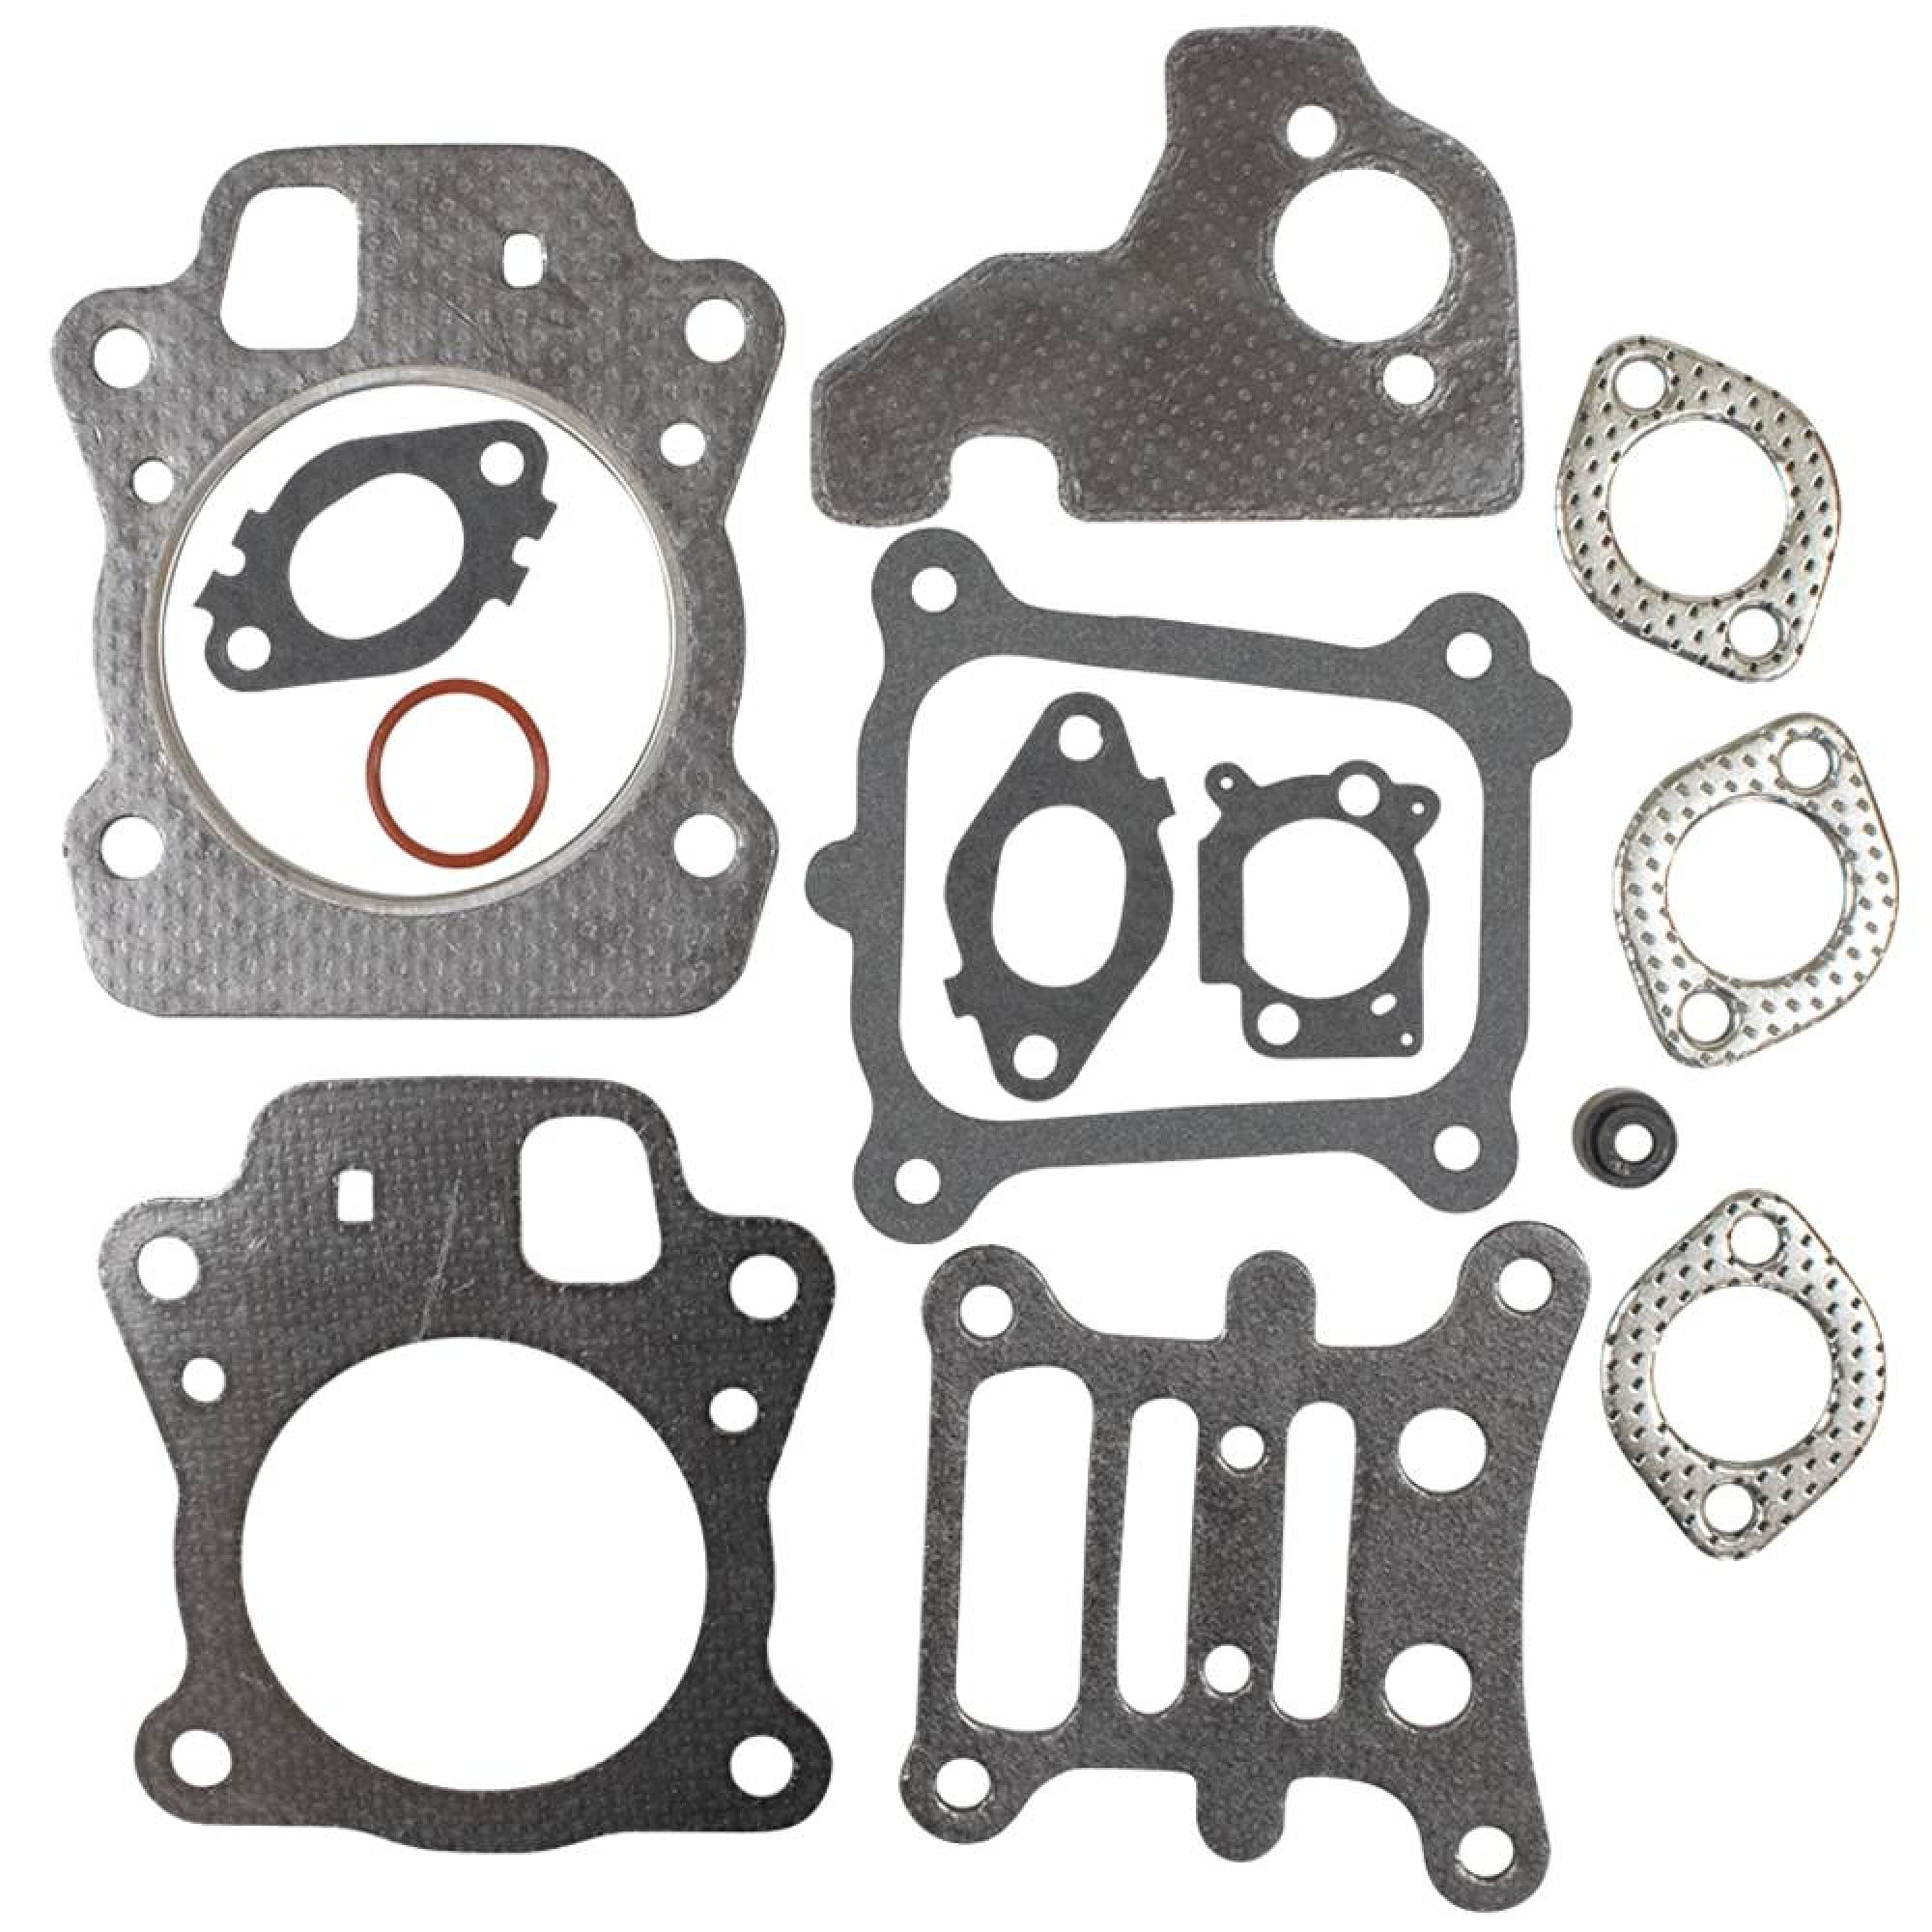
Image 1: Stens Gasket Set 480-051, showing various gaskets included in the kit.
3.1. Compatibility
This gasket set is compatible with the following Briggs & Stratton engine models:
- 110P02
- 110P05
- 111P02
- 112P02
- 114P02
- 11P902
- 11P907
- 121P02
It replaces Briggs & Stratton OEM part number 592174.
3.2. Ethanol Compatibility
This gasket set is not compatible with fuels containing greater than 10% ethanol. Using fuels with higher ethanol content may lead to premature gasket degradation and engine damage.
4. Installation
The installation of gaskets requires mechanical aptitude and adherence to specific engine service procedures. Always consult your engine's official service manual for detailed, model-specific instructions and torque specifications. The following are general steps and considerations:
- Preparation: Ensure the engine is clean and free of debris. Gather all necessary tools.
- Disassembly: Carefully disassemble the engine components to access the gaskets that need replacement. Keep track of all fasteners and their locations.
- Surface Cleaning: Thoroughly clean all mating surfaces where new gaskets will be installed. Remove all traces of old gasket material, carbon, oil, and dirt. Use a gasket scraper or fine abrasive pad if necessary, being careful not to scratch or damage the metal surfaces.
- Gasket Placement: Match the new gaskets from the Stens 480-051 set to their corresponding locations. Ensure they are oriented correctly.
- Sealants (if required): Some applications may require a thin layer of gasket sealant or RTV (Room Temperature Vulcanizing) silicone. Refer to your engine's service manual to determine if sealants are necessary and which type to use. Avoid excessive sealant, as it can squeeze out and cause blockages.
- Reassembly: Carefully reassemble the engine components, ensuring proper alignment. Tighten fasteners to the manufacturer's specified torque values, following the recommended tightening sequence (e.g., cross-pattern) to ensure even pressure.
- Post-Installation Check: After reassembly, double-check all connections and ensure no tools or debris are left in the engine area.
Important: Incorrect installation or improper torque can lead to leaks, engine damage, or reduced performance. If you are unsure about any step, seek assistance from a qualified technician.
5. Operating Considerations
Once new gaskets are installed and the engine is reassembled, observe the following:
- Initial Start-up: Start the engine and allow it to run at idle for a few minutes. Check for any immediate leaks around the newly installed gaskets.
- Break-in Period: Some engine repairs may require a short break-in period. Consult your engine manual for specific recommendations.
- Regular Checks: Periodically inspect the gasket areas for signs of leaks or deterioration during routine maintenance.
6. Maintenance
Proper engine maintenance helps prolong the life of gaskets and overall engine health.
- Use Correct Fuel: Always use fuel that complies with the engine manufacturer's specifications, especially regarding ethanol content. As noted, this gasket set is not compatible with fuels containing over 10% ethanol.
- Regular Oil Changes: Ensure engine oil is changed at recommended intervals using the correct type and viscosity.
- Prevent Overheating: Overheating can damage gaskets. Ensure the engine's cooling system (if applicable) is functioning correctly and that cooling fins are clean.
- Avoid Over-tightening: Do not over-tighten fasteners during routine maintenance, as this can compress gaskets excessively and lead to premature failure.
7. Troubleshooting
If you experience issues after gasket replacement, consider the following common problems:
- Leaks:
- Cause: Improper surface cleaning, incorrect gasket placement, insufficient or uneven torque on fasteners, damaged gasket during installation, or use of incompatible fuel (high ethanol).
- Solution: Re-inspect the affected area. Disassemble, clean surfaces thoroughly, replace gasket if damaged, and reassemble with correct torque specifications. Verify fuel type.
- Engine Performance Issues (e.g., misfires, loss of power):
- Cause: A leaking head gasket or intake manifold gasket can cause vacuum leaks or loss of compression.
- Solution: Perform diagnostic tests (e.g., compression test, vacuum test) to pinpoint the leak. Replace affected gaskets.
- Smoke from Exhaust (unusual color):
- Cause: Blue smoke may indicate oil burning due to a leaking head gasket or valve cover gasket. White smoke could indicate coolant burning (if applicable to engine type).
- Solution: Diagnose the source of the leak and replace the appropriate gasket.
For complex issues, consult a professional engine repair technician.
8. Specifications
| Attribute | Detail |
|---|---|
| Model Number | 480-051 |
| Replaces OEM Part | Briggs & Stratton 592174 |
| Compatible Engine Models | Briggs & Stratton 110P02, 110P05, 111P02, 112P02, 114P02, 11P902, 11P907, 121P02 |
| Product Dimensions | 10.6 x 7.9 x 0.7 inches |
| Item Weight | 4.8 ounces |
| Ethanol Compatibility | Not compatible with greater than 10% ethanol fuel |
| UPC | 023899541362 |
9. Warranty Information
For specific warranty terms and conditions regarding the Stens Gasket Set 480-051, please refer to the original purchase documentation or contact Stens directly. Warranty coverage typically applies to manufacturing defects and does not cover damage resulting from improper installation, misuse, or normal wear and tear.
10. Support
If you require technical assistance, have questions about installation, or need to report a product issue, please contact Stens customer support or the retailer from whom you purchased this product. When contacting support, please have your product model number (480-051) and purchase details readily available.
You can find more information and contact details on the official Stens website: Visit the Stens Store on Amazon