1. Introduction
This manual provides essential information for the installation and proper handling of the A-MIND LCD Display Assembly Repair Kit for the Samsung Galaxy A6 2018. This kit is designed to replace damaged or faulty screens on compatible models, restoring device functionality. Please read all instructions carefully before proceeding with the repair.
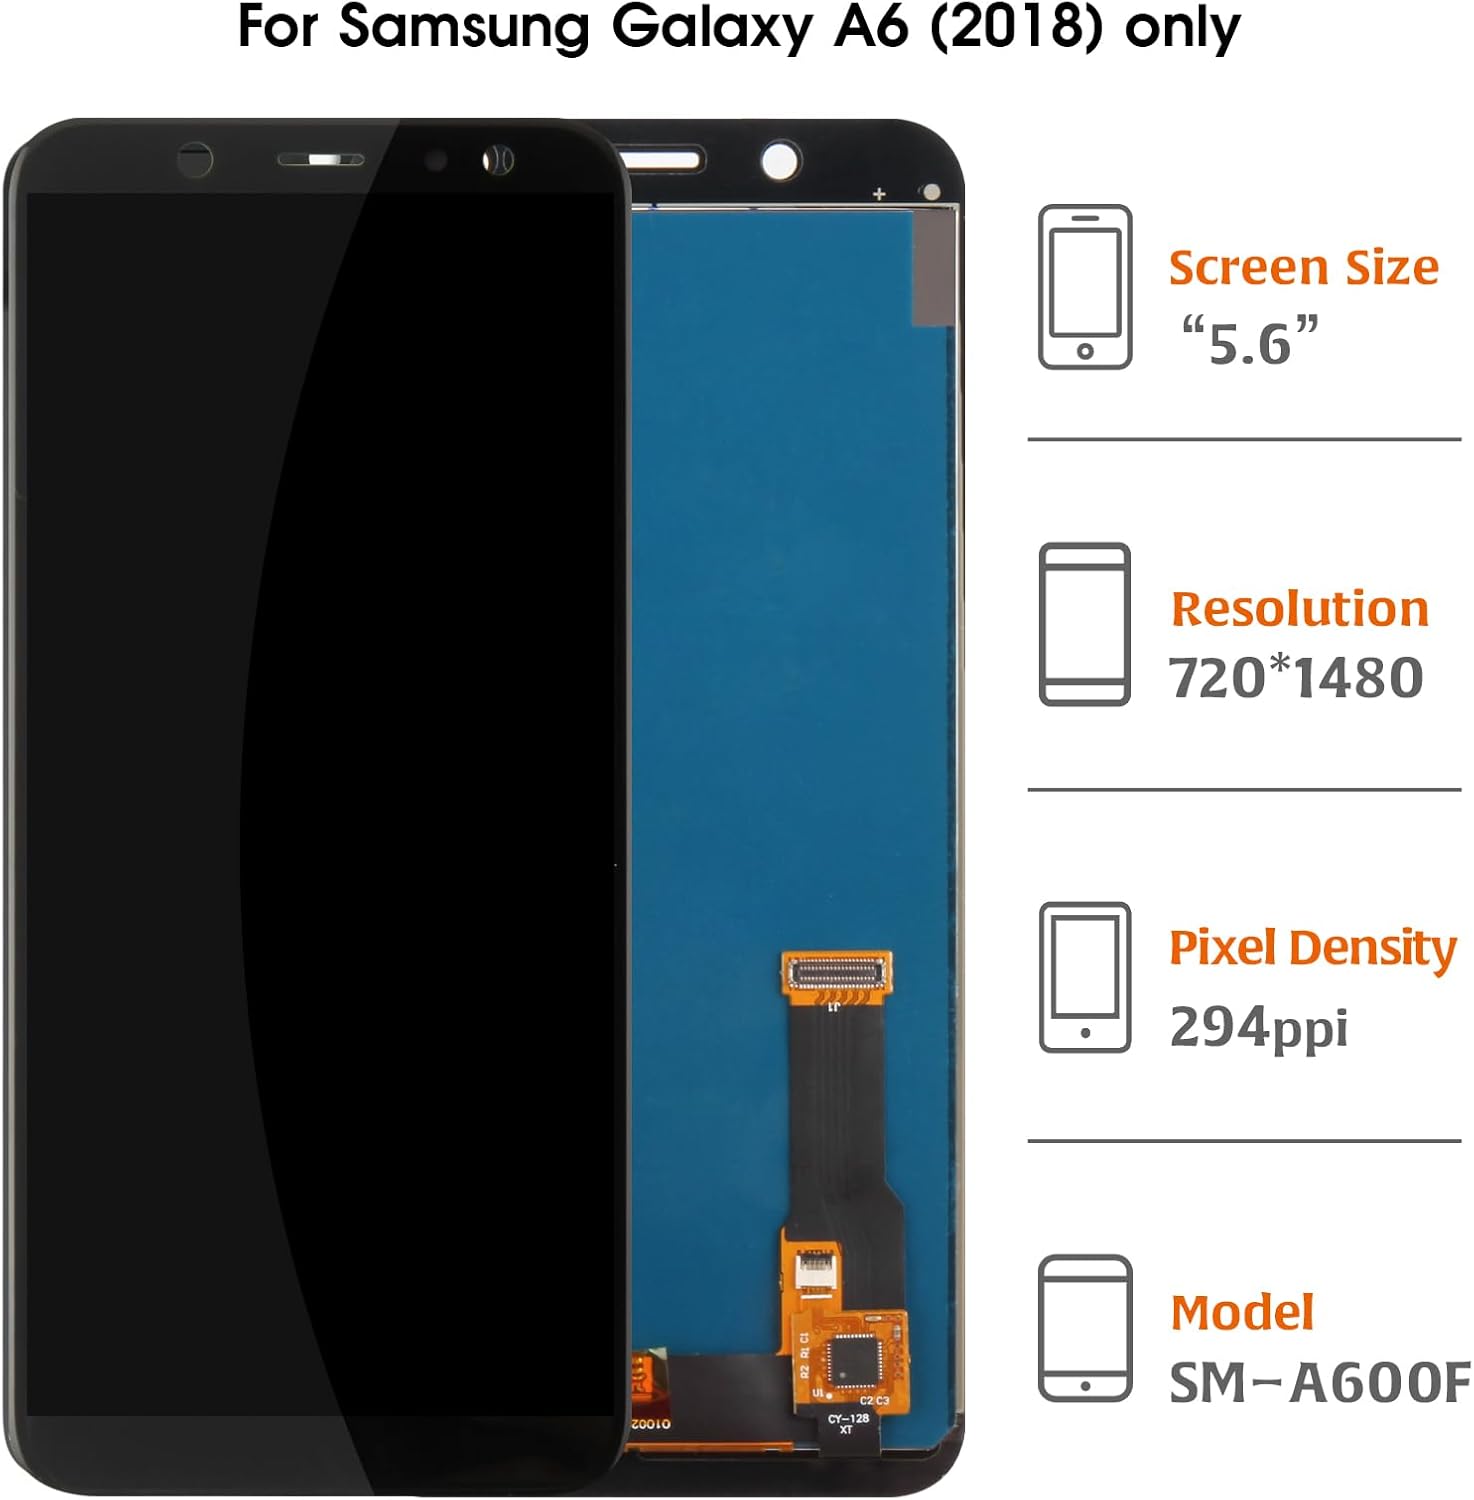
Image: The A-MIND LCD Display Assembly for Samsung Galaxy A6 2018, showing the screen and its flexible connector.
2. Safety Information and Important Warnings
- Professional Installation Recommended: Screen replacement requires specialized skills and tools. Improper installation can lead to damage to the screen or the device. It is highly recommended to consult or seek assistance from professional and technical personnel for installation.
- Disconnect Battery: Before beginning any installation, ensure the device's battery cable connector is disconnected to prevent electrical damage.
- Handle with Care: The display assembly is a fragile component. Avoid applying excessive force, especially to the screen edges, corners, and the flexible cable.
- Flex Cable Handling: Do not fold or strongly pull the flexible cable (flex cable) or its connectors. Damage to these can render the screen inoperable.
- Chip Area: Do not press hard on the chip located under the screen.
- Tool Compatibility: The included tools are general-purpose and may not be suitable for all mobile phone models. Additional specialized tools might be required.

Image: Visual warnings indicating critical areas to avoid pressure on the screen edges, corners, flex cable, and the chip underneath the screen.
3. Package Contents
The A-MIND LCD Display Assembly Repair Kit includes the following items:
- 1x LCD Screen Display Assembly
- 1x Opening Tools Kit (general purpose)
- 1x Tempered Glass Film
- 1x Double-sided Adhesive Sticker
4. Installation Guide
This section provides a general guide for installing the LCD display assembly. Due to the complexity of smartphone repair, detailed step-by-step instructions for disassembling your specific phone model are beyond the scope of this manual. Please refer to online resources or professional repair guides for your Samsung Galaxy A6 2018 model.
- Preparation: Power off your device completely and disconnect the battery cable. Clear a clean, well-lit workspace.
- Remove Old Screen: Carefully remove the damaged screen assembly from your phone. This typically involves heating the edges to loosen adhesive, then using prying tools. Be cautious of internal components and flex cables.
- Clean Frame: Thoroughly clean any old adhesive residue from the phone's frame. A clean surface is crucial for proper adhesion of the new screen.
- Test New Screen (Crucial Step): Before fully installing, connect the new LCD display assembly's flex cable to the phone's motherboard. Reconnect the battery cable temporarily, then power on the phone. Test the screen's display, touch functionality, and ensure there are no dead pixels or lines. If any issues arise, disconnect the battery and recheck connections. Do not proceed with full installation if the screen is not functioning correctly.
- Final Installation: Once the screen is confirmed to be working, disconnect the battery again. Apply the double-sided adhesive sticker to the phone frame. Carefully align and press the new LCD display assembly into place. Ensure even pressure and a secure fit.
- Secure Components: Reconnect all internal components and the battery cable. Reassemble the phone's back cover and any other parts.
Note: The manufacturer performs rigorous quality control, testing each unit before shipment to ensure perfect functionality, absence of scratches, dead zones, pixels, or lines. This ensures a high-quality product is provided.
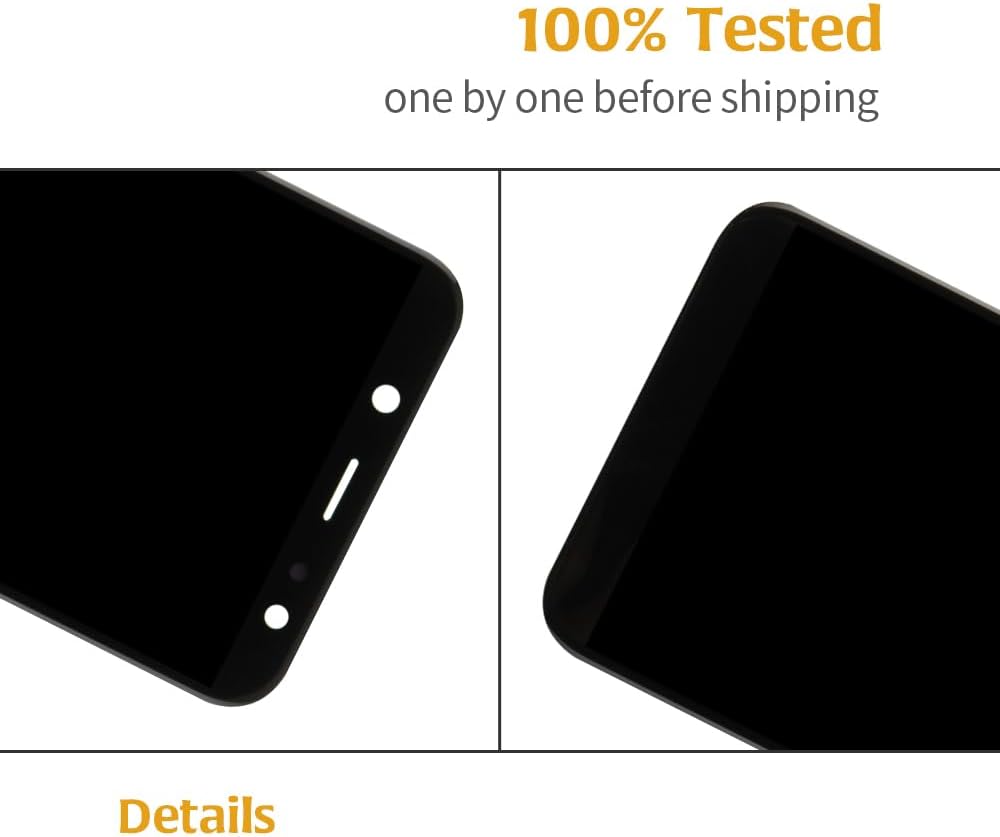
Image: Close-up view of screen corners, highlighting the "100% Tested" process before shipping.

Image: Close-up view of the flex cable connection, also part of the "100% Tested" process.
5. Post-Installation Check
After completing the physical installation, perform the following checks:
- Power On: Turn on your Samsung Galaxy A6 2018.
- Display Functionality: Verify that the screen displays images correctly, without flickering, lines, or dead pixels.
- Touch Responsiveness: Test the touch screen across the entire display area to ensure it responds accurately and consistently.
- Sensor Check: Test proximity sensor, ambient light sensor, and front camera functionality, as these are often located near the display.
6. Care and Handling
To ensure the longevity of your new display:
- Use Screen Protector: Apply the included tempered glass film immediately after installation to protect against scratches and minor impacts.
- Avoid Drops and Impacts: While the new screen restores functionality, it is still susceptible to damage from drops and impacts.
- Clean Gently: Use a soft, lint-free cloth to clean the screen. Avoid harsh chemicals.
7. Troubleshooting
If you encounter issues after installation, consider the following:
- Screen Not Turning On:
- Ensure the battery is charged.
- Verify that the display's flex cable is securely connected to the motherboard.
- Check if the battery connector is properly seated.
- Touch Screen Unresponsive or Glitching:
- Ensure the flex cable is not damaged, folded, or improperly connected.
- Restart the device.
- If the issue persists, the screen may be faulty or damaged during installation. Re-test the screen before final adhesion.
- Display Issues (Lines, Dead Pixels, Discoloration):
- These often indicate a faulty screen or damage to the flex cable during installation.
- Contact customer support if the screen exhibits these issues immediately after careful installation.
- Screen Does Not Fit Perfectly:
- Ensure all old adhesive and debris are completely removed from the phone frame.
- Verify that the screen model is correct for your specific Samsung Galaxy A6 2018 variant.
For persistent issues, refer to the Customer Support section.
8. Specifications
| Compatible Models | Samsung Galaxy A6 2018 (SM-A600F/DS, A600GN/L, A600G/DS, A600T/P/A) |
| Screen Type | TFT LCD |
| Resolution | 720x1480 pixels |
| Screen Size | 5.6 inches |
| Color | Black |
| Package Dimensions | 7.64 x 4.06 x 1.26 inches |
| Item Weight | 3.53 ounces |
| Manufacturer | A-MIND |
| Date First Available | October 24, 2019 |
9. Warranty Information
A-MIND provides a 6-month warranty for this product. This warranty covers quality problems that are not caused by human factors or improper installation.
If you experience any non-human factor quality issues within the 6-month warranty period, A-MIND will provide a replacement or a refund.
Please note that damage caused by improper installation is not covered under this warranty. It is crucial to follow the installation guidelines and recommendations for professional assistance.
10. Customer Support
For any questions regarding your A-MIND LCD Display Assembly Repair Kit, including installation queries, troubleshooting assistance, or warranty claims, please contact the A-MIND after-sales customer service team.
Customer service representatives aim to respond to inquiries within 12 hours to assist you in resolving any issues.
Contact Information: Please refer to your purchase documentation or the seller's platform for the most current customer service contact details.


