1. Introduction
Thank you for choosing the CREATE/WARM CRYSTAL 2000W Electric Glass Convector. This manual provides essential information for the safe and efficient operation of your new appliance. Please read it thoroughly before installation and use, and keep it for future reference.
The CREATE/WARM CRYSTAL 2000W is a modern electric convector designed for efficient heating with a sleek tempered glass finish. It features Wi-Fi connectivity for remote control, a touch screen interface, and multiple safety features.

Image 1.1: Front view of the CREATE/WARM CRYSTAL 2000W Electric Glass Convector.
2. Important Safety Instructions
Always follow basic safety precautions when using electrical appliances to reduce the risk of fire, electric shock, and injury to persons.
- Read all instructions before using this heater.
- This heater is hot when in use. To avoid burns, do not let bare skin touch hot surfaces. Keep combustible materials, such as furniture, pillows, bedding, papers, clothes, and curtains at least 1 meter (3 feet) from the front of the heater and keep them away from the sides and rear.
- Extreme caution is necessary when any heater is used by or near children or invalids and whenever the heater is left operating and unattended.
- Do not operate any heater with a damaged cord or plug or after the heater malfunctions, has been dropped or damaged in any manner. Return heater to authorized service facility for examination, electrical or mechanical adjustment, or repair.
- Do not use outdoors.
- This heater is not intended for use in bathrooms, laundry areas, and similar indoor locations. Never locate heater where it may fall into a bathtub or other water container.
- Do not run cord under carpeting. Do not cover cord with throw rugs, runners, or similar coverings. Arrange cord away from traffic area and where it will not be tripped over.
- To disconnect heater, turn controls to OFF, then remove plug from outlet.
- Do not insert or allow foreign objects to enter any ventilation or exhaust opening as this may cause an electric shock or fire, or damage the heater.
- To prevent a possible fire, do not block air intakes or exhaust in any manner. Do not use on soft surfaces, like a bed, where openings may become blocked.
- A heater has hot and arcing or sparking parts inside. Do not use it in areas where gasoline, paint, or flammable liquids are used or stored.
- Use this heater only as described in this manual. Any other use not recommended by the manufacturer may cause fire, electric shock, or injury to persons.
- Always plug heaters directly into a wall outlet/receptacle. Never use with an extension cord or relocatable power tap (outlet/power strip).
- This product is equipped with a double sensor against overheating and an anti-freeze thermostat. It also benefits from an IP24 protection rating, making it suitable for use in damp environments, but not direct water exposure.
3. Package Contents
Please check the package contents upon unpacking:
- CREATE/WARM CRYSTAL 2000W Electric Glass Convector
- Mounting accessories (screws, wall plugs)
- Feet for freestanding use (if included with your model)
- User Manual
4. Setup and Installation
4.1 Choosing a Location
Select a location that is clear of obstructions and combustible materials. Ensure the heater is placed on a stable, level surface if using feet, or securely mounted to a wall.
4.2 Freestanding Installation (with feet)
- Carefully remove the convector from its packaging.
- Attach the provided feet to the base of the convector using the screws. Ensure they are securely fastened.
- Place the convector on a flat, stable surface, ensuring adequate clearance from walls and other objects.
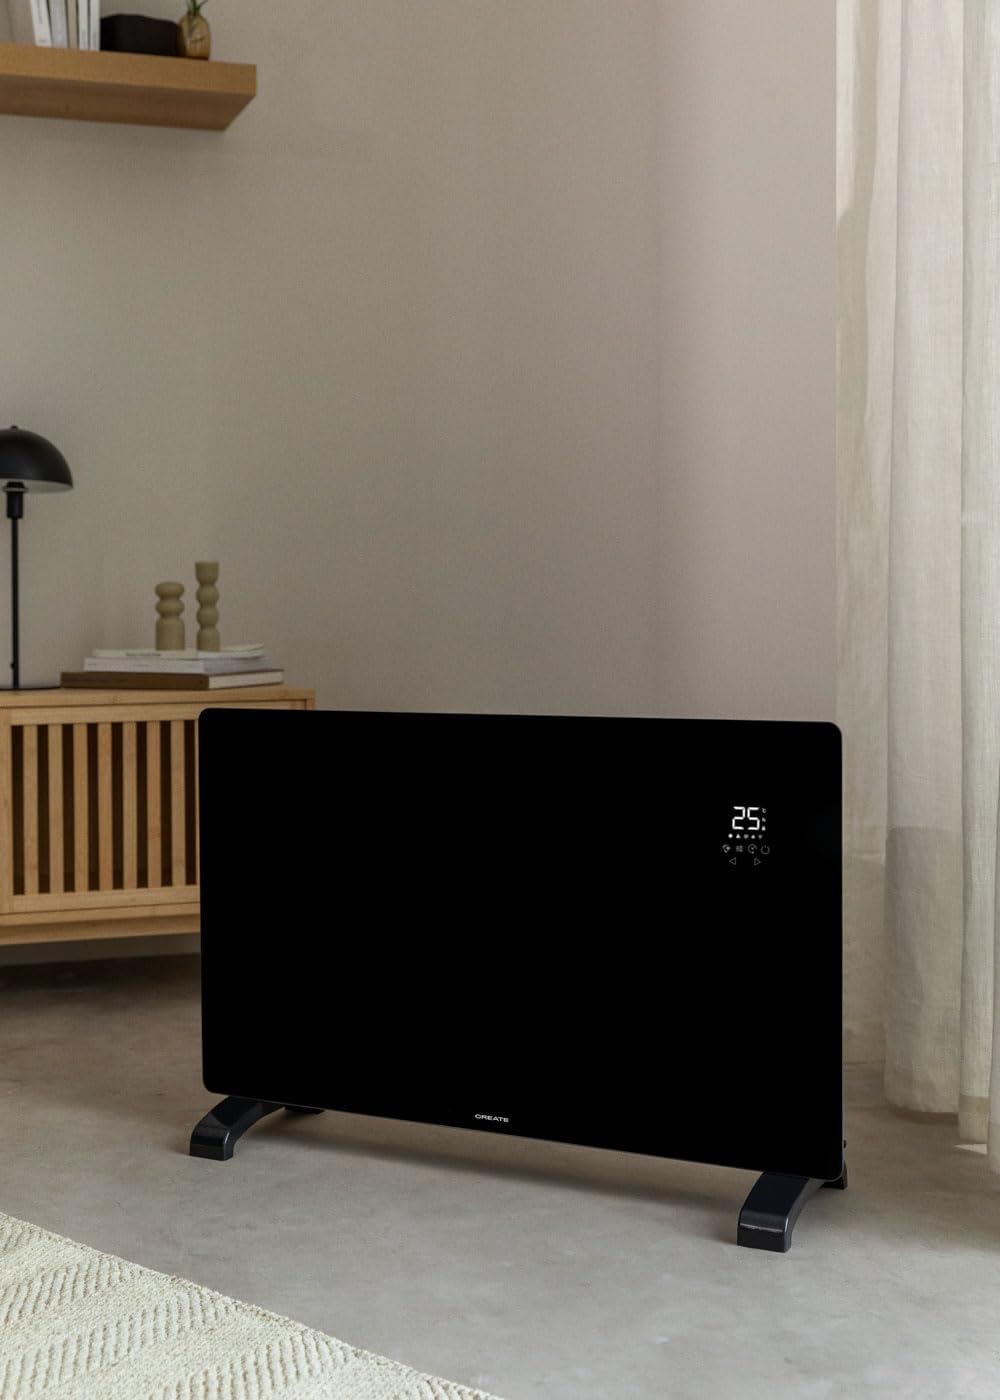
Image 4.1: Convector placed freestanding in a room.
4.3 Wall-Mount Installation
- Identify the desired mounting location on a suitable wall. Ensure there are no electrical wires or pipes behind the drilling points.
- Use the provided mounting bracket as a template to mark the drilling points on the wall.
- Drill holes and insert wall plugs.
- Secure the mounting bracket to the wall with screws.
- Carefully hang the convector onto the mounting bracket, ensuring it is securely seated.

Image 4.2: Convector wall-mounted in a room.

Image 4.3: Dimensional diagram for installation reference.
5. Operating Instructions
5.1 Control Panel Overview
The convector features an intuitive LED touch screen display for direct control.

Image 5.1: Interacting with the touch control panel.
The display shows the ambient temperature (5°C-50°C) and various icons for mode, power, timer, and Wi-Fi status.
5.2 Basic Operation
- Power On/Off: Plug the convector into a suitable electrical outlet. Press the power button on the touch screen to turn the unit on or off.
- Setting Temperature: Use the up and down arrows on the touch screen to adjust the desired temperature. The thermostat optimizes operation for energy saving.
- Selecting Power Level: The convector has 2 heating power levels. Use the mode button to cycle through available power settings.
- Timer Function: Set the 24-hour timer for scheduled operation using the timer button on the control panel.
5.3 Wi-Fi Connectivity and App Control
The convector can be controlled remotely via the CREATE app.
- Download App: Download the "CREATE" app from your smartphone's app store (iOS or Android).
- Register/Login: Create an account or log in to the app.
- Connect Device: Follow the in-app instructions to connect your convector to your home Wi-Fi network. Ensure your Wi-Fi is 2.4GHz compatible, as 5GHz networks may not be supported.
- Remote Control: Once connected, you can program and control the convector from anywhere, including adjusting temperature, setting schedules, and changing modes.

Image 5.2: Convector with smartphone showing the control app.
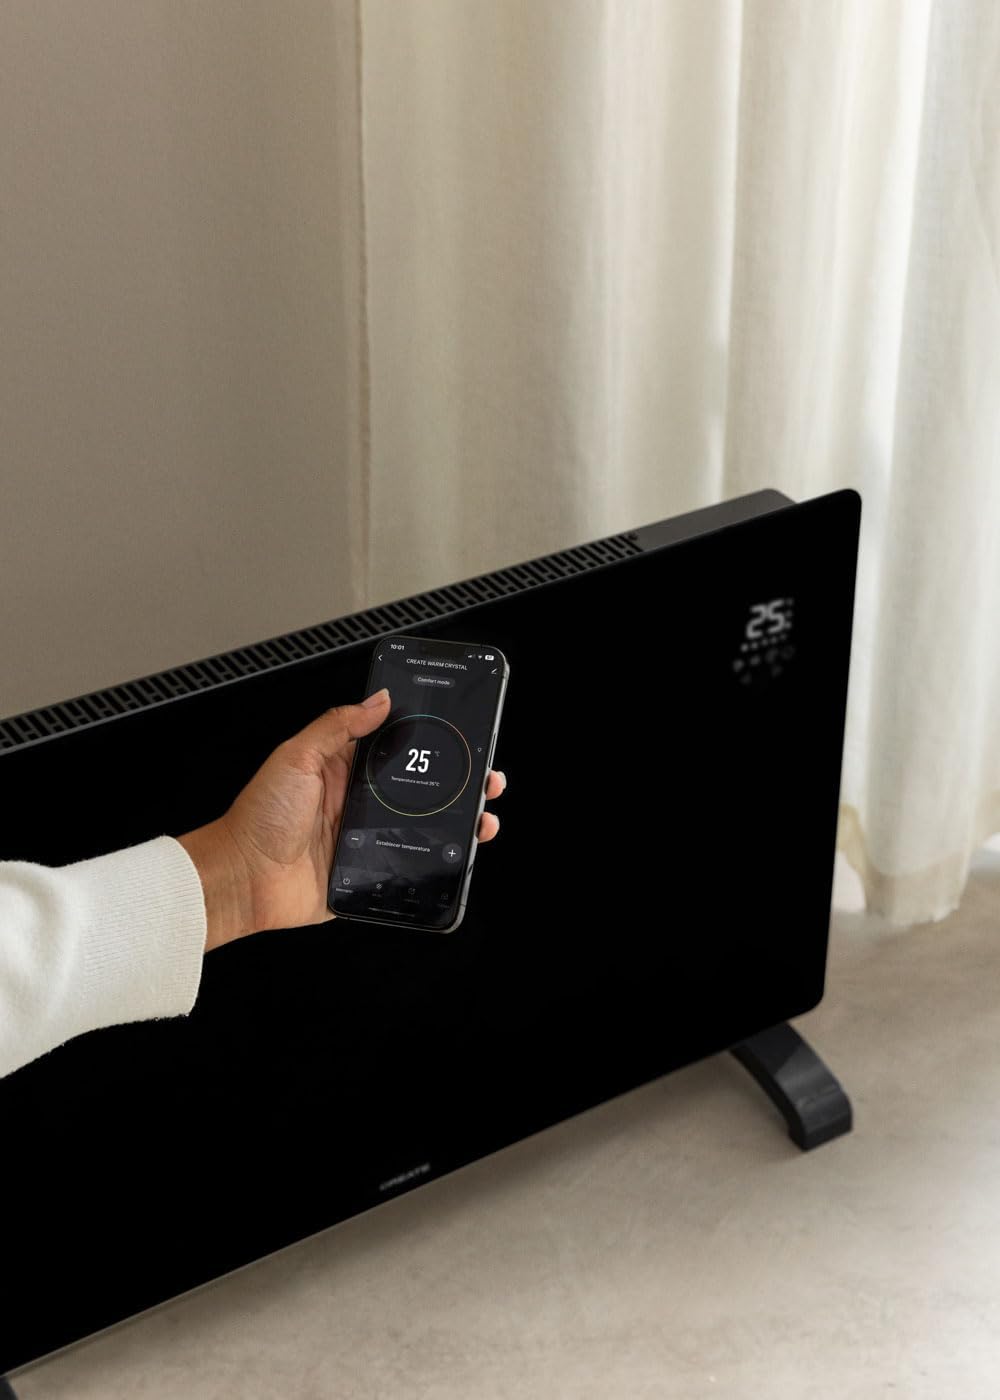
Image 5.3: Remote control via the CREATE app.
6. Maintenance and Care
Regular maintenance ensures optimal performance and longevity of your convector.
- Cleaning: Always unplug the convector and allow it to cool completely before cleaning. Wipe the exterior surfaces with a soft, damp cloth. Do not use abrasive cleaners or solvents.
- Storage: If storing the convector for an extended period, ensure it is clean and dry. Store it in a cool, dry place, preferably in its original packaging.
- No User-Serviceable Parts: Do not attempt to open or repair the convector yourself. Refer all servicing to qualified service personnel.
7. Troubleshooting
| Problem | Possible Cause | Solution |
|---|---|---|
| Heater does not turn on. | Not plugged in; power switch off; circuit breaker tripped. | Ensure plug is securely in outlet; turn power switch on; reset circuit breaker. |
| No heat output. | Temperature setting too low; safety cut-off activated. | Increase desired temperature; check for obstructions, unplug, wait 10 minutes, then plug back in. |
| Wi-Fi connection fails. | Incorrect Wi-Fi password; 5GHz network used; router too far. | Verify password; ensure router is 2.4GHz compatible; move heater closer to router or use a Wi-Fi extender. Some users report needing to enable geolocation for the app to connect. |
| Overheating. | Blocked air vents; unit covered. | Ensure air vents are clear; do not cover the heater. The unit has a double sensor against overheating. |
8. Technical Specifications
| Brand | CREATE |
| Model | CRYSTAL 2000W |
| Power | 2000 Watts |
| Voltage | 240 Volts (AC) |
| Dimensions (L x W x H) | 78 x 24 x 52 cm (approx. 7.5P x 78l x 47H cm for product dimensions) |
| Weight | 10.6 Kilograms |
| Color | Black |
| Special Features | Wi-Fi Compatible, Touch Screen, 2 Power Levels, 24-hour Timer, Overheat Protection, Anti-freeze Thermostat, IP24 Protection |
| Recommended Use | Indoor, Home, Study Room |
| Mounting Type | Wall Mount / Freestanding |
| Thermal Coverage | Up to 15m² |
9. Warranty and Support
This product comes with a manufacturer's warranty. Please refer to the warranty card included in your package or contact CREATE customer support for detailed information regarding warranty terms and conditions.
For technical support, spare parts, or any inquiries, please visit the official CREATE website or contact their customer service department. Contact information can typically be found on the product packaging or the brand's official website.


