
CHKOSDA CH3387
User Manual for CHKOSDA LED Large Digital Wall Clock
Model: CH3387 | Brand: CHKOSDA
Introduction
This manual provides detailed instructions for the setup, operation, and maintenance of your CHKOSDA LED Large Digital Wall Clock. Designed for clear visibility and versatile functionality, this clock features large 6-inch LED numbers, remote control capabilities, and multiple display modes including time, date, temperature, and countdown/count-up timers. Please read this manual thoroughly to ensure proper use and to maximize the lifespan of your device.
Product Overview
The CHKOSDA LED Large Digital Wall Clock is an oversized timepiece designed for easy readability from a distance. Its frameless and ultra-thin design allows for seamless integration into various environments, from homes and offices to gyms and classrooms. Key features include:
- 6-inch LED Numbers: Provides excellent visibility and readability.
- 8-Level Adjustable Brightness: Allows customization for optimal viewing in any lighting condition, including an auto-dimmer function.
- Multi-functional Display: Shows time, date, and temperature.
- Count-up/Countdown Timer: Supports ultra-long countdowns up to 364 days, 23 hours, 59 minutes, 59 seconds.
- Remote Control: For convenient adjustment of settings from a distance (up to 49 ft without obstacles).
- Durable Construction: Made from fire-retardant, lightweight, and strong ABS plastic.
- Memory Chip: Retains settings during power interruptions when a CR2032 coin cell battery is installed (battery not included).
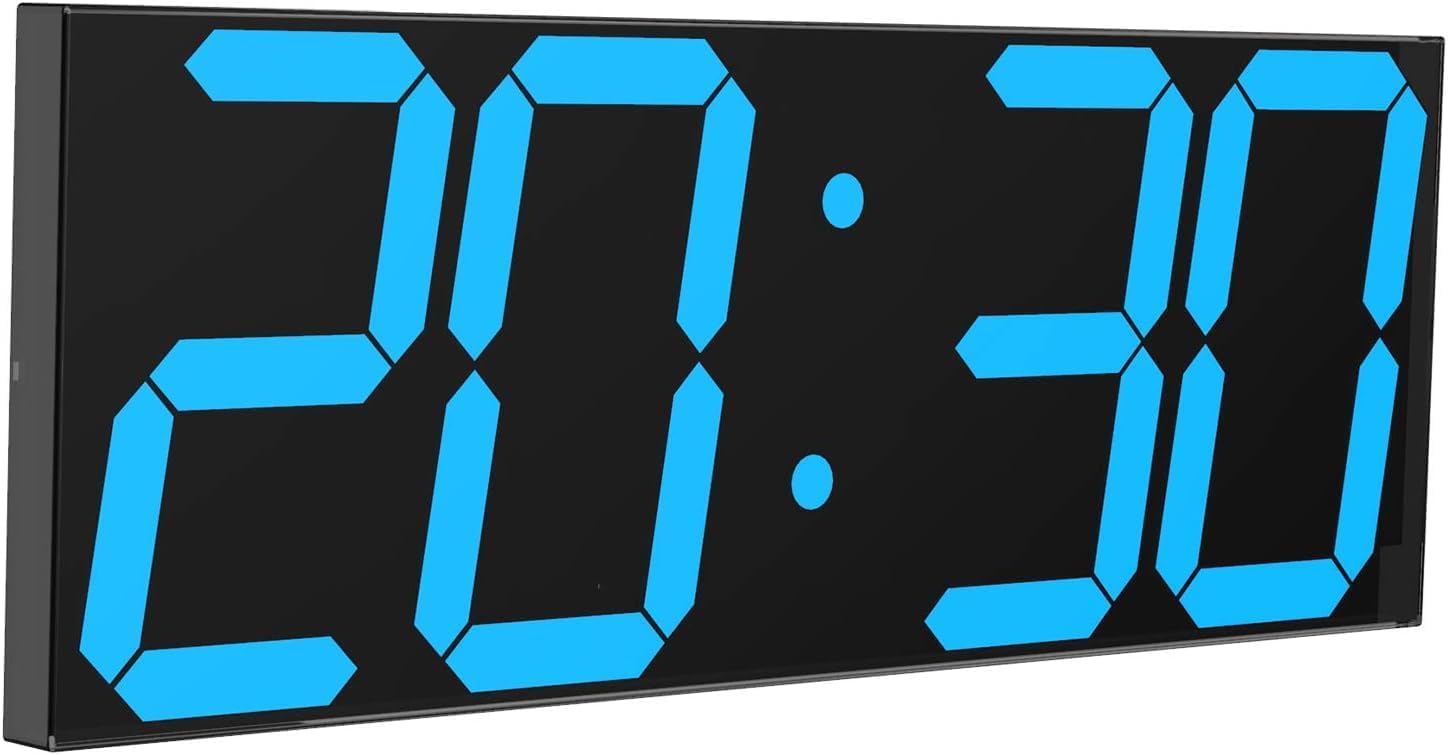
Figure 1: Front view of the CHKOSDA LED Large Digital Wall Clock.
What's Included
Please check the package contents upon opening to ensure all items are present:
- CHKOSDA LED Large Digital Wall Clock (Model: CH3387)
- Remote Control
- USB Power Cable (10 feet)
- User Manual (this document)
Note: A CR2032 button cell battery is required for memory backup but is not included due to shipping policies.
Setup
1. Power Connection
The clock is designed for AC power and is not battery-operated for primary function. It requires continuous power via the provided 10-foot USB cable.
- Connect the USB power cable to the clock's power cord slot. The clock features multiple power cord slot directions for flexible installation.
- Plug the other end of the USB cable into a compatible USB power adapter (not included) and then into a wall outlet. Alternatively, it can be plugged into a laptop or PC USB port, though a power bank is not recommended for continuous use.
2. Memory Backup Battery Installation
To ensure the clock retains accurate time and settings during a power outage or when unplugged, install a CR2032 button cell battery.
- Locate the battery compartment on the back of the clock. Note that there is no battery cover; this is part of the design.
- Insert a CR2032 button cell battery into the compartment, ensuring correct polarity.
3. Mounting Options
The clock can be mounted on a wall or placed on a table.
- Wall Mount: Use the two keyhole slots on the back of the clock to hang it securely on screws or hooks (hardware not included).
- Tabletop Placement: Utilize the standback support to place the clock on any flat surface.
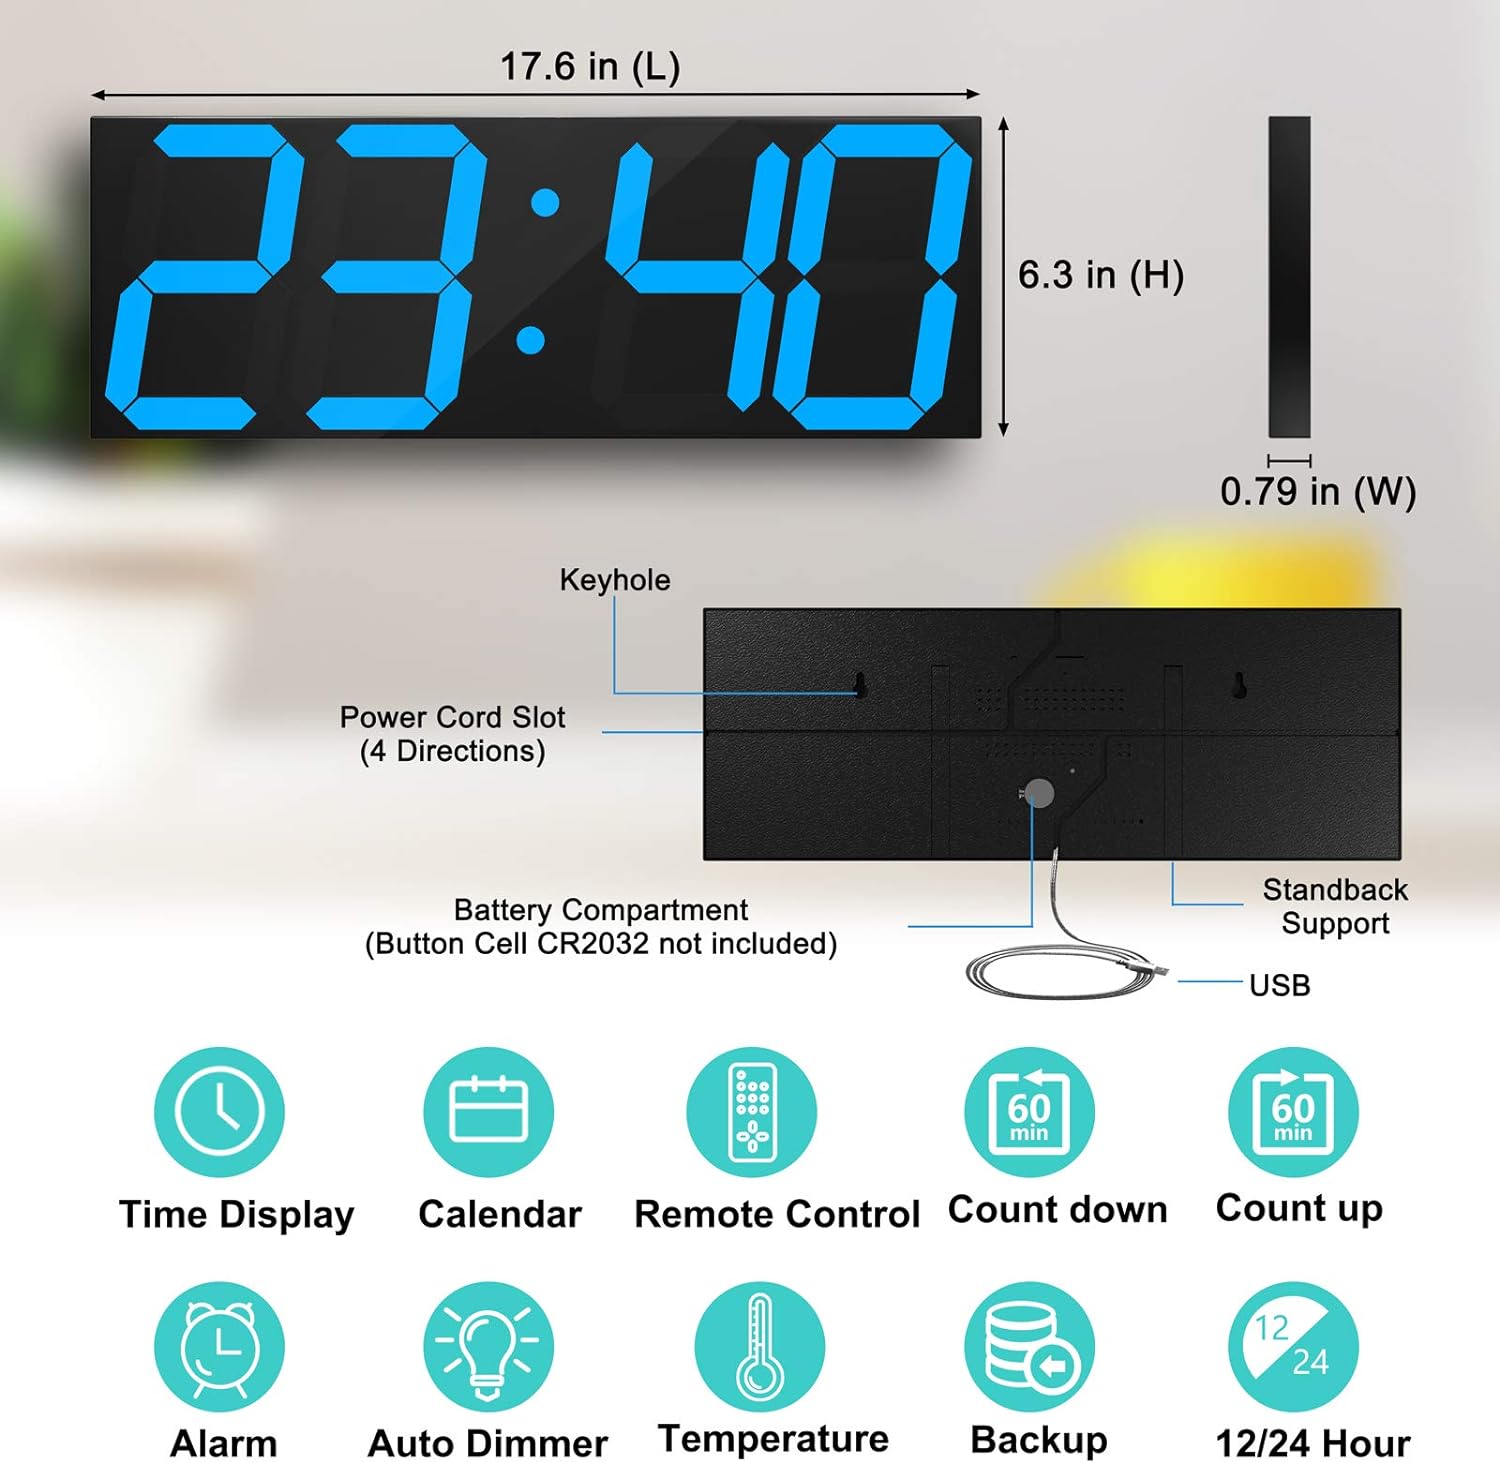
Figure 2: Back view and dimensions of the clock, highlighting power and mounting features.
Operating Instructions
All functions are controlled via the included remote control. Ensure the remote has AAA batteries installed (not included) and is pointed towards the clock for optimal response.
1. Setting Time (Hours, Minutes, Seconds)
- Press the "T SET" button on the remote control. The hour digits will begin to flash.
- Use the "UP" or "DOWN" buttons to adjust the hour.
- Press the "MODE" button to switch to minute adjustment. The minute digits will flash.
- Use the "UP" or "DOWN" buttons to adjust the minutes.
- Press the "MODE" button again to switch to second adjustment. The second digits will flash.
- Use the "UP" or "DOWN" buttons to adjust the seconds.
- Press the "RET" button to save the settings and return to the normal time display.
2. Adjusting Brightness
The clock features 8 levels of adjustable brightness and an auto-dimmer function.
- Press the "DIM" button on the remote to cycle through the 8 brightness levels.
- To activate the auto-dimmer, continue pressing "DIM" until "Auto" is displayed or the brightness adjusts automatically based on ambient light.

Figure 3: Brightness adjustment options.
3. Using the Countdown/Count-up Timer
The clock supports both countdown and count-up functions, with countdowns up to 364 days, 23 hours, 59 minutes, 59 seconds.
- Press the "CD SET" button twice to enter the countdown setting mode.
- The display will show "d0:00". Use the number keys (0-9) to set the desired number of days (up to 999). Press "MODE" to move between digits.
- Press "MODE" to switch to setting hours. Use "UP" or "DOWN" to adjust hours.
- Press "MODE" to switch to setting minutes. Use "UP" or "DOWN" to adjust minutes.
- Press "MODE" to switch to setting seconds. Use "UP" or "DOWN" to adjust seconds.
- After setting the time, press "MODE" to choose if the countdown can be repeated ("on") or not ("--"). Use "UP" or "DOWN" to select.
- Press "MODE" again to set the number of seconds for the reminder alarm before the countdown ends (e.g., 5 seconds). Use "UP" or "DOWN" to adjust.
- Press the "PLAY/PAUSE" button (usually the button with a triangle and two vertical lines) to start the countdown.
- To exit the countdown mode after it has ended, press the "RET" button.
For count-up, press the "ST" button to start the timer from 00:00:00. Press "PLAY/PAUSE" to pause/resume, and "RET" to reset.
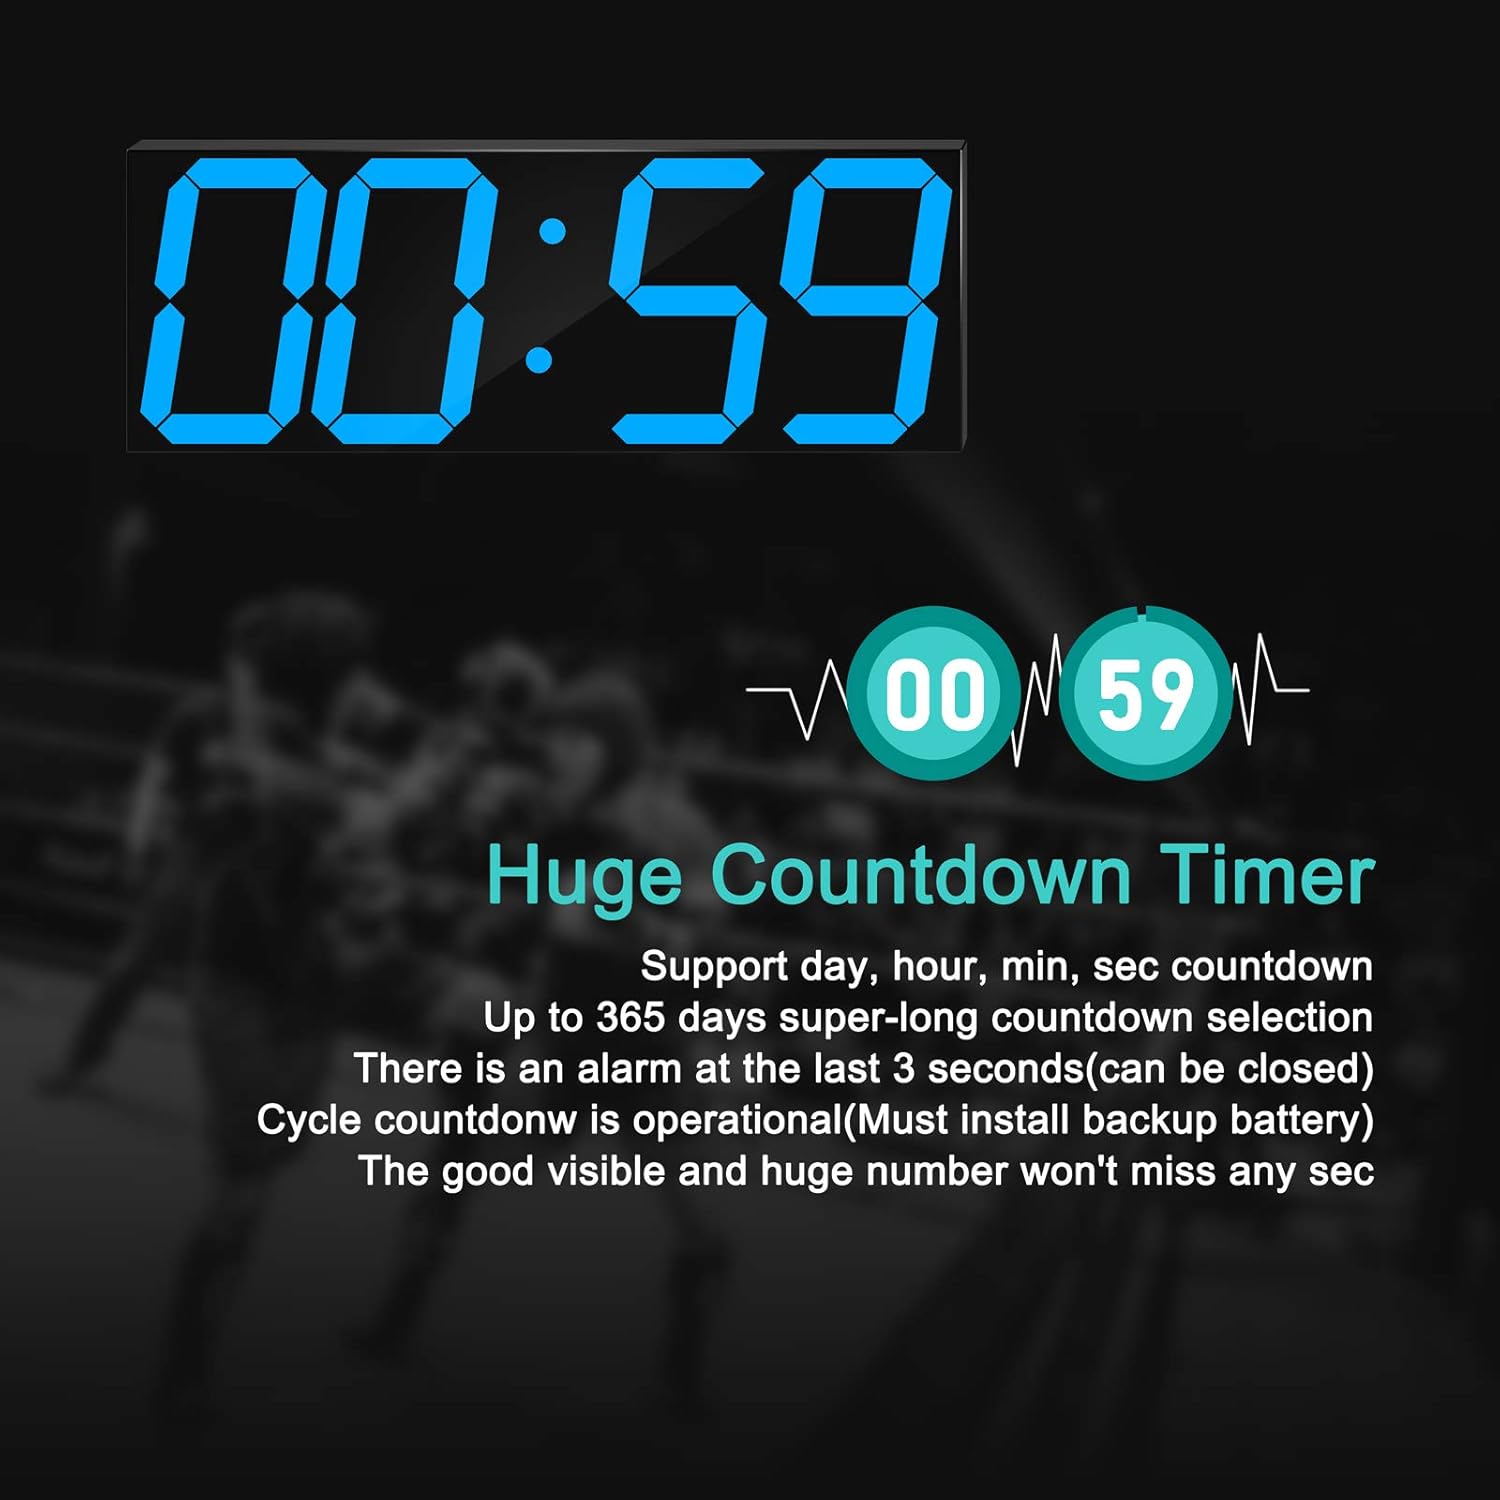
Figure 4: Huge countdown timer display.
4. Display Modes (Time, Date, Temperature)
The clock automatically cycles through time, date, and temperature displays. You can also manually switch between modes.
- Press the "DISP" button to manually cycle through Time, Date, and Temperature displays.
- To switch between 12-hour and 24-hour time formats, press the "12/24" button.
- To switch between Celsius and Fahrenheit for temperature display, press the "C/F" button.
Maintenance
To ensure the longevity and optimal performance of your CHKOSDA LED Large Digital Wall Clock, follow these simple maintenance guidelines:
- Cleaning: Gently wipe the display and casing with a soft, dry, lint-free cloth. Avoid using abrasive cleaners, solvents, or spray cleaners directly on the clock, as they may damage the surface.
- Placement: Avoid placing the clock in direct sunlight or near heat sources, as this can affect the display and internal components. Ensure it is in a well-ventilated area.
- Power: Always use the provided USB cable for power. If the clock will be stored for an extended period, it is advisable to remove the CR2032 backup battery.
Troubleshooting
If you encounter issues with your clock, please refer to the following common problems and solutions:
| Problem | Possible Cause / Solution |
|---|---|
| Clock does not power on. |
|
| Remote control is not working. |
|
| Clock loses time/settings when unplugged. |
|
| Display is too bright or too dim. |
|
| Difficulty setting countdown/timer. |
|
Specifications
| Feature | Detail |
|---|---|
| Brand | CHKOSDA |
| Model Number | CH3387 |
| Display Type | Digital LED |
| Color | Ice Blue (LED color) |
| Product Dimensions | 17.72"W x 6.3"H |
| Item Weight | 1.8 Pounds |
| Power Source | Corded Electric (USB cable) |
| Backup Battery (Not Included) | 2 CR2032 batteries required. |
| Material | ABS Plastic & Acrylic |
| Mounting Type | Wall Mount, Tabletop |
| Special Features | Large Display, Timer, Adjustable Brightness, Alarm, Temperature Display, Calendar |
Warranty and Support
Warranty Information
This CHKOSDA product comes with a Manufacturer's (Limited) Warranty. For specific details regarding warranty coverage, duration, and terms, please refer to the warranty card included with your product or contact CHKOSDA customer support directly.
Customer Support
For any questions, technical assistance, or support not covered in this manual, please contact CHKOSDA customer service. You can also visit the official CHKOSDA store on Amazon for more information and resources.
Official User Manual (PDF): Download PDF
CHKOSDA Store: Visit Store
Related documentsCH3387


Ask a question about this manual
Ask about setup, troubleshooting, compatibility, parts, safety, or missing instructions. Manuals+ will review the question and use this page’s manual context to help answer it.