Introduction
The Pro-Ject T1 BT is a high-fidelity, European-built belt-drive turntable designed for exceptional audio performance and ease of use. It features an integrated phono preamplifier and a wireless audio transmitter, allowing for flexible connection options to various audio systems. This manual provides detailed instructions for setting up, operating, and maintaining your turntable to ensure optimal listening enjoyment.
What's in the Box
- Pro-Ject T1 BT Turntable Unit
- Dust Cover
- Ortofon OM5e Phono Cartridge (pre-installed)
- Connect-It E High Quality Audio Cable
- Setup and Adjustment Tools
- 15 V DC Power Supply
Setup
1. Unpacking and Placement
Carefully remove all components from the packaging. Place the turntable on a stable, level surface away from direct sunlight, heat sources, and strong vibrations. Ensure adequate ventilation around the unit.
2. Platter and Belt Installation

Figure 1: The 8mm thick bead-blasted glass platter, ready for installation.
Place the 8mm thick bead-blasted glass platter onto the central spindle. Ensure it sits flush and rotates freely. Locate the drive belt. Carefully stretch the belt around the sub-platter and the motor pulley. Rotate the platter a few times manually to ensure the belt is correctly seated and tensioned.

Figure 2: Close-up of the belt drive system beneath the platter, showing the belt around the sub-platter and motor pulley.
3. Tonearm and Cartridge Setup

Figure 3: The Ortofon OM5e phono cartridge pre-mounted on the tonearm.
The Ortofon OM5e phono cartridge and tonearm are completely set up at the factory for simple installation. No complex adjustments are typically required for initial use. Ensure the tonearm is securely fastened in its rest position during transport. If necessary, refer to the included setup tools for fine-tuning, though this is usually not needed out of the box.

Figure 4: The tonearm's counterweight, factory-set for optimal tracking force.
4. Dust Cover Installation
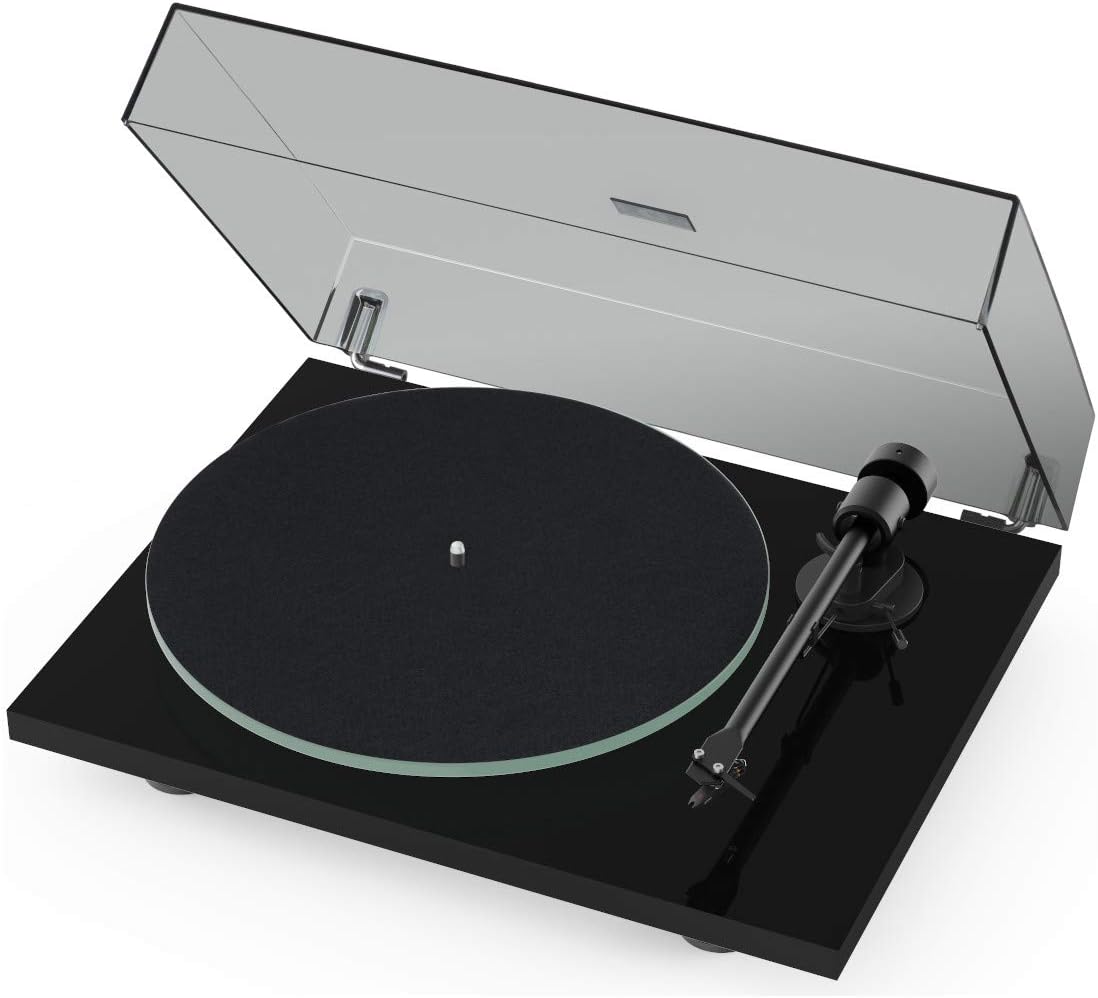
Figure 5: The Pro-Ject T1 BT Turntable with its transparent dust cover.
Attach the transparent dust cover to the hinges at the rear of the turntable plinth. The dust cover protects the turntable from dust and debris when not in use.
5. Connecting to an Audio System
The T1 BT offers both wired and wireless connectivity options:
- Wired Connection (RCA): Use the supplied Connect-It E High Quality Audio Cable to connect the turntable's RCA outputs to an available input on your amplifier or receiver. If your amplifier does not have a dedicated phono input, ensure the built-in phono preamplifier on the turntable is activated.
- Wireless Connection (Bluetooth): The T1 BT features a wireless audio transmitter for connection to Bluetooth-enabled speakers or audio devices. Activate Bluetooth pairing mode on your desired receiving device and on the turntable (refer to the turntable's control panel for Bluetooth activation). Once paired, audio will stream wirelessly.
6. Power Connection
Connect the 15 V DC Power Supply to the turntable and then plug it into a suitable wall outlet. The turntable is now ready for operation.
Operating Instructions
1. Powering On/Off
Locate the power switch, typically at the rear or underside of the turntable. Flip the switch to the 'On' position to power up the unit.
2. Selecting Playback Speed
The T1 BT supports two playback speeds: 33 ⅓ RPM and 45 RPM. Select the appropriate speed for your record using the speed selector switch on the turntable.
3. Playing a Record
- Place a record on the platter.
- Unlock the tonearm from its rest.
- Using the tonearm lift lever, gently raise the tonearm.
- Carefully position the tonearm over the desired starting groove of the record.
- Lower the tonearm lift lever to gently drop the stylus onto the record. The record will begin to play.
4. Stopping Playback
To stop playback, use the tonearm lift lever to raise the tonearm from the record. Return the tonearm to its rest and secure it. Power off the turntable if not in use.
Maintenance
1. Cleaning the Turntable
Regularly wipe the dust cover and plinth with a soft, dry, anti-static cloth. Avoid using harsh chemicals or abrasive cleaners. For the platter, use a slightly damp cloth if necessary, ensuring it is completely dry before use.
2. Stylus Care
The stylus is a delicate component. Use a soft brush designed for stylus cleaning to gently remove dust and debris. Always brush from back to front. Replace the stylus when it shows signs of wear to prevent damage to your records.
3. Belt Maintenance
Periodically check the drive belt for signs of wear or stretching. A worn belt can affect playback speed accuracy. Replace the belt if it appears damaged or loose.
Troubleshooting
- No Sound: Check all cable connections (RCA, power). Ensure the correct input is selected on your amplifier. Verify Bluetooth pairing if using wireless.
- Skipping/Distortion: Ensure the record is clean and free of dust. Check the stylus for damage or debris. Verify the tonearm's tracking force (though factory-set, it can be re-checked if issues persist). Ensure the turntable is on a level surface.
- Incorrect Speed: Verify the speed selector switch is set correctly (33 ⅓ or 45 RPM). Check the drive belt for proper seating or wear.
- Humming Noise: Ensure all ground connections are secure. Move the turntable away from other electronic devices that might cause interference.
Specifications
| Product Dimensions | 13.19 x 16.34 x 3.94 inches |
| Item Weight | 14.42 pounds |
| Manufacturer | Pro-Ject Audio Systems |
| Item Model Number | T1 BT |
| Maximum Rotational Speed | 45 RPM |
| Special Feature | Built-In Preamp, Wireless Audio Transmitter |
| Material | Glass (Platter) |
| Color | Piano Black |
| Connector Type | RCA |
| Power Source Type | Corded Electric |
Warranty and Support
For warranty information and technical support, please refer to the documentation included with your product or visit the official Pro-Ject Audio Systems website. Keep your purchase receipt as proof of purchase for warranty claims.