
MESTEK DM100
Contents
MESTEK DM100 Digital Multimeter User Manual
Model: DM100
1. Introduction
Thank you for choosing the MESTEK DM100 Digital Multimeter. This device is a high-performance, high-speed, and easy-to-use electrical testing instrument designed for a wide range of applications, from household electrical checks to professional industrial use. It features True RMS measurement, a large reverse VA display, and multiple safety protections to ensure accurate and safe operation. Please read this manual thoroughly before use to ensure proper operation and to prevent damage to the device or injury.
2. Safety Information
Always adhere to the following safety precautions to avoid personal injury or damage to the multimeter or equipment under test.
- Do not exceed the maximum input value of any measurement range.
- Do not use the meter if it or the test leads appear damaged.
- Ensure the function switch is in the correct position for the measurement being performed.
- Be extremely careful when working with voltages above 60V DC or 30V AC RMS. These voltages pose a shock hazard.
- Always disconnect the test leads from the circuit before changing the function.
- The meter is rated for CAT IV 600V and CAT III 1000V. Do not use it for measurements exceeding these categories.
- The device includes an Overload Protection (<250V) and a Wrong Insert Alarm to prevent misoperation. Pay attention to these warnings.
- The Fuse Blow Alarm indicates a blown fuse, requiring replacement before further current measurements.

Figure 2.1: Internal components of the MESTEK DM100, highlighting the smart chip and double fuse design for enhanced safety and protection against misoperation.

Figure 2.2: The multimeter displaying a "WRONG INSERT ALARM" when test leads are incorrectly plugged in, indicating a safety feature.
3. Product Overview
The MESTEK DM100 is a versatile digital multimeter equipped with a range of features for accurate and efficient electrical testing.

Figure 3.1: The MESTEK DM100 Digital Multimeter, including the main unit, test leads, and AAA batteries.
3.1 Key Features:
- High-Speed Measurement: Sampling rate of 10 times/second for quick readings of voltage, capacitance, and resistance.
- 9999 Counts Display: Provides high resolution for precise measurements.
- True RMS (TRMS): Accurate measurement of AC voltage and current, especially for non-sinusoidal waveforms.
- Reverse VA Screen: Enhanced readability with lighted numbers and letters on a black background, displaying voltage, frequency, and an analog bar simultaneously.
- Non-Contact Voltage (NCV) & VFC Function: For safe detection of live wires without direct contact and variable frequency drive measurements.
- Measurement Functions: AC/DC Voltage, AC/DC Current, Resistance (Ohm), Capacitance (nF), Frequency (Hz), Diode Test, Continuity Test, Live Wire Test, Duty Cycle, Temperature (℃), Humidity.
- Additional Features: Data Hold, Backlight, Auto-Off, Battery Voltage Measurement, Bright LED Lighting for night use.

Figure 3.2: The HD Reverse VA Screen provides clear, easy-to-read measurements with an analog bar and digital dual display.
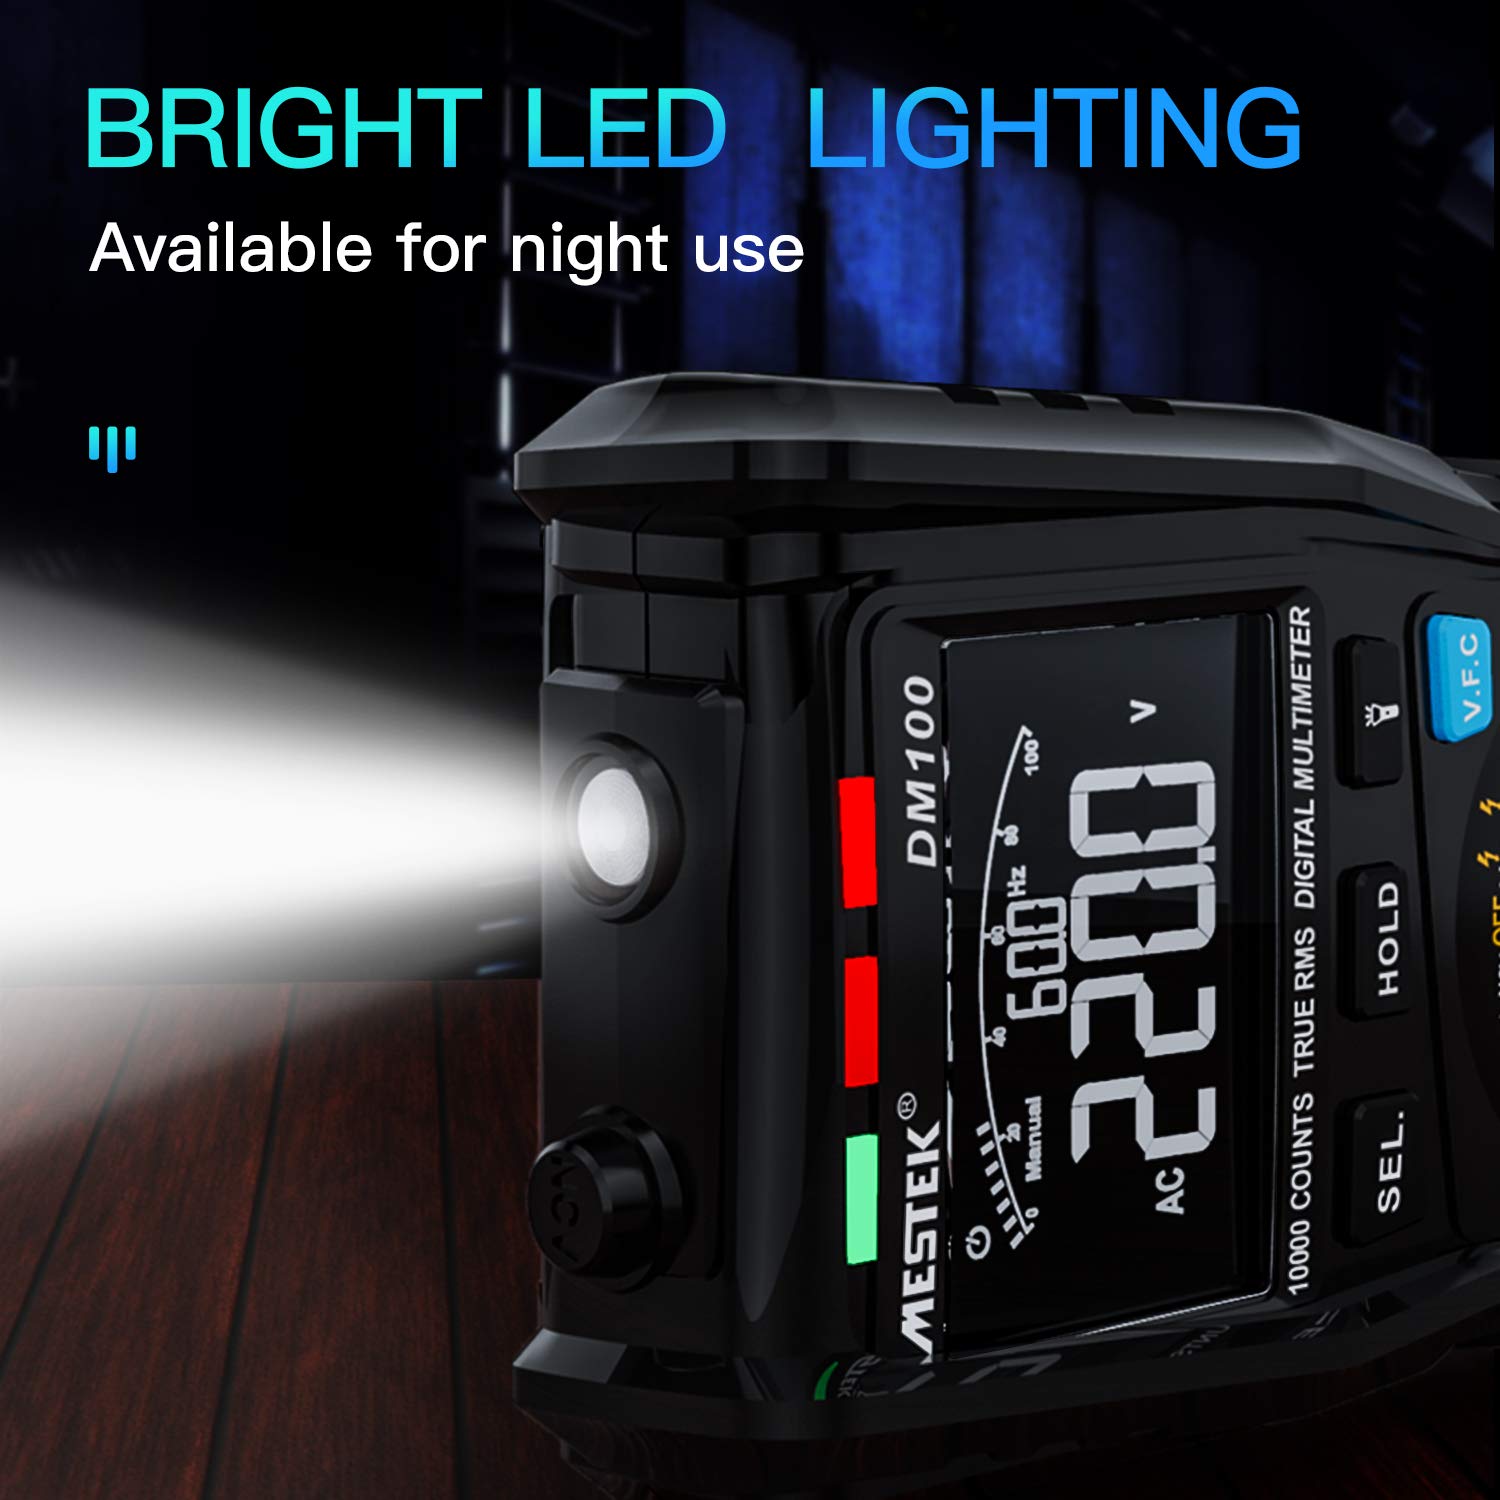
Figure 3.3: The integrated bright LED lighting on the MESTEK DM100, useful for working in low-light conditions.
4. Setup
4.1 Battery Installation:
The MESTEK DM100 requires 2 AAA batteries (included). To install or replace batteries:
- Ensure the multimeter is turned off and test leads are disconnected.
- Locate the battery compartment cover on the back of the unit.
- Use a screwdriver to loosen the screw securing the cover.
- Remove the cover and insert the 2 AAA batteries, observing the correct polarity (+/-).
- Replace the battery cover and tighten the screw.
4.2 Connecting Test Leads:
Always connect the black test lead to the COM (common) jack. Connect the red test lead to the appropriate input jack based on the measurement type:
- VΩHz: For voltage, resistance, frequency, capacitance, diode, and continuity measurements.
- mAµA: For current measurements up to 600mA.
- 10A: For current measurements up to 10A.
5. Operating Instructions
This section details how to perform various measurements using your MESTEK DM100 multimeter.
5.1 General Operation:
- Turn the rotary switch to the desired function.
- Press the SEL button to cycle through sub-functions (e.g., AC/DC, Diode/Continuity).
- Press the HOLD button to freeze the current reading on the display. Press again to release.
- The meter features Auto-Off to conserve battery life. It will power off after a period of inactivity.
5.2 Voltage Measurement (AC/DC):
- Turn the rotary switch to the V position.
- Connect the black test lead to COM and the red test lead to VΩHz.
- For AC voltage, ensure "AC" is displayed. For DC voltage, ensure "DC" is displayed. Use the SEL button to switch if necessary.
- Connect the test leads in parallel to the circuit or component to be measured.

Figure 5.1: The MESTEK DM100 performing a voltage measurement, demonstrating its high-speed capability.

Figure 5.2: The MESTEK DM100 utilizing its True RMS (TRMS) function for accurate AC voltage measurements.
5.3 Current Measurement (AC/DC):
- Turn the rotary switch to the A (for 10A) or mAµA position.
- Connect the black test lead to COM. Connect the red test lead to 10A for high current or mAµA for low current.
- For AC current, ensure "AC" is displayed. For DC current, ensure "DC" is displayed. Use the SEL button to switch if necessary.
- Connect the test leads in series with the circuit to be measured.
5.4 Resistance Measurement (Ohm):
- Turn the rotary switch to the Ω position.
- Connect the black test lead to COM and the red test lead to VΩHz.
- Connect the test leads across the component to be measured. Ensure the circuit is de-energized before measuring resistance.
5.5 Non-Contact Voltage (NCV) Test:
- Turn the rotary switch to the NCV position.
- Move the top end of the multimeter close to the live wire or electrical outlet.
- The meter will emit an audible alarm and the NCV indicator will light up if AC voltage is detected.

Figure 5.3: Performing a Non-Contact Voltage (NCV) test with the MESTEK DM100 for safe detection of live circuits.
5.6 Live Wire Identification:
- Turn the rotary switch to the Live position.
- Connect the red test lead to the VΩHz jack. The black test lead is not used for this function.
- Touch the red test lead to the suspected live wire or terminal.
- The display will show "LIVE" and an audible alarm will sound if a live wire is detected.

Figure 5.4: Using the MESTEK DM100 for live wire identification on a circuit breaker panel.
6. Maintenance
6.1 Cleaning:
Wipe the case with a damp cloth and mild detergent. Do not use abrasives or solvents. Ensure the meter is completely dry before use.
6.2 Battery Replacement:
When the battery indicator appears on the display, replace the batteries as described in Section 4.1. Always use 2 new AAA alkaline batteries.
6.3 Fuse Replacement:
If the fuse blow alarm activates or current measurements are inaccurate, the fuse may need replacement. Refer to the specifications for the correct fuse type and rating. Fuse replacement should only be performed by qualified personnel.
6.4 Storage:
If the meter is not to be used for an extended period, remove the batteries to prevent leakage and corrosion. Store the meter in a cool, dry place, away from direct sunlight and extreme temperatures.
7. Troubleshooting
| Problem | Possible Cause | Solution |
|---|---|---|
| Meter does not power on. | Dead or incorrectly installed batteries. | Check battery polarity or replace batteries. |
| "OL" (Overload) displayed. | Input value exceeds the selected range. | Select a higher range or ensure the input is within the meter's capabilities. |
| Inaccurate readings. | Low battery, incorrect function selected, or damaged test leads. | Replace batteries, verify function switch position, or inspect/replace test leads. |
| "LEAD" or "WRONG INSERT ALARM" displayed. | Test leads are connected to the wrong input jacks for the selected function. | Refer to Section 4.2 and connect test leads to the correct jacks. |
| No NCV detection. | No AC voltage present, or meter is too far from the source. | Ensure AC voltage is present and bring the meter closer to the source. |
8. Specifications
| Parameter | Value |
|---|---|
| Model | DM100 |
| Display | 9999 Counts, Reverse VA Screen |
| Sampling Rate | 10 times/second |
| AC Voltage Range | Up to 750V AC (TRMS) |
| DC Voltage Range | Up to 1000V DC |
| Resistance Range | Up to 100MΩ |
| Capacitance Range | Up to 100mF |
| Safety Rating | CAT IV 600V, CAT III 1000V |
| Power Source | 2 x AAA Batteries (included) |
| Dimensions | 18 x 5.5 x 8.5 cm |
| Weight | 570 g |
| Certifications | CE, FCC, EMC, RoHS |
| Special Features | NCV, VFC, Live Wire Test, Wrong Insert Alarm, Fuse Blow Alarm, Data Hold, Backlight, Auto-Off, LED Lighting |
9. Warranty and Support
MESTEK provides a 36-Month after-sale service and lifetime technical support for the DM100 Digital Multimeter. If you encounter any issues or have questions regarding the product, please contact MESTEK customer support through the retailer or the official MESTEK website.
For more information, visit the official MESTEK store: MESTEK Store on Amazon.
Ask a question about this manual
Ask about setup, troubleshooting, compatibility, parts, safety, or missing instructions. Manuals+ will review the question and use this page’s manual context to help answer it.