1. Introduction
The Godox X1R-N is an i-TTL 2.4G wireless remote flash trigger receiver designed for Nikon i-TTL Autoflash DSLR Cameras. It functions as a crucial component in a wireless flash system, allowing for remote triggering of camera flashes, studio flashes, and even camera shutters. This receiver offers stable signal transmission, sensitive reaction, and supports advanced flash functions like High-Speed Sync (HSS).
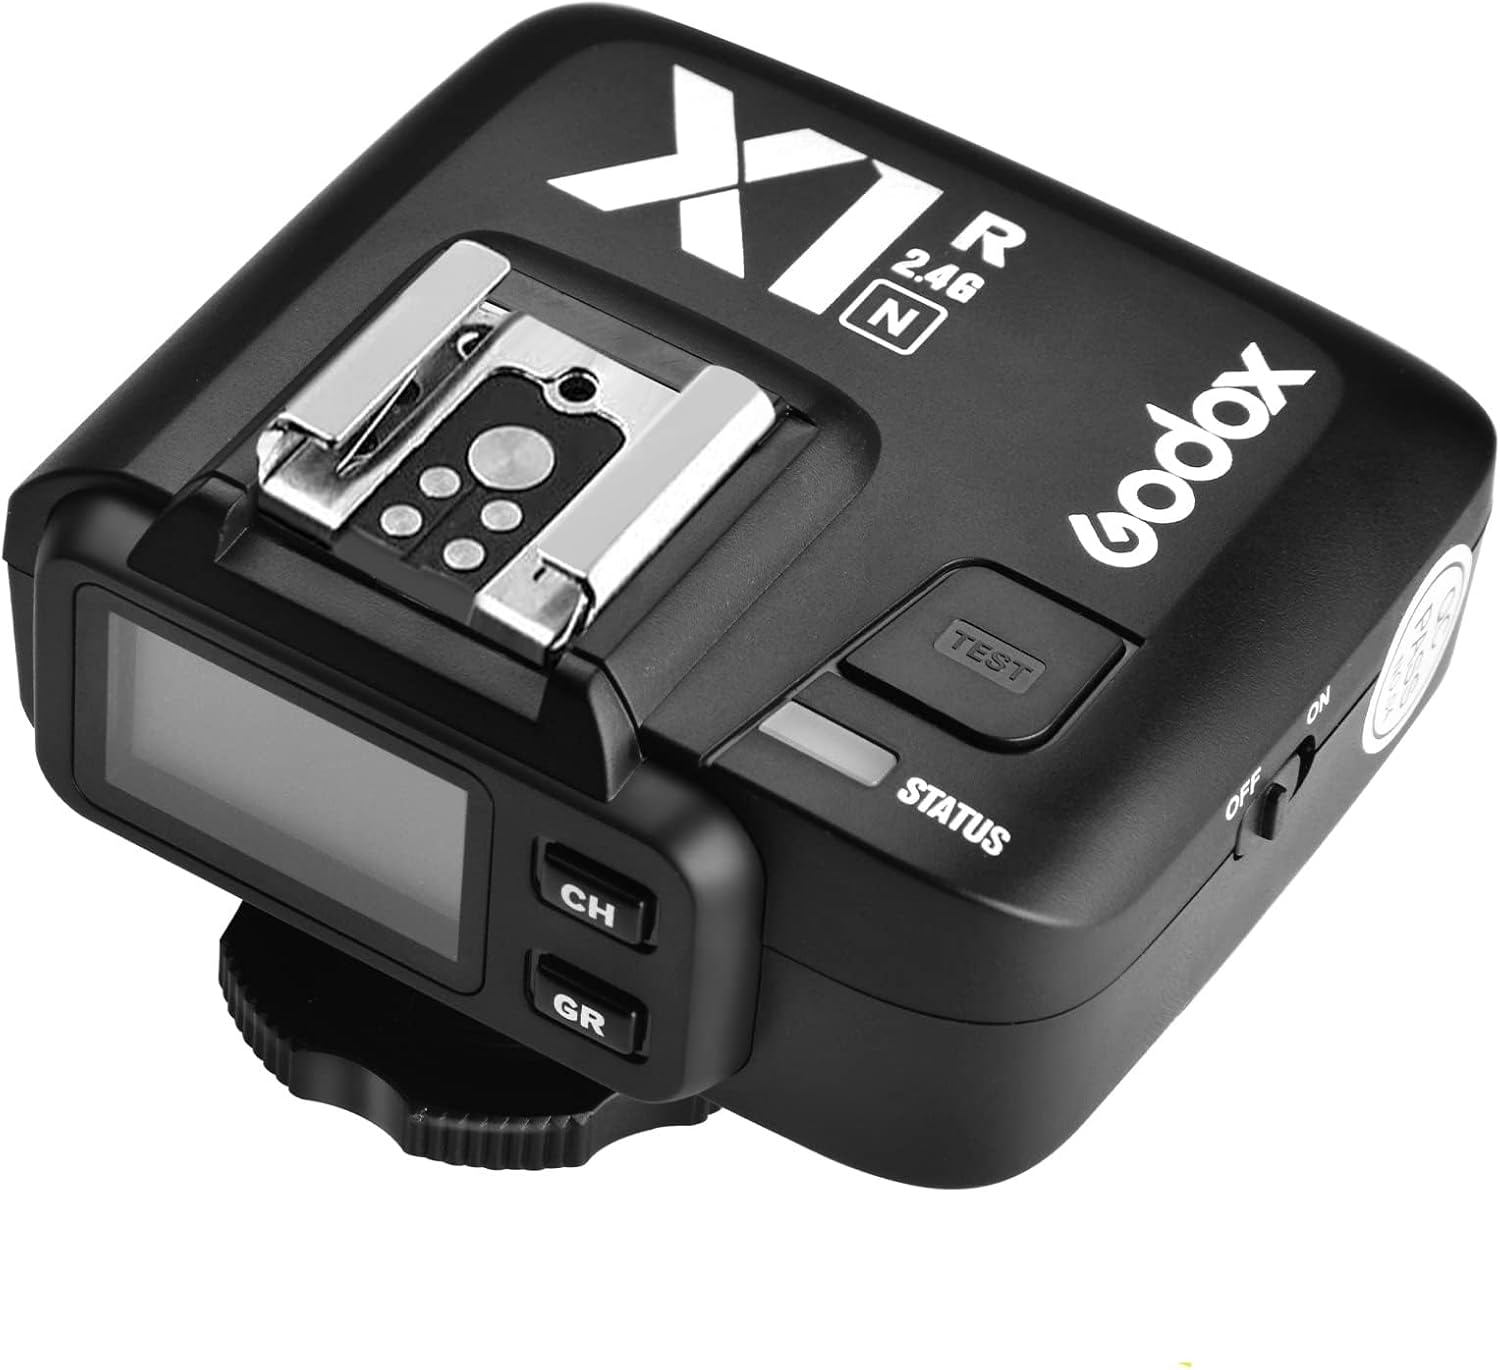
Figure 1.1: Godox X1R-N Wireless Flash Trigger Receiver.
2. Product Features
- i-TTL Autoflash Support: Fully supports Nikon i-TTL autoflash for accurate exposure.
- High-Speed Sync (HSS): Capable of 1/8000s high-speed sync for freezing fast motion or shooting with wide apertures in bright conditions.
- Wireless Control: Built-in 2.4G wireless transmission provides up to 100 meters (328 feet) transmission distance.
- Multi-Channel & Grouping System: Supports 5 groups and 32 channels for flexible flash control and interference avoidance.
- Flash Exposure Compensation (FEC) & Flash Exposure Lock (FEL): Allows for fine-tuning flash output and locking exposure settings.
- Modeling Flash: Supports modeling flash function for previewing lighting effects.
- Versatile Triggering: Can trigger camera shutter, studio flash, and camera flash.
- LCD Panel: Extra-large LCD panel for clear display of settings.
- Memory Function: Settings are stored 2 seconds after the last operation and recover after a restart.

Figure 2.1: Key features of the Godox X1R-N receiver.
3. Components and Controls
Familiarize yourself with the various parts and controls of the Godox X1R-N receiver:

Figure 3.1: Detailed view of the Godox X1R-N receiver with labeled components.
- TEST Trigger Button: Press to test fire the connected flash.
- Battery Compartment: Houses the batteries (typically AA, refer to specifications for exact type).
- Micro USB Port: Used for firmware upgrades.
- 2.5mm Shutter Release Port: Connects to a camera's shutter release port for remote camera triggering.
- Hot Shoe Speedlight Connection: Mounts a speedlight flash unit.
- Power Switch: Turns the receiver ON or OFF.
- Status Indicator Lamp: LED light indicating operational status (e.g., red for ready).
- LCD Panel: Displays current channel, group, and other settings.
- CH Channel Setting Button: Used to cycle through and set the wireless channel.
- GR Group Setting Button: Used to cycle through and set the wireless group.
4. Setup
4.1 Battery Installation
- Open the battery compartment cover.
- Insert two AA batteries, ensuring correct polarity (+/-).
- Close the battery compartment cover securely.
4.2 Mounting the Receiver
The X1R-N receiver can be mounted in several ways depending on its intended use:
- On a Light Stand: Attach the receiver to a light stand using its integrated mounting screw or cold shoe adapter.
- On a Camera Hot Shoe: While primarily a receiver, it can be mounted on a camera's hot shoe if needed for specific setups, though it does not transmit.
4.3 Connecting to Flash Units or Camera
- For Speedlights: Slide your Nikon-compatible speedlight onto the hot shoe of the X1R-N receiver until it clicks into place.
- For Studio Flashes: Connect the X1R-N's PC sync socket to the PC sync input of your studio flash using a PC sync cable (not included).
- For Camera Shutter Release: Connect the 2.5mm shutter release port on the X1R-N to your camera's remote shutter release port using a compatible cable (not included).

Figure 4.1: Various connection methods for the X1R-N receiver.
5. Operating Instructions
5.1 Powering On/Off
Slide the Power Switch to the 'ON' position to power on the receiver. The LCD panel will illuminate. Slide to 'OFF' to power off.
5.2 Setting Channels and Groups
The X1R-N receiver must be set to the same channel and group as your Godox X1T-N, X2T-N, or XPro-N transmitter for proper communication.
- Setting Channel (CH): Press the 'CH' button repeatedly to cycle through the available channels (1-32). Stop when the desired channel is displayed.
- Setting Group (GR): Press the 'GR' button repeatedly to cycle through the available groups (A, B, C, D, E). Stop when the desired group is displayed.

Figure 5.1: Multiple X1R-N receivers configured for wireless control and grouping.
5.3 Flash Modes and Functions
The X1R-N supports various flash modes and functions when paired with a compatible Godox transmitter and Nikon flash unit:
- TTL Autoflash: The receiver will relay TTL information from the camera to the connected flash for automatic exposure. Ensure the flash is set to TTL mode.
- Manual Flash: Adjust flash power manually via the transmitter. Ensure the flash is set to Manual mode.
- High-Speed Sync (HSS): Allows flash synchronization at shutter speeds faster than the camera's native sync speed (up to 1/8000s). Activate HSS on your transmitter and flash.
- Flash Exposure Compensation (FEC): Adjust the flash output level relative to the camera's metered exposure. Controlled via the transmitter.
- Flash Exposure Lock (FEL): Locks the flash exposure value for recomposing shots. Controlled via the transmitter.
- Modeling Flash: Emits a short burst of light to preview lighting. Controlled via the transmitter.
5.4 Shutter Release Function
To use the X1R-N as a remote shutter release:
- Connect the 2.5mm shutter release port on the X1R-N to your camera's remote shutter release port.
- Ensure your Godox transmitter is set to trigger the camera shutter (refer to your transmitter's manual for specific instructions).
- Press the shutter button on your transmitter to trigger the camera.
5.5 Firmware Upgrades
The Micro USB port allows for firmware upgrades to ensure compatibility and access to new features. Visit the official Godox website for the latest firmware and instructions.

Figure 5.2: USB port for firmware upgrades and illustration of memory function.
6. Maintenance
- Cleaning: Use a soft, dry cloth to clean the receiver. Avoid using harsh chemicals or abrasive materials.
- Storage: Store the receiver in a cool, dry place away from direct sunlight and excessive humidity.
- Battery Care: Remove batteries if the receiver will not be used for an extended period to prevent leakage.
- Avoid Impact: Protect the device from drops and strong impacts, which can damage internal components.
7. Troubleshooting
| Problem | Possible Cause | Solution |
|---|---|---|
| Receiver not firing flash. | Incorrect channel/group settings; Low battery; Flash not properly mounted/connected; Flash in sleep mode; Transmitter not firing. | Ensure receiver and transmitter are on the same channel and group. Replace batteries. Re-mount flash securely. Wake up flash. Check transmitter operation. |
| Flash not syncing at high shutter speeds. | HSS not enabled; Flash/camera not compatible with HSS. | Ensure HSS is enabled on both the transmitter and the flash unit. Verify flash and camera support HSS. |
| Limited wireless range. | Environmental interference; Obstructions; Low battery. | Change channels to avoid interference. Ensure clear line of sight between transmitter and receiver. Replace batteries. |
| Flash not functioning correctly in TTL mode. | Flash not set to TTL; Compatibility issue. | Ensure the connected flash is set to TTL mode. Note: Some older Nikon flash units, such as the SB-900, may only support TTL mode and not remote manual power control when used with this receiver. Always refer to the Godox compatibility list for specific flash models. |
8. Specifications
| Feature | Detail |
|---|---|
| Model | X1R-N |
| Compatible Transmitters | Godox X1T-N, X2T-N, XPro-N |
| Compatible Cameras | Nikon i-TTL Autoflash DSLR Cameras |
| Wireless Frequency | 2.4G Hz |
| Channels | 32 |
| Groups | 5 (A, B, C, D, E) |
| Transmission Range | Approx. 100m (328 feet) |
| Flash Sync Speed | Up to 1/8000s (HSS) |
| Power Supply | 2 x AA batteries |
| Dimensions | 4.41 x 4.37 x 2.32 inches |
| Item Weight | 7.4 ounces |
| Ports | Micro USB (for firmware), 2.5mm Shutter Release, PC Sync Socket |
| Included Components | 1 * X1R-N Receiver |
9. Warranty and Support
For warranty information, technical support, or service inquiries, please contact Godox customer service or visit the official Godox website. Keep your purchase receipt as proof of purchase for any warranty claims.


