
1. Introduction
Thank you for choosing the Crenova Trail Camera Model 8595777153. This camera is designed for capturing high-quality photos and videos of wildlife, for surveillance, or for home security. Featuring a 20MP effective still resolution, 1080p video capture, motion detection, and night vision capabilities, it is built for reliable outdoor performance with an IP66 waterproof rating. Please read this manual carefully to ensure proper operation and to maximize the camera's potential.
2. Product Overview
2.1 Key Features
- High Resolution: 20 Megapixel effective still resolution for clear images.
- Full HD Video: 1080p video capture resolution (AVI format).
- Motion Detection: Integrated motion sensor for automatic recording.
- Night Vision: Low light technology with night color capability.
- Durable Design: IP66 International Protection Rating for water resistance.
- Connectivity: Wireless connectivity with Wi-Fi protocol.
- Storage: Supports SD flash memory cards (32GB SD card often included).
- Display: 2-inch screen for easy setup and review.
2.2 Package Contents
Verify that all items are present in your package:
- Crenova Trail Camera (Model 8595777153)
- USB Cable
- Instruction Manual (this document)
- Mounting Strap
- Small stand and adjustable post (may vary)
- Anchors and screws (may vary)
- Micro SD card (often included, check packaging)

Figure 2.2.1: Front view of the Crenova Trail Camera, showcasing its compact design and camouflage pattern.
3. Setup
3.1 Battery Installation
The camera operates on AA batteries. It can function with either 4 or 8 AA batteries. For extended operation, 8 batteries are recommended. Use high-quality alkaline or rechargeable batteries (e.g., 2000mAh or higher).
- Open the camera casing by unlatching the side clips. The camera opens like a book.
- Locate the battery compartment on the right side.
- Insert 4 or 8 AA batteries, ensuring correct polarity (+/-) as indicated inside the compartment.
- Close the battery compartment securely.
3.2 SD Card Installation
A micro SD card (up to 32GB recommended) is required to store photos and videos. A 32GB SD card is often included with the camera.
- With the camera casing open, locate the SD card slot, typically near the controls on the left side.
- Insert the micro SD card with the metal contacts facing down, until it clicks into place.
- To remove, gently push the card in until it clicks, then release, and it will spring out.
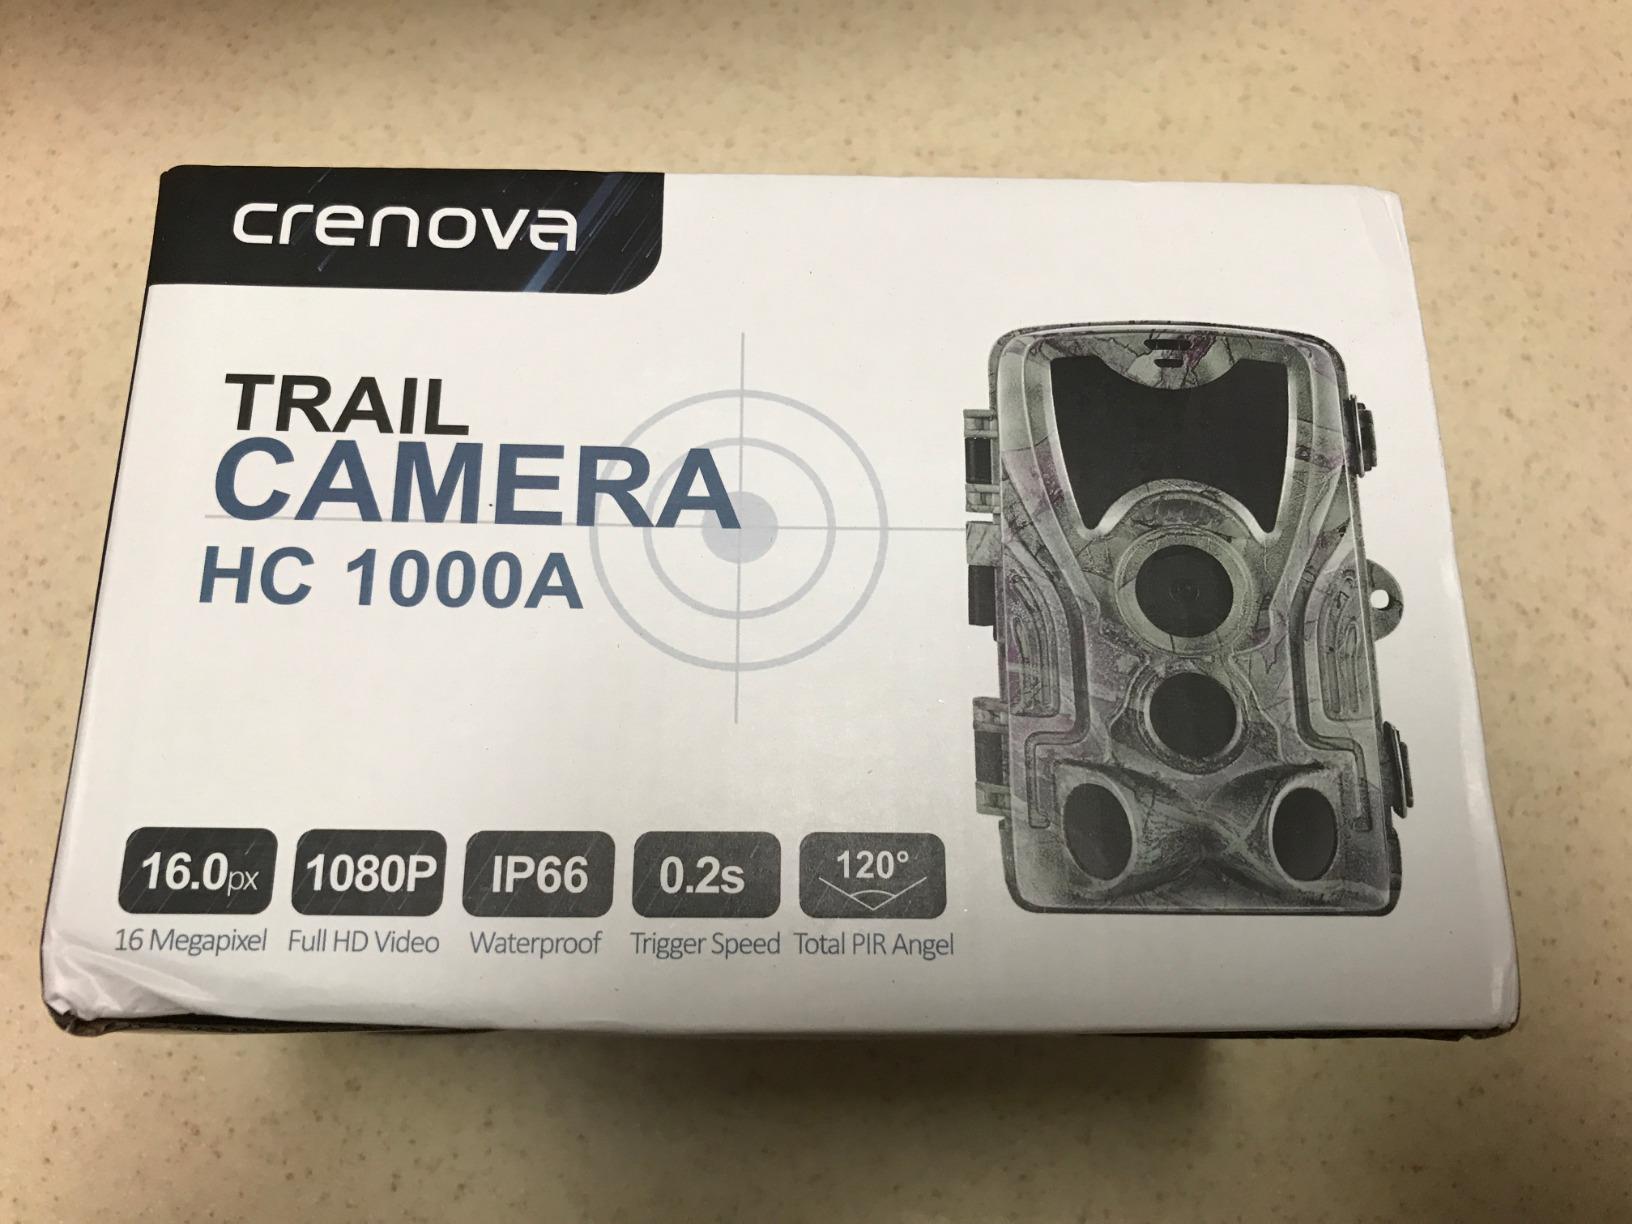
Figure 3.2.1: The Crenova Trail Camera opened, revealing the battery compartment and SD card slot for easy access during setup.
3.3 Mounting the Camera
The camera can be mounted using the included strap or a wall mount.
- Strap Mounting: Thread the provided strap through the slots on the back of the camera. Securely fasten the camera to a tree or pole at the desired height and angle.
- Wall Mounting: Use the included stand, anchors, and screws to attach the camera to a wall or other flat surface. Ensure the mounting location provides a clear view of the target area.
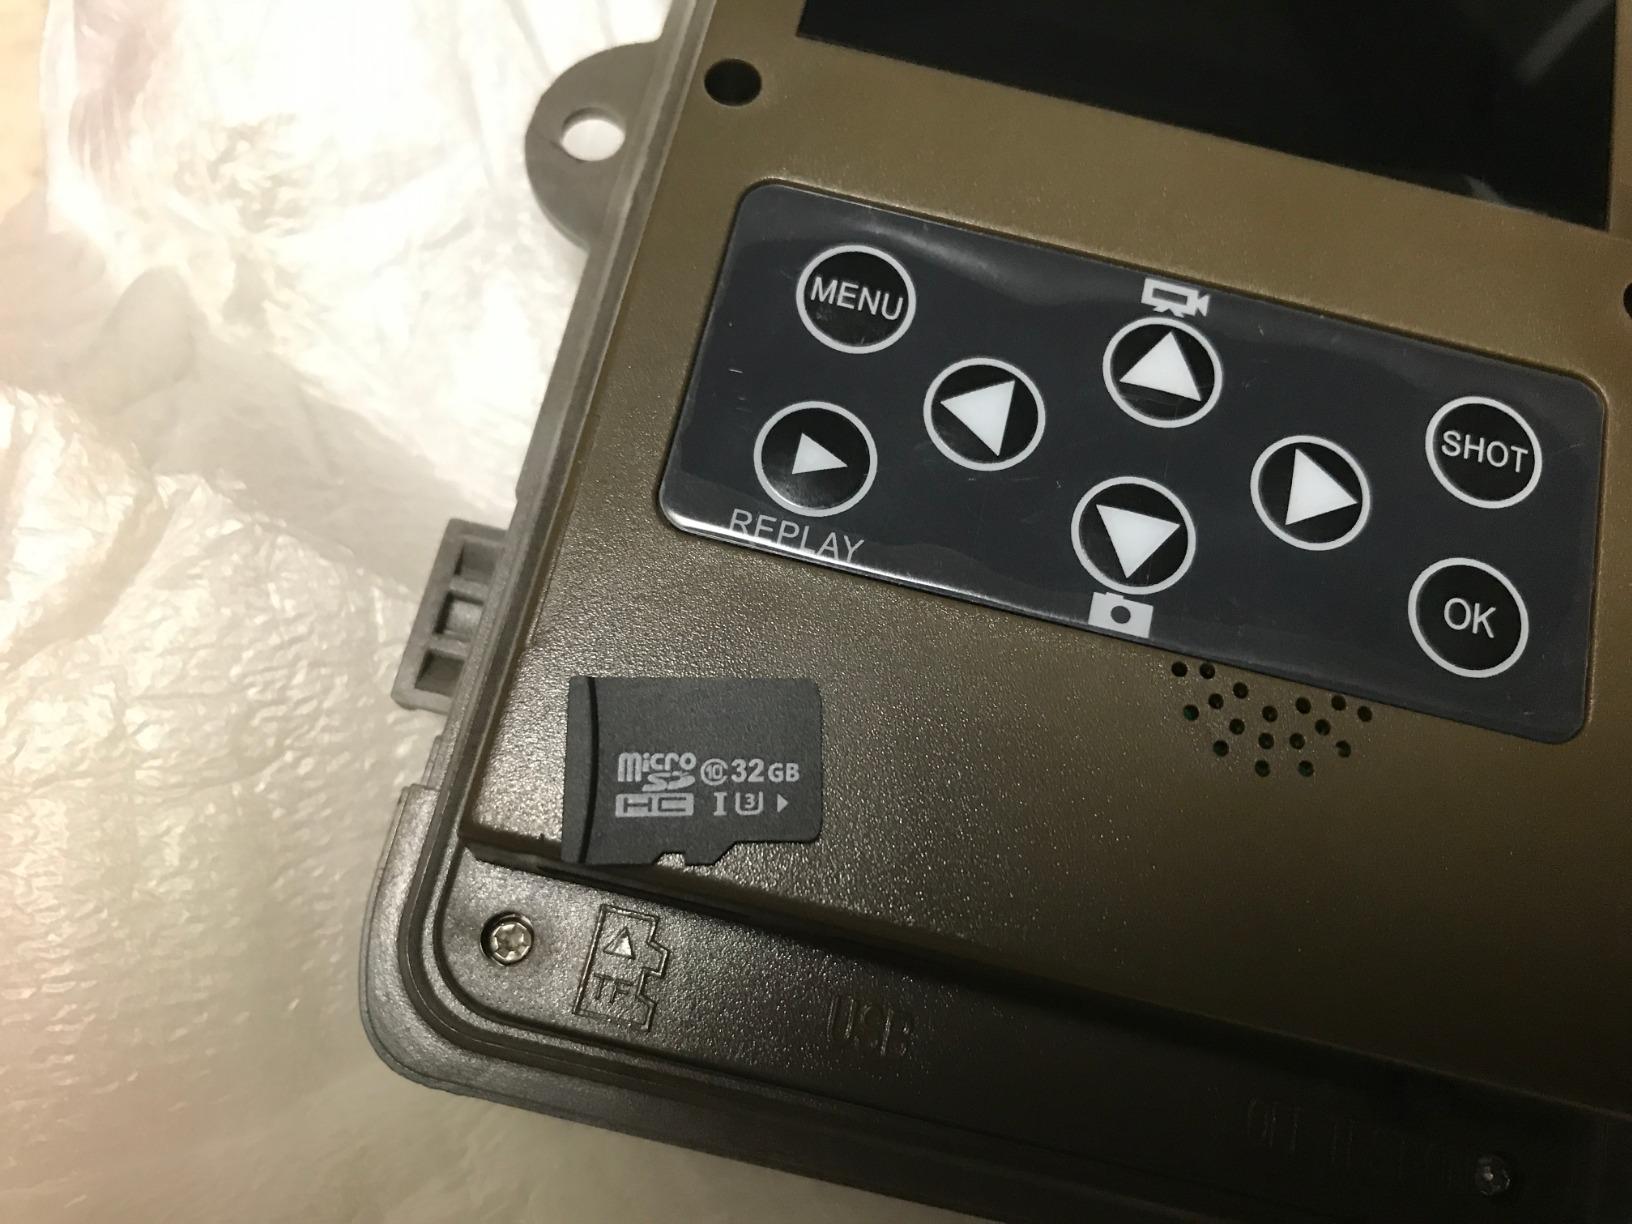
Figure 3.3.1: The Crenova Trail Camera securely mounted on a tree, demonstrating a typical outdoor deployment.
4. Operating Instructions
4.1 Powering On and Basic Navigation
- After installing batteries and SD card, open the camera casing.
- Locate the power switch (usually OFF/TEST/ON). Switch it to the 'TEST' position.
- The 2-inch screen will power on, displaying the menu interface.
- Use the directional buttons (Up, Down, Left, Right) and the 'OK' button to navigate through the menu options.
- A blinking light near the top of the camera indicates it is properly turned on and in test mode.
4.2 Setting Date and Time
It is crucial to set the correct date and time for accurate record-keeping.
- In 'TEST' mode, navigate to the 'Date/Time' setting in the menu.
- Use the directional buttons to adjust the year, month, day, hour, and minute.
- Press 'OK' to confirm each setting.
4.3 Photo and Video Modes
The camera supports both still image and video capture.
- Mode Selection: In the menu, select your desired mode (Photo, Video, or Photo+Video).
- Photo Settings: Adjust resolution (e.g., 20MP, 16MP), burst shot count, and delay.
- Video Settings: Adjust resolution (e.g., 1080p, 720p), video length, and audio recording.
4.4 Motion Detection Settings
Configure the camera's sensitivity to motion.
- PIR Sensitivity: Set the Passive Infrared (PIR) sensor sensitivity (Low, Medium, High) based on the environment and desired trigger distance. Higher sensitivity detects motion further away but may lead to more false triggers.
- PIR Interval: Define the time delay between consecutive triggers to avoid capturing too many redundant images/videos of the same event.
4.5 Activating Surveillance Mode
- Once all settings are configured, switch the power switch from 'TEST' to 'ON'.
- The camera will enter surveillance mode, indicated by the screen turning off after a few seconds.
- The camera is now ready to capture images/videos based on your settings and motion detection.
4.6 Viewing Captured Media
To review photos and videos:
- Switch the camera to 'TEST' mode.
- Navigate to the 'Playback' or 'View' option in the menu.
- Use the directional buttons to browse through the captured files.
- Press 'OK' to view a photo or play a video.
- Alternatively, remove the SD card and insert it into a computer or card reader to view files.
5. Maintenance
5.1 Cleaning
- Lens and Sensors: Gently wipe the camera lens and PIR sensors with a soft, lint-free cloth. Avoid abrasive materials that could scratch the surfaces.
- Casing: Clean the camera's exterior with a damp cloth. Do not use harsh chemicals or solvents.
5.2 Battery Management
- Regularly check battery levels via the camera's display.
- Replace all batteries simultaneously to ensure consistent power.
- Remove batteries if the camera will not be used for an extended period to prevent leakage.
5.3 SD Card Management
- Format the SD card periodically using the camera's menu option to ensure optimal performance and clear out old files.
- Back up important photos and videos to a computer before formatting.
5.4 Environmental Protection
While the camera is IP66 waterproof, avoid submerging it in water. Ensure all latches are securely closed when deployed outdoors to maintain water resistance.
6. Troubleshooting
| Problem | Possible Cause | Solution |
|---|---|---|
| Camera not powering on | Low or dead batteries; incorrect battery polarity; power switch in OFF position. | Replace batteries; check polarity; switch to 'TEST' or 'ON'. |
| No photos/videos captured | SD card full or not inserted correctly; incorrect mode setting; low PIR sensitivity; camera in 'TEST' mode. | Format/replace SD card; check mode (Photo/Video); increase PIR sensitivity; ensure camera is in 'ON' mode. |
| Poor image/video quality | Dirty lens; low resolution setting; insufficient lighting. | Clean lens; increase resolution setting; ensure adequate lighting or proper night vision activation. |
| Short battery life | Low-quality batteries; frequent triggers; extreme temperatures. | Use high-capacity batteries (8 AA recommended); adjust PIR interval; consider environmental factors. |
| Difficulty navigating menu | Unfamiliarity with button functions. | Refer to section 4.1 for basic navigation. Experiment with buttons in 'TEST' mode. |
7. Specifications
| Feature | Detail |
|---|---|
| Model Number | 8595777153 |
| Effective Still Resolution | 20 MP |
| Video Capture Resolution | 1080p (AVI) |
| Screen Size | 2 Inches |
| Flash Memory Type | SD |
| Power Source | AA Batteries (4 or 8) |
| Connectivity Technology | Wireless (Wi-Fi Protocol) |
| Special Features | Motion Sensor, Night Vision |
| International Protection Rating | IP66 (Waterproof) |
| Product Dimensions | 5.12 x 3.35 x 2.56 inches |
| Item Weight | 1.32 Pounds |
| Operating Temperature | (Not specified in provided data) |
8. Warranty and Support
8.1 Product Warranty
The Crenova Trail Camera typically comes with a 1-year free replacement or refund warranty. Please retain your proof of purchase for warranty claims. Specific terms and conditions may apply and can be found on the product packaging or Crenova's official website.
8.2 Customer Support
For technical assistance, troubleshooting beyond this manual, or warranty inquiries, please contact Crenova customer support. Contact information can usually be found on the product packaging, the official Crenova website, or through your retailer.