
1. Introduction
Thank you for purchasing the NICRON B71Pro LED Handy Light. This versatile and compact flashlight is designed for various applications, including outdoor activities, maintenance work, inspections, and general illumination. Its unique L-shaped design, 90-degree swivel head, powerful magnetic base, and 360-degree rotating clip offer exceptional flexibility and hands-free operation. This manual provides detailed instructions on how to set up, operate, and maintain your B71Pro light to ensure optimal performance and longevity.
2. Safety Instructions
- Eye Safety: Do not stare directly into the LED light. The high intensity can cause temporary vision impairment or permanent eye damage.
- Heat: The flashlight may become warm during prolonged use, especially on higher brightness settings. This is normal. Avoid direct contact with hot surfaces for extended periods.
- Battery Care: Use only the specified battery type. Do not attempt to disassemble, puncture, or short-circuit the battery. Keep batteries away from fire and extreme temperatures.
- Water Resistance: The B71Pro has an IP65 waterproof rating, meaning it is protected against dust and low-pressure water jets. It is not designed for submersion. Ensure the USB charging port cover is securely closed when not charging to maintain water resistance.
- Children: Keep out of reach of children.
3. Package Contents
- NICRON B71Pro LED Handy Light
- Micro USB Charging Cable
- User Manual
4. Product Overview
The NICRON B71Pro features a robust aluminum body and an innovative design for versatile lighting. Key components include:
- LED Head: Contains the main white LED and auxiliary green/red LEDs.
- Swivel Mechanism: Allows the LED head to rotate 90 degrees, transforming the light from a straight flashlight to an L-shaped work light.
- Power Button: Controls power on/off and mode cycling.
- Micro USB Charging Port: Located on the side, used for recharging the internal battery.
- Pocket Clip: A 360-degree rotating clip for attaching the light to pockets, belts, or gear.
- Magnetic Base: A powerful magnet at the tail cap allows for hands-free attachment to metal surfaces.

Figure 4.1: NICRON B71Pro in L-shaped configuration.

Figure 4.2: NICRON B71Pro in straight configuration.

Figure 4.3: The 90-degree swivel head allows for flexible illumination angles.
5. Setup
5.1 Initial Charging
Before first use, fully charge the NICRON B71Pro. The light has a built-in rechargeable battery.
- Locate the Micro USB charging port on the side of the flashlight.
- Open the protective rubber cover of the charging port.
- Connect the Micro USB cable to the flashlight and the other end to a USB power source (e.g., computer USB port, USB wall adapter, power bank).
- The power button will illuminate to indicate the battery charging status:
- Green: Battery level 40% or more.
- Yellow: Battery level between 20% and 40%.
- Red: Battery level below 20%.
- Once fully charged, the indicator light will turn solid green (if it was yellow or red) or remain green. Disconnect the charging cable and securely close the rubber cover to maintain water resistance.
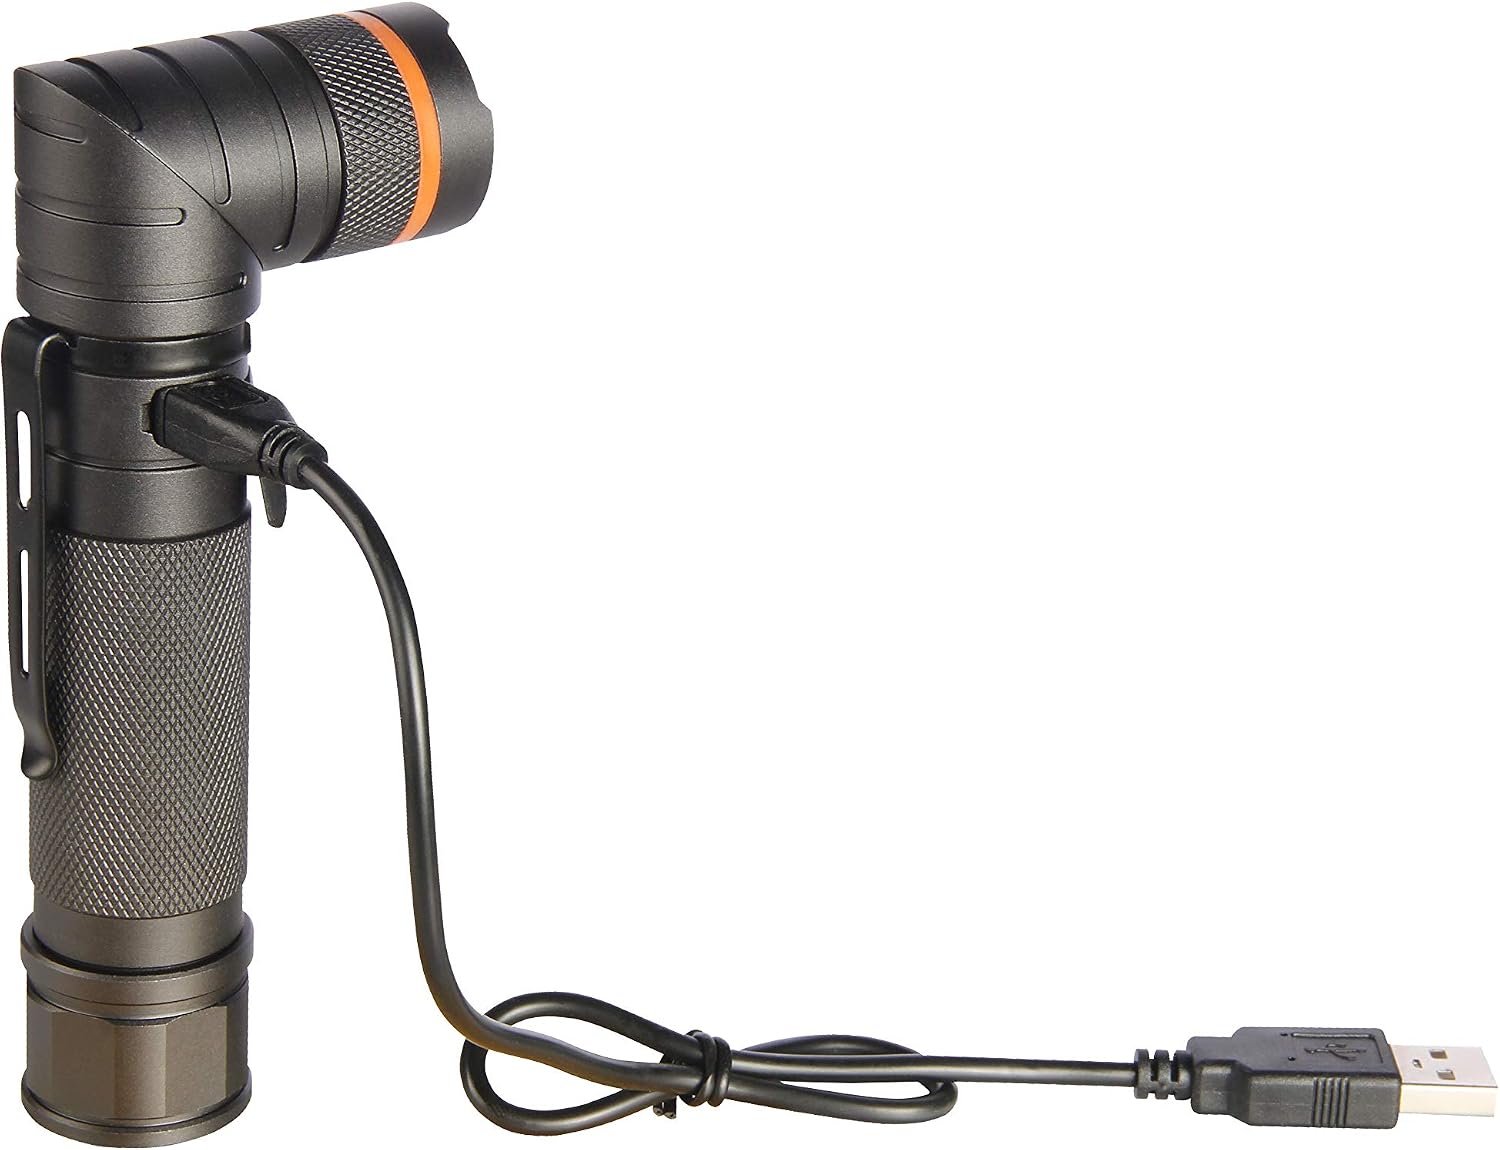
Figure 5.1: Charging the B71Pro via Micro USB.
6. Operating Instructions
The NICRON B71Pro features multiple lighting modes and functions controlled by a single power button. Refer to the operation guide flowchart below for a visual representation of mode transitions.

Figure 6.1: Operation Guide Flowchart.
6.1 Power On/Off
- To Turn On: Press the power button briefly. The light will turn on in the last used white light brightness mode (memory function).
- To Turn Off: Press and hold the power button for approximately 5 seconds from any mode.
6.2 White Light Brightness Modes (Normal Mode)
When the light is on in white light mode:
- Briefly press the power button to cycle through the brightness levels: Low → Medium → High → Maximum → Low (repeats).
- The light has a memory function for white light modes, meaning it will turn on in the last used brightness setting.
6.3 Color Light Modes (Special Mode)
From the OFF state:
- Press and hold the power button for approximately 1.2 seconds to enter the special mode. The light will turn on in Green light.
- Briefly press the power button to cycle through the color modes: Green → Red → Red Flashing → Normal White Light Mode (repeats).
6.4 Emergency Modes (Strobe/SOS)
From any mode (ON or OFF):
- Rapidly press the power button 3 times to activate Strobe mode.
- From Strobe mode, briefly press the power button to switch to SOS mode.
- From SOS mode, briefly press the power button to return to the Normal White Light Mode.
6.5 Swivel Head Function
The LED head can be manually rotated up to 90 degrees. Gently pivot the head to adjust the beam direction as needed for various tasks or hands-free lighting.
6.6 Clip and Magnetic Base Usage
- Clip: Use the 360-degree rotating clip to attach the light to your chest pocket, belt, backpack strap, or other gear for convenient hands-free illumination.
- Magnetic Base: The powerful magnet in the tail cap allows you to securely attach the flashlight to any ferrous metal surface, providing stable, hands-free lighting for tasks like vehicle maintenance or working in workshops.
7. Maintenance
- Cleaning: Wipe the flashlight body with a soft, damp cloth. Do not use abrasive cleaners or solvents.
- Charging: To prolong battery life, avoid completely draining the battery. Recharge the light regularly, even if not in frequent use.
- Storage: Store the flashlight in a cool, dry place away from direct sunlight and extreme temperatures. If storing for an extended period, charge the battery every 3-6 months to prevent deep discharge.
- O-rings: Periodically inspect the O-rings (if accessible) for wear and tear. Lubricate them with silicone grease to maintain water resistance.
8. Troubleshooting
| Problem | Possible Cause | Solution |
|---|---|---|
| Light does not turn on. | Battery is depleted. | Charge the battery fully. |
| Light is dim or flickers. | Low battery. | Recharge the battery. |
| Light gets hot during use. | Normal operation on high brightness. | Reduce brightness or turn off for a short period to cool down. This is expected behavior for high-lumen flashlights. |
| Charging indicator not working. | Cable or power source issue. | Try a different USB cable or power adapter. Ensure the cable is fully inserted. |
| Water ingress. | USB port cover not sealed. | Ensure the rubber cover for the USB port is securely closed. Avoid submersion. |
9. Specifications
| Feature | Detail |
|---|---|
| Model Number | B71PRO |
| Light Source | CREE LED (White, Green, Red) |
| Brightness (White Light) | Max 950 Lumens |
| Run Time | 950lm (4 hours) / 300lm (4.5 hours) / 70lm (15 hours) / 10lm (100 hours) |
| Maximum Beam Distance | 200 meters |
| Luminous Intensity | 10000 cd |
| Waterproof Rating | IP65 |
| Drop Resistance Height | 1 meter |
| Material | Aluminum |
| Dimensions | 16 cm x 5.3 cm x 2.9 cm |
| Weight | 160 g |
| Power Source | Battery (Built-in) |
| Special Features | 90° Swivel Head, 360° Rotating Clip, Magnetic Base, Battery Indicator, Memory Function (White Light) |
10. Warranty and Support
NICRON products are manufactured to high-quality standards. For information regarding warranty coverage, technical support, or service inquiries, please refer to the product packaging or contact your point of purchase. Keep your purchase receipt as proof of purchase for any warranty claims.