Introduction
This instruction manual provides comprehensive guidance for the safe and effective use of your Doctor Mom 5th Generation Professional Otoscope. Designed for clarity and durability, this full-size otoscope features a large optical quality glass lens for superior eardrum visibility. Please read this manual thoroughly before operation to ensure proper functionality and longevity of your device.

Figure 1: The Doctor Mom 5th Generation Professional Otoscope, presented in its durable hard travel case.
Product Features
- Optical Quality Glass Lens: Features a large, scratch-resistant optical quality glass lens for clear and crisp imaging.
- Natural Hue LED: Equipped with a soft white LED module designed to mimic halogen lighting, ensuring true tissue color representation. This LED system includes a capacitor and resistor to regulate voltage spikes, extending bulb life.
- Durable Construction: Constructed with a lightweight, thick anodized rustproof aluminum body for strength and longevity.
- Insufflation Outlet: Includes an insufflation outlet for pneumatic otoscopy.
- User-Friendly Design: Simple push-button switch for operation and easy battery replacement.

Figure 2: Detailed view of the otoscope's optical lens and LED light source, highlighting its clarity.

Figure 3: Illustration of the proprietary soft white LED module, designed with voltage regulation for extended lifespan.
Setup
- Unpack Contents: Carefully remove the otoscope, specula, batteries, and hard travel case from the packaging.
- Insert Batteries: Unscrew the bottom cap of the otoscope handle. Insert the two provided C batteries, ensuring correct polarity. Screw the cap back on securely.
- Attach Speculum: Select the appropriate size speculum (adult or pediatric) for the examination. Gently twist and attach the chosen speculum onto the head of the otoscope.
- Test Light: Press the button on the bottom of the handle to activate the LED light. Ensure the light is bright and clear.

Figure 4: The otoscope's user-friendly design facilitates easy battery replacement and speculum attachment.
Operating Instructions
- Patient Positioning: Ensure the patient is comfortable and still. For children, it may be helpful to have them sit on a parent's lap.
- Grip the Otoscope: Hold the otoscope firmly but comfortably in your hand.
- Straighten Ear Canal: For adults, gently pull the outer ear upward and backward. For children, pull the outer ear downward and backward. This straightens the ear canal for better viewing.
- Insert Speculum: Carefully insert the speculum into the ear canal. Do not force it. Observe through the viewing lens.
- Examine Eardrum: Observe the eardrum for color, clarity, and any abnormalities. The bright LED light and large lens provide a clear view.
- Insufflation (if applicable): If performing pneumatic otoscopy, attach an insufflator bulb (not included) to the insufflation outlet and gently squeeze to observe eardrum mobility.
- Remove Speculum: Gently remove the speculum from the ear canal.
- Power Off: Press the button on the bottom of the handle to turn off the LED light.

Figure 5: Reference chart illustrating various eardrum conditions to aid in examination.
Maintenance
- Cleaning: After each use, remove the speculum and dispose of it if it's a single-use type. Clean the otoscope head and lens with a soft, dry cloth. For thorough cleaning, use a lens cleaning solution on the optical glass lens.
- Battery Storage: For extended storage periods, it is recommended to remove the C batteries from the otoscope handle to prevent potential leakage and corrosion.
- Storage: Store the otoscope in its provided hard travel case to protect it from dust, moisture, and physical damage.
- Replacement Parts: The otoscope is designed for longevity with easily replaceable parts. If any component malfunctions, contact customer support for assistance.
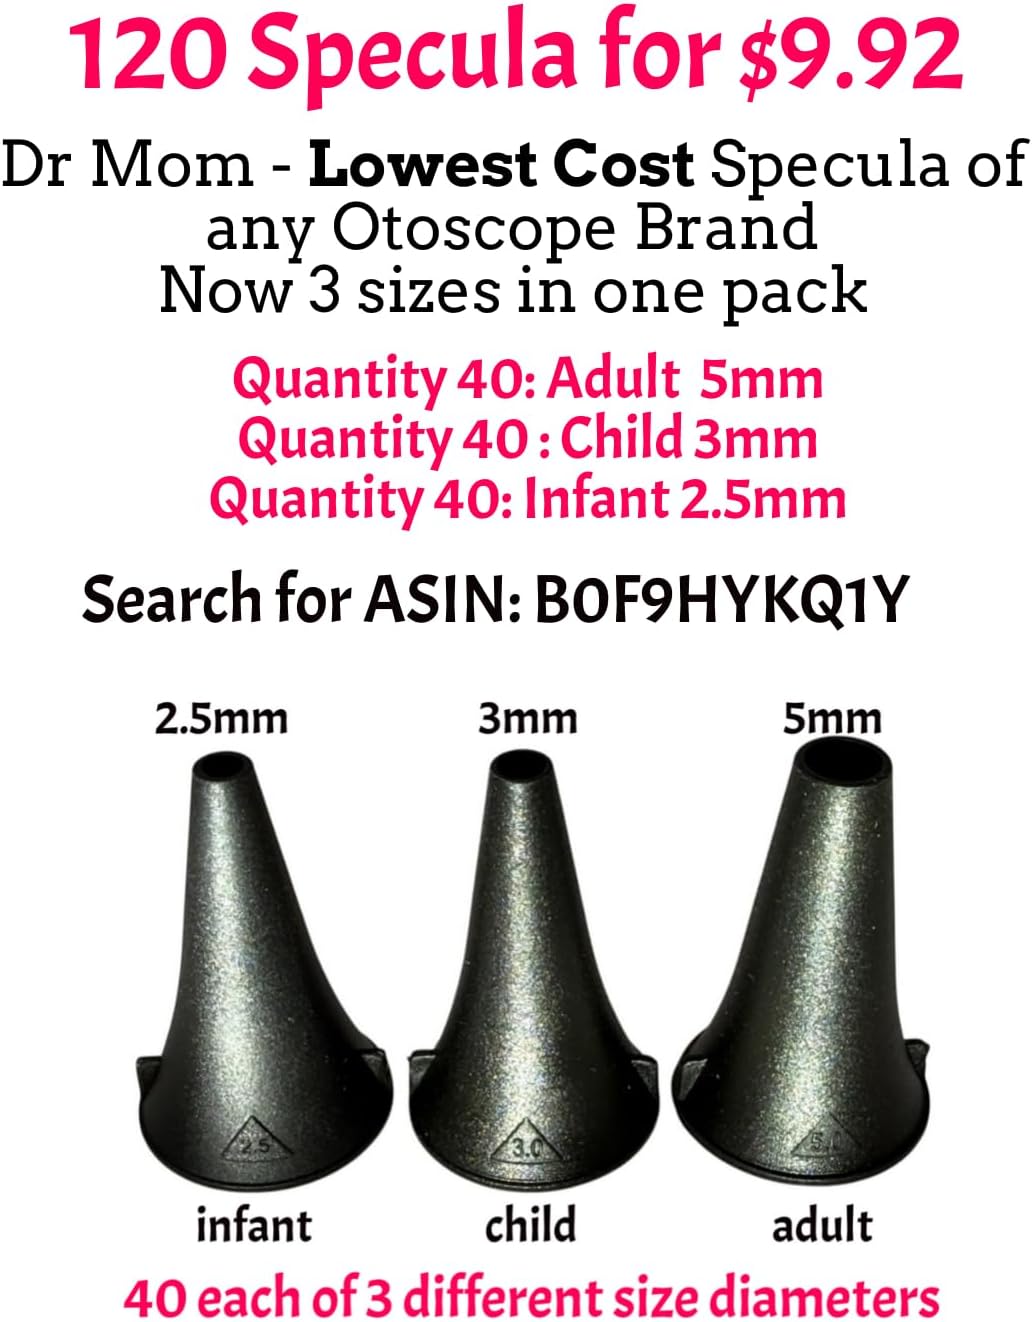
Figure 6: Various sizes of specula are available for different patient needs, ensuring hygienic use.
Troubleshooting
| Problem | Possible Cause | Solution |
|---|---|---|
| Light is dim or not working | Low or dead batteries; loose battery connection. | Replace C batteries with new ones; ensure batteries are inserted correctly and the cap is tightened. |
| Unclear view through lens | Dirty lens; incorrect speculum size; excessive earwax. | Clean the optical lens with a soft cloth; ensure the correct speculum size is used; consult a medical professional for earwax removal if necessary. |
| Speculum does not attach securely | Incorrect attachment method; damaged speculum. | Ensure the speculum is twisted onto the head correctly; replace with a new speculum if damaged. |
Specifications
- Model Number: DMP
- Power Source: C Batteries (included)
- Body Material: Anodized Rustproof Aluminum
- Lens Type: Optical Quality Glass, Scratch-Resistant
- Light Source: Natural Hue LED
- Dimensions: 9.76 x 5.04 x 2.17 inches (Package)
- Weight: 1.05 Pounds (Package)
Warranty and Support
Doctor Mom Otoscope offers a lifetime warranty on its 4th and 5th generation otoscopes. This warranty covers manufacturing defects and operational issues. If you encounter any problems with your otoscope, simply send it back for repair or replacement. Please note that damage due to leaking, corroded batteries, or external forces (e.g., physical impact) is not covered under this warranty. For support, please contact us via email at support@docmom.com.

Figure 7: Doctor Mom's commitment to customer satisfaction and product longevity.
Important Information
This otoscope is intended for general examination purposes. It is not a substitute for professional medical advice, diagnosis, or treatment. Always seek the advice of a qualified healthcare provider for any medical conditions or concerns. Misuse of the device may cause injury.


