Product Overview
The Phomemo M110 Label Maker is a versatile and powerful thermal printer designed for various labeling needs. It offers ink-less, smooth, and fast printing, making it ideal for small businesses, schools, home organization, and more. This mini label printer supports label widths ranging from 20mm to 50mm, with a maximum printable width of 48mm. It connects wirelessly via Bluetooth to your mobile device and can also connect to computers via USB-C.
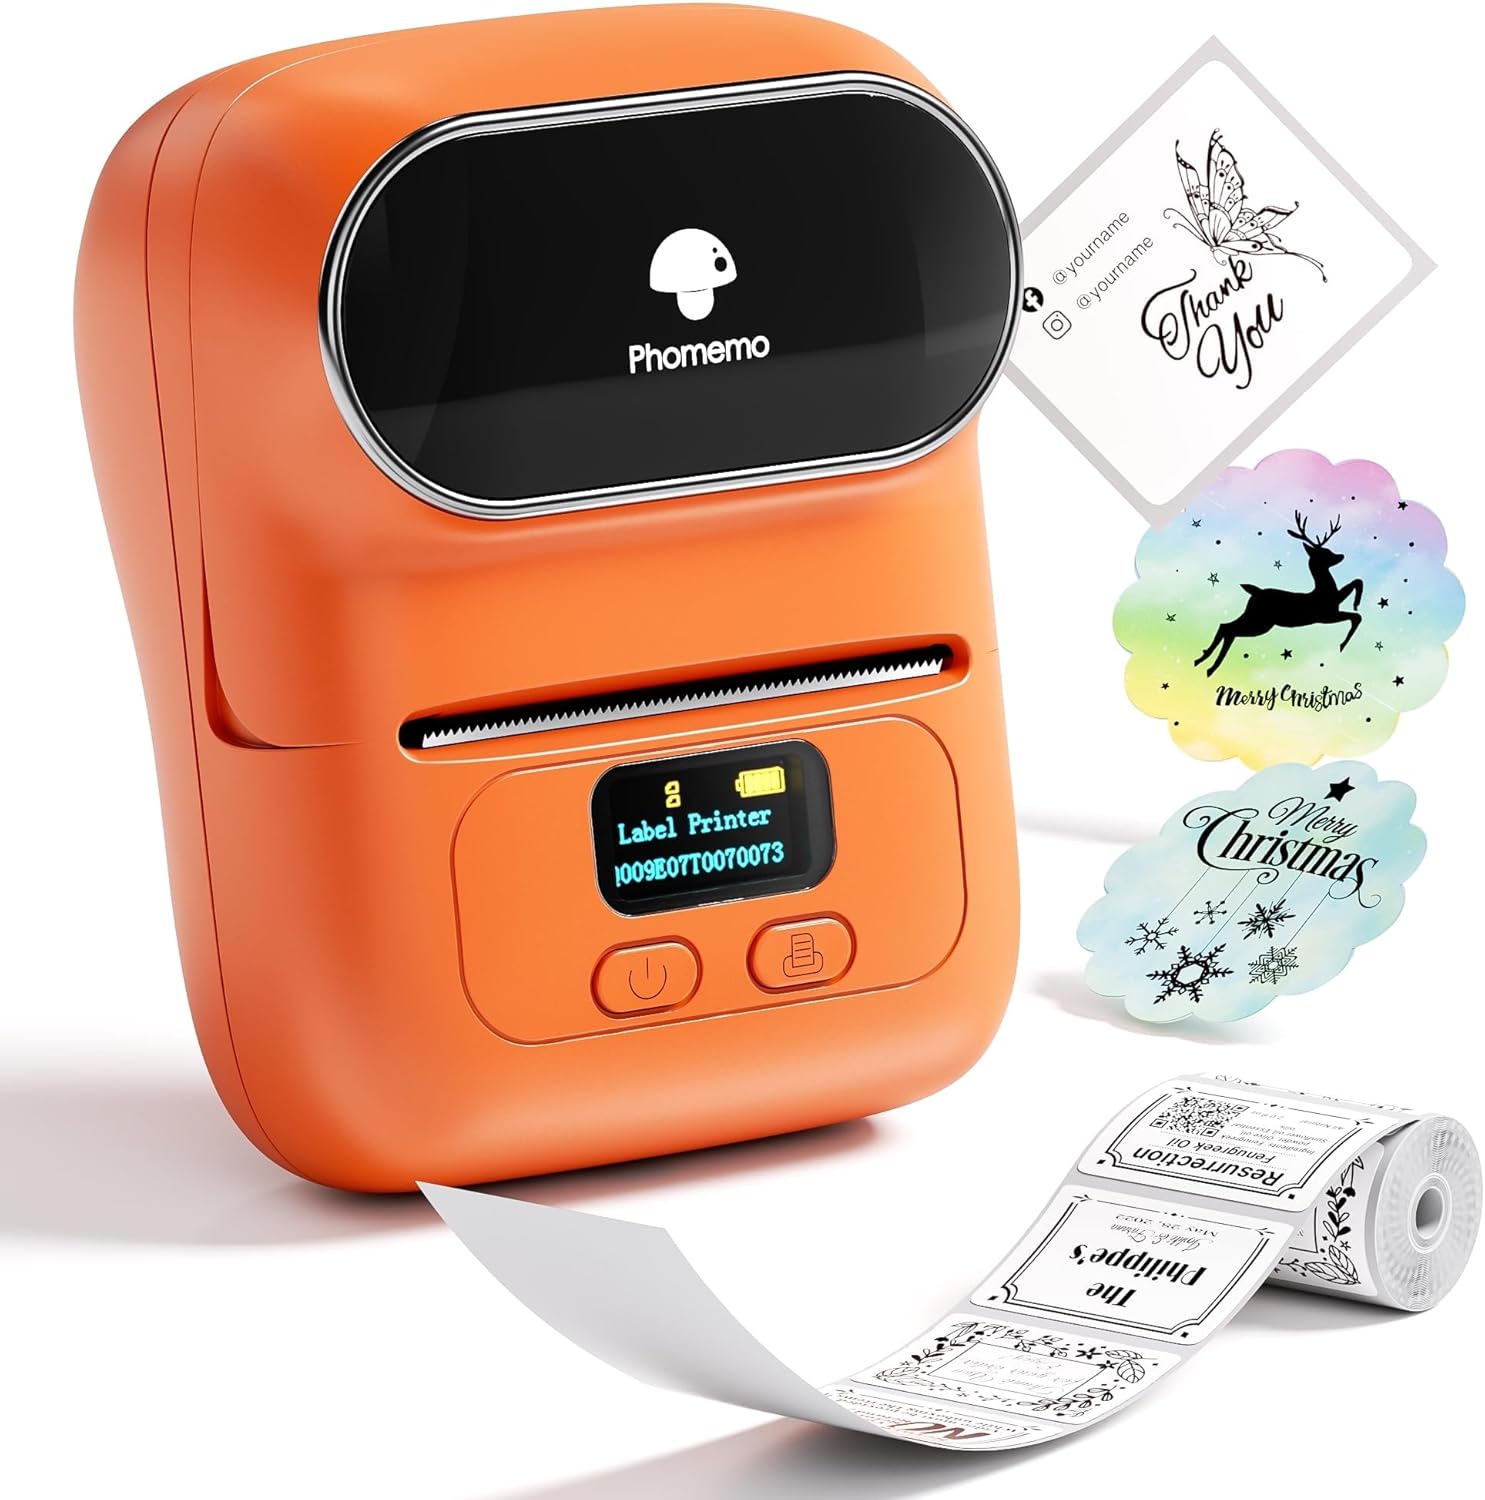
Image: The Phomemo M110 Label Maker in orange, shown with various printed labels such as "Thank You" cards, decorative Christmas labels, and a roll of patterned labels.
What's in the Box
- Phomemo M110 Label Maker (Orange)
- 1 Roll of Labels (100 Label Sheets)
- USB Type-C Cable
- User Manual

Image: A visual representation of the Phomemo M110 Label Maker, a USB cable, a roll of labels, and the instruction manual, illustrating the contents of the product package.
Setup and Initial Use
1. Powering On and App Installation
- Charge the Device: Before first use, ensure the printer is fully charged using the provided USB Type-C cable.
- Power On: Long press the power button for 3 seconds until the display lights up. The printer is ready for printing when the display shows "Label Printer" and battery status.
- Install the App: Search for "Print Master" on your mobile device's App Store (iOS) or Google Play (Android) and install it.

Image: Step-by-step guide on installing the "Print Master" app, signing in, turning on Bluetooth, and connecting to the Phomemo M110 printer.
2. Loading Labels
- Open Top Cover: Hold both sides of the printer's top cover and lift it up to open.
- Attach Paper Roll: Attach the label roll to the paper roll holder, ensuring the print side of the labels is facing down.
- Insert Roll: Place the paper roll holder with the labels back into the paper compartment.
- Close Cover: Close the top cover firmly until it clicks into place. Ensure the label feeds out slightly from the paper exit.
Video: A demonstration of how to install labels into the Phomemo M110 Label Maker, showing the process of opening the cover, placing the label roll on the holder, and closing the cover.
3. Bluetooth Connection
- Open App: Open the "Print Master" app on your mobile device.
- Auto Connect: Click "Auto Connect" within the app. The app will automatically search for and connect to the printer.
- Confirm Connection: Once connected, the app will display a "Connected" status. The printer will automatically position the label.

Image: A user connecting the Phomemo M110 Label Maker to a smartphone via Bluetooth, demonstrating wireless printing capabilities for both iOS and Android devices.
4. USB Cable Connection (for Computers)
For computer connectivity, download the "Labelife" software. Connect the printer to your computer using the USB-C cable. You can then edit and print labels directly from your computer.

Image: The Phomemo M110 Label Maker connected to a laptop via a USB cable, illustrating compatibility with Windows, Mac OS, and Chrome OS for label printing.
Operating the Label Maker
1. Using the "Print Master" App
The "Print Master" app provides a user-friendly interface for creating and customizing labels. It offers various templates, fonts, and icons to suit your needs. You can also create your own designs from scratch.
- Template Selection: Browse through a wide range of pre-designed templates for different purposes (e.g., address labels, price tags, jewelry tags, clothing tags).
- Customization: Edit text, add barcodes (including QR codes), insert images, and choose from over 80 fonts and 1000 icons.
- Printing: Once your design is complete, click the "Print" button. The printer will quickly produce your label.
Video: A comprehensive user guide for the Phomemo M110 Label Maker, demonstrating app features, label creation, and printing various types of labels.

Image: An illustration of the "Print Master" app interface, highlighting the variety of template fonts and icons available for label customization.
2. Applications and Use Cases
The Phomemo M110 is suitable for a wide array of applications due to its versatility and compact design.
- Small Business: Create price tags, barcode labels, product ingredient lists, and packaging labels.
- Home Use: Organize pantry items, storage boxes, and personal belongings.
- Office/School: Label files, folders, notebooks, and school supplies.
- Gifts: Personalize gifts with custom labels and messages.

Image: Examples of labels created with the Phomemo M110, including food labels, price tags, DIY labels, and category tags, showcasing its diverse applications.
Video: A demonstration of the Phomemo M110 Mini Label Maker in action, highlighting its ease of use and versatility for various labeling tasks.
Maintenance
Cleaning the Print Head
Regular cleaning of the print head ensures optimal print quality and extends the life of your printer. It is recommended to clean the print head when the printer is off.
- Turn Off Printer: Ensure the printer is powered off before cleaning.
- Open Cover: Hold both sides of the printer's top cover and lift it up to open. Remove the paper roll holder.
- Prepare Swab: Dip a cotton swab in 75% ethyl alcohol.
- Clean Print Head: Gently wipe the surface of the print head until any stains are removed.
- Allow to Dry: Wait approximately 10 minutes for the alcohol to fully evaporate before closing the cover.
- Reassemble: Place the paper roll holder back into the printer and close the top cover.
Video: A detailed guide on how to clean the print head of the Phomemo M110 Label Maker, including necessary materials and step-by-step instructions.
Troubleshooting
If you encounter any issues with your Phomemo M110 Label Maker, please consider the following common solutions:
- No Power: Ensure the device is fully charged. Connect it to a power source using the USB-C cable.
- Printing Issues (Faint/Missing Lines): Clean the print head as described in the Maintenance section. Ensure the label roll is correctly installed with the print side facing down.
- Bluetooth Connection Problems: Make sure Bluetooth is enabled on your mobile device and the printer is within range. Restart both the printer and your mobile device. Ensure the "Print Master" app has necessary permissions.
- Label Feeding Issues: Verify that the label roll is properly seated and not jammed. The printer automatically identifies labels, but ensure the label type selected in the app matches the physical label.
- App Functionality: Ensure your "Print Master" app is updated to the latest version. If issues persist, try reinstalling the app.
For more detailed troubleshooting or specific error messages, refer to the comprehensive user manual available through the "Print Master" app or the official Phomemo website.
Specifications
| Feature | Detail |
|---|---|
| Brand | Phomemo |
| Model Name | M110 |
| Product Dimensions | 4.48"D x 2.44"W x 3.43"H |
| Item Weight | 7.9 ounces (222.8 Grams) |
| Connectivity Technology | USB Type-C, Bluetooth |
| Printing Technology | Thermal |
| Printer Media Size Maximum | 50mm |
| Maximum Black and White Print Resolution | 203 dpi |
| Max Print Speed (Monochrome) | 30 ppm |
| Compatible Devices | Windows 7 and above, Chrome OS, iOS, Mac OS 10 and above, Android |
| Control Method | App |
| Batteries | 1 C batteries required (included) |
| Power Consumption | 0.01 Watts |
Warranty and Support
Phomemo offers protection plans for your device. For detailed warranty information and to purchase extended protection, please refer to the product's purchase page or contact Phomemo customer support.
- Protection Plans: Available for 3-Year and 4-Year durations, as well as a monthly "Complete Protect" plan.
- Returns: The product typically has a 30-day return policy for refund or replacement.
- Official User Guide: A PDF version of the Instructions for Use (IFU) is available for download: Phomemo M110 User Manual (PDF).
- Brand Store: Visit the official Phomemo store on Amazon for more products and support: Phomemo Store.


