
1. Introduction
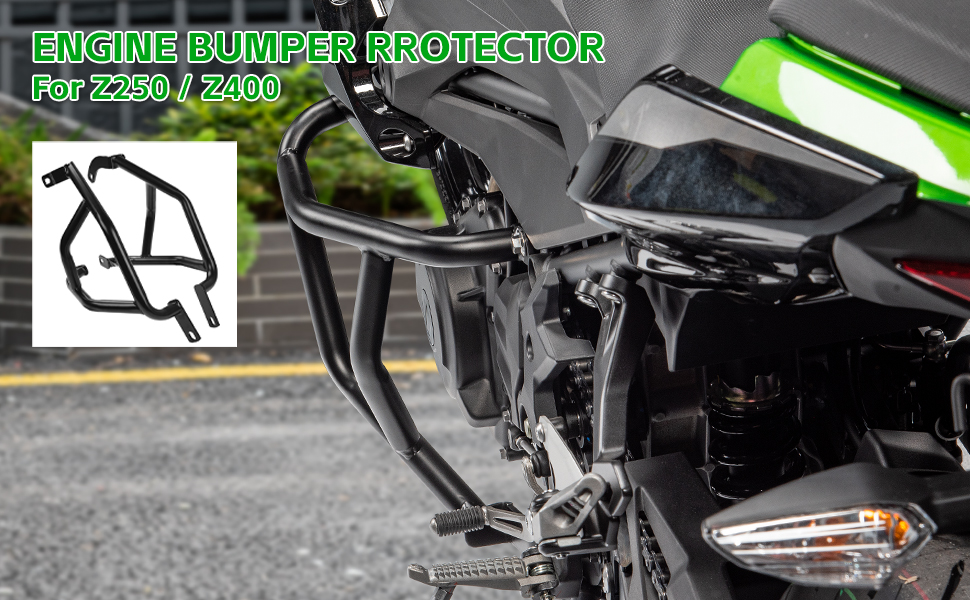
This manual provides instructions for the installation, operation, and maintenance of the FATExpress Motorcycle Steel Highway Crash Bar Engine Guard. This product is designed to provide additional protection for your motorcycle's engine and body panels.
1.1. Compatibility
This crash bar is compatible with Kawasaki Z400 and Z250 models manufactured between 2018 and 2023. This is an aftermarket replacement part and is not a genuine part from the original equipment manufacturer.
2. Safety Information
Always prioritize safety during installation and operation. Professional installation is recommended, especially if you lack mechanical experience or specialized tools.
- Ensure the motorcycle is stable and securely supported before beginning installation.
- Wear appropriate personal protective equipment, including gloves and eye protection.
- Verify all bolts and fasteners are tightened to the manufacturer's specifications to prevent loosening during operation.
- After installation, test the motorcycle's controls (shifter, brake) to ensure they are not obstructed and function correctly. Some users have reported potential interference with foot controls; adjustments or alternative rearsets may be necessary.
- Be aware that crash bars may alter the motorcycle's lean angle capabilities. Exercise caution when cornering at speed after installation.
3. Package Contents
The package includes the following components:
- 1 Pair of Engine Guard Bumper Protectors (Left & Right)
- Necessary Installation Hardware (bolts, washers)

4. Installation Instructions
The crash bars are designed for bolt-on installation. No drilling, cutting, or welding is typically required. However, some mechanical aptitude and proper tools are beneficial for a smooth installation.
4.1. Tools Required (Not Included)
- Wrench set
- Socket set
- Torque wrench (recommended)
- Motorcycle stand or lift (for stability)
4.2. Installation Steps
- Prepare the Motorcycle: Ensure the motorcycle is turned off, cooled down, and securely placed on a stand or lift.
- Identify Mounting Points: Locate the designated mounting points on the motorcycle frame for the crash bars. These are typically near the engine and lower frame.
- Attach Crash Bars: Carefully align the left and right crash bars with their respective mounting points. Use the provided hardware (bolts and washers) to loosely secure the bars.
- Adjust and Tighten: Once both bars are loosely attached, ensure proper alignment and clearance around engine components and foot controls. Gradually tighten all bolts, working evenly on both sides. Refer to your motorcycle's service manual for specific torque specifications if available.
- Final Check: After tightening, double-check all connections for security. Ensure no cables, hoses, or other motorcycle parts are pinched or obstructed by the newly installed crash bars.

4.3. Installation Video Guide
Video 4.1: Official installation guide for the FATExpress Crash Bar on Kawasaki Z400/Z250 models. This video demonstrates the step-by-step process of attaching the crash bars to the motorcycle frame.
5. Operation and Function
The FATExpress Steel Highway Crash Bar is designed to protect critical components of your motorcycle in the event of a fall or slide. Its primary functions include:
- Engine Protection: Reduces direct impact damage to the engine casing and other vital engine components.
- Bodywork Protection: Helps prevent damage to the motorcycle's fairings, fuel tank, and other body panels, potentially saving significant repair costs.
- Frame Protection: Acts as a buffer to absorb impact energy, protecting the motorcycle's main frame structure.
6. Maintenance
To ensure the longevity and continued effectiveness of your crash bars, follow these maintenance guidelines:
- Regular Inspection: Periodically check all mounting bolts for tightness. Vibrations from riding can cause fasteners to loosen over time.
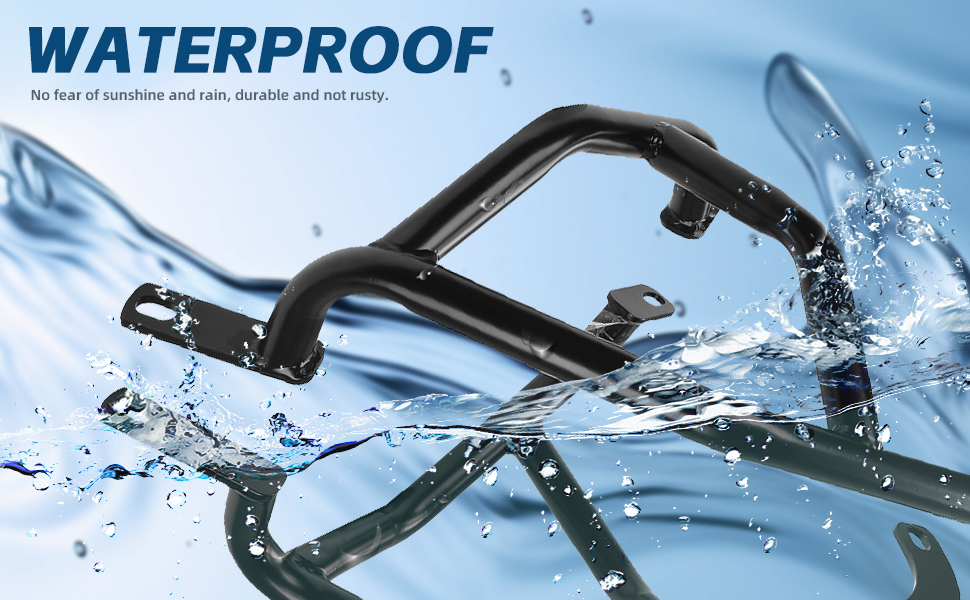
- Cleaning: Clean the crash bars with mild soap and water. Avoid abrasive cleaners or solvents that could damage the powder-coated finish.
- Damage Assessment: In the event of a fall or impact, thoroughly inspect the crash bars for any bends, cracks, or significant damage. Damaged crash bars should be replaced immediately as their protective integrity may be compromised.
- Corrosion Prevention: The steel tubing is powder-coated for corrosion resistance. If the coating is scratched or chipped, touch up with appropriate paint to prevent rust.

7. Troubleshooting
This section addresses common concerns and potential issues encountered during or after installation.
7.1. Foot Control Interference
Some users have reported that the crash bars may interfere with the operation of the gear shifter or rear brake pedal, particularly for riders with larger feet or specific riding styles. This can lead to missed shifts or difficulty braking.
- Adjustment: Check if your motorcycle's shifter or brake pedal can be adjusted slightly outward to provide more clearance.
- Riding Technique: Adapt your foot placement and shifting technique to accommodate the presence of the crash bar.
- Rearsets: In some cases, installing aftermarket rearsets that reposition the foot controls may resolve the issue.
7.2. Reduced Lean Angle
The addition of crash bars can reduce the maximum lean angle of the motorcycle, potentially causing the bars to scrape the ground during aggressive cornering.
- Riding Style: Be mindful of the altered lean angle capabilities, especially during spirited riding or track use.
- Practice: Gradually re-familiarize yourself with the motorcycle's handling characteristics after installation.
7.3. Installation Difficulty
While designed for bolt-on installation, some users find the process challenging without mechanical experience or specific tools.
- Professional Assistance: If you encounter significant difficulty, consider seeking assistance from a qualified motorcycle mechanic.
- Tooling: Ensure you have the correct wrench and socket sizes. A small jack or lift can aid in positioning the bars.
8. Specifications
| Feature | Detail |
|---|---|
| Brand | FATExpress |
| Model Compatibility | Kawasaki Z400, Z250 (2018-2023) |
| Material | Heavy-duty Mild Steel Tubing |
| Tubing Outer Diameter | 22mm |
| Finish | Powder Coated Black |
| Installation Type | Bolt-On |
| Item Weight | 3370 g |
| UPC | 710328939639 |
9. Warranty and Support
For warranty information or technical support, please contact FATExpress directly through their official channels or the retailer from whom the product was purchased. Keep your purchase receipt as proof of purchase.