Introduction
This user manual provides comprehensive instructions for the installation, operation, maintenance, and troubleshooting of your WiMiUS Dash Cam WiFi. Please read this manual thoroughly before using the device to ensure proper functionality and to maximize your user experience. This dash cam is designed to record your driving journey, providing valuable evidence in case of incidents and enhancing your road safety.
Product Overview
Key Features
- Full HD 1080p Resolution: Records clear video footage at 1080p for detailed playback.
- 170° Wide Angle Lens: Captures a broad view of the road, minimizing blind spots.
- Built-in Wi-Fi: Allows wireless connection to your smartphone via the "Camaster" app for viewing, saving, and sharing recordings.
- G-Sensor (Collision Detection): Automatically detects sudden shakes or collisions and locks the current video footage to prevent overwriting.
- Loop Recording: Continuously records by overwriting the oldest unlocked files when the memory card is full.
- Superior Night Vision: Equipped with WDR (Wide Dynamic Range) and F1.8 large aperture for improved image quality in low-light conditions.
- Extreme Weather Reliability: Designed to operate reliably in temperatures ranging from -22°F to 185°F (-30°C to 85°C).
- Compact Design: Small form factor ensures it does not obstruct the driver's view.
Components
The WiMiUS Dash Cam WiFi package typically includes the following components:
- WiMiUS Dash Cam Unit
- Suction Cup Mount with Magnetic Buckle
- Car Charger with extra USB port
- 32GB Micro SD Card (may vary by package)
- User Manual (this document)

Figure 1: The WiMiUS Dash Cam WiFi unit shown alongside a 32GB WiMiUS Micro SD card. The camera features a compact, circular design with a lens on the front and a display screen on the back. The suction cup mount is visible attached to the top of the camera.

Figure 2: The dash cam mounted on a car windshield, demonstrating its built-in Wi-Fi capability. A smartphone screen displays the "Camaster" app interface, illustrating how users can view, save, and share real-time footage or playback recordings wirelessly by connecting to the dash cam's Wi-Fi function. Social media icons are also shown, indicating sharing options.
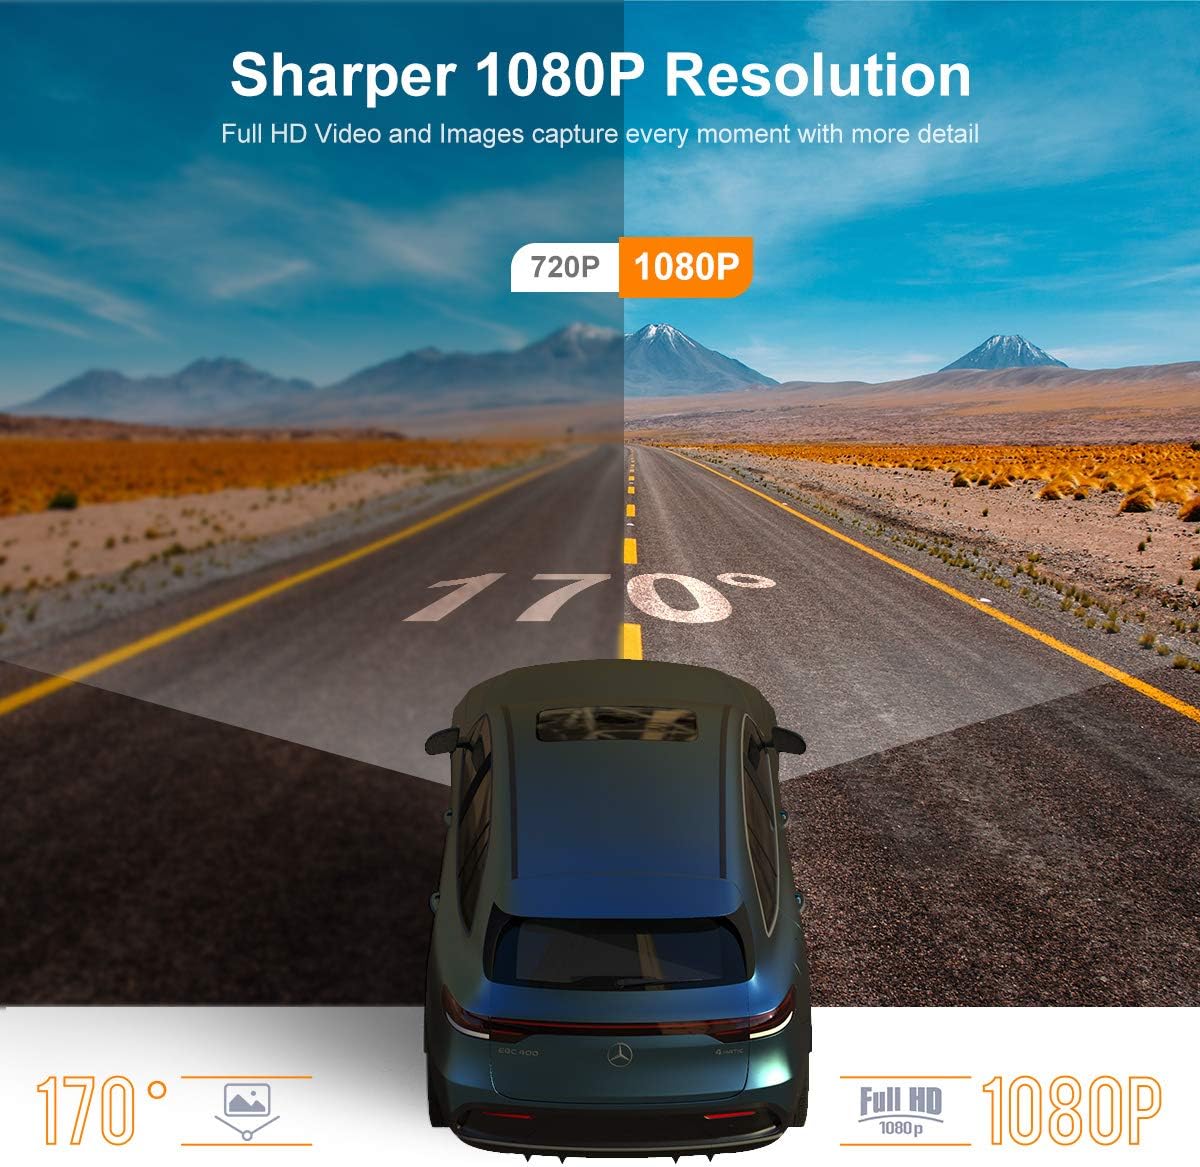
Figure 3: An illustration highlighting the sharper 1080p resolution and 170-degree field of view (FOV) of the dash cam. The image shows a split screen comparing 720p and 1080p video quality, with the 1080p side appearing clearer. A car is depicted on a road, emphasizing the wide angle of capture.

Figure 4: This image illustrates the loop recording function of the dash cam. Various small video frames are shown around the main dash cam unit, symbolizing continuous recording. The text "LOOP RECORDING" indicates that the camera overwrites the oldest files with new ones when the memory card is full, ensuring uninterrupted recording.
Setup Guide
1. Inserting the Micro SD Card
Before first use, insert the provided 32GB Micro SD card into the designated slot on the side of the dash cam. Ensure the card is inserted correctly until it clicks into place. It is recommended to format the SD card within the dash cam settings before initial use to ensure compatibility and optimal performance.
2. Mounting the Dash Cam
- Clean the area on your windshield where you intend to mount the dash cam. Ensure it is free of dust and grease.
- Attach the suction cup mount to the windshield. Press firmly and flip the lever to secure it.
- Connect the dash cam unit to the magnetic buckle on the mount. The magnetic connection allows for easy attachment and detachment.
- Adjust the angle of the dash cam to ensure it captures the road ahead clearly, without obstruction from the rearview mirror or other vehicle components.
3. Power Connection
Connect the car charger to your vehicle's 12V power outlet (cigarette lighter socket). Route the power cable neatly along the windshield edge and dashboard to avoid obstructing your view or interfering with driving. Plug the other end of the cable into the dash cam's power input port. The dash cam will automatically power on and begin recording when your vehicle's ignition is turned on.
4. App Setup (Camaster App)
The WiMiUS Dash Cam WiFi can be controlled and footage can be accessed wirelessly via the "Camaster" app on your smartphone.
- Download the App: Search for "Camaster" in the Google Play Store (for Android) or Apple App Store (for iOS) and download it.
- Grant Permissions: Upon installation, allow all necessary permissions requested by the app (e.g., Storage, Camera, Location).
- Connect to Dash Cam Wi-Fi:
- On your dash cam, enable the Wi-Fi function (refer to the dash cam's on-screen menu if needed).
- On your smartphone, go to Wi-Fi settings and connect to the dash cam's Wi-Fi network (e.g., "DashCam_XXXX"). The default password is usually "12345678" or "88888888".
- For Android users: Your phone might indicate "This WLAN has no internet access." Keep connecting to this Wi-Fi.
- For iOS users: Ensure the app is allowed to use WLAN and Cellular Data in your phone's settings.
- Run the App: Open the Camaster app. If prompted, pull down to refresh or click to enter the camera view. You should now see the live feed from your dash cam and be able to access recorded files.
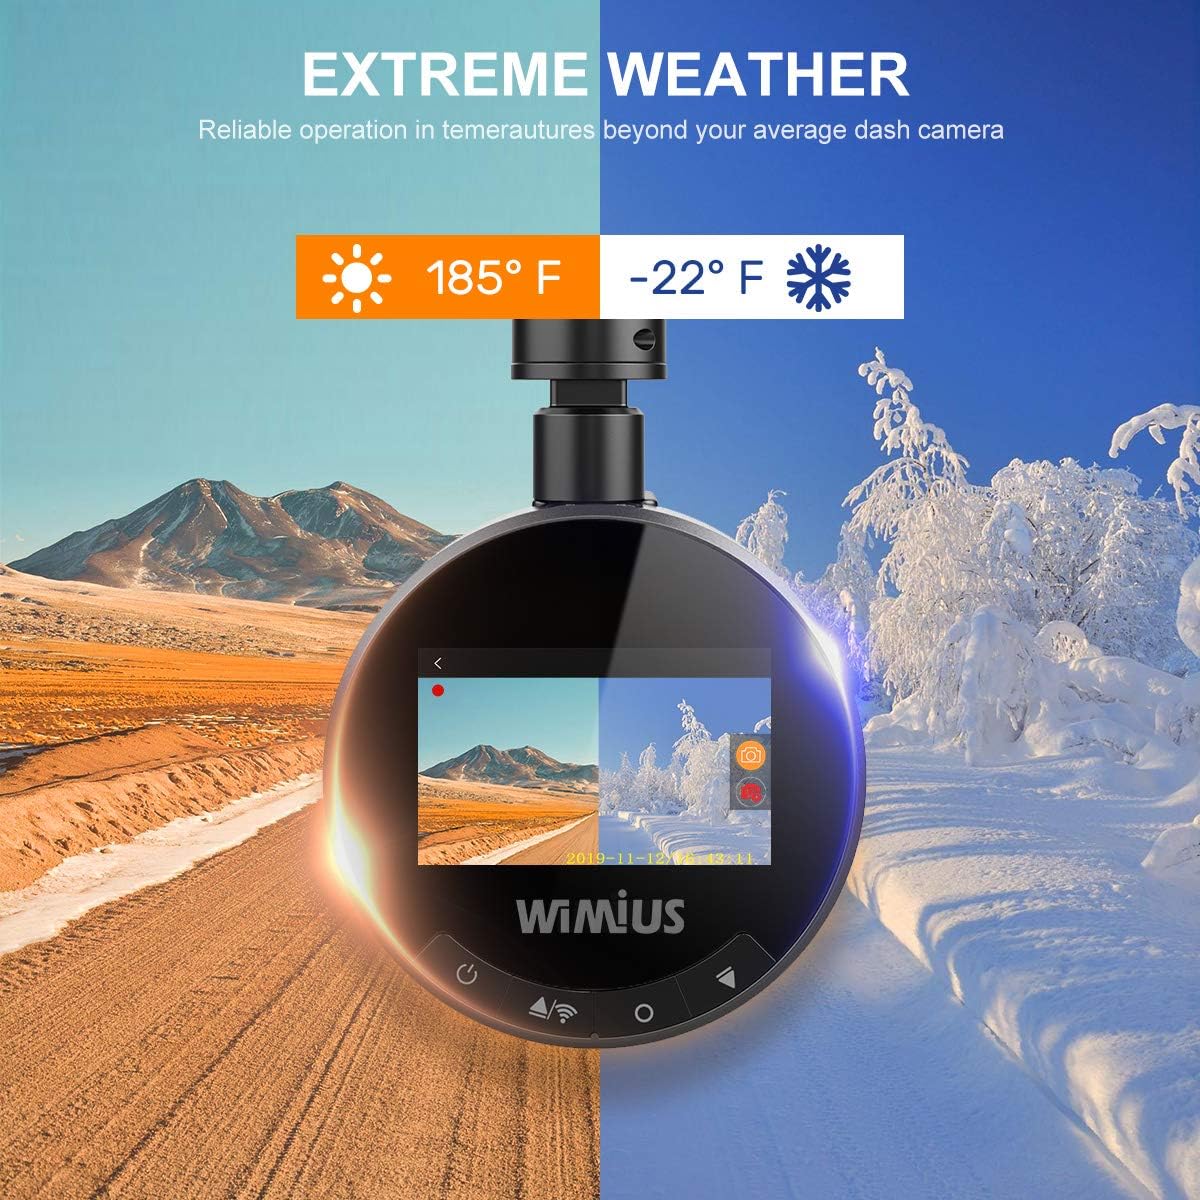
Figure 5: A visual guide detailing the "Camaster" app setup process. It shows three main steps: 1. Granting permissions during app installation, 2. Phone Wi-Fi settings for connecting to the dash cam's network (with specific notes for Android and iOS regarding internet access), and 3. Running the app to access the dash cam's interface, including live view, video, emergency video, and photo sections.
Operating Instructions
Automatic Recording
Once connected to power, the dash cam will automatically power on and begin recording when your vehicle's engine starts. It will automatically save the recording and power off when the engine is turned off. This ensures that every moment of your drive is captured without manual intervention.

Figure 6: This image highlights the automatic recording and G-sensor features. It shows the dash cam capturing footage as a car engine starts, indicating automatic operation. Below, a collision scenario is depicted with a lock icon, signifying that the G-sensor instantly saves videos of impacts to a protected folder, making them essential for insurance claims.
Loop Recording
The dash cam utilizes loop recording, which means it continuously records video in segments (e.g., 1, 3, or 5 minutes). When the Micro SD card reaches its storage limit, the system will automatically overwrite the oldest unlocked video files to make space for new recordings. This ensures that recording never stops due to a full memory card.
G-Sensor (Emergency Recording)
The built-in G-sensor detects sudden movements or impacts, such as hard braking or a collision. When such an event is detected, the current video segment is automatically locked and saved to a separate "LOCK" folder on the SD card. These locked files will not be overwritten by loop recording, preserving critical evidence.
Viewing and Managing Footage
- Via Camaster App: Connect your smartphone to the dash cam's Wi-Fi network as described in the Setup Guide. Open the Camaster app to view live footage, play back recorded videos, download files to your phone, or delete unwanted files.
- Via Computer: Remove the Micro SD card from the dash cam and insert it into a card reader connected to your computer. The video files will be organized into folders (e.g., "Normal," "LOCK"). You can then copy, move, or delete files as needed.
Maintenance
Formatting the Micro SD Card
It is recommended to format the Micro SD card regularly (e.g., once a month) to maintain optimal recording performance and prevent data corruption. This can typically be done through the dash cam's settings menu or via the Camaster app. Formatting will erase all data on the card, so ensure you back up any important files beforehand.
Cleaning the Device
Use a soft, dry cloth to clean the dash cam's lens and body. For stubborn smudges on the lens, a lens cleaning solution designed for optical surfaces can be used sparingly. Avoid using abrasive cleaners or solvents, as they may damage the device. Keep the suction cup mount clean to ensure a strong adhesion to the windshield.
Environmental Considerations
While the WiMiUS Dash Cam is designed for extreme weather conditions (-22°F to 185°F), prolonged exposure to direct sunlight in extremely hot climates or severe cold can affect its lifespan. If parking for extended periods in extreme temperatures, consider removing the dash cam or parking in shaded areas.

Figure 7: This image illustrates the dash cam's reliable operation in extreme weather conditions, showing it functioning in both hot (185°F / 85°C) and cold (-22°F / -30°C) environments. This highlights its robust design for various climates.
Troubleshooting
| Problem | Possible Cause | Solution |
|---|---|---|
| Dash cam does not power on. | No power from car charger; loose connection; faulty charger. | Check car charger connection to both the dash cam and the vehicle's 12V outlet. Ensure the vehicle's ignition is on. Test the charger with another device if possible. |
| Recording stops or freezes. | SD card issue (full, corrupted, incompatible); firmware issue. | Format the Micro SD card. Try a different, high-speed (Class 10 or U3) Micro SD card. Ensure the card is inserted correctly. Check for firmware updates. |
| Video quality is poor (blurry, dark at night). | Dirty lens; protective film still on lens; incorrect settings; low light conditions. | Clean the lens with a soft cloth. Remove any protective film. Check video resolution settings (ensure 1080p is selected). Ensure windshield is clean. |
| Wi-Fi connection issues with app. | Incorrect Wi-Fi password; phone settings blocking connection; app malfunction. | Ensure correct Wi-Fi password. For Android, ignore "no internet access" warning. For iOS, ensure app has WLAN access. Try putting phone in Airplane mode before connecting to dash cam Wi-Fi. Reinstall the Camaster app. |
| Magnetic buckle detaches or breaks. | Manufacturing defect; excessive force during detachment. | Contact WiMiUS customer support for a replacement part. Handle the magnetic buckle with care during attachment and detachment. |
If you encounter issues not listed here or if the suggested solutions do not resolve the problem, please contact WiMiUS customer support for further assistance.
Specifications
| Feature | Detail |
|---|---|
| Model Number | Dash Cam WiFi 001 |
| ASIN | B07YJF6VBC |
| Brand | WiMiUS |
| Video Resolution | Full HD 1080p |
| Field of View (FOV) | 170 degrees |
| Aperture | F1.8 |
| Screen Diagonal | 2 inches / 4 cm |
| Connectivity | Built-in Wi-Fi |
| Storage | Micro SD Card (up to 32GB included, support for higher capacities may vary) |
| Operating Temperature | -22°F to 185°F (-30°C to 85°C) |
| Item Weight | 10.2 ounces (approx. 289 grams) |
| Package Dimensions | 5.5 x 4.5 x 3 inches |
| Manufacturer | WIMIUS |
| Date First Available | April 2, 2020 |
Warranty and Support
For warranty information, product support, or technical assistance, please contact WiMiUS customer service. Details regarding specific warranty periods and terms are typically provided with your product packaging or can be obtained directly from the manufacturer's official website or support channels. When contacting support, please have your product model number (Dash Cam WiFi 001) and ASIN (B07YJF6VBC) ready.
You can visit the official WiMiUS store on Amazon for more information: WiMiUS Store


