
BEMIS 2850ZCPT000

Bemis 2850ZCPT000 Buxton Toilet Seat Instruction Manual
1. Introduction
This manual provides detailed instructions for the installation, operation, and maintenance of your Bemis 2850ZCPT000 Buxton Toilet Seat. Please read these instructions carefully before installation and retain them for future reference. The Bemis Buxton toilet seat is designed for universal toilet pans, featuring durable thermoplastic construction and the Ultra-Fix fastening system for a secure fit.
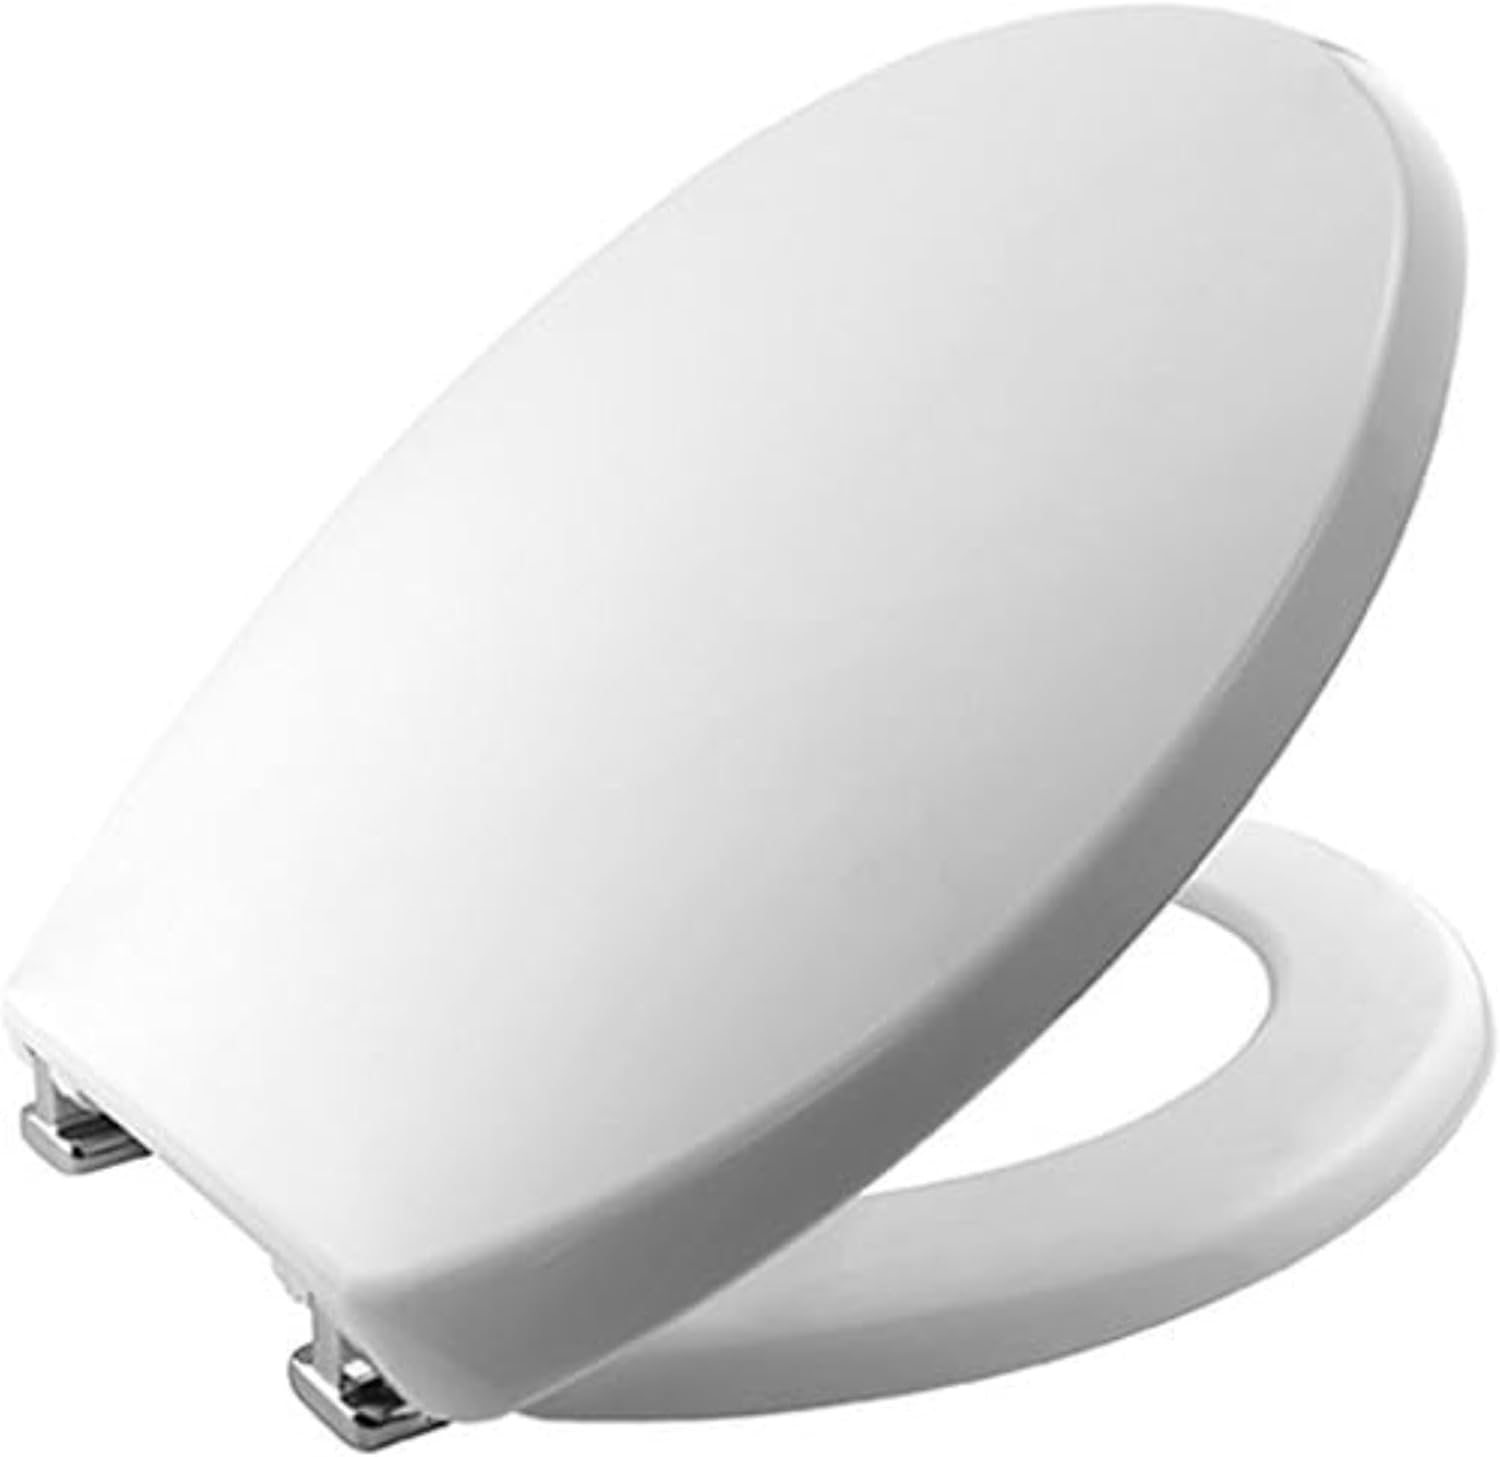
Image 1.1: Bemis Buxton Toilet Seat (closed view).

Image 1.2: Top-down view of the Bemis Buxton Toilet Seat.
2. Safety Information
Observe the following safety guidelines during installation and use:
- Always handle the toilet seat and components with care to prevent damage or injury.
- Ensure all fasteners are securely tightened during installation to prevent movement or instability.
- Do not use abrasive cleaners or harsh chemicals, as these can damage the surface finish of the toilet seat.
- Keep small parts out of reach of children to avoid choking hazards.
3. Package Contents
Verify that all components are present before beginning installation:
- 1 x Bemis Buxton STA-TITE Toilet Seat
- 1 x STA-TITE Fixing Set (includes bolts, washers, and Ultra-Fix nuts)
- 1 x Assembly Instructions (this manual)
4. Specifications
The Bemis 2850ZCPT000 Buxton Toilet Seat features:
- Material: Durable Thermoplastic
- Color: White
- Shape: Oval
- Hinges: Chrome Plated, Adjustable
- Fixing System: Ultra-Fix (STA-TITE)
- Product Dimensions (L x W x H): 43.6 cm x 35.2 cm x 5 cm
- Weight: 1.73 kg
- Hinge Width Compatibility: 145 mm - 165 mm

Image 4.1: Detailed product dimensions for the Bemis Buxton Toilet Seat.

Image 4.2: Overview of key features including material, fixing system, and hinge type.

Image 4.3: Additional features highlighting durability and ease of maintenance.
5. Setup and Installation
The Bemis Buxton toilet seat features the Ultra-Fix (STA-TITE) fixing system for a secure and stable installation. Follow these steps:
- Prepare the Toilet Pan: Ensure the toilet pan's mounting holes are clean and free from debris. If replacing an old seat, remove it completely.
- Insert Bolts: Place the bolts from the STA-TITE fixing set through the hinge holes on the toilet seat and then through the mounting holes on the toilet pan.
- Attach Ultra-Fix Nuts: From underneath the toilet pan, thread the Ultra-Fix nuts onto the bolts. Do not fully tighten yet.
- Adjust Position: Position the toilet seat correctly on the pan, ensuring it is centered and aligned.
- Tighten Ultra-Fix Nuts: Use a wrench to tighten the Ultra-Fix nuts. The unique design of the Ultra-Fix system ensures a secure, wobble-free fit that will not loosen over time. Tighten until firm.

Image 5.1: Visual guide for installing the Bemis Ultra-Fix system. Step 1 shows inserting the bolt, Step 2 shows attaching the nut, and Step 3 shows tightening with a wrench.
6. Operating Instructions
The Bemis Buxton toilet seat operates like a standard toilet seat. Lift the lid and seat as needed. The durable thermoplastic material and robust hinges are designed for regular use.
7. Maintenance and Cleaning
To ensure the longevity and hygiene of your Bemis Buxton toilet seat, follow these cleaning guidelines:
- Regular Cleaning: Clean the seat regularly with mild soap and water.
- Avoid Harsh Chemicals: Do not use abrasive cleaners, scouring pads, or harsh chemical disinfectants, as these can damage the thermoplastic surface and chrome-plated hinges.
- Drying: Wipe the seat dry with a soft cloth after cleaning to prevent water spots.
- Hinge Care: Periodically check the hinges for cleanliness and ensure they are free from buildup.
The smooth, non-porous surface of the thermoplastic material resists chipping and scratching, making cleaning straightforward.
8. Troubleshooting
Most issues with the Bemis Buxton toilet seat can be resolved with simple adjustments:
- Seat Wobbles: If the toilet seat feels loose or wobbles, re-tighten the Ultra-Fix nuts underneath the toilet pan. The Ultra-Fix system is designed to prevent loosening, but a check can ensure optimal stability.
- Difficulty Cleaning: If stains persist, ensure you are using a non-abrasive cleaner. For stubborn marks, a gentle, non-bleach bathroom cleaner can be used, followed by thorough rinsing.
- Hinge Squeaking: A small amount of silicone-based lubricant can be applied to the hinge pins if they begin to squeak. Avoid oil-based lubricants.
9. Warranty and Support
For warranty information or technical support, please refer to the official Bemis website or contact Bemis customer service directly. Keep your purchase receipt as proof of purchase.
Ask a question about this manual
Ask about setup, troubleshooting, compatibility, parts, safety, or missing instructions. Manuals+ will review the question and use this page’s manual context to help answer it.