Introduction
Welcome to the user manual for your new Nivona NICR 825 fully automatic coffee machine. This manual provides essential information for the safe and efficient operation, maintenance, and troubleshooting of your appliance. Please read it thoroughly before first use and keep it for future reference.
The Nivona NICR 825 is designed to deliver high-quality espresso and coffee specialties with ease, featuring a sleek stainless steel and chrome finish.
1. Setup and First Use
Before operating your Nivona NICR 825, follow these steps to ensure proper setup.
1.1 Unpacking
- Carefully remove the coffee machine from its packaging.
- Remove all protective films and packaging materials.
- Place the machine on a stable, level, and water-resistant surface. Ensure adequate ventilation around the appliance.

Figure 1: Nivona NICR 825 coffee machine positioned in a kitchen environment, ready for setup.
1.2 Initial Cleaning
- Wipe the exterior of the machine with a soft, damp cloth.
- Wash the water tank, drip tray, and coffee grounds container with warm water and mild detergent. Rinse thoroughly.
1.3 Filling Water Tank and Bean Container
- Fill the water tank with fresh, cold tap water up to the MAX mark.
- Open the bean container lid and fill it with whole coffee beans. Close the lid securely.
1.4 Power Connection and First Start
- Plug the power cord into a grounded electrical outlet.
- Press the ON/OFF button to switch on the machine.
- Follow the on-screen instructions for the initial setup process, which typically includes rinsing the system.
2. Operating Instructions
Learn how to prepare your favorite coffee beverages with your Nivona NICR 825.
2.1 Control Panel Overview

Figure 2: The intuitive control panel of the Nivona NICR 825, featuring a digital display, rotary knob, and selection buttons.
- Display: Shows beverage options, status messages, and settings.
- Rotary Knob: Navigate through menus and adjust settings.
- Selection Buttons: Confirm selections or start beverage preparation.
2.2 Preparing Coffee Specialties
- Place one or two cups under the coffee spout.
- Use the rotary knob to select your desired beverage (e.g., Espresso, Café Crème, Latte Macchiato).
- Press the selection button to start preparation. The machine will automatically grind beans, brew, and dispense the coffee.
- For milk-based drinks, ensure the milk frother is correctly attached and a container with milk is ready.

Figure 3: The Nivona NICR 825 preparing two perfect latte macchiatos simultaneously.
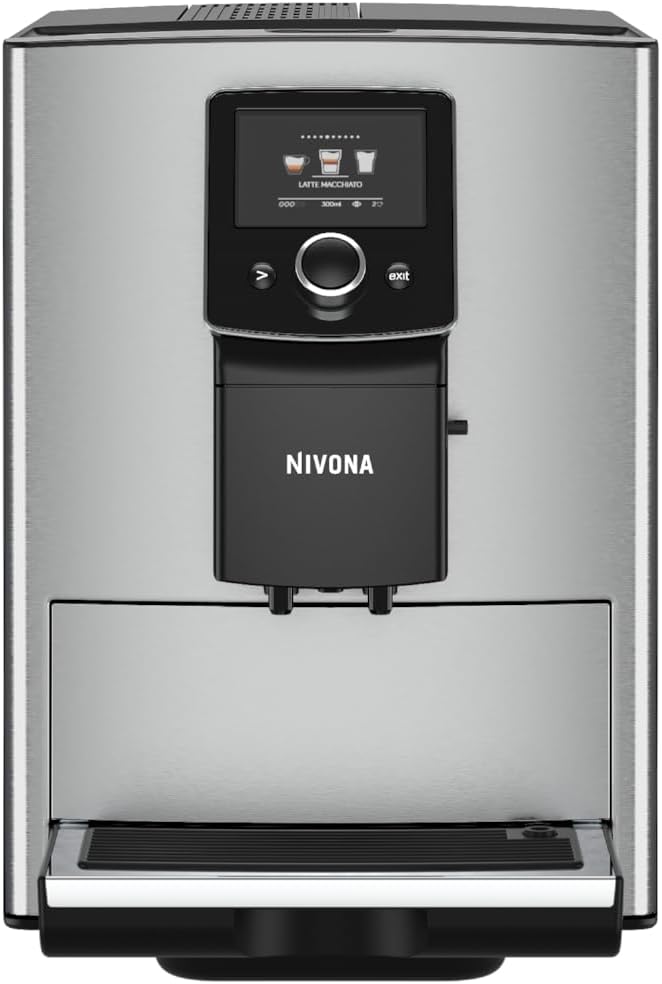
Figure 4: The Nivona NICR 825 dispensing a single latte macchiato, showcasing the milk frothing capability.
2.3 Adjusting Settings
You can customize your coffee experience:
- Coffee Strength: Adjust the amount of ground coffee per serving.
- Coffee Volume: Set the desired volume of your beverage.
- Temperature: Select from various temperature levels for your coffee.
- Access these settings via the main menu using the rotary knob.
3. Maintenance and Cleaning
Regular cleaning and maintenance are crucial for the longevity and optimal performance of your Nivona NICR 825.
3.1 Daily Cleaning
- Empty Drip Tray and Coffee Grounds Container: The machine will prompt you when these need emptying. Remove, clean with warm water, and replace.
- Rinse Milk System: After preparing milk-based drinks, perform the automatic milk system rinse cycle.
- Wipe Exterior: Use a soft, damp cloth to clean the stainless steel and chrome surfaces.
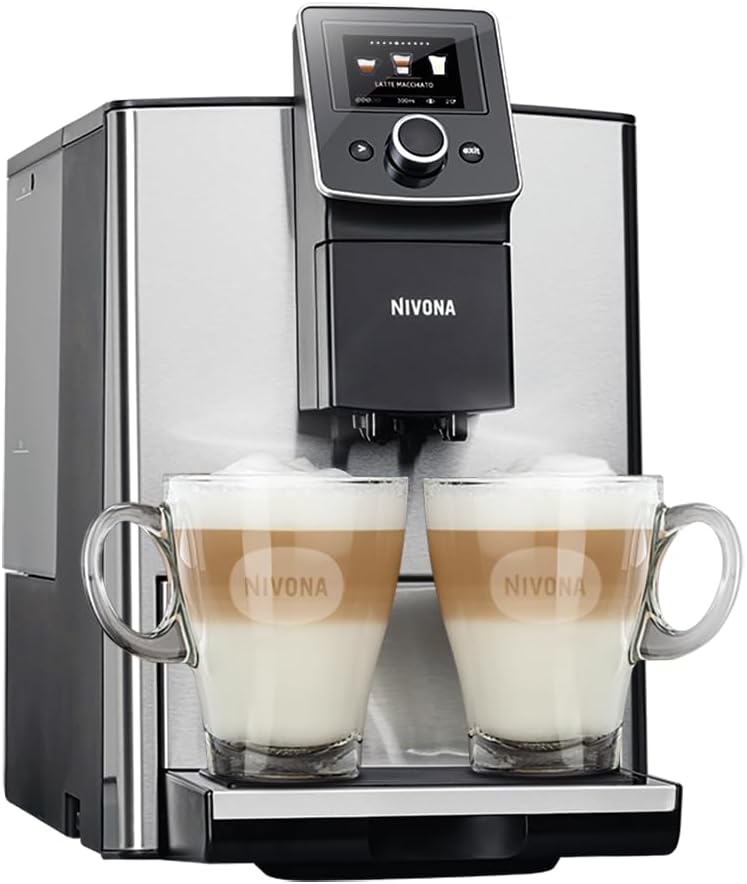
Figure 5: The front of the Nivona NICR 825, highlighting the easily accessible drip tray and coffee grounds container for routine cleaning.
3.2 Weekly/Monthly Cleaning
- Clean Brewing Unit: Remove the brewing unit (refer to the machine's display for instructions), rinse it thoroughly under running water, and let it air dry before reinserting.
- Descaling: The machine will indicate when descaling is necessary. Use Nivona descaling solution and follow the on-screen instructions.
- Water Filter Replacement: If using a water filter, replace it as indicated by the machine or every two months.
4. Troubleshooting
This section addresses common issues you might encounter with your Nivona NICR 825.
| Problem | Possible Cause | Solution |
|---|---|---|
| Machine does not turn on. | No power supply. | Check if the power cord is securely plugged into the machine and the electrical outlet. Ensure the outlet is functional. |
| "Fill Water Tank" message appears. | Water tank is empty or not correctly inserted. | Fill the water tank with fresh water and ensure it is properly seated in the machine. |
| "Empty Drip Tray" message appears. | Drip tray is full or not correctly inserted. | Remove the drip tray, empty it, clean it, and reinsert it correctly. |
| Coffee is not brewing. | No coffee beans, brewing unit blocked, or system not primed. | Check bean container. Clean the brewing unit. Perform a system rinse cycle. |
| Milk is not frothing correctly. | Milk system dirty, milk too warm, or wrong type of milk. | Clean the milk system thoroughly. Use cold milk. Ensure milk frother components are correctly assembled. |
If the problem persists, please contact Nivona customer support or an authorized service center.
5. Technical Specifications
Below are the technical specifications for the Nivona NICR 825 coffee machine.
| Feature | Detail |
|---|---|
| Brand | Nivona |
| Model Number | NICR 825 (B07YF9T51Q) |
| Color | Silver |
| Product Dimensions (L x W x H) | 49 x 24 x 33 cm |
| Weight | 10 Kilograms |
| Water Tank Capacity | 1.8 Litres |
| Power | 1465 Watts |
| Voltage | 220 Volts |
| Material | Stainless Steel |
| Special Feature | Milk Frother |
| Coffee Maker Type | Espresso Machine |
6. Warranty and Support
Your Nivona NICR 825 coffee machine comes with a manufacturer's warranty. Please refer to the warranty card included in your product packaging for specific terms and conditions, including warranty duration and coverage.
For technical support, service, or to order spare parts, please contact your local Nivona authorized dealer or visit the official Nivona website for contact information.
Always use original Nivona spare parts and accessories to ensure optimal performance and to maintain your warranty validity.


