1. Introduction
This manual provides comprehensive instructions for the installation, operation, and maintenance of the Access PCIDIO48S Digital I/O Card. The PCIDIO48S is a 48-channel digital input/output card designed for use in PCI-compatible computer systems, offering robust and reliable digital communication capabilities for various industrial and scientific applications.
It is crucial to read this manual thoroughly before attempting to install or operate the device to ensure proper functionality and to prevent potential damage to the card or the host system.

Figure 1.1: Front view of the Access PCIDIO48S Digital I/O Card. This image shows the green circuit board with various integrated circuits, connectors, and the gold-plated PCI interface at the bottom.
2. Setup and Installation
2.1. Pre-installation Checklist
- Ensure your computer system has an available PCI slot.
- Power off and unplug the computer before installation.
- Gather necessary tools: Phillips head screwdriver.
- Ensure you have the appropriate drivers for your operating system. These are typically provided by the manufacturer or available for download from their official website.
- Handle the card by its edges to avoid touching components and static discharge.
2.2. Installation Steps
- Prepare the Computer: Power down your computer completely and disconnect all power cables. Open the computer case.
- Locate an Available PCI Slot: Identify an empty PCI expansion slot on your motherboard.
- Remove Slot Cover: Carefully remove the metal slot cover corresponding to the chosen PCI slot from the back of the computer case.
- Insert the Card: Align the PCIDIO48S card with the PCI slot. Apply even, firm pressure to push the card straight down into the slot until it is fully seated. Ensure the gold contacts are completely within the slot.
- Secure the Card: Use a screw to secure the card's mounting bracket to the computer case.
- Close Case and Power On: Close the computer case, reconnect all cables, and power on the computer.
- Install Drivers: Once the operating system boots, it may detect new hardware. Follow the on-screen prompts to install the necessary drivers. If not prompted, manually install drivers from the provided media or downloaded files.

Figure 2.1: Close-up view of the PCIDIO48S model designation printed on the circuit board, confirming the specific model of the digital I/O card.
3. Operation
The Access PCIDIO48S Digital I/O Card provides 48 channels of digital input/output. Its operation is primarily controlled through software applications that interact with the card's drivers.
3.1. Software Interface
After successful driver installation, the card will be recognized by your operating system. Developers and users can then interact with the card using programming languages (e.g., C++, Python, LabVIEW) and APIs provided by the manufacturer. Refer to the software development kit (SDK) or driver documentation for detailed programming instructions and function calls.
3.2. Digital Input/Output
- Digital Inputs: These channels are used to read the state of external digital signals (e.g., sensors, switches). The software will provide functions to read the logic level (high/low, 1/0) of individual or groups of input channels.
- Digital Outputs: These channels are used to control external devices by setting their digital state (e.g., turning on/off relays, LEDs). The software will provide functions to write the logic level to individual or groups of output channels.
Always ensure that external connections to the I/O ports adhere to the voltage and current specifications outlined in the technical specifications to prevent damage to the card or connected devices.
4. Maintenance and Care
The Access PCIDIO48S Digital I/O Card is designed for long-term reliability with minimal maintenance. However, proper care can extend its lifespan and ensure consistent performance.
4.1. General Care
- Environment: Operate the card within its specified temperature and humidity ranges. Avoid extreme temperatures, direct sunlight, and high humidity.
- Dust Control: Ensure the computer case is kept clean and free of excessive dust, which can impede airflow and lead to overheating. Periodically clean the interior of the computer with compressed air.
- Handling: When handling the card, always hold it by its edges. Avoid touching the gold contacts or integrated circuits to prevent damage from static electricity or oils from your skin.
4.2. Cleaning
- Power Off: Always power off the computer and disconnect it from the power source before cleaning.
- Exterior: Use a soft, dry, lint-free cloth to gently wipe the card's surface if necessary. For stubborn dirt, a cloth lightly dampened with isopropyl alcohol can be used, ensuring the card is completely dry before reinstallation.
- Connectors: Do not use abrasive materials or harsh chemicals on the connectors. If the gold contacts appear dirty, a specialized electronics cleaner or a soft eraser can be used very gently, followed by compressed air.
5. Troubleshooting
This section addresses common issues you might encounter with the Access PCIDIO48S Digital I/O Card.
- Card Not Detected by Operating System:
- Ensure the card is fully seated in the PCI slot. Power off, reseat the card, and restart.
- Try the card in a different PCI slot if available.
- Verify that the correct drivers are installed. Check Device Manager (Windows) for any yellow exclamation marks or unknown devices. Reinstall drivers if necessary.
- Check your system's BIOS/UEFI settings to ensure PCI slots are enabled and configured correctly.
- Digital I/O Not Functioning Correctly:
- Verify external wiring and connections to the I/O ports. Ensure they are secure and correctly aligned with the card's pinout.
- Check the voltage and current levels of external signals to ensure they are within the card's specifications. Over-voltage or over-current can damage the card.
- Review your software application code or configuration to ensure it is correctly addressing the I/O channels and performing the desired operations.
- Test with a simple diagnostic program or example code provided with the driver/SDK to isolate if the issue is hardware or software related.
- System Instability or Crashes After Installation:
- This could indicate a driver conflict or resource allocation issue. Ensure you have the latest drivers from the manufacturer.
- Check for conflicts with other installed hardware in Device Manager.
- Ensure your power supply unit (PSU) has sufficient wattage to support all installed components, including the new I/O card.
If these steps do not resolve the issue, contact Access technical support for further assistance.
6. Technical Specifications
The following table details the key technical specifications for the Access PCIDIO48S Digital I/O Card:
| Feature | Specification |
|---|---|
| Product Dimensions | 4 x 7 x 1 inches |
| Item Weight | 0.19 Pounds (3.04 ounces) |
| Hardware Interface | PCI |
| Digital I/O Channels | 48 (Configurable as input or output) |
| Manufacturer | Access |
| ASIN | B07YDWCTN8 |
| Date First Available | September 26, 2019 |

Figure 6.1: Close-up view of the "PCI-DIO-48 Rev D" label, indicating the specific revision of the card.
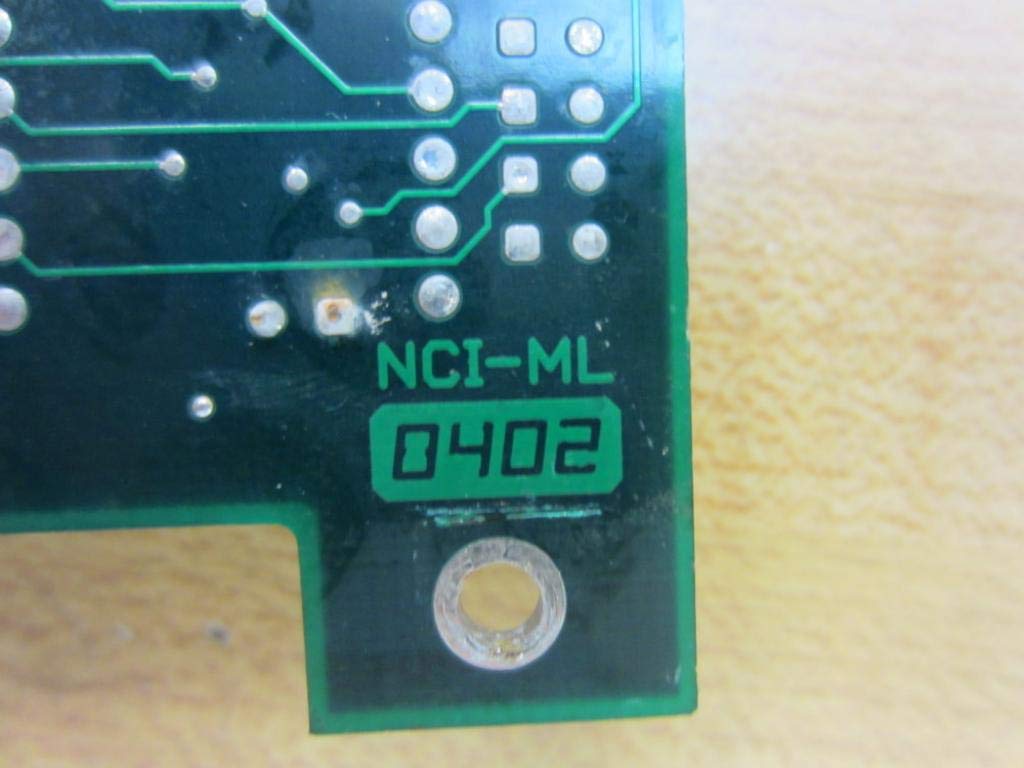
Figure 6.2: Close-up view of the "NCI-ML 0402" marking, likely indicating manufacturing details or batch number.

Figure 6.3: Rear view of the Access PCIDIO48S Digital I/O Card, showing the solder points and traces on the reverse side of the circuit board.
7. Warranty and Support
Specific warranty details for the Access PCIDIO48S Digital I/O Card are not provided within this document. For information regarding warranty coverage, terms, and conditions, please refer to the documentation included with your purchase or contact the manufacturer directly.
For technical support, driver downloads, or further assistance with your Access PCIDIO48S card, please visit the official website of Access or contact their customer support department. Ensure you have your product model number (PCIDIO48S or PCI-DIO-48) and any relevant purchase information ready when seeking support.


