
PANAMALAR EU-IP003
Contents
Panamalar IP Wi-Fi 1080P Indoor Surveillance Camera User Manual
Model: EU-IP003
1. Introduction
This manual provides detailed instructions for the installation, operation, and maintenance of your Panamalar IP Wi-Fi 1080P Indoor Surveillance Camera. This camera is designed for indoor use, offering high-definition video monitoring, two-way audio communication, and smart detection features. Please read this manual thoroughly before using the product to ensure proper setup and functionality.

Image 1.1: Panamalar IP Wi-Fi 1080P Indoor Surveillance Camera. This image shows the black camera unit next to a smartphone displaying a live feed of a child playing.
2. Package Contents
Verify that all items listed below are included in your package. If any items are missing or damaged, please contact customer support.
- 1 x Panamalar IP Wi-Fi Camera
- 1 x Power Adapter
- 1 x USB Cable
- 1 x Camera Bracket
- 1 x User Manual
- 2 x Screws
3. Product Overview
3.1 Key Features
- Full HD 1080P Video: Provides clear and detailed video resolution.
- Pan & Tilt Functionality: Horizontal rotation of 350° and vertical rotation of 100° for comprehensive coverage.
- Two-Way Audio: Built-in microphone and speaker for real-time communication.
- Night Vision: Infrared LEDs provide clear vision up to 32 feet in low-light conditions.
- Motion & Sound Detection: Sends alerts to your smartphone upon detecting activity.
- Multiple Connectivity Options: Supports both 2.4GHz Wi-Fi and Ethernet cable connection.
- Alexa Voice Control: Compatible with Amazon Echo Show for voice commands.
- Local & Cloud Storage: Supports Micro SD card (not included) and optional cloud storage via the MIPC app.
3.2 Camera Components
Familiarize yourself with the camera's physical components:
- Lens: Captures video.
- Infrared LEDs: Provide night vision.
- Microphone: Captures audio for two-way communication.
- Speaker: Outputs audio for two-way communication.
- Power Port: Connects to the power adapter.
- Ethernet Port: For wired network connection.
- Reset Button: Used to reset the camera to factory settings.
- Micro SD Card Slot: For local video storage.
4. Setup
4.1 Powering On the Camera
- Connect the USB cable to the camera's power port.
- Plug the power adapter into a standard electrical outlet.
- The camera will power on, and its indicator light will begin to flash, indicating it is ready for setup.
4.2 App Download and Account Registration
- Download the "MIPC" app from the App Store (iOS) or Google Play Store (Android).
- Open the MIPC app and follow the on-screen instructions to register a new account or log in if you already have one.
4.3 Network Connection
The camera supports both Wi-Fi and Ethernet connections. Choose the method that best suits your needs.

Image 4.1: Diagram illustrating both Wi-Fi and Ethernet connection methods for the Panamalar camera. The top panel shows a camera connected wirelessly to a router, while the bottom panel shows a camera connected via an Ethernet cable to a router.
4.3.1 Wi-Fi Connection (2.4GHz Only)
Important: The camera only supports 2.4GHz Wi-Fi networks. It is not compatible with 5GHz Wi-Fi networks.
- Ensure your smartphone is connected to a 2.4GHz Wi-Fi network.
- In the MIPC app, tap the "+" icon to add a new device.
- Select your camera model or scan the QR code located on the camera.
- Follow the in-app instructions to connect the camera to your Wi-Fi network. This typically involves entering your Wi-Fi password and allowing the camera to scan a QR code displayed on your phone screen.
- Once connected, the camera's indicator light will turn solid, and you will hear a confirmation sound.
4.3.2 Ethernet Connection
- Connect one end of an Ethernet cable (not included) to the camera's Ethernet port.
- Connect the other end of the Ethernet cable to an available LAN port on your router.
- In the MIPC app, tap the "+" icon to add a new device.
- Select your camera model or scan the QR code. The app should automatically detect the camera via the wired connection.
- Follow any remaining in-app instructions to complete the setup.
4.4 Micro SD Card Installation (Optional)
To enable local video recording, install a Micro SD card (up to 128GB, Class 10 or higher recommended).
- Power off the camera before inserting or removing the Micro SD card.
- Locate the Micro SD card slot on the camera.
- Gently insert the Micro SD card into the slot until it clicks into place.
- Power on the camera. You may need to format the SD card via the MIPC app settings before use.
5. Operating the Camera
5.1 Live View and Pan/Tilt Control
Once the camera is connected, open the MIPC app and select your camera to view the live feed.

Image 5.1: Diagram illustrating the 350° horizontal and 100° vertical rotation capabilities of the Panamalar camera, showing its wide viewing angle.
- Pan (Horizontal): Swipe left or right on the live view screen in the app to rotate the camera horizontally up to 350°.
- Tilt (Vertical): Swipe up or down on the live view screen to tilt the camera vertically up to 100°.
- Digital Zoom: Pinch in or out on the live view screen to digitally zoom.
5.2 Two-Way Audio
The two-way audio feature allows you to listen and speak through the camera.
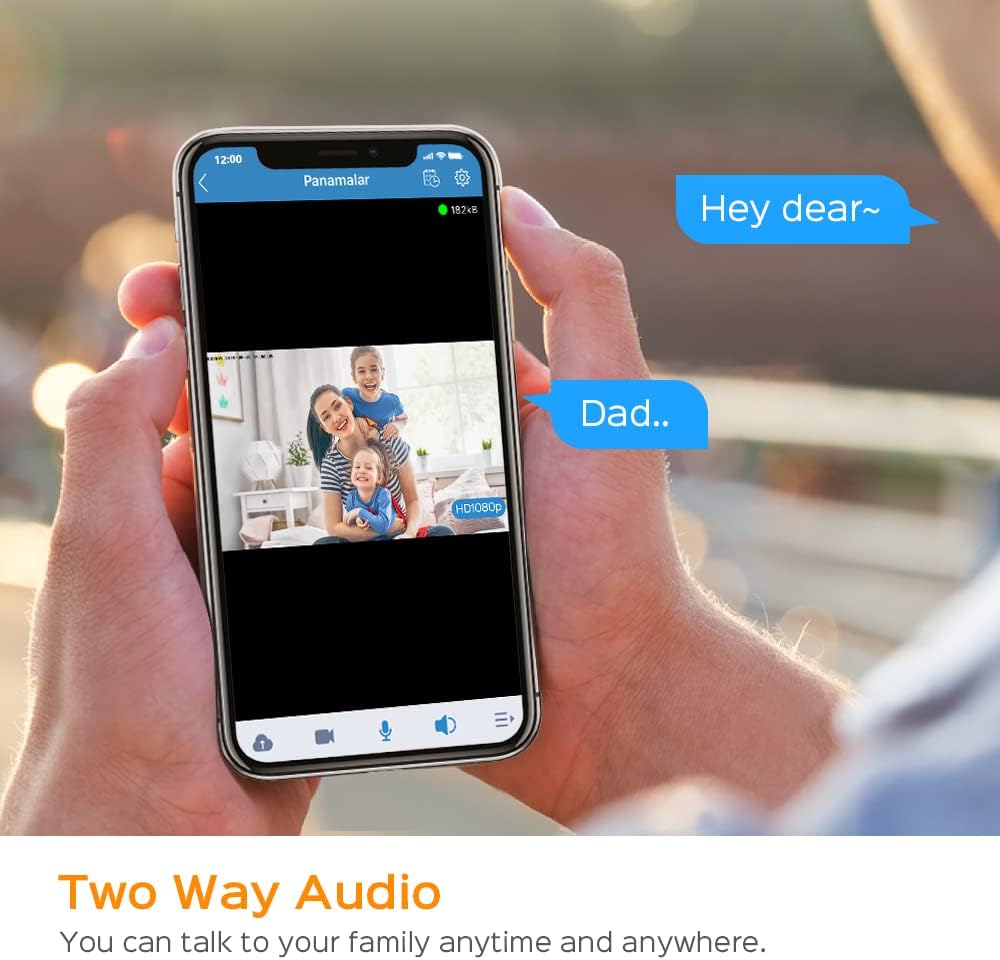
Image 5.2: A smartphone screen displaying a live video feed of a family, with chat bubbles indicating two-way audio communication.
- On the live view screen, tap the microphone icon to enable speaking. Hold the icon to speak, and release to listen.
- Tap the speaker icon to enable or disable listening to the camera's environment.
5.3 Night Vision
The camera automatically switches to night vision mode in low-light conditions, providing clear black and white video.
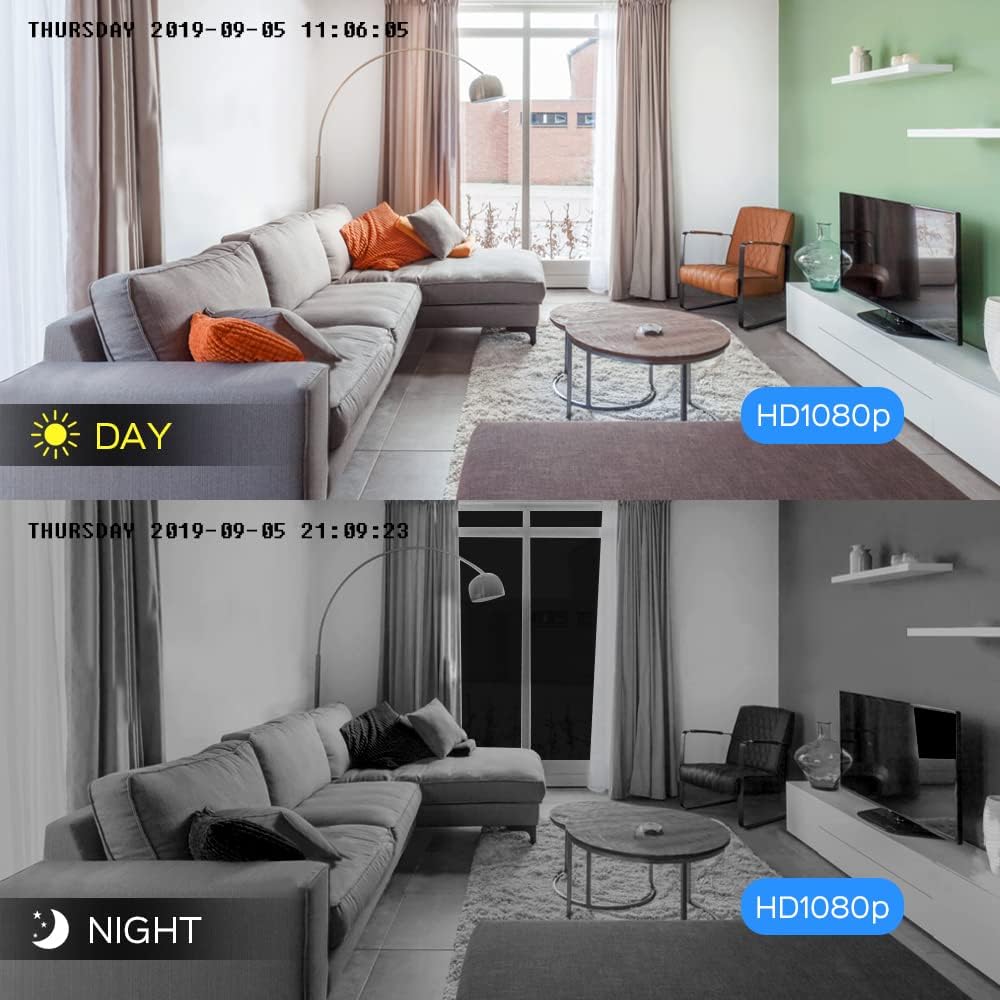
Image 5.3: A split image showing the camera's view during the day in full color and during the night in black and white, both in HD 1080p resolution.
- The camera uses infrared technology to provide clear images in darkness up to 32 feet.
- This feature is automatic and does not require manual activation.
5.4 Motion and Sound Detection Alerts
Configure the camera to send alerts to your smartphone when motion or sound is detected.

Image 5.4: A smartphone screen displaying a "Panamalar: Motion Detection Alert" notification, with two cats in the background, one appearing to trigger the alert.
- Navigate to the camera settings in the MIPC app.
- Locate the "Detection Settings" or "Alarm Settings" section.
- Enable "Motion Detection" and/or "Sound Detection."
- Adjust sensitivity levels and set detection zones as needed.
- Ensure app notifications are enabled on your smartphone to receive alerts.
5.5 Alexa Voice Control
Integrate your camera with Amazon Alexa for convenient voice control.

Image 5.5: An Amazon Echo Show device displaying a live feed from the camera, with a speech bubble indicating an Alexa voice command: "Alexa, show me the baby room."
- Ensure your Amazon Echo Show device is set up and connected to the internet.
- Open the Alexa app on your smartphone.
- Go to "Skills & Games" and search for the "MIPC" skill.
- Enable the MIPC skill and link your MIPC account.
- Discover devices. Once discovered, you can use voice commands such as: "Alexa, show me the [camera name]" (e.g., "Alexa, show me the baby room").
6. Maintenance
6.1 Cleaning the Camera
- Ensure the camera is powered off before cleaning.
- Use a soft, dry cloth to wipe the camera body.
- For the lens, use a lens cleaning cloth to gently remove dust or smudges. Avoid harsh chemicals or abrasive materials.
6.2 Firmware Updates
- Periodically check the MIPC app for available firmware updates.
- Firmware updates can improve performance, add new features, and enhance security.
- Follow the in-app instructions carefully when performing an update. Do not power off the camera during the update process.
7. Troubleshooting
7.1 Camera Not Connecting to Wi-Fi
- Check Wi-Fi Band: Ensure your router is broadcasting a 2.4GHz Wi-Fi signal. The camera does not support 5GHz networks.
- Wi-Fi Password: Double-check that you have entered the correct Wi-Fi password in the MIPC app.
- Signal Strength: Place the camera closer to your Wi-Fi router to ensure a strong signal.
- Router Settings: Ensure your router's firewall or security settings are not blocking the camera.
- Reset Camera: Press and hold the reset button on the camera for 5-10 seconds until you hear a prompt, then try connecting again.
7.2 Poor Video Quality
- Internet Speed: Ensure your internet connection has sufficient upload and download speeds.
- Wi-Fi Signal: A weak Wi-Fi signal can lead to lower video quality. Try moving the camera closer to the router or using an Ethernet connection.
- App Settings: Check the video quality settings in the MIPC app. You may be able to adjust it to a higher resolution if your network supports it.
- Lens Cleanliness: Clean the camera lens as described in the Maintenance section.
7.3 Motion/Sound Alerts Not Received
- App Notifications: Ensure notifications are enabled for the MIPC app in your smartphone's settings.
- In-App Settings: Verify that motion and sound detection are enabled in the camera's settings within the MIPC app. Adjust sensitivity levels if necessary.
- Detection Zones: If you have set specific detection zones, ensure the activity is occurring within those zones.
- Internet Connection: A stable internet connection is required for receiving real-time alerts.
7.4 Micro SD Card Not Recording
- Card Format: Ensure the Micro SD card is formatted correctly via the MIPC app.
- Card Capacity: Verify the card capacity is within the supported range (up to 128GB).
- Card Type: Use a Class 10 or higher Micro SD card for optimal performance.
- Insertion: Ensure the Micro SD card is inserted correctly and fully into the slot.
- Recording Settings: Check the recording settings in the MIPC app to ensure continuous or event-based recording is enabled.
8. Specifications
| Feature | Detail |
|---|---|
| Model | EU-IP003 |
| Image Sensor | 1/3" CMOS |
| Video Resolution | 1080P FHD (1920x1080) |
| Video Compression | Smart H.264 |
| Pan Angle | 350° |
| Tilt Angle | 100° |
| Night Vision Range | Up to 32 feet (10 meters) |
| Audio | Two-Way Audio (Built-in Mic & Speaker) |
| Wireless Connectivity | Wi-Fi (2.4GHz only) |
| Wired Connectivity | Ethernet Port |
| Storage Options | Micro SD Card (up to 128GB), Cloud Storage (optional) |
| Power Input | DC 5V 1.2A |
| Power Consumption | 5 Watts |
| Dimensions | 8.5 x 8.5 x 12 cm |
| Weight | 238 g |
| Material | Metal |
9. Warranty and Support
9.1 Warranty Information
This Panamalar IP Wi-Fi 1080P Indoor Surveillance Camera comes with a 12-month quality guarantee from the date of purchase. This warranty covers manufacturing defects and malfunctions under normal use. It does not cover damage caused by misuse, accidents, unauthorized modifications, or natural disasters.
9.2 Customer Support
For any questions, technical assistance, or warranty claims, please contact our customer support team. We offer 7/24 online customer service.
Email: panamalar_us@outlook.com
When contacting support, please provide your product model (EU-IP003) and a detailed description of the issue.
Ask a question about this manual
Ask about setup, troubleshooting, compatibility, parts, safety, or missing instructions. Manuals+ will review the question and use this page’s manual context to help answer it.