
1. Introduction
This manual provides essential instructions for setting up, operating, maintaining, and troubleshooting your Brother MFC-1910W A4 All-in-One Monochrome Laser Printer. Please read this manual thoroughly before using the device to ensure safe and efficient operation. Keep this manual for future reference.
2. Product Overview
The Brother MFC-1910W is a versatile all-in-one monochrome laser printer designed for home and small office environments. It offers print, copy, scan, and fax functionalities with wireless connectivity.
Key Features:
- Print, Copy, Scan, and Fax capabilities
- Wireless network connectivity
- Print speed of up to 20 pages per minute (ppm)
- Hi-speed USB 2.0 interface
- Easy replacement 1000-page inbox toner
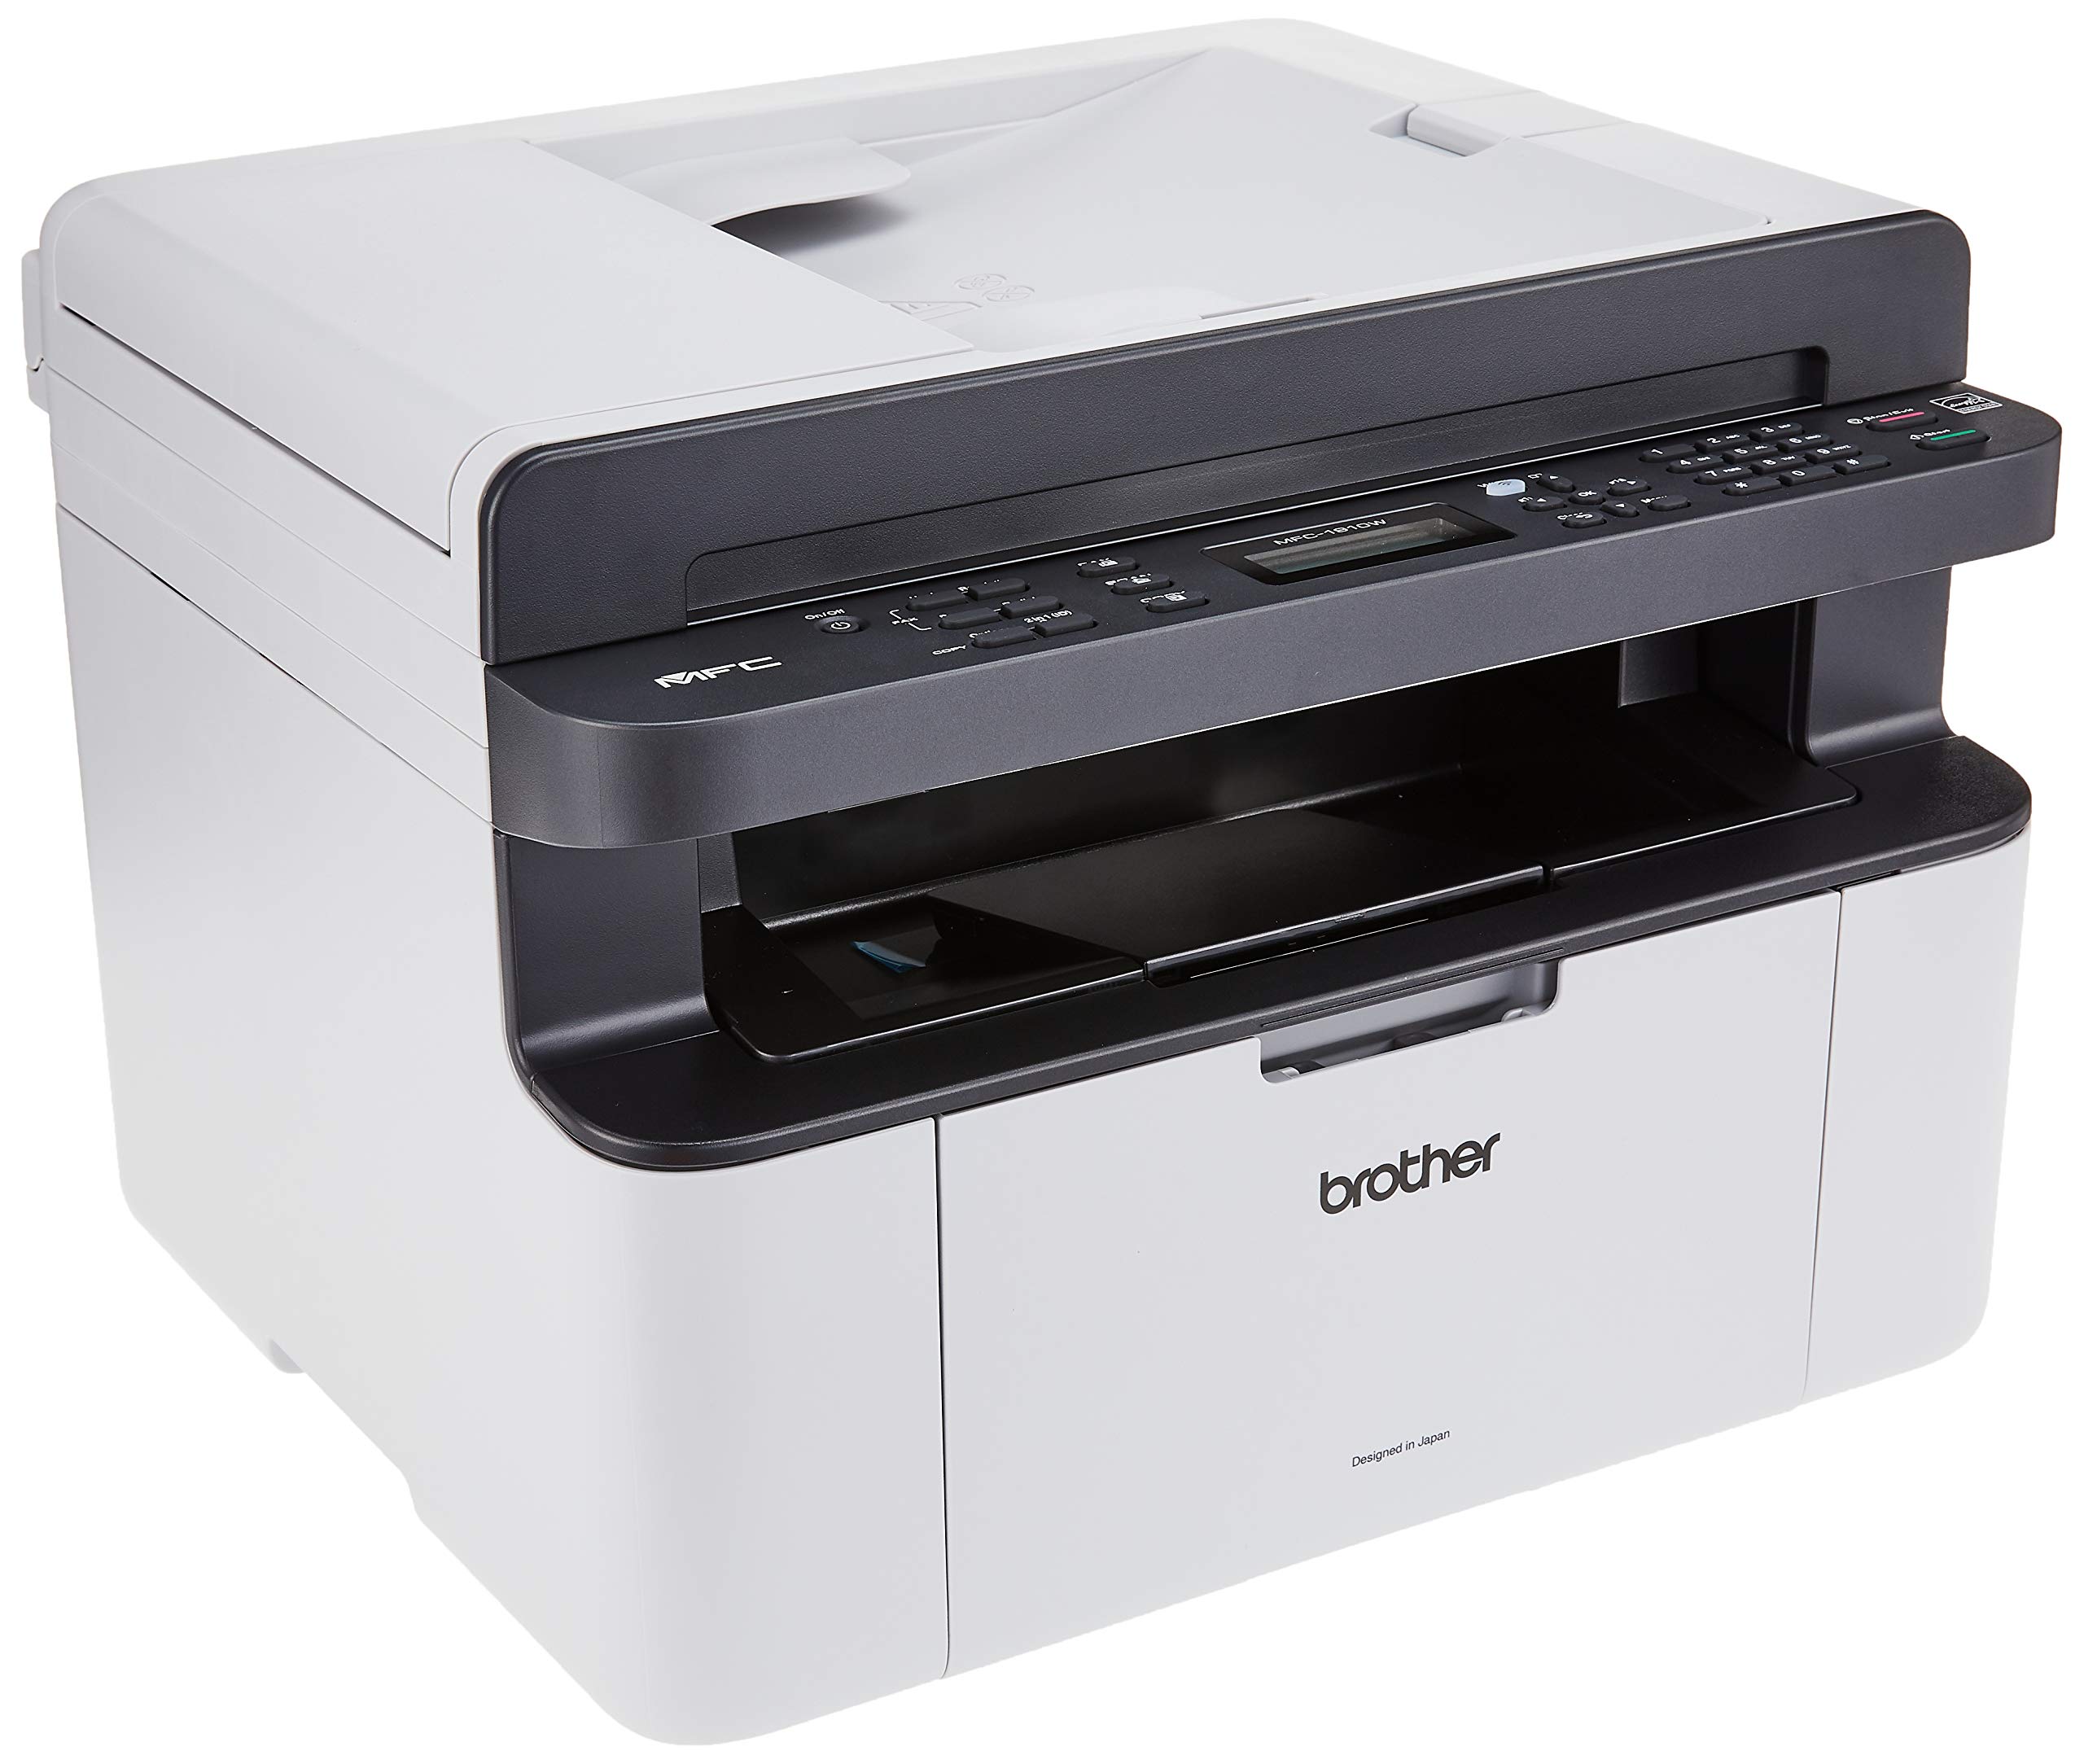
Figure 2.1: Front view of the Brother MFC-1910W printer.
3. Setup
3.1 Unpacking and Initial Placement
- Carefully remove the printer from its packaging.
- Remove all protective tapes and packing materials from the printer.
- Place the printer on a stable, flat surface with adequate ventilation. Ensure sufficient space around the printer for operation and maintenance.

Figure 3.1: Side view of the Brother MFC-1910W printer, showing its compact design.
3.2 Power Connection
- Connect the power cord to the AC inlet on the back of the printer.
- Plug the other end of the power cord into a grounded electrical outlet.
- Press the power button to turn on the printer.
3.3 Toner Cartridge Installation
- Open the front cover of the printer.
- Carefully insert the toner cartridge into the drum unit until it clicks into place.
- Close the front cover.
3.4 Loading Paper
- Pull out the paper tray completely.
- Adjust the paper guides to fit the size of the paper you are loading.
- Load paper into the tray, ensuring it is flat and not exceeding the maximum fill line.
- Gently push the paper tray back into the printer.
3.5 Software and Driver Installation
- Insert the installation CD-ROM into your computer's CD/DVD drive, or download the latest drivers and software from the official Brother support website.
- Follow the on-screen instructions to complete the installation.
3.6 Wireless Network Setup
- Ensure your wireless router is powered on and functioning correctly.
- On the printer's control panel, navigate to the Network settings.
- Select 'WLAN' or 'Wi-Fi Setup Wizard'.
- The printer will search for available networks. Select your network (SSID) from the list.
- Enter your network key (password) if prompted.
- Confirm the settings. The printer should connect to your wireless network.
- Alternatively, use WPS (Wi-Fi Protected Setup) if your router supports it. Press the WPS button on your router, then follow the instructions on the printer's control panel to initiate WPS connection.
4. Operating Instructions
4.1 Printing
- Ensure the printer is powered on and connected to your computer (via USB or Wi-Fi).
- Open the document or image you wish to print on your computer.
- Select 'Print' from the application's menu (e.g., File > Print).
- Choose 'Brother MFC-1910W' as your printer.
- Adjust print settings such as number of copies, paper size, and print quality as needed.
- Click 'Print'.
4.2 Scanning
- Place the document face down on the scanner glass or face up in the Automatic Document Feeder (ADF).
- On your computer, open the Brother ControlCenter software or a scanning application.
- Select 'Scan' and choose your desired scan settings (e.g., document type, resolution, destination).
- Initiate the scan. The scanned image will appear on your computer.
4.3 Copying
- Place the document face down on the scanner glass or face up in the ADF.
- On the printer's control panel, press the 'Copy' button.
- Use the arrow keys to select the number of copies or other settings (e.g., enlarge/reduce).
- Press 'Start' to begin copying.
4.4 Faxing
- Connect the printer to a telephone line.
- Place the document face down on the scanner glass or face up in the ADF.
- On the printer's control panel, press the 'Fax' button.
- Enter the recipient's fax number using the numeric keypad.
- Press 'Start' to send the fax.
5. Maintenance
5.1 Toner Cartridge Replacement
When the 'Toner Low' or 'Replace Toner' message appears, it is time to replace the toner cartridge.
- Open the front cover.
- Remove the old toner cartridge and drum unit assembly.
- Separate the toner cartridge from the drum unit.
- Unpack the new toner cartridge and gently shake it horizontally several times.
- Insert the new toner cartridge firmly into the drum unit until it locks into place.
- Reinsert the toner cartridge and drum unit assembly into the printer.
- Close the front cover.
5.2 Cleaning the Printer
- Exterior: Wipe the exterior of the printer with a soft, lint-free cloth. Do not use abrasive cleaners or solvents.
- Scanner Glass: Clean the scanner glass with a soft, lint-free cloth dampened with a non-abrasive glass cleaner.
- Corona Wire: Refer to the detailed instructions in the full user guide for cleaning the corona wire, which is crucial for print quality.
6. Troubleshooting
6.1 Common Issues and Solutions
- Printer not responding:
Check power connection, USB cable, or Wi-Fi connection. Ensure the printer is selected as the default printer on your computer. Restart both the printer and computer. - Paper jam:
Open the printer covers and carefully remove any jammed paper. Ensure paper is loaded correctly and not creased or damaged. - Poor print quality:
Check toner level. Clean the corona wire. Ensure you are using recommended paper types. - Wi-Fi connectivity issues:
Ensure the printer is within range of your wireless router. Verify the Wi-Fi password. Note that this printer may have limitations with 5GHz Wi-Fi networks; try connecting to a 2.4GHz network if available. - Scanner not working:
Ensure all printer drivers and scanning software are correctly installed. Check the connection between the printer and computer.
7. Specifications
| Feature | Specification |
|---|---|
| Brand | Brother |
| Model Name | Brother MFC-1910W |
| Model Number | 8C5G4100171 |
| Printing Technology | Laser |
| Printer Output | Monochrome |
| Max Print Speed (Monochrome) | 20 ppm |
| Connectivity Technology | Networkable, Wireless, USB 2.0 |
| Special Features | Network-Ready, All-in-One |
| Product Dimensions (D x W x H) | 34D x 38.5W x 28.3H centimetres |
| Maximum Media Size | 8.5 x 14 inch (A4) |
| Maximum Sheet Capacity | 1000 (total, likely referring to toner yield or monthly duty cycle, not paper tray capacity) |
| Duplex Printing | Automatic |
| Compatible Devices | Smartphones (via app), Computers |
| Controller Type | Android, iOS |

Figure 7.1: Dimensions of the Brother MFC-1910W printer.
8. Warranty and Support
8.1 Warranty Information
The Brother MFC-1910W printer typically comes with a 3-year carry-in warranty. Please refer to your product's warranty card or the official Brother website for specific terms and conditions applicable to your region.
8.2 Customer Support
For further assistance, driver downloads, FAQs, or to contact customer support, please visit the official Brother support website. You can find detailed guides and troubleshooting resources there.