1. Product Overview
The Walfront THC30A is a 30A digital programmable electronic timer switch designed for precise time control of various electrical equipment. It features a 7-day programming cycle with up to 16 ON/OFF settings per day, offering flexibility for automated power management. This device is suitable for applications such as controlling street lamps, neon lights, advertising signs, production equipment, and radio/television equipment.

Front view of the Walfront THC30A Digital Timer Switch, showing the digital display and control buttons.
Equipped with a high-precision industrial-grade chip, the THC30A ensures accurate timing control. It also includes a built-in 1.2V 40mA rechargeable battery, providing power-off memory for over 180 days, maintaining settings and timing even without external power. The switch offers strong anti-interference suppression performance for stable operation.

The Walfront THC30A features a high-precision industrial-grade chip for accurate timing control, shown here installed in an electrical panel.
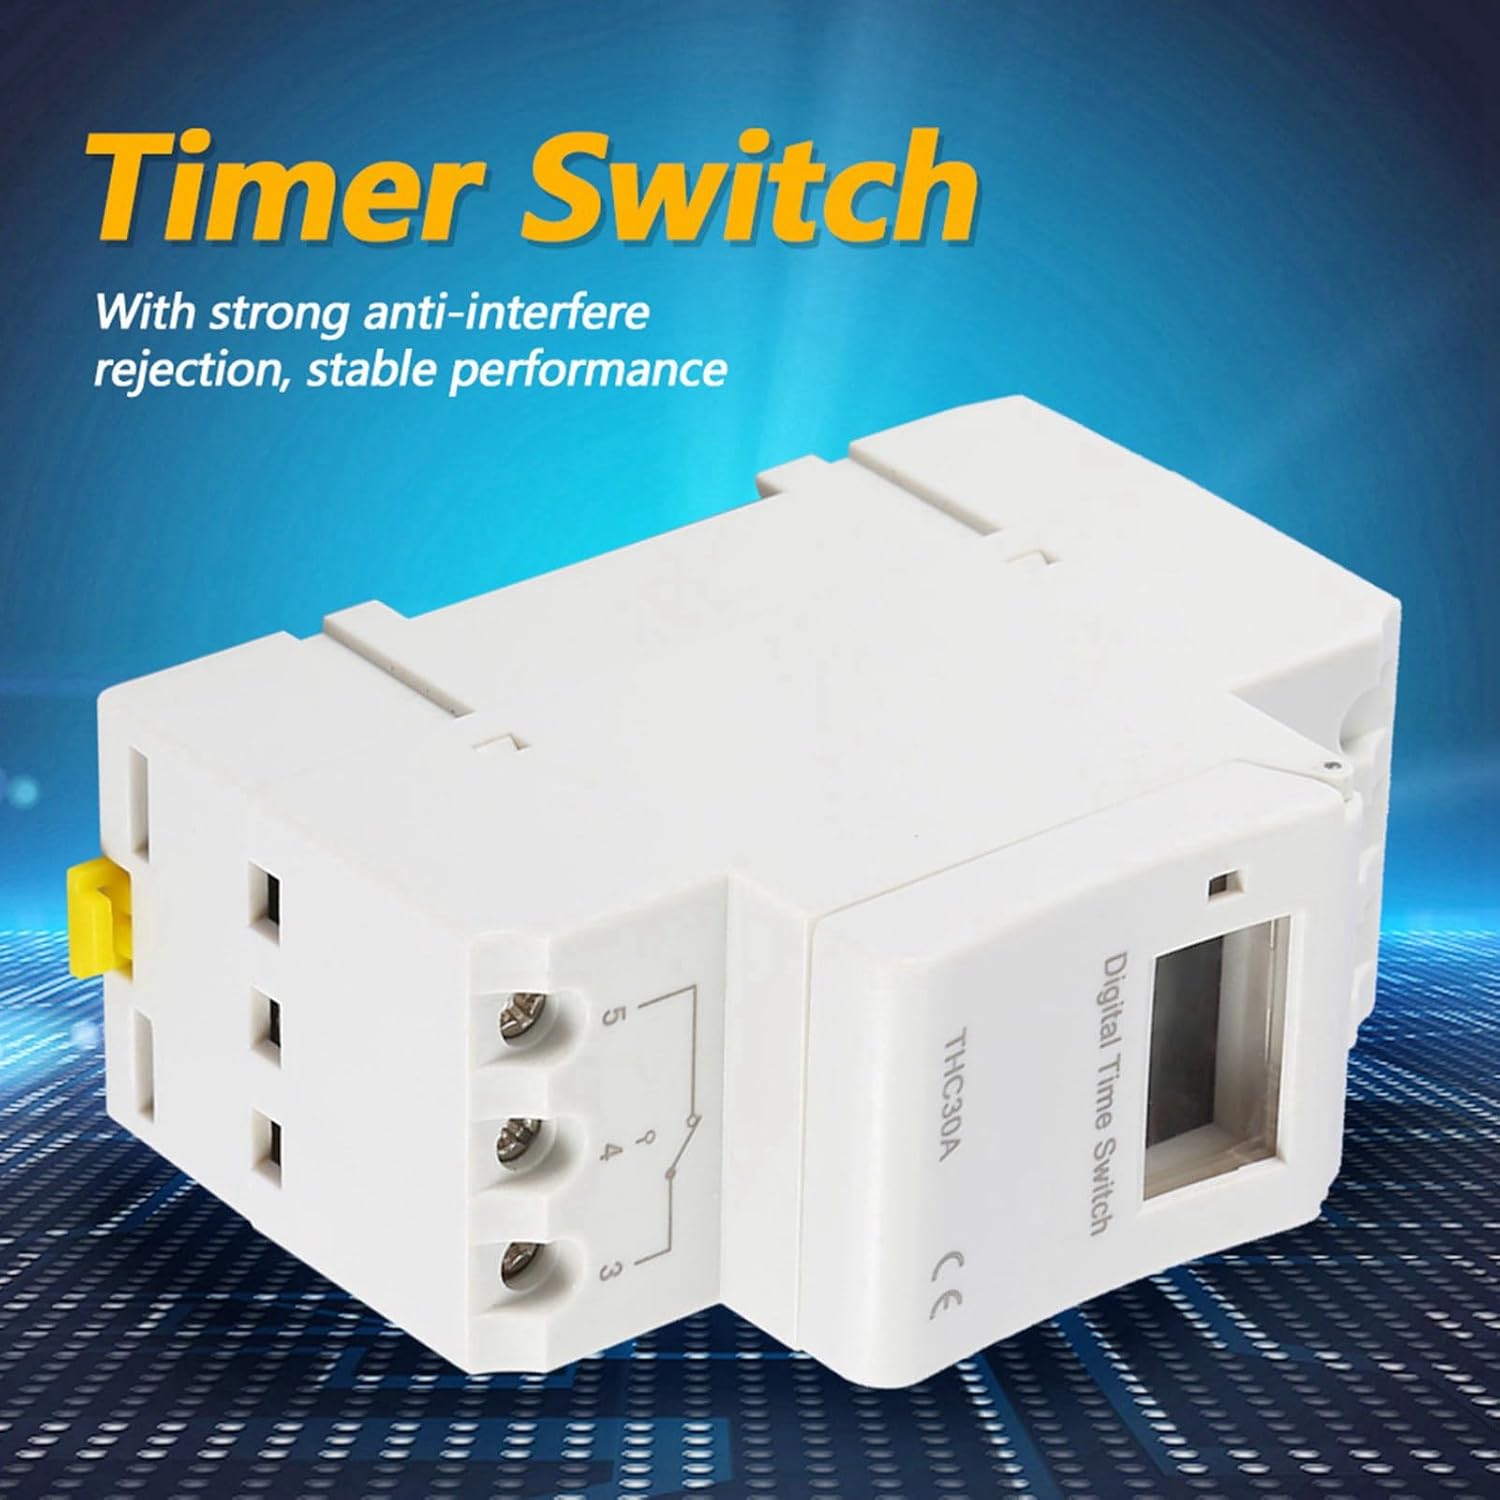
Side view of the Walfront THC30A, illustrating its robust design for strong anti-interference rejection and stable performance.
2. Safety Information
Please read and understand all safety instructions before installing or operating this device. Failure to follow these instructions may result in electric shock, fire, or serious injury.
- Professional Installation Recommended: Installation should be performed by a qualified electrician in accordance with all local and national electrical codes.
- Disconnect Power: Always disconnect power at the circuit breaker or fuse box before installing or servicing the timer switch.
- Voltage Compatibility: Ensure the timer switch's voltage rating (220V) matches your electrical system.
- Load Capacity: Do not exceed the maximum load capacity of 30A for this switch. Overloading can cause overheating and fire hazards.
- Dry Location Use Only: This device is intended for indoor, dry location use only. Do not expose to moisture or extreme temperatures.
- Secure Connections: Ensure all wire connections are tight and secure to prevent loose connections and potential hazards.
3. Technical Specifications
| Feature | Specification |
|---|---|
| Model | THC30A |
| Working Voltage | AC-DC 220V |
| Switching Capacity | 30A |
| Number of Settings | 16 ON/OFF times (per day/week) |
| Setting Time Range | 1 minute - 168 hours |
| Time-keeping Error | ≤ 1 second / 24 hours |
| Power-off Memory | ≥ 180 days (via built-in battery) |
| Battery | Built-in 1.2V 40mA rechargeable battery |
| Mounting Method | Screw mounting or Rail mounting |
| Dimensions (L x W x H) | 86 x 36 x 66 mm (3.4 x 1.4 x 2.6 inches) |
| Weight | Approx. 145g (5.1oz) |
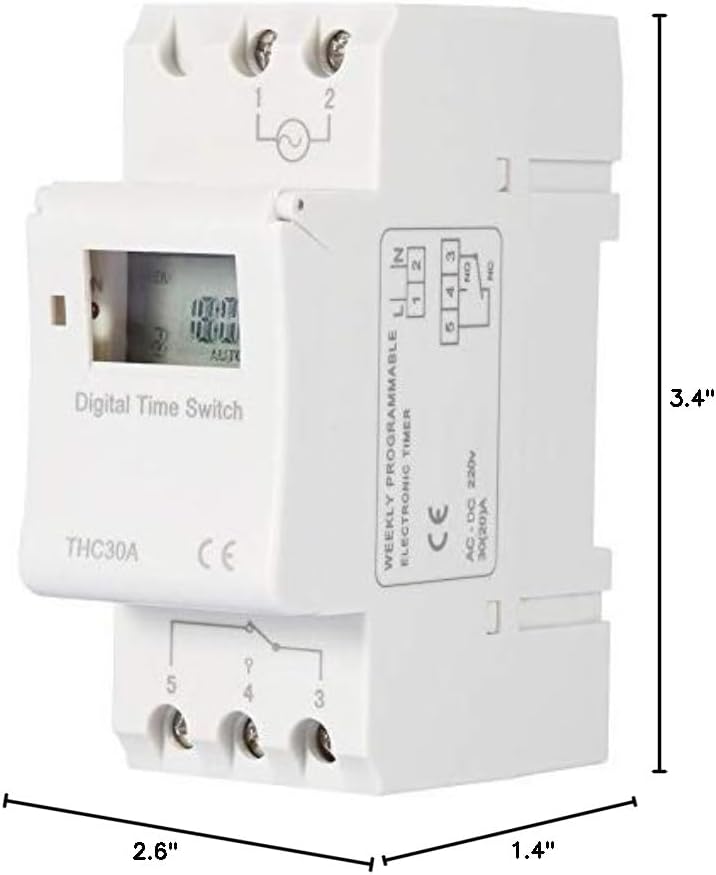
Dimensions of the Walfront THC30A Digital Timer Switch.
4. Installation and Setup
4.1 Mounting
The THC30A timer switch supports two mounting methods:
- Screw Mounting: Secure the device to a flat surface using appropriate screws through the designated mounting holes.
- Rail Mounting: The device can be mounted on a standard DIN rail for electrical enclosures.
4.2 Wiring Diagram
WARNING: Ensure power is disconnected at the main circuit breaker before performing any wiring. Incorrect wiring can cause damage to the device, electrical shock, or fire.

Wiring diagram for the Walfront THC30A Digital Timer Switch. Connect the Live (FireWire) and Neutral (Zero Line) to terminals 1 and 2 respectively for power input. Connect the electrical equipment to terminals 3, 4, and 5. Terminal 3 is the common terminal, terminal 4 is normally open (NO), and terminal 5 is normally closed (NC).
Refer to the diagram above for proper connection:
- Connect the Live (FireWire) to terminal 1.
- Connect the Neutral (Zero Line) to terminal 2.
- For the controlled electrical equipment, connect its power input to terminals 3 (Common) and 4 (Normally Open) for standard ON/OFF operation. If a Normally Closed circuit is required, use terminal 5 instead of 4.
- Ensure all connections are secure and insulated.
5. Operating Instructions
5.1 Initial Power-Up and Time Setting
- After successful wiring and power connection, the digital display will illuminate.
- The built-in battery will maintain the internal clock. If the display is off or shows incorrect time, allow the unit to charge for a few minutes.
- Press the "CLOCK" button (or similar button for time setting) to enter time setting mode.
- Use the "HOUR", "MINUTE", and "DAY" buttons to set the current time and day of the week.
- Press "CLOCK" again to save and exit time setting mode.
5.2 Programming ON/OFF Cycles
The THC30A allows for up to 16 ON/OFF programs. Each program consists of an ON time and an OFF time.
- Press the "PROG" button to enter programming mode. The display will show "1 ON".
- Use the "DAY" button to select the day(s) of the week for this program (e.g., Mon-Fri, Sat-Sun, every day, or specific days).
- Use the "HOUR" and "MINUTE" buttons to set the desired ON time for program 1.
- Press "PROG" again. The display will show "1 OFF".
- Use the "DAY", "HOUR", and "MINUTE" buttons to set the desired OFF time for program 1.
- Repeat steps 1-5 for additional ON/OFF programs (up to 16). Press "PROG" repeatedly to cycle through "2 ON", "2 OFF", etc.
- After setting all desired programs, press the "CLOCK" button to exit programming mode and return to the current time display.
5.3 Manual Override
The timer switch typically includes a manual override function to temporarily or permanently change the output state.
- Look for a button labeled "MANUAL" or "ON/AUTO/OFF".
- Pressing this button usually cycles through modes like ON (always on), AUTO (follows programs), and OFF (always off).
- In AUTO mode, the timer will execute the programmed ON/OFF cycles.
5.4 Resetting the Device
To clear all settings and return the device to factory defaults, locate the "RESET" button (often a small recessed button requiring a pointed object to press). Pressing this button will erase all programmed times and reset the clock.
6. Maintenance
- Cleaning: Disconnect power before cleaning. Wipe the exterior of the timer switch with a soft, dry cloth. Do not use liquid cleaners or abrasive materials.
- Battery: The built-in rechargeable battery is designed for long-term use and typically does not require replacement. If the power-off memory function degrades significantly, the unit may need servicing.
- Inspection: Periodically inspect the wiring connections to ensure they remain secure. Check for any signs of damage or wear on the device.
7. Troubleshooting
| Problem | Possible Cause | Solution |
|---|---|---|
| Device does not power on. | No power supply; incorrect wiring; circuit breaker tripped. | Check power connections; verify wiring according to diagram; reset circuit breaker. |
| Programs are not executing. | Device is in manual ON/OFF mode; incorrect program settings; current time is wrong. | Ensure device is in AUTO mode; re-check program settings; verify current time and day. |
| Output is always ON or always OFF. | Manual override engaged; wiring issue (e.g., using NC instead of NO). | Switch to AUTO mode; verify wiring to controlled equipment (terminals 3 and 4 for NO). |
| Time display is incorrect after power outage. | Internal battery low or depleted. | Allow device to remain powered for several hours to recharge the internal battery. Reset and set time if necessary. |
8. Warranty and Support
For warranty information, technical support, or service inquiries, please contact Walfront customer service through your original point of purchase or visit the official Walfront website. Please have your product model (THC30A) and purchase details available when contacting support.