
1. Important Safety Information
Please read and understand all instructions before beginning installation. Failure to do so may result in electric shock, fire, or other injuries that could be hazardous or fatal. This product must be installed in accordance with the applicable installation code by a person familiar with the construction and operation of the product and the hazards involved.
Electrical Safety
- WARNING: Risk of electric shock. Disconnect power at the circuit breaker or fuse box before installation or servicing.
- Ensure all electrical connections are made in accordance with local codes and ordinances, as well as the National Electric Code (NEC).
- Use only UL/cUL listed wire connectors.
- This fixture is dimmable. Ensure compatible dimmers are used (most standard incandescent dimmers, LED dimmers, and electronic low voltage dimmers).
2. Package Contents
Verify that all components are present before beginning installation. If any part is missing or damaged, do not attempt to assemble, install, or operate the product. Contact customer service for replacement parts.
- LED Flush Mount Downlight Fixture (x6)
- Mounting Hardware Kit
- Instruction Manual

Image: Kichler 43846WHLED6 Flush Mount LED Downlight Gen I. This image shows the complete LED flush mount downlight fixture, illustrating its compact design suitable for ceiling installation.
3. Specifications
| Feature | Specification |
|---|---|
| Model Number | 43846WHLED6 |
| Brand | Kichler |
| Light Source | Integrated LED |
| Wattage | 14W per fixture |
| Lumen Output | 850 Lumens per fixture |
| Color Temperature | 3000K |
| Color Rendering Index (CRI) | 90 CRI |
| Dimmable | Yes (with compatible dimmers) |
| Voltage | 120 Volts |
| Expected Life Span | 40,000 Hours |
| Material | Alloy Steel with Polycarbonate Diffuser |
| Dimensions | 7.5" W x 1.25" H (Base Back plate: 7.5" DIA) |
| Installation Type | Flush Mount |
| Indoor/Outdoor Usage | Indoor |
| Certifications | ADA Compliant |
4. Setup (Installation)
Pre-Installation
- Turn off power: Locate the circuit breaker or fuse box that supplies power to the light fixture location. Turn off the power completely.
- Prepare tools: Gather necessary tools, which may include a screwdriver, wire strippers, electrical tape, and safety glasses.
- Inspect existing wiring: Ensure the existing wiring in the junction box is in good condition and meets local electrical codes.
Mounting Instructions
- Attach the mounting bracket (if separate) to the junction box using the provided screws. Ensure it is securely fastened.
- Connect the electrical wires:
- Connect the black (hot) wire from the fixture to the black (hot) wire from the junction box.
- Connect the white (neutral) wire from the fixture to the white (neutral) wire from the junction box.
- Connect the green or bare copper (ground) wire from the fixture to the green or bare copper (ground) wire from the junction box.
- Carefully tuck all wires into the junction box.
- Align the fixture with the mounting bracket and secure it in place using the provided screws or twist-lock mechanism. Ensure the fixture is flush against the ceiling.
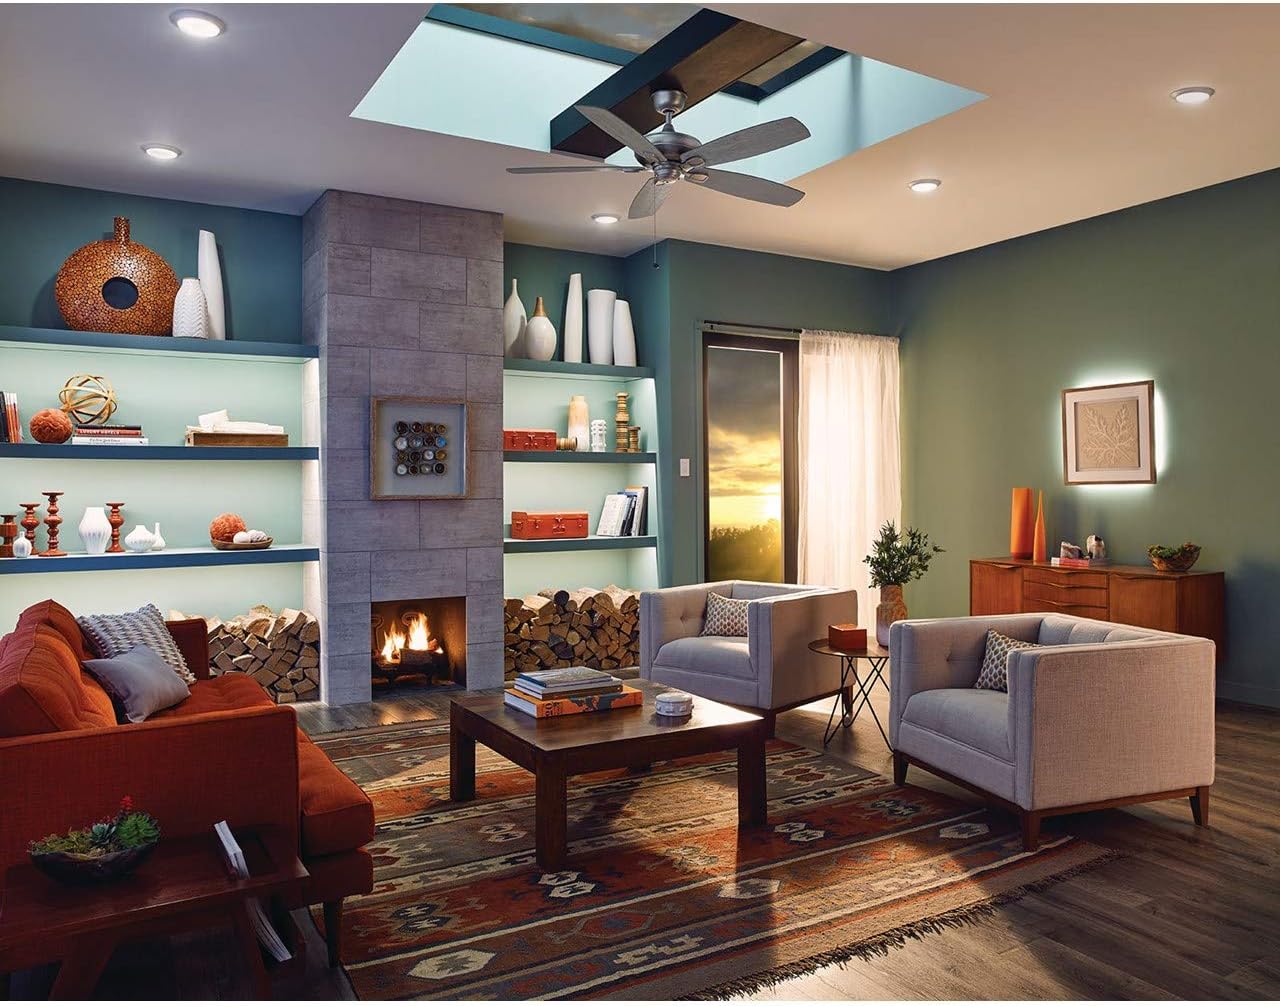
Image: Kichler 43846WHLED6 Flush Mount LED Downlight Gen I. This image displays the downlight installed, showing its low-profile design and how it integrates into a ceiling.
5. Operating Instructions
Once installation is complete and verified, restore power at the circuit breaker or fuse box.
- Turning On/Off: Operate the light fixture using the standard wall switch connected to the circuit.
- Dimming Function: If connected to a compatible dimmer switch, adjust the light output by manipulating the dimmer control. This fixture is designed to be dimmable with most standard incandescent dimmers, LED dimmers, and electronic low voltage dimmers.
6. Maintenance
The Kichler 43846WHLED6 LED Downlight is designed for long-lasting, maintenance-free operation. The integrated LED has an expected lifespan of 40,000 hours, meaning no bulb replacement is necessary.
Cleaning
- WARNING: Always disconnect power at the circuit breaker before cleaning.
- To clean the fixture, wipe it with a soft, dry, or slightly damp cloth.
- Do not use abrasive cleaners, solvents, or polishes as these can damage the finish or electrical components.
7. Troubleshooting
If you experience issues with your Kichler LED Downlight, refer to the following common problems and solutions:
| Problem | Possible Cause | Solution |
|---|---|---|
| Light does not turn on. | No power to the fixture. Loose wire connection. Faulty switch. | Check circuit breaker/fuse. Verify all wire connections are secure (power off first). Test the wall switch. |
| Light flickers or dims improperly. | Incompatible dimmer switch. Loose wire connection. | Ensure dimmer is compatible with LED fixtures. Check wire connections (power off first). |
| Light output is lower than expected. | Dimmer setting too low. Incorrect voltage. | Adjust dimmer to maximum setting. Verify input voltage is 120V. |
If the problem persists after attempting these solutions, contact Kichler customer support.
8. Warranty and Support
Warranty Information
This Kichler product is covered by a 1-year manufacturer's limited warranty from the date of purchase. This warranty covers defects in materials and workmanship under normal use. It does not cover damage resulting from improper installation, accident, misuse, abuse, or unauthorized modifications.
Customer Support
For technical assistance, warranty claims, or replacement parts, please contact Kichler customer service. Please have your model number (43846WHLED6) and date of purchase available when contacting support.
Kichler Website: www.kichler.com
Phone Support: Refer to the Kichler website for current contact numbers.