Introduction
Thank you for purchasing the Panasonic NN-SU676S 1.3 Cu. Ft. Countertop Microwave Oven. This manual provides essential information for the safe and efficient operation, maintenance, and troubleshooting of your new appliance. Please read these instructions thoroughly before use and retain them for future reference.
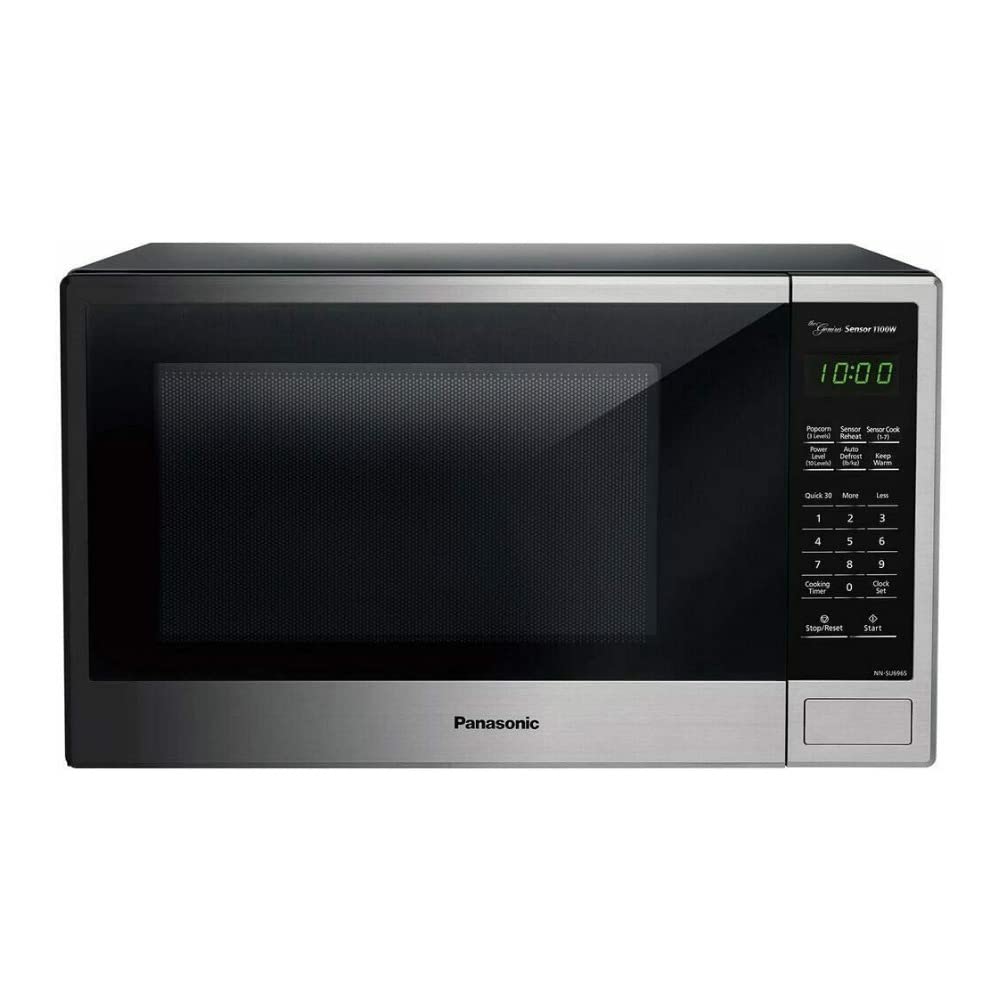
Image: Front view of the Panasonic NN-SU676S 1.3 Cu. Ft. Countertop Microwave Oven, showcasing its stainless steel finish and control panel.
Important Safety Instructions
When using electrical appliances, basic safety precautions should be followed, including the following:
- Read all instructions before using the appliance.
- Do not operate the oven if it has a damaged cord or plug, if it is not working properly, or if it has been damaged or dropped.
- Do not heat liquids or other foods in sealed containers as they are liable to explode.
- Do not use corrosive chemicals or vapors in this appliance.
- Close supervision is necessary when the appliance is used by or near children.
- Do not use this appliance for commercial purposes. It is designed for household use only.
- Ensure proper grounding to reduce the risk of electric shock.
Setup
Unpacking
- Remove all packing materials from inside the oven cavity and from the oven door.
- Check the oven for any damage, such as a misaligned door, dents, or a broken door latch. Do not operate the oven if it is damaged.
Placement
- Place the microwave oven on a flat, stable surface that can support its weight and the heaviest food item likely to be cooked in it.
- Ensure adequate ventilation. Leave a minimum of 4 inches (10 cm) of space around the top, sides, and rear of the oven for proper airflow.
- Keep the oven away from heat sources and strong magnetic fields.
Electrical Requirements
The microwave oven requires a standard 120V, 60Hz AC outlet with a dedicated 15-amp circuit. Do not use an extension cord.
Turntable Installation
- Place the roller ring in the center of the oven floor.
- Place the glass tray on top of the roller ring, ensuring it sits securely in the center support.
Operating Instructions
Setting the Clock
- Press the Clock Set button.
- Enter the current time using the number pad (e.g., 1-2-3-0 for 12:30).
- Press the Clock Set button again to confirm.
Basic Microwave Cooking (Time Cook)
- Place food in a microwave-safe container on the glass tray.
- Close the oven door.
- Enter the desired cooking time using the number pad.
- Press the Start button.
Quick 30
For quick heating, press the Quick 30 button. Each press adds 30 seconds of cooking time at full power. Press Start to begin if not already running.
Power Level Adjustment
- Enter the desired cooking time.
- Press the Power Level button.
- Select a power level from 1 to 10 using the number pad (10 being full power).
- Press the Start button.
Sensor Reheat
This feature automatically reheats food to an optimal temperature. Press the Sensor Reheat button and then Start. The oven will detect the food's moisture and adjust cooking time accordingly.
Sensor Cook
The Sensor Cook feature offers 14 pre-programmed settings for various foods. Press the Sensor Cook button repeatedly to cycle through the options (1-14) or press it once and then use the number pad to select the desired program. Press Start.
Inv. Turbo Defrost
This feature provides efficient defrosting based on food weight. Press the Inv. Turbo Defrost (lb/kg) button, enter the weight of the food using the number pad, and then press Start.
Keep Warm
To keep food warm after cooking, press the Keep Warm button and then Start.
Stop/Reset
Press the Stop/Reset button once to pause cooking or twice to cancel the program and clear the display.
Maintenance and Cleaning
Exterior Cleaning
Wipe the exterior surfaces with a soft, damp cloth and mild soap. Avoid abrasive cleaners or scouring pads that could scratch the stainless steel finish.
Interior Cleaning
Clean the interior cavity with a soft cloth, warm water, and mild detergent. For stubborn food splatters, place a bowl of water with lemon slices inside and microwave for 2-3 minutes to loosen residue before wiping.
Glass Tray and Roller Ring
The glass tray and roller ring can be removed and washed in warm soapy water or in the dishwasher.
Troubleshooting
| Problem | Possible Cause | Solution |
|---|---|---|
| Oven does not start | Door not closed properly; Power cord unplugged; Fuse blown or circuit breaker tripped. | Ensure door is securely closed; Check power cord connection; Check household fuse/circuit breaker. |
| Food not heating | Incorrect cooking time/power level; Microwave-safe dish not used. | Adjust cooking time/power level; Use only microwave-safe cookware. |
| Turntable not rotating | Turntable or roller ring not positioned correctly; Obstruction. | Reposition glass tray and roller ring; Remove any obstructions. |
| Light bulb not working | Light bulb burned out. | Contact qualified service personnel for replacement. |
Specifications
- Brand: Panasonic
- Model: NN-SU676S
- Capacity: 1.3 Cubic Feet
- Installation Type: Countertop
- Product Dimensions (W x D x H): 20.43 x 16.02 x 12.4 inches
- Item Weight: 24 pounds
- Material: Stainless Steel (Exterior and Interior)
- Oven Cooking Mode: Microwave
- Special Feature: Turntable, Sensor Cooking, Inverter Technology
- Wattage: 1250 Watts (Cooking Power)
Warranty and Support
Your Panasonic USA warranty is valid if purchased from an authorized USA dealer. For warranty service or technical support, please refer to the warranty card included with your product or visit the official Panasonic support website.
For further assistance, you may contact Panasonic Customer Service directly. Please have your model number (NN-SU676S) and purchase date available when contacting support.