
1. Introduction
Thank you for choosing the STAHLWERK MIG MAG 175 ST IGBT welding machine. This versatile inverter welder is designed for various welding tasks, offering MIG/MAG, flux-cored wire, and MMA ARC welding capabilities. This manual provides essential information for safe and efficient operation, setup, maintenance, and troubleshooting. Please read it thoroughly before using the device.

Image 1.1: STAHLWERK MIG MAG 175 ST IGBT welding machine and included accessories.
2. Safety Instructions
Welding can be dangerous. Always follow these safety precautions to prevent injury or damage.
- Personal Protective Equipment (PPE): Always wear a welding helmet with appropriate shade, flame-resistant clothing, welding gloves, and safety shoes.
- Ventilation: Ensure adequate ventilation to remove welding fumes. Work in a well-ventilated area or use fume extraction equipment.
- Fire Hazards: Keep flammable materials away from the welding area. Have a fire extinguisher readily available.
- Electrical Safety: Ensure the welding machine is properly grounded. Do not operate in wet conditions. Inspect cables for damage before use.
- Arc Rays: Welding arcs produce intense UV and IR radiation that can cause eye and skin burns. Never look at the arc without proper eye protection.
- Gas Cylinders: Secure gas cylinders to prevent them from falling. Handle with care and ensure proper connections.
- Children and Bystanders: Keep unauthorized personnel, especially children, away from the welding area.
3. Product Features
The STAHLWERK MIG MAG 175 ST IGBT welding machine incorporates advanced features for optimal performance and user convenience.
- MIG/MAG Welding: Suitable for fast welding of almost all metals, including steel and stainless steel.
- Flux-Cored Wire Capability: Allows welding without the need for shielding gas.
- Synergistic Wire Feed: Automatic wire feed regulation based on the set welding current for consistent results.
- ST-Guard Housing: An extremely robust housing provides reliable protection against external influences.
- Smart Cooling & Overheat Protection: Maximizes duty cycle through efficient high-performance cooling.
- Dust and Splash Water Protected: Ensures first-class welding results even in adverse conditions.
- Compact Design: Reduced weight ensures effortless transport.
- Intuitive Control Panel: A clear and easy-to-operate display ensures maximum user-friendliness.
- Accessible Connections: Freely accessible connections ensure comfortable working.
- IGBT Technology: Increased efficiency with reduced power consumption.
- MMA ARC Function: Integrated ARC/MMA function for electrode welding.
- Hotstart-Automatic: Automatic voltage increase for first-class ignition results in MMA mode.
- Stable Arc: Constant power ensures uniform weld seams.
- Anti-Stick Function: Prevents the electrode from sticking in MMA mode.
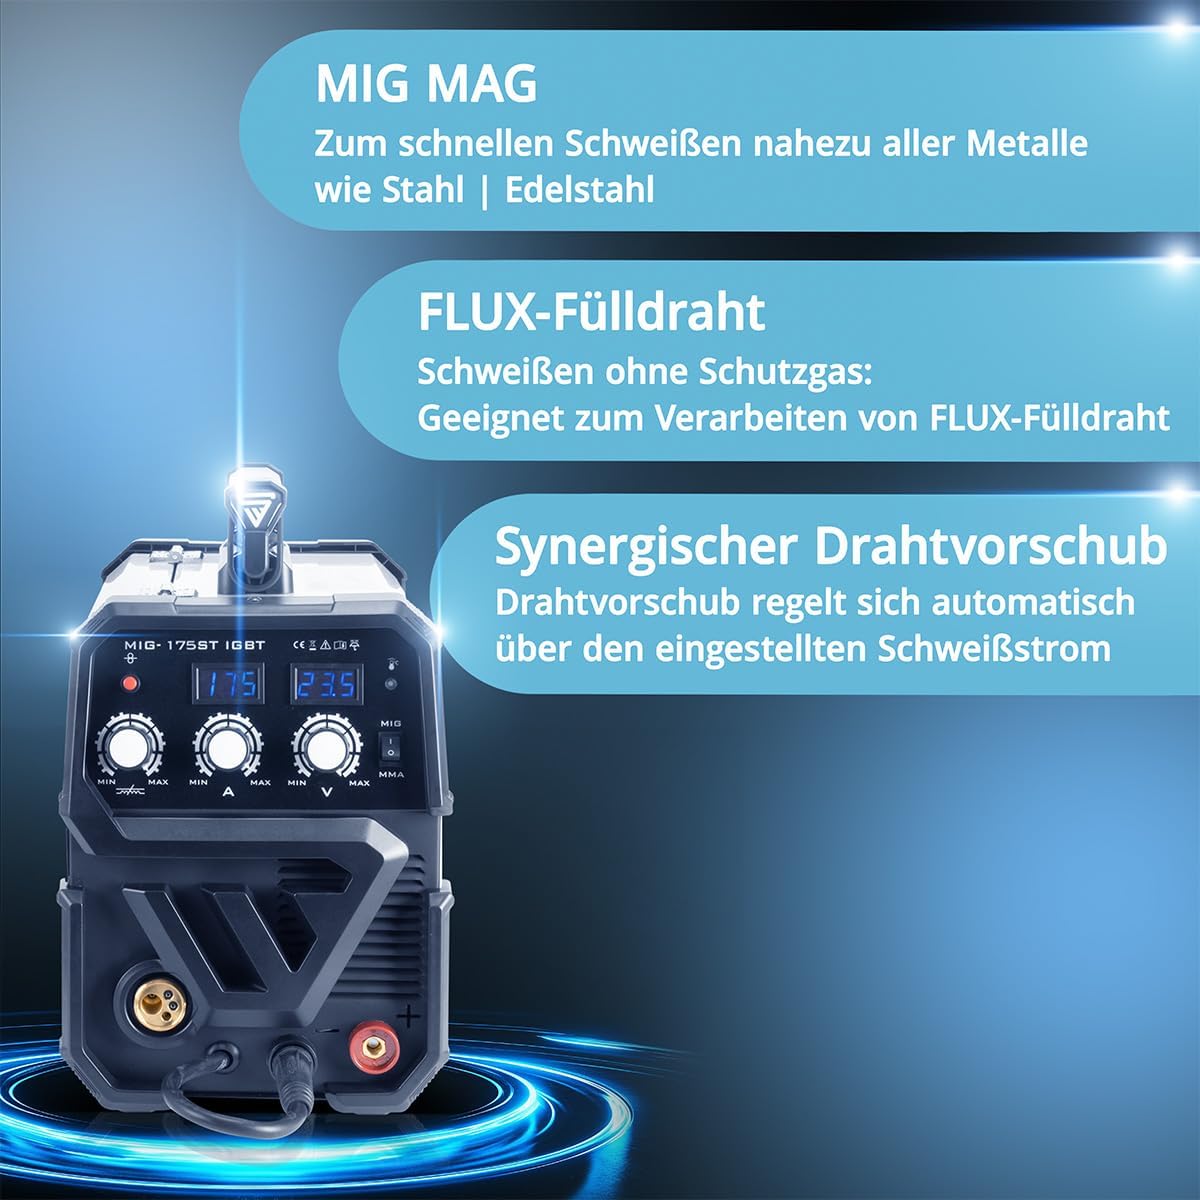
Image 3.1: Key features of the welding machine, including MIG/MAG and flux-cored capabilities.

Image 3.2: Design and protection features of the welding machine.
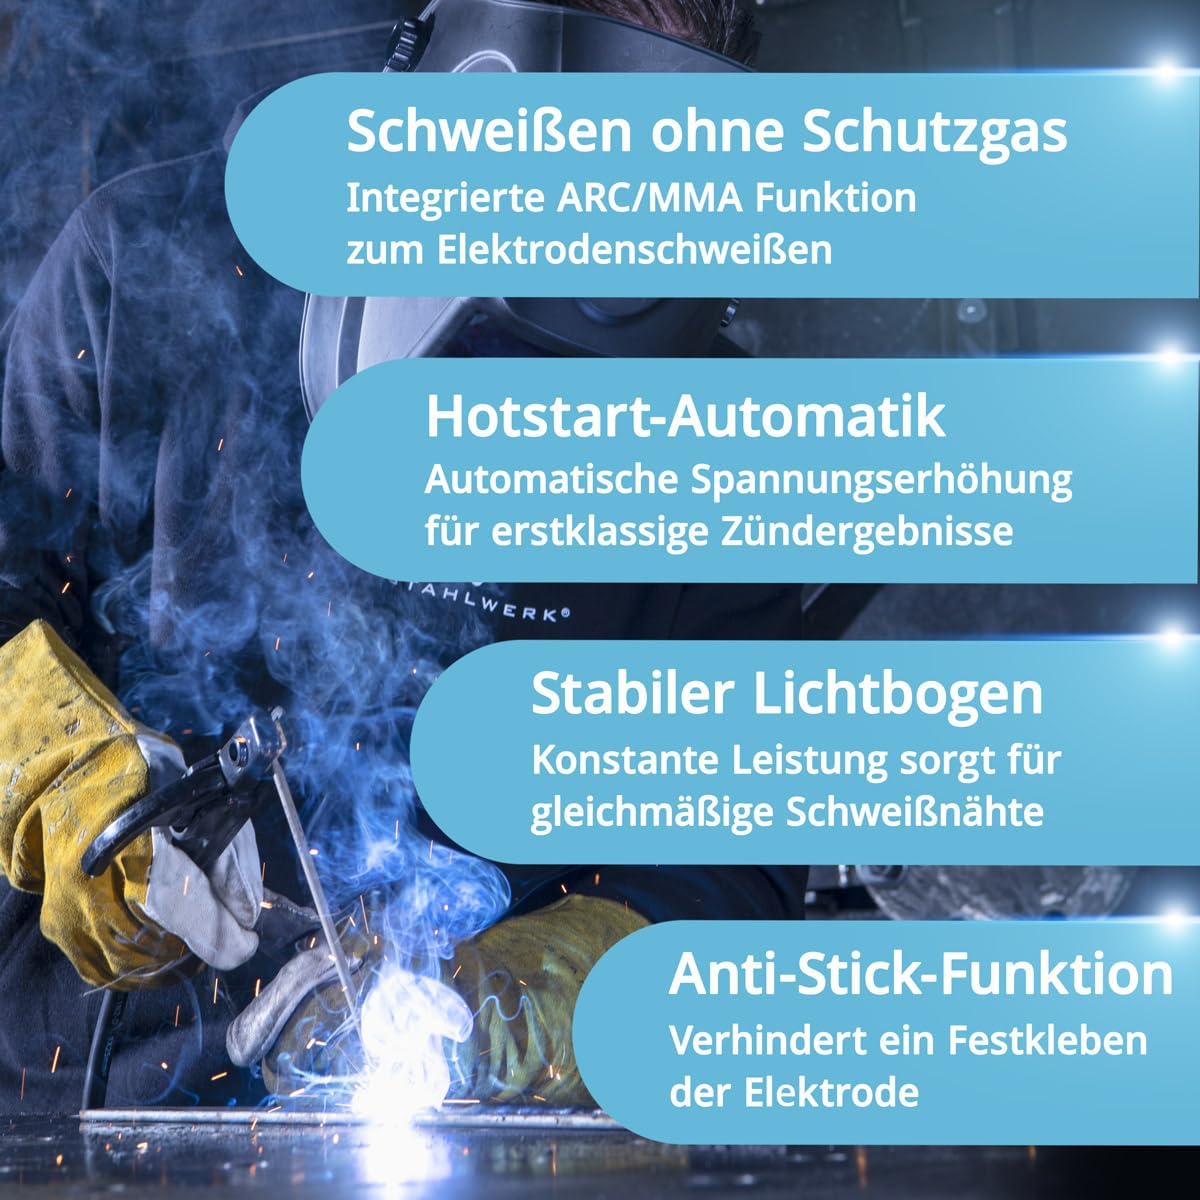
Image 3.3: MMA ARC welding features in action.

Image 3.4: Explanation of IGBT technology for improved performance.
4. Setup
Proper setup is crucial for safe and effective welding.
4.1. Power Connection
- Ensure the welding machine is switched off before connecting to power.
- Connect the power cable to a suitable grounded electrical outlet. Verify that the power supply matches the machine's requirements.
4.2. MIG/MAG Setup (with shielding gas)
- Install the appropriate welding wire spool into the wire feeder compartment.
- Thread the welding wire through the guide tube and into the MIG torch liner.
- Connect the MIG torch to the designated connector on the front panel.
- Attach the gas hose from the gas regulator to the gas inlet on the machine.
- Connect the ground clamp to the workpiece, ensuring good electrical contact.
4.3. Flux-Cored Wire Setup (without shielding gas)
- Install flux-cored welding wire into the wire feeder compartment.
- Thread the wire through the guide tube and into the MIG torch liner.
- Connect the MIG torch. No gas connection is required for flux-cored welding.
- Connect the ground clamp to the workpiece.
4.4. MMA ARC Setup
- Connect the electrode holder cable to the positive (+) terminal and the ground clamp cable to the negative (-) terminal on the machine.
- Securely insert the appropriate electrode into the electrode holder.
- Connect the ground clamp to the workpiece.

Image 4.1: Front panel connections for welding cables.
5. Operating Instructions
Familiarize yourself with the control panel and operating modes before starting to weld.
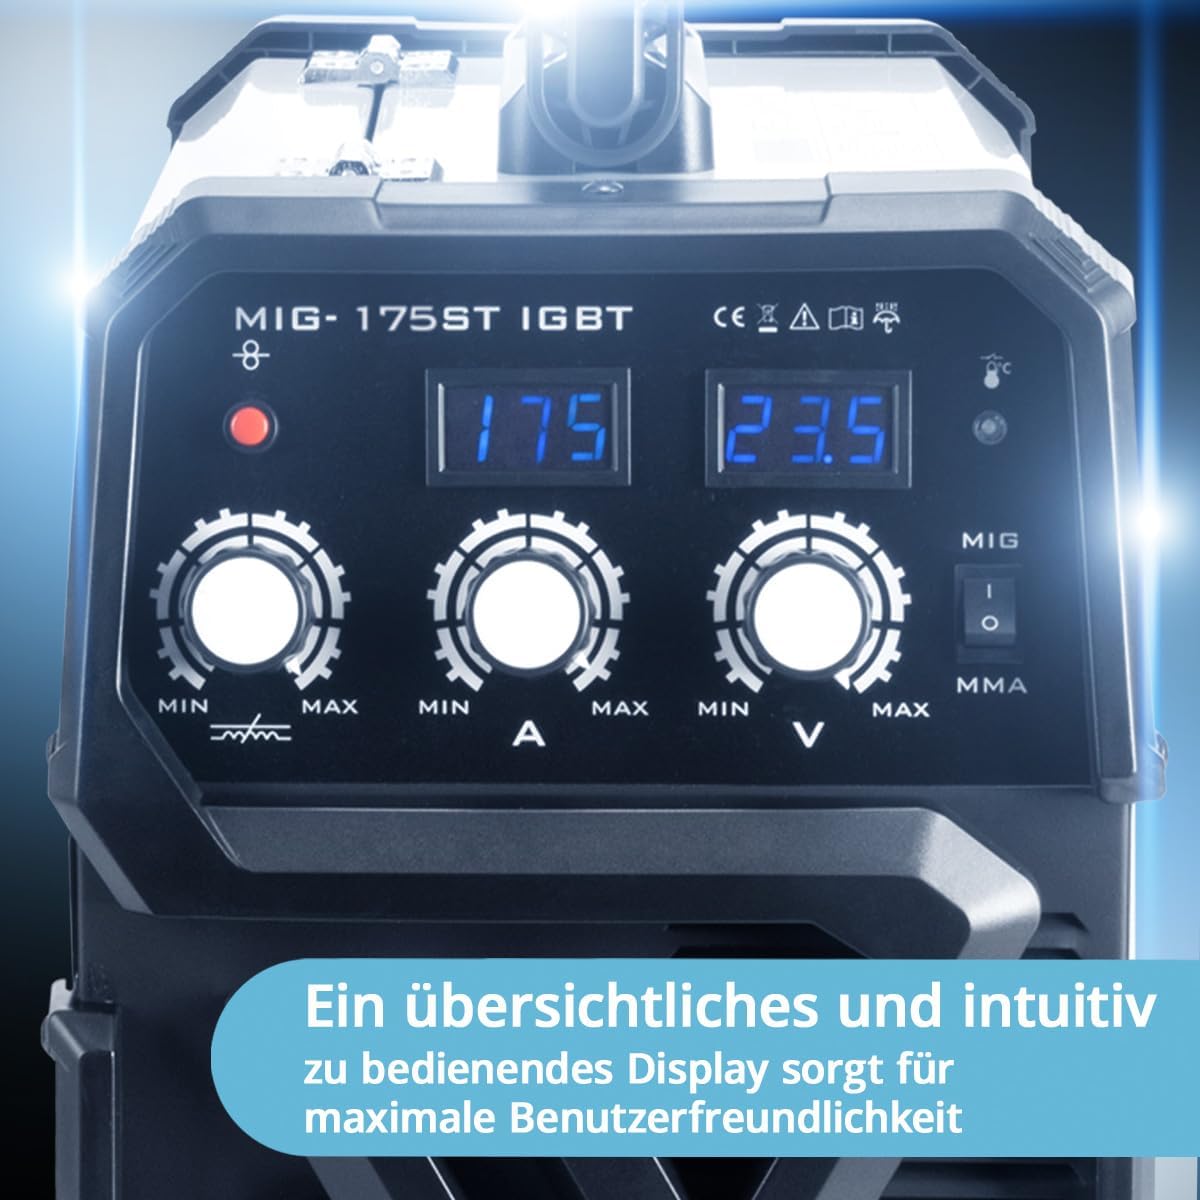
Image 5.1: Intuitive control panel for easy operation.
5.1. Power On/Off
- Turn the main power switch located on the rear panel to the "ON" position. The digital display will illuminate.
- To power off, turn the main power switch to the "OFF" position.
5.2. Mode Selection
- Use the mode selector switch on the front panel to choose between MIG/MAG and MMA ARC welding modes.
5.3. Parameter Adjustment
- Current (A): Adjust the welding current using the corresponding knob. The digital display shows the set amperage.
- Voltage (V): In MIG/MAG mode, adjust the welding voltage. The synergistic control will automatically adjust wire feed speed.
- Wire Feed Speed: In manual MIG/MAG mode, this can be adjusted independently. In synergistic mode, it adjusts automatically with voltage/current.
- Refer to welding charts or practice on scrap material to find optimal settings for your specific material and thickness.
5.4. Welding Process
- Ensure proper PPE is worn.
- Position the ground clamp securely on the workpiece.
- MIG/MAG: Position the torch nozzle close to the workpiece. Press the trigger to initiate the arc and wire feed. Maintain a consistent travel speed and torch angle.
- MMA ARC: Strike the electrode against the workpiece to initiate the arc. Maintain a short arc length and consistent travel speed.
- After welding, release the trigger (MIG/MAG) or lift the electrode (MMA ARC) to stop the process.
6. Maintenance
Regular maintenance ensures the longevity and optimal performance of your welding machine. Always disconnect power before performing any maintenance.
- Cleaning: Periodically clean the exterior of the machine with a dry, soft cloth. Use compressed air to blow out dust from cooling vents.
- MIG Torch Maintenance: Regularly inspect and clean the contact tip, gas nozzle, and diffuser. Replace worn parts as needed. Ensure the liner is free of kinks and blockages.
- Electrode Holder/Ground Clamp: Check for good electrical contact and replace if damaged.
- Cables: Inspect all welding cables and power cords for cuts, abrasions, or loose connections. Replace damaged cables immediately.
- Wire Feeder: Keep the wire feeder rollers clean and ensure proper tension for smooth wire feeding.
7. Troubleshooting
This section addresses common issues you might encounter. For problems not listed here, contact STAHLWERK support.
| Problem | Possible Cause | Solution |
|---|---|---|
| Machine does not power on. | No power supply; main switch off; faulty power cable. | Check power outlet and circuit breaker. Ensure main switch is ON. Inspect power cable. |
| No welding arc (MIG/MAG). | No wire feed; poor ground connection; contact tip blocked; wrong settings. | Check wire spool and feeder. Ensure ground clamp is secure. Clean/replace contact tip. Adjust current/voltage settings. |
| No welding arc (MMA ARC). | Poor ground connection; incorrect electrode; wrong settings. | Ensure ground clamp is secure. Use appropriate electrode. Adjust current settings. |
| Poor weld quality. | Incorrect settings; improper technique; contaminated workpiece; insufficient gas flow (MIG/MAG). | Adjust current/voltage/wire speed. Improve welding technique. Clean workpiece. Check gas cylinder and flow rate. |
| Wire feed issues. | Kinked liner; incorrect roller tension; wrong roller size; dirty liner. | Inspect and straighten liner. Adjust roller tension. Ensure correct roller for wire size. Clean liner. |
| Overheat protection activated. | Exceeded duty cycle; blocked cooling vents. | Allow machine to cool down. Ensure cooling vents are clear and not obstructed. |
8. Technical Specifications
Key technical data for the STAHLWERK MIG MAG 175 ST IGBT welding machine.
- Model: MIG MAG 175 ST IGBT
- Dimensions (L x W x H): 48 x 24 x 37 cm
- Weight: 16 kg
- Welding Processes: MIG/MAG, Flux-Cored, MMA ARC
- Manufacturer: STAHLWERK
- ASIN: B07Y3XFH13
- Note: Further detailed specifications (e.g., input voltage, current range, duty cycle) can be found in the product's full technical data sheet.

Image 8.1: Physical dimensions of the welding machine.
9. Warranty and Support
STAHLWERK stands behind the quality of its products.
- Warranty: This product comes with a 7-year warranty, offering extensive warranty services.
- Support: For service, advice, or technical assistance, please contact STAHLWERK directly. Support is available on-site, by phone, and via email.
- Contact Information: Refer to the official STAHLWERK website or your purchase documentation for specific contact details.

Image 9.1: STAHLWERK's commitment to quality and customer support, including a 7-year warranty.

