1. Introduction
This manual provides detailed instructions for the installation and maintenance of your WeatherTech Custom No-Drill Splash Guard MudFlaps. These mudflaps are designed to protect your vehicle's fender and rocker panels from road debris, mud, and grime. They are custom-fit for select 2019-2025 Chevrolet Blazer models and feature a no-drill installation process. This product is proudly Made in USA.
2. Package Contents
Verify that all components are present before beginning installation:
- Front Splash Guard MudFlaps (2)
- Rear Splash Guard MudFlaps (2)
- Installation Hardware (screws, clips, washers as required for your specific model)

Image 2.1: Complete set of WeatherTech Custom No-Drill Splash Guard MudFlaps, including front and rear mudflaps and associated hardware.
3. Safety Information
- Always wear appropriate personal protective equipment (PPE) such as safety glasses and gloves during installation.
- Ensure the vehicle is parked on a level surface with the parking brake engaged.
- If lifting the vehicle, use appropriate jack stands and follow all safety procedures outlined in your vehicle's owner's manual.
- Keep small parts and tools away from children.
4. Setup
4.1 Tools Required
- Phillips head screwdriver or appropriate socket wrench (for existing screws)
- Plastic pry tool (optional, for removing existing fasteners)
- Clean cloth
4.2 Pre-Installation Steps
- Clean the area around the wheel wells where the mudflaps will be installed. Ensure surfaces are free of dirt, mud, and debris.
- Identify the correct mudflap for each wheel position (front left, front right, rear left, rear right).
- Review the specific installation instructions provided with your mudflap set, as procedures may vary slightly by vehicle model.
5. Installation
WeatherTech No-Drill MudFlaps are designed for quick and easy installation, typically without the need for wheel removal or drilling into your vehicle's painted metal surface. The patented QuickTurn fastening system utilizes existing factory holes.
Video 5.1: Official WeatherTech video demonstrating the installation process for Custom No-Drill Splash Guard MudFlaps. This video highlights the ease of installation without drilling.
5.1 Front MudFlap Installation
- Locate the existing factory fasteners in the front wheel well area.
- Carefully remove the specified factory fasteners using the appropriate tool.
- Align the front mudflap with the fender, ensuring the mounting holes on the mudflap correspond with the factory holes.
- Secure the mudflap using the provided QuickTurn fasteners or supplied hardware, tightening them until snug. Do not overtighten.
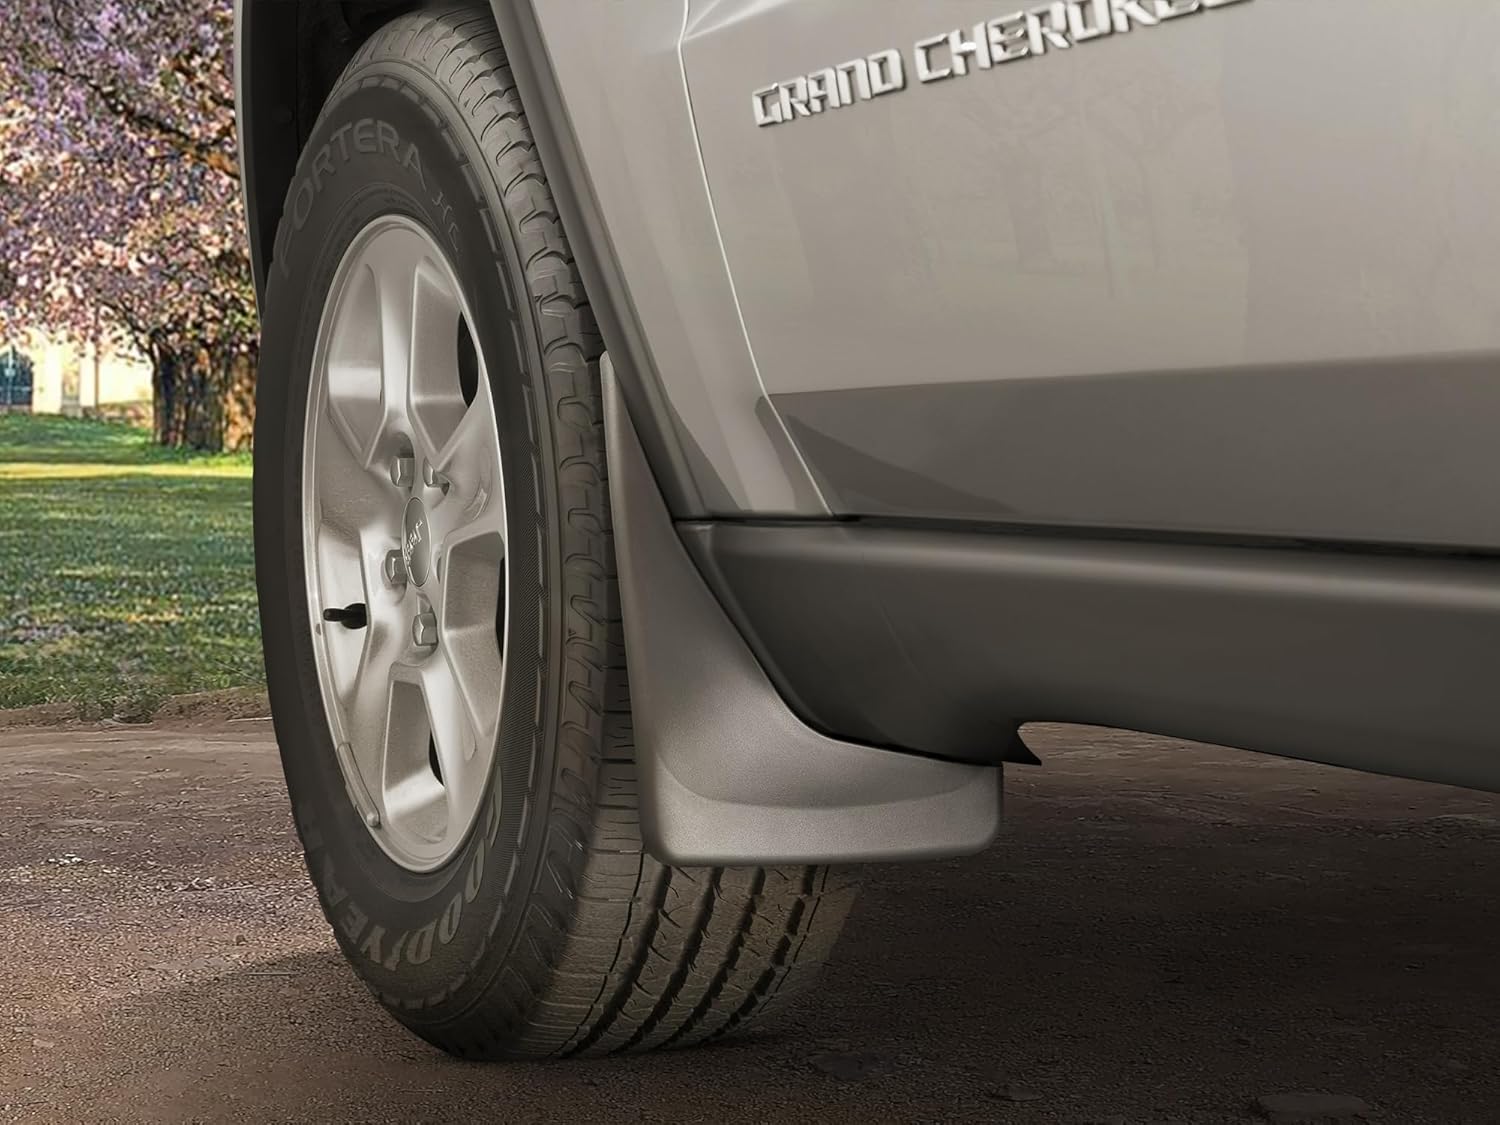
Image 5.1: A close-up view of a WeatherTech mudflap properly installed on the front wheel well of a vehicle, showcasing its custom fit and secure attachment.
5.2 Rear MudFlap Installation
- Locate the existing factory fasteners in the rear wheel well area.
- Remove the specified factory fasteners. Note: Some models, such as the 2025 Blazer, may require rear wheel removal for easier access.
- Align the rear mudflap with the fender, ensuring the mounting holes on the mudflap correspond with the factory holes.
- Secure the mudflap using the provided QuickTurn fasteners or supplied hardware, tightening them until snug. Do not overtighten.

Image 5.2: A WeatherTech mudflap installed on the rear wheel well of a vehicle, demonstrating its protective coverage against road debris.
6. Operating (Usage)
Once installed, your WeatherTech MudFlaps will immediately begin providing protection. They are designed to deflect road debris, mud, snow, and other elements away from your vehicle's paintwork, reducing the risk of chips, scratches, and corrosion. No special operation is required; the mudflaps function passively as you drive.
Video 6.1: Official WeatherTech video showcasing the mudflaps in action, protecting a truck from mud and debris. This illustrates the product's function.

Image 6.1: A vehicle equipped with mudflaps driving on a dirt road, demonstrating how the mudflaps effectively deflect debris and protect the vehicle's body.
7. Maintenance
WeatherTech MudFlaps are constructed from durable materials designed for longevity and minimal maintenance. To ensure continued performance and appearance:
- Regularly inspect the mudflaps for any signs of damage or loose fasteners. Tighten fasteners as needed.
- Clean the mudflaps with soap and water during routine vehicle washing. Avoid harsh chemicals or abrasive cleaners that could damage the material.
- In extreme weather conditions (e.g., heavy snow or ice), ensure no excessive buildup occurs that could impede the mudflaps' function or cause damage.
8. Troubleshooting
| Problem | Possible Cause | Solution |
|---|---|---|
| Mudflap is loose or rattling. | Fasteners are not tightened sufficiently. | Inspect and tighten all mounting fasteners. |
| Mudflap does not fit correctly. | Incorrect mudflap for vehicle model/position. | Verify the mudflap model number (110104-120104) and ensure it is for the correct vehicle year (2019-2025 Chevrolet Blazer). Contact WeatherTech support if issues persist. |
| Excessive debris accumulation behind mudflap. | Infrequent cleaning or extreme driving conditions. | Clean the area more frequently. Consider adjusting driving habits in very muddy or snowy conditions. |
9. Specifications
| Feature | Detail |
|---|---|
| Brand | WeatherTech |
| Model Number | 110104-120104 |
| Vehicle Compatibility | Select 2019-2025 Chevrolet Blazer Models |
| Coverage Area | Front & Rear Set |
| Color | Black |
| Installation Type | No-Drill (QuickTurn Fastening System) |
| Material | Durable, impact-resistant material |
| Item Weight | 1.9 pounds |
| Package Dimensions | 19 x 13 x 4 inches |
| UPC | 787765524513 |
| Origin | Made in USA |
10. Warranty and Support
For warranty information or technical support regarding your WeatherTech MudFlaps, please refer to the official WeatherTech website or contact their customer service directly. Ensure you have your product model number (110104-120104) and purchase details available when contacting support.
Official WeatherTech Website: www.weathertech.com