
Phomemo M110
Phomemo M110 Label Maker Instruction Manual
Model: M110
1. Introduction
Thank you for choosing the Phomemo M110 Label Maker. This portable thermal printer is designed for various labeling needs, including small business, address, barcode, logo, clothing, mailing, and general sticker printing. It offers convenient wireless connectivity via Bluetooth and compatibility with both mobile devices and PCs. This manual provides essential information for setting up, operating, and maintaining your device.
2. What's in the Box
Upon unboxing your Phomemo M110 Label Maker, please verify that all the following components are included:
- Phomemo M110 Portable Label Printer (1 unit)
- Label Roll (40x30mm / 1.57"x1.18") (1 roll)
- Type-C Data Cable (1 unit)
- User Manual (1 unit)
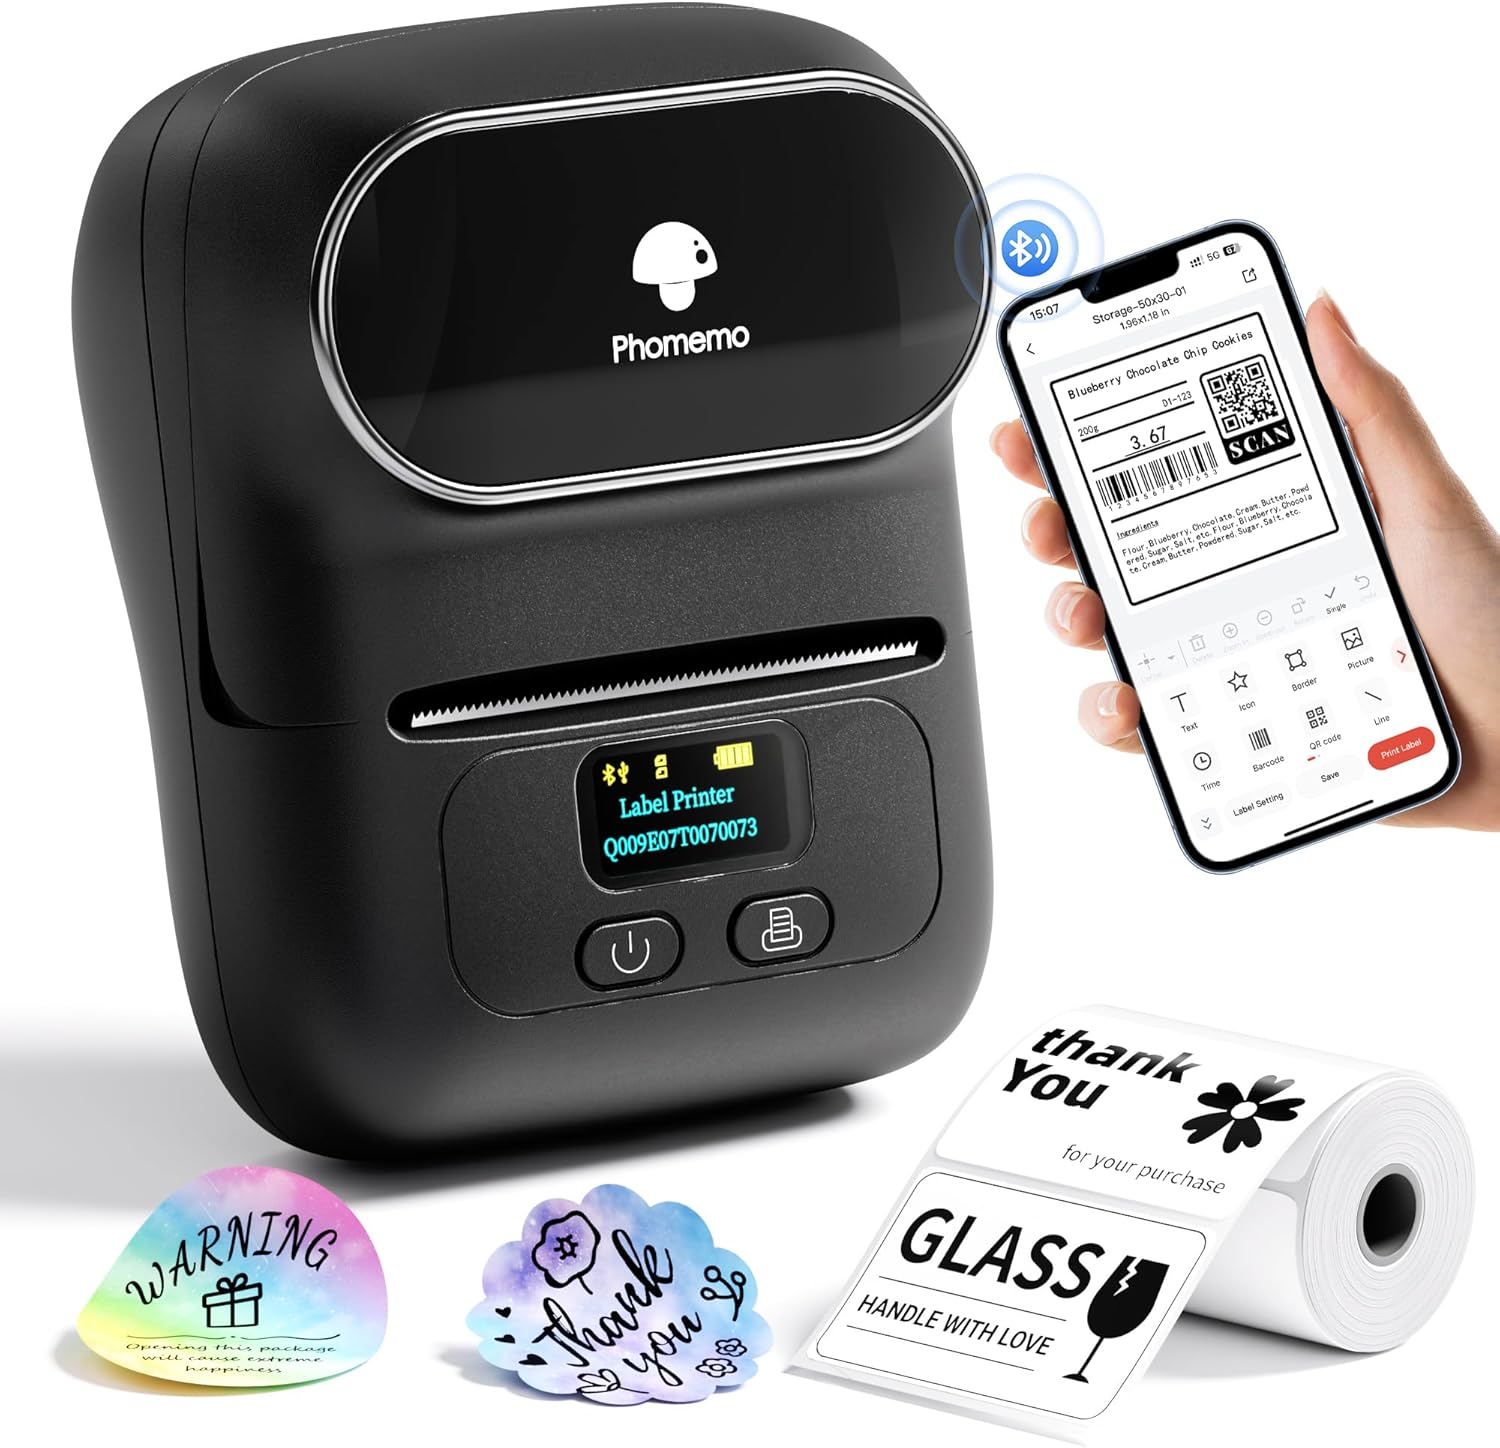
Image: Phomemo M110 Label Maker, a roll of labels, and a Type-C data cable, representing the contents of the package.
3. Product Overview
3.1. Key Features
- Thermal Printing: No ink or ribbon required, only prints in black and white.
- Wireless Connectivity: Bluetooth 4.0 for easy connection to mobile devices.
- Wired Connectivity: USB for connection to computers (Windows, Mac, Chrome OS, Linux).
- Print Master App: Powerful mobile application with various templates, fonts, and icons.
- Labelife Software: Desktop software for advanced label design and printing.
- OCR Function: Optical Character Recognition to convert image text to editable text.
- LED Display Screen: Provides operation prompts, assisted connection status, and battery display.
- Portable Design: Compact and lightweight for on-the-go use.
- Wide Label Compatibility: Supports label widths from 20mm to 50mm (0.78" to 2").
3.2. Device Components

Image: A detailed view of the Phomemo M110 Label Maker, highlighting its various parts such as the power button, feed button, and label output slot.
- Power Button: Press and hold for 3 seconds to turn on/off.
- Feed Button: Press to feed labels.
- Label Output Slot: Where printed labels exit.
- LED Display: Shows status, battery, and connection information.
- Type-C Charging Port: For charging the device.
- Label Compartment: Where the label roll is inserted.
4. Setup Instructions
4.1. Loading Labels
- Open Top Cover: Gently push the release button or slide the cover to open the label compartment.
- Attach Paper Roll to Holder: Place the label roll onto the adjustable paper holder, ensuring the labels feed from the bottom.
- Insert Label Roll: Place the label roll with the holder into the compartment, making sure the first label extends slightly out of the output slot.
- Close Cover: Close the top cover firmly until it clicks into place.

Image: Visual guide demonstrating the four steps for loading labels: opening the cover, attaching the roll to the holder, inserting the roll, and closing the cover.
4.2. Charging the Device
Before first use, ensure the label maker is fully charged. Connect the provided Type-C data cable to the charging port on the device and the other end to a USB power adapter (not included) or a computer USB port. The LED display will indicate charging status.
4.3. App Installation and Connection (Mobile)
- Install "Print Master" App: Download the "Print Master" app from your device's app store (App Store for iOS, Google Play for Android).
- Sign In/Register: Open the app and sign in or register for an account.
- Turn on Bluetooth: Ensure Bluetooth is enabled on your mobile device.
- Connect to Printer: In the "Print Master" app, search for your Phomemo M110 printer and connect. The device ID will be displayed on the printer's LED screen.

Image: A visual representation of the steps to install the Print Master app, sign in, enable Bluetooth, and connect to the Phomemo M110 printer.
4.4. Software Installation and Connection (PC)
- Turn on Device: Press and hold the power button for three seconds to turn on the label maker.
- Connect USB Cable: Connect the USB cable from the printer to your computer.
- Download Labelife: Visit the official Phomemo website or refer to the user manual for the download link for the Labelife software.
- Install and Edit: Install Labelife and use it to edit templates and print labels.

Image: A four-step visual guide showing how to power on the printer, connect it to a computer via USB, download Labelife software, and edit/print labels.
5. Operating Instructions
5.1. Creating and Printing Labels (Mobile App)
The "Print Master" app offers extensive customization options for your labels.
- Select Template or Create New: Choose from a variety of pre-designed templates or start a new blank label.
- Edit Content: Use the app's tools to add text, barcodes, QR codes, images, icons, and shapes. You can also utilize the OCR function to convert text from images.
- Adjust Settings: Set label size, font, alignment, and other parameters to match your label roll and design.
- Print: Once your design is complete, tap the print button. Ensure your printer is connected and has sufficient battery and labels.

Image: A Phomemo M110 printer next to a smartphone displaying the Print Master app interface, showcasing various label design elements like text, barcode, QR code, and image options.

Image: The Phomemo M110 printer demonstrating its capability to print various label types, including white, transparent, color, and circular labels, applied to different products.

Image: A smartphone screen displaying the Print Master app's extensive library of fonts and icons available for label customization.
5.2. Batch Printing
The "Print Master" app supports batch printing, allowing you to print multiple copies of the same label or a series of labels efficiently. Refer to the app's specific instructions for batch printing functionality.
5.3. OCR Function
The Optical Character Recognition (OCR) feature allows you to convert text from an image into editable text within the "Print Master" app. Simply take a photo of the text, and the app will process it for editing and printing.
6. Maintenance
6.1. Cleaning the Print Head
To ensure optimal print quality, regularly clean the print head. Use a soft, lint-free cloth lightly dampened with isopropyl alcohol. Gently wipe the print head surface. Do not use abrasive materials or harsh chemicals.
6.2. Battery Care
- Charge the device regularly, even if not in frequent use, to maintain battery health.
- Avoid exposing the device to extreme temperatures.
- Use only the provided Type-C cable for charging.
7. Troubleshooting
| Problem | Possible Cause | Solution |
|---|---|---|
| Printer not turning on | Low battery; Power button not held long enough | Charge the printer; Press and hold the power button for 3 seconds. |
| Cannot connect via Bluetooth | Bluetooth off; App not recognizing printer; Printer too far | Ensure Bluetooth is on; Restart app/printer; Move closer to printer. |
| Poor print quality / Faded print | Print head dirty; Incorrect label type; Low battery | Clean print head; Ensure you are using thermal labels; Charge printer. |
| Labels not feeding correctly | Label roll improperly loaded; Labels stuck | Re-load label roll correctly; Clear any obstructions. |
| App/Software issues | Outdated app/software; Software glitch | Update app/software; Reinstall app/software. |
If you encounter issues not listed here, please refer to the official Phomemo support resources or contact customer service.
8. Specifications
| Feature | Detail |
|---|---|
| Model | M110 |
| Printing Technology | Thermal |
| Connectivity | Bluetooth 4.0, USB |
| Print Resolution | 203 dpi |
| Max Print Width | 48mm (1.89 inches) |
| Label Width Range | 20mm ~ 50mm (0.78" ~ 2") |
| Battery Capacity | 1500 mAh (Lithium Polymer) |
| Product Dimensions | 4.48"D x 2.44"W x 3.43"H |
| Item Weight | 7.9 ounces (222.8 Grams) |
| Compatible Devices | Android, iOS, Windows 7+, Mac OS 10+, Chrome OS |
9. Warranty and Support
Phomemo provides customer support for its products. For warranty information, technical assistance, or any inquiries, please refer to the official Phomemo website or contact their customer service directly.
- Official Website: www.phomemo.com
- Email Support: support@phomemo.com
Please retain your purchase receipt for warranty claims.
Related documentsM110


Ask a question about this manual
Ask about setup, troubleshooting, compatibility, parts, safety, or missing instructions. Manuals+ will review the question and use this page’s manual context to help answer it.