
1. Introduction
The Philips Hue Smart Button provides a convenient and portable way to control your Philips Hue smart lighting system. This battery-powered device allows you to turn lights on/off, dim, brighten, and cycle through preset scenes with simple presses. It can be mounted on a wall or used as a portable remote.
What's in the Box
- Philips Hue Smart Button
- Wall plate
- Mini-mount (magnetic)
- User Manual and Legal Manual

Image: The Philips Hue Smart Button, including its wall plate, magnetic button, and mini-mount.

Image: An exploded view illustrating the wall plate, magnetic button, and mini-mount of the Philips Hue Smart Button.
2. Setup
The Philips Hue Smart Button requires a Philips Hue Bridge for full functionality, including automations, remote control, and a stable connection. Ensure your Hue Bridge is set up and connected to your network before proceeding.
2.1 Physical Installation
The Smart Button offers flexible installation options:
- Wall Mounting: Use the included wall plate to attach the button to any flat surface. The wall plate can be secured with adhesive or screws (not included). The magnetic button then attaches to the center of the wall plate.
- Magnetic Attachment: The button itself is magnetic and can be placed directly on any magnetic surface, such as a refrigerator or a metal desk leg.
- Portable Use: The magnetic button can be easily removed from its mount for portable use as a remote control.
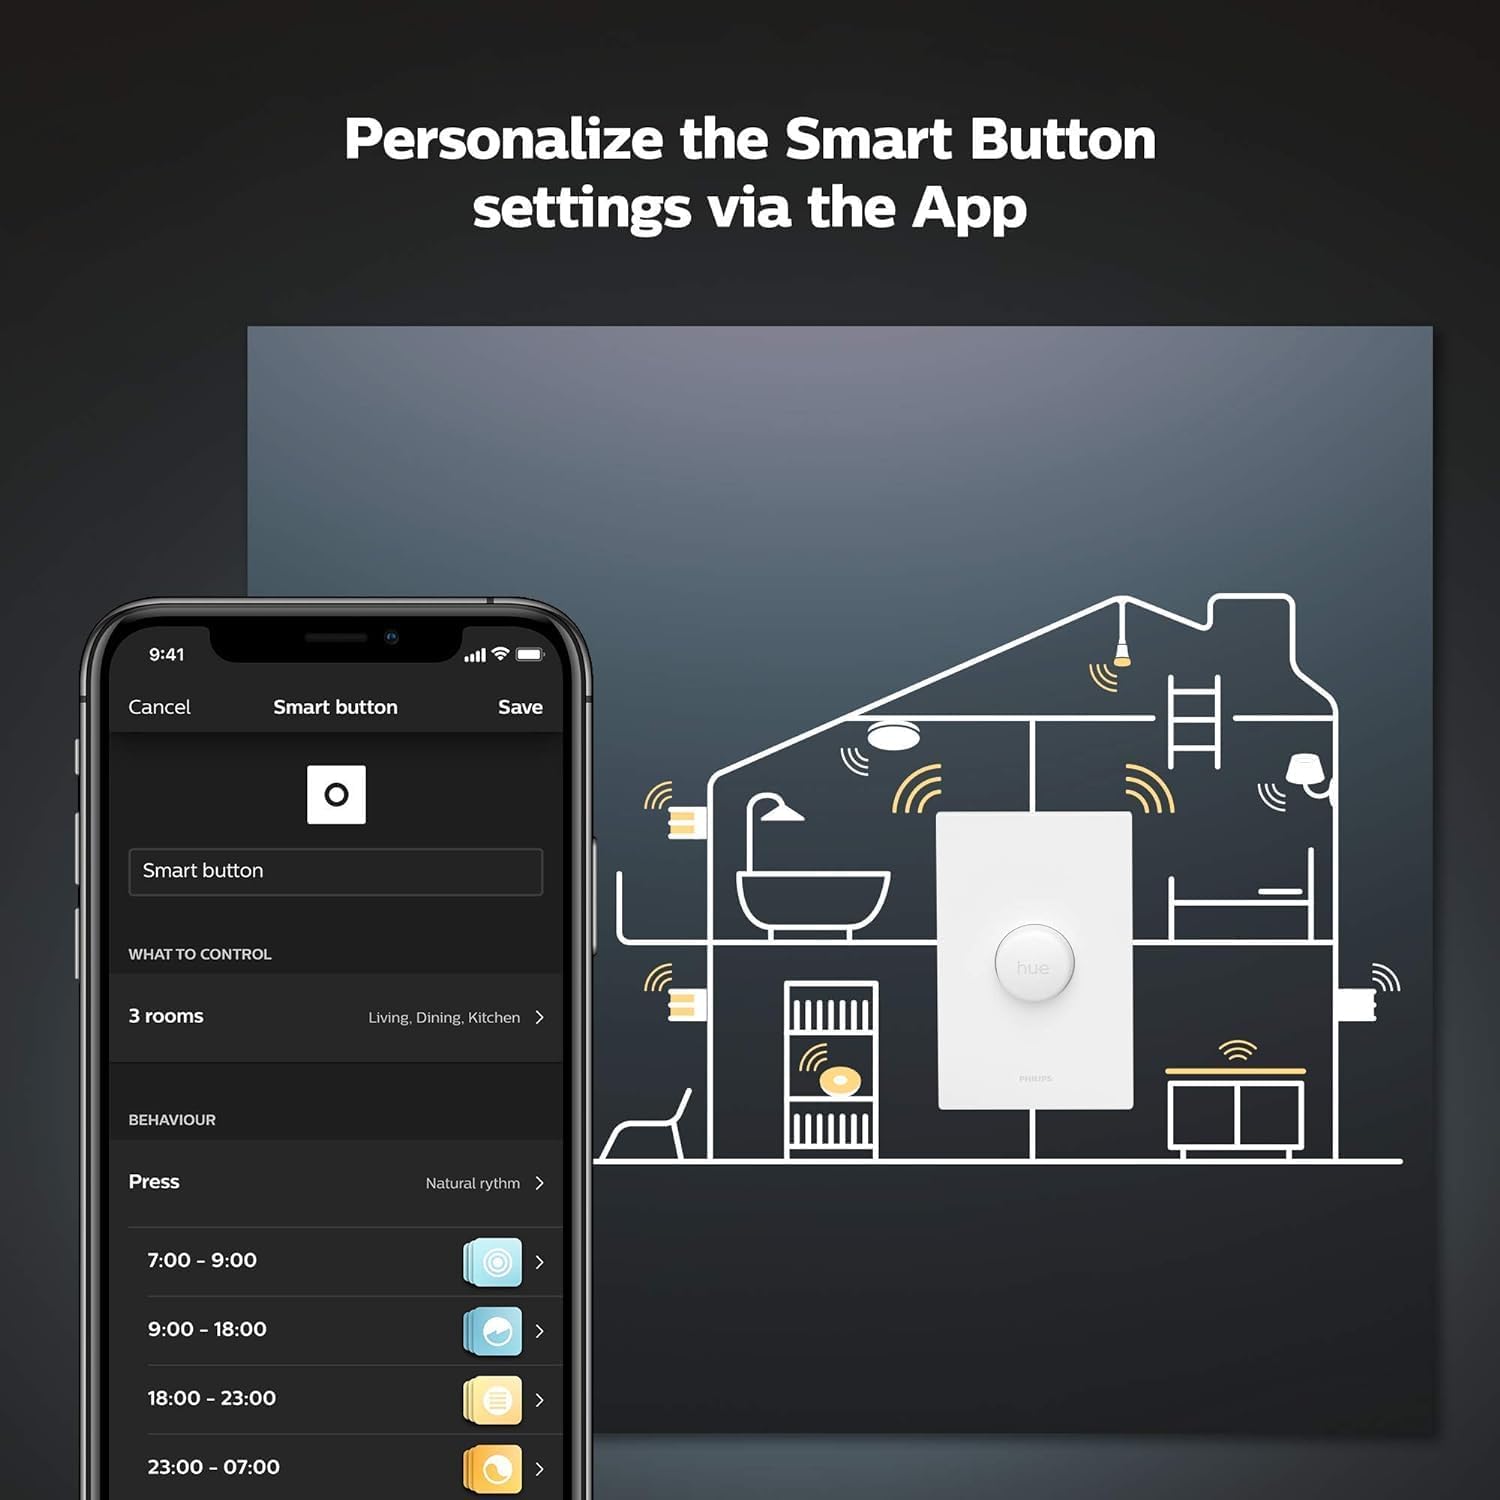
Image: The Philips Hue Smart Button mounted on a wall, demonstrating its use as a convenient light switch.
2.2 Pairing with Philips Hue Bridge
- Open the Philips Hue app on your smartphone or tablet.
- Navigate to the 'Settings' menu.
- Select 'Accessory setup' and then 'Add accessory'.
- Follow the on-screen instructions to discover and pair your Smart Button. You may be prompted to press the button until an LED blinks.
Video: An unboxing and initial overview of the Philips Hue Smart Button, highlighting its magnetic features and wall mount for easy installation.
Video: A demonstration of mounting the Philips Hue Smart Button on a wall and using it to control lights, including a scenario for children's use.
3. Operating Instructions
The Philips Hue Smart Button offers intuitive control over your lighting:
3.1 Basic Functions
- Single Press: Turns your Hue lights on or off.
- Press and Hold: Dims or brightens your lights.
- Multiple Presses: Cycles through your customized preset scenes.

Image: A hand demonstrating the one-click control feature of the Philips Hue Smart Button.
Video: An overview of the Philips Hue Smart Button's magnetic mounting and portable use, demonstrating how it controls lights and changes scenes.
3.2 Customizing Scenes
You can personalize the Smart Button's behavior through the Philips Hue app:
- Open the Philips Hue app.
- Go to 'Settings' > 'Accessory setup' and select your Smart Button.
- Under 'Behavior', you can assign different actions to single presses, multiple presses, and press-and-hold actions.
- Choose from preset scenes like 'Energize', 'Relax', 'Concentrate', or 'Read', or create your own custom scenes.
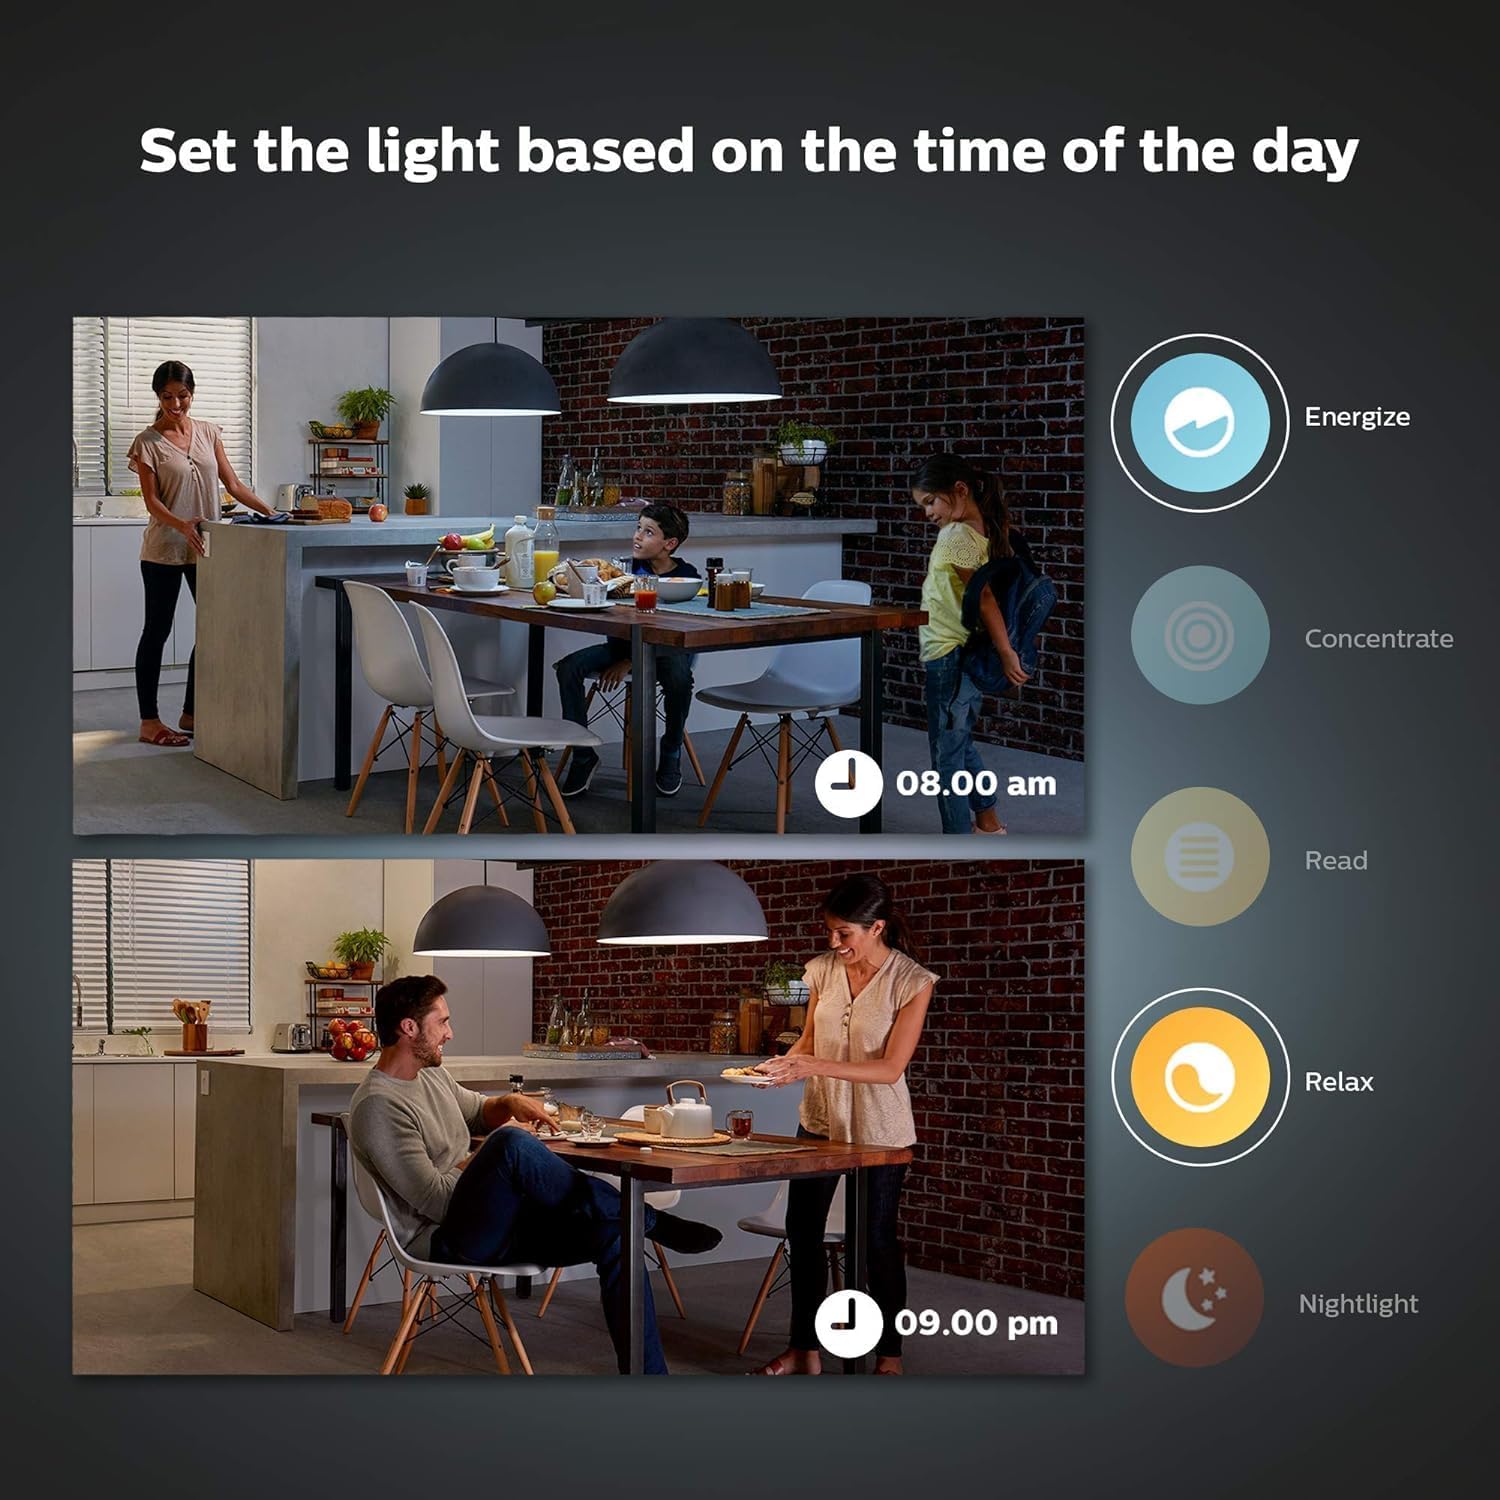
Image: The Philips Hue app interface for customizing Smart Button settings, allowing users to define actions for various button presses.

Image: Examples of setting light scenes based on the time of day using the Philips Hue Smart Button.
Video: A demonstration of customizing the Philips Hue Smart Button's functions in the app, showing different light scenes activated by multiple presses.
4. Features
- Portable and Battery Powered: The compact design and battery operation allow for placement anywhere in your home.
- Magnetic Mounting: The button can be magnetically attached to its wall plate or any magnetic surface.
- Customizable Control: Program single press, multiple presses, and press-and-hold actions via the Hue app.
- Preset Scenes: Access various lighting scenes for different moods and activities.
- Requires Hue Bridge: Integrates seamlessly with the Philips Hue ecosystem for advanced features and reliability.
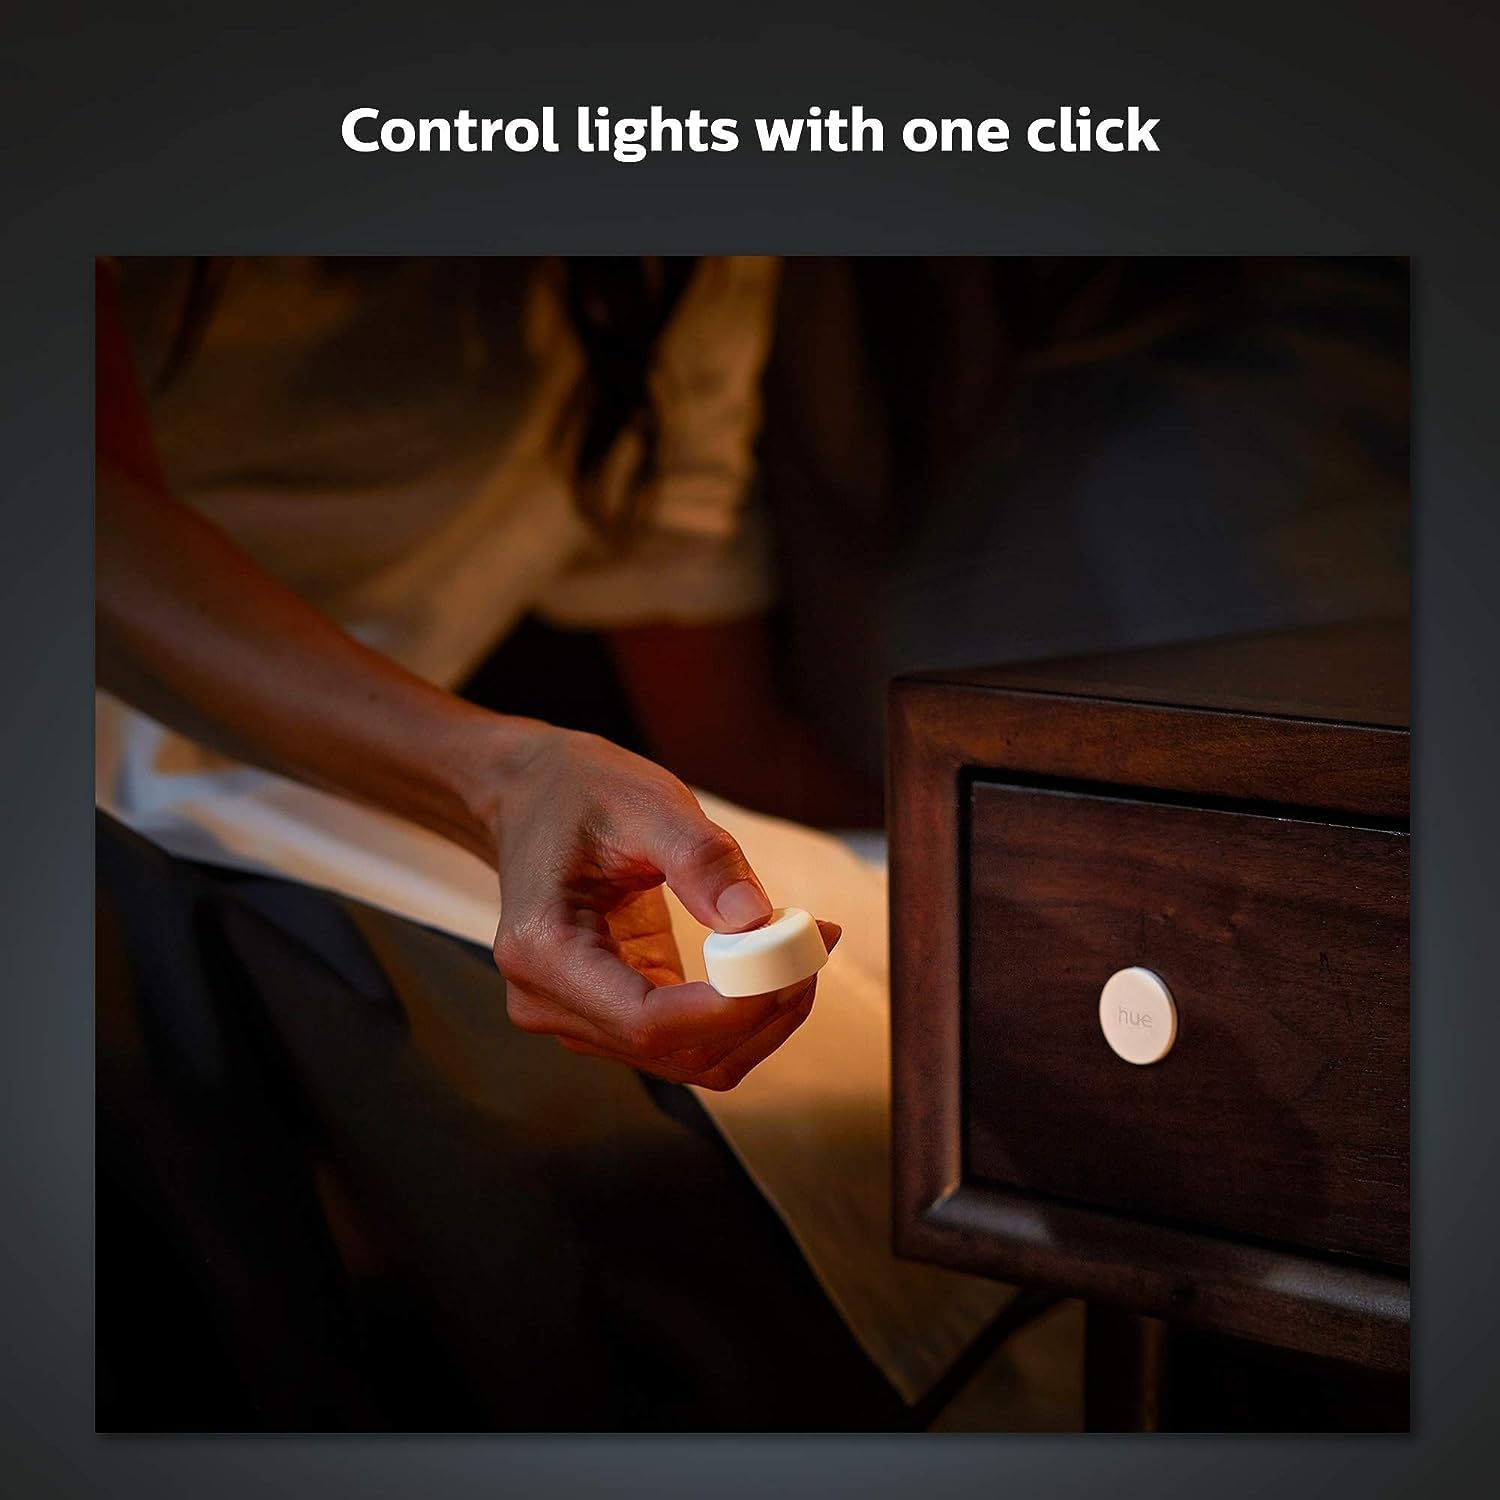
Image: The Philips Hue Smart Button used portably on a bedside table.

Image: Dimensions of the Philips Hue Smart Button wall plate.
5. Maintenance
5.1 Battery Replacement
The Philips Hue Smart Button is powered by a CR2032 coin cell battery. When the battery is low, the LED on the button may not blink or respond as expected. To replace the battery:
- Gently remove the magnetic button from its mount.
- On the back of the button, you will find a small slot or cover. Use a small, flat-head screwdriver or a pin to carefully pry open the cover.
- Remove the old CR2032 battery.
- Insert a new CR2032 battery with the positive (+) side facing up.
- Replace the cover and reattach the button to its mount.
5.2 Cleaning
Wipe the Smart Button and its mount with a soft, dry cloth. Avoid using abrasive cleaners or solvents.
6. Troubleshooting
6.1 Button Unresponsive or Unreachable
If your Smart Button is not responding or appears as 'Unreachable' in the Hue app:
- Check Battery: Ensure the battery is not depleted. Replace it if necessary (refer to Section 5.1).
- Reset Button: A factory reset can resolve connectivity issues.
6.2 Factory Reset Procedure
To perform a factory reset on the Philips Hue Smart Button:
- Remove the magnetic button from its mount.
- Carefully remove the back cover to expose the battery.
- Locate the small reset button or pinhole near the battery.
- Using a small pin or a tech screwdriver, press and hold the reset button for approximately 10 seconds. The LED on the button may blink to indicate a successful reset.
- Reassemble the button and attempt to pair it with your Hue Bridge again via the Philips Hue app.
Video: Instructions on how to reset the Philips Hue Smart Button by removing the magnetic back and pressing a reset switch.
Video: A step-by-step guide on how to reset the Philips Hue Smart Button when it's unreachable in the app, including using a small tool to access the reset button.
7. Specifications
| Feature | Description |
|---|---|
| Brand | Philips |
| Connectivity | Wireless (requires Philips Hue Bridge) |
| Power Source | Battery (CR2032 coin cell) |
| Installation | Wall-mounted (adhesive/screws) or magnetic attachment |
8. Warranty and Support
For warranty information and technical support, please refer to the official Philips Hue website or contact Philips customer service. Keep your proof of purchase for warranty claims.


