
1. Introduction
This manual provides detailed instructions for the installation and operation of the Start-X N5 Plug N Play Remote Starter system. This system allows you to remotely start your Nissan Frontier (model years 2008-2019) using your existing factory key fob. The design emphasizes ease of installation with a plug-and-play approach, requiring no wire splicing.

Image 1.1: The Start-X Remote Starter kit packaging alongside a white Nissan Frontier truck, illustrating the product and its intended vehicle.
2. Product Overview
The Start-X N5 Remote Starter is designed to integrate seamlessly with your vehicle's existing electronics. It enables remote engine start functionality, providing comfort by allowing you to warm up or cool down your vehicle's interior before entry. The system utilizes your factory key fob, eliminating the need for additional remote controls.
- Plug N Play Installation: Designed for a straightforward installation process without cutting or splicing wires.
- Factory Remote Integration: Activates by pressing the lock button on your existing factory key fob three times.
- Comfort and Convenience: Allows pre-conditioning of your vehicle's cabin in various weather conditions.
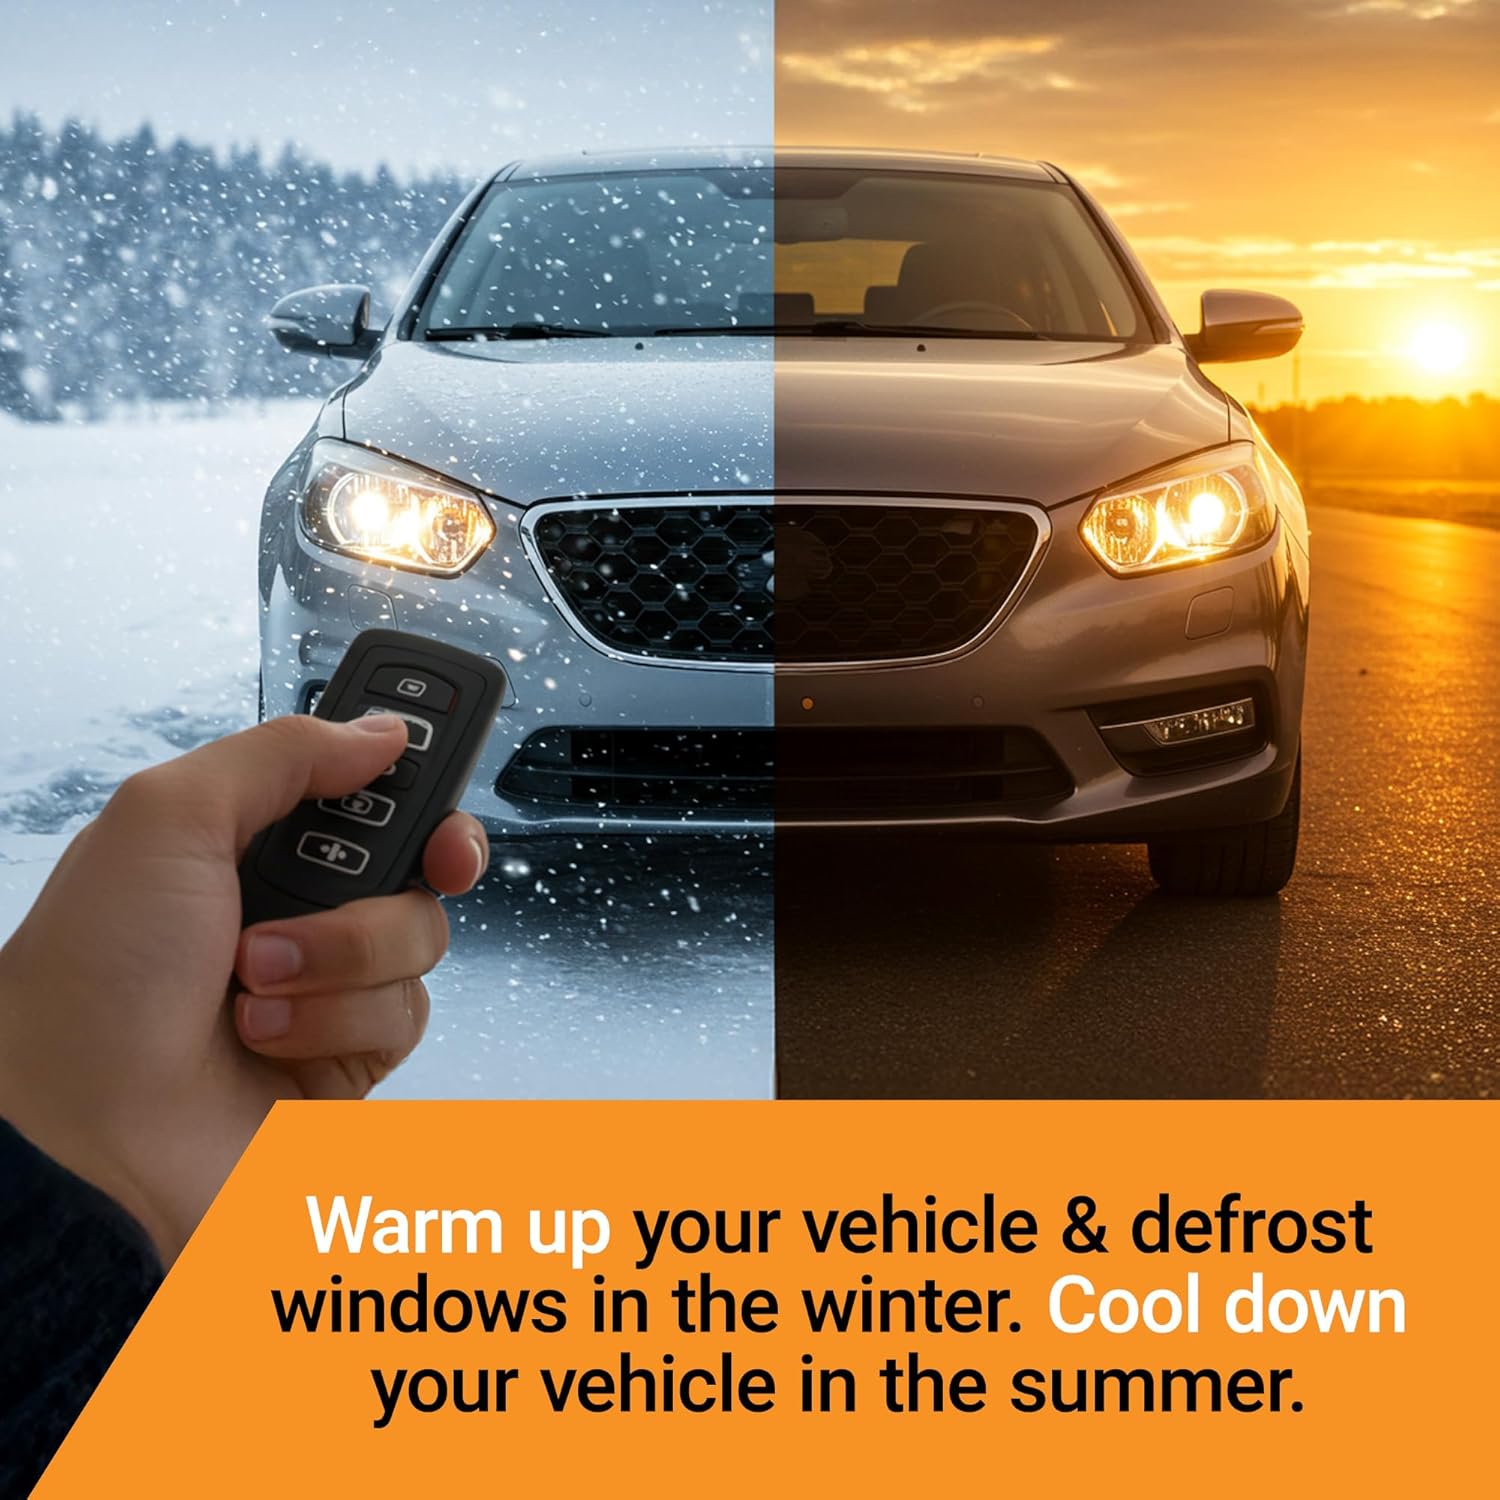
Image 2.1: A visual representation of the remote starter's benefit, showing a car in both snowy winter and sunny summer conditions, emphasizing climate control convenience.

Image 2.2: A person remotely starting their vehicle from inside a building during snowy weather, highlighting the convenience of starting from a distance.
3. Vehicle Compatibility
This Start-X Remote Starter (Model N5) is compatible with the following vehicles:
- Make: Nissan
- Model: Frontier
- Model Years: 2008, 2009, 2010, 2011, 2012, 2013, 2014, 2015, 2016, 2017, 2018, 2019
Important Compatibility Notes:
- Immobilizer Requirement: The vehicle must be equipped with an immobilizer system.
- Transmission Type: Compatible only with vehicles equipped with an automatic transmission.
- Ignition Type: Designed for vehicles with key ignition only.
- Fuel Type: Compatible only with vehicles that use gasoline fuel.
- Incompatibility: Not compatible with Nissan Frontier models from 2005-2007.

Image 3.1: Visual indicators for vehicle requirements: automatic transmission, key ignition, and gas fuel, confirming compatibility criteria.
4. Package Contents
Please verify that all items listed below are present in your package before beginning installation. If any components are missing, contact Start-X customer support.
- Start-X Remote Start Module (N5)
- Vehicle Connection Harness (T-Harness)
- Pry Tool
- Zip Ties
- Installation Guide
- Welcome Card
- Warning Sticker

Image 4.1: An organized display of all components included in the Start-X Remote Starter kit, such as the main module, wiring harness, pry tool, and zip ties.
5. Safety Information
Read all instructions carefully before installation. Failure to follow safety guidelines may result in damage to the product, vehicle, or personal injury.
- Ensure the vehicle is in Park (P) and the parking brake is engaged before starting installation or using the remote start function.
- Disconnect the vehicle's battery before performing any electrical work to prevent short circuits.
- Do not install this product on vehicles with a manual transmission. This system is designed exclusively for automatic transmissions.
- Ensure the vehicle is in a well-ventilated area when using the remote start function to avoid carbon monoxide buildup.
- Keep children and pets away from the vehicle when using the remote start feature.
- Verify that the vehicle's immobilizer system is functional before and after installation.
6. Installation Guide
The Start-X Remote Starter is designed for a plug-and-play installation. While the process is generally straightforward, careful attention to detail is required. It is recommended to watch any available video instructions provided by Start-X for visual guidance.
6.1. Preparation
- Gather all tools: The included pry tool, zip ties, and potentially a Phillips head screwdriver for dash panel removal.
- Park the vehicle on a level surface, engage the parking brake, and turn off the engine.
- Disconnect the negative terminal of the vehicle's battery.
- Locate the area under the steering wheel where the vehicle's connectors are accessible.
6.2. Accessing Vehicle Connectors
The installation requires access to four vehicle connectors located under the dash panel beneath the steering wheel. While it is possible to access these without removing the dash panel, many users find that removing the lower dash panel significantly eases the process, especially for reaching the BCM (Body Control Module) connectors.
- Optional: Removing the Lower Dash Panel:
- Pull back the top of the driver’s kick panel (at your left foot) to clear the door gasket.
- Pull outward on the bottom end of the trim strip to release clips and expose a screw securing the upper left corner of the lower dash panel.
- Remove the screw on the bottom right of the panel, near the center console.
- Gently tug the panel straight out towards the seat to release the plastic tabs holding it.
- Depress clips to remove switches from the cover, or unplug them to fully remove the panel.
- Identify the four connectors that will be used with the T-harness. Refer to the included installation guide for specific connector locations and appearances.

Image 6.1: A close-up view of hands connecting the wiring harness to the Start-X remote start module, illustrating the plug-and-play nature of the installation.
6.3. Connecting the T-Harness
- Disconnect the vehicle's original connectors from their ports. Note the orientation of multi-pin connectors, especially the BCM connectors, as they can be stiff and require careful handling.
- Connect the Start-X T-harness inline with the vehicle's wiring. The T-harness will have male and female connectors that match the vehicle's original connectors. Ensure each connection is secure and fully seated.
- For the BCM 40-pin connector (often difficult to access), it is recommended to install the 3x lock harness part before plugging the 40-pin part of the harness back in, as this can provide better visibility. Do not force connectors; they should slide in smoothly when properly aligned.
- Connect the T-harness to the Start-X Remote Start Module.
6.4. Programming the Module
This step is crucial for the module to learn your vehicle's specific parameters.
- Ensure all harnesses are connected to the module and vehicle.
- Important: Hold down the programming button on the Start-X module while plugging in the main power harness to it. Continue holding the button until instructed otherwise.
- Reconnect the vehicle's battery.
- Turn the vehicle's ignition to the ON position (do not start the engine).
- Observe the LED indicator on the Start-X module. Wait for a rapidly flashing yellow LED. This process can take several minutes (e.g., 2-3 minutes). Patience is key; do not proceed until the rapid yellow flash occurs.
- Once the rapid yellow flash is observed, release the programming button.
- Turn the ignition OFF.
- The module is now programmed.
6.5. Securing the Module and Wiring
- Use the provided zip ties to secure the Start-X module and all wiring harnesses away from moving parts (e.g., steering column, pedals) and heat sources.
- Ensure wires are not pinched or strained.
- If the lower dash panel was removed, reattach it carefully, ensuring all switches are properly connected.
7. Operating Instructions
The Start-X Remote Starter operates using your vehicle's factory key fob.
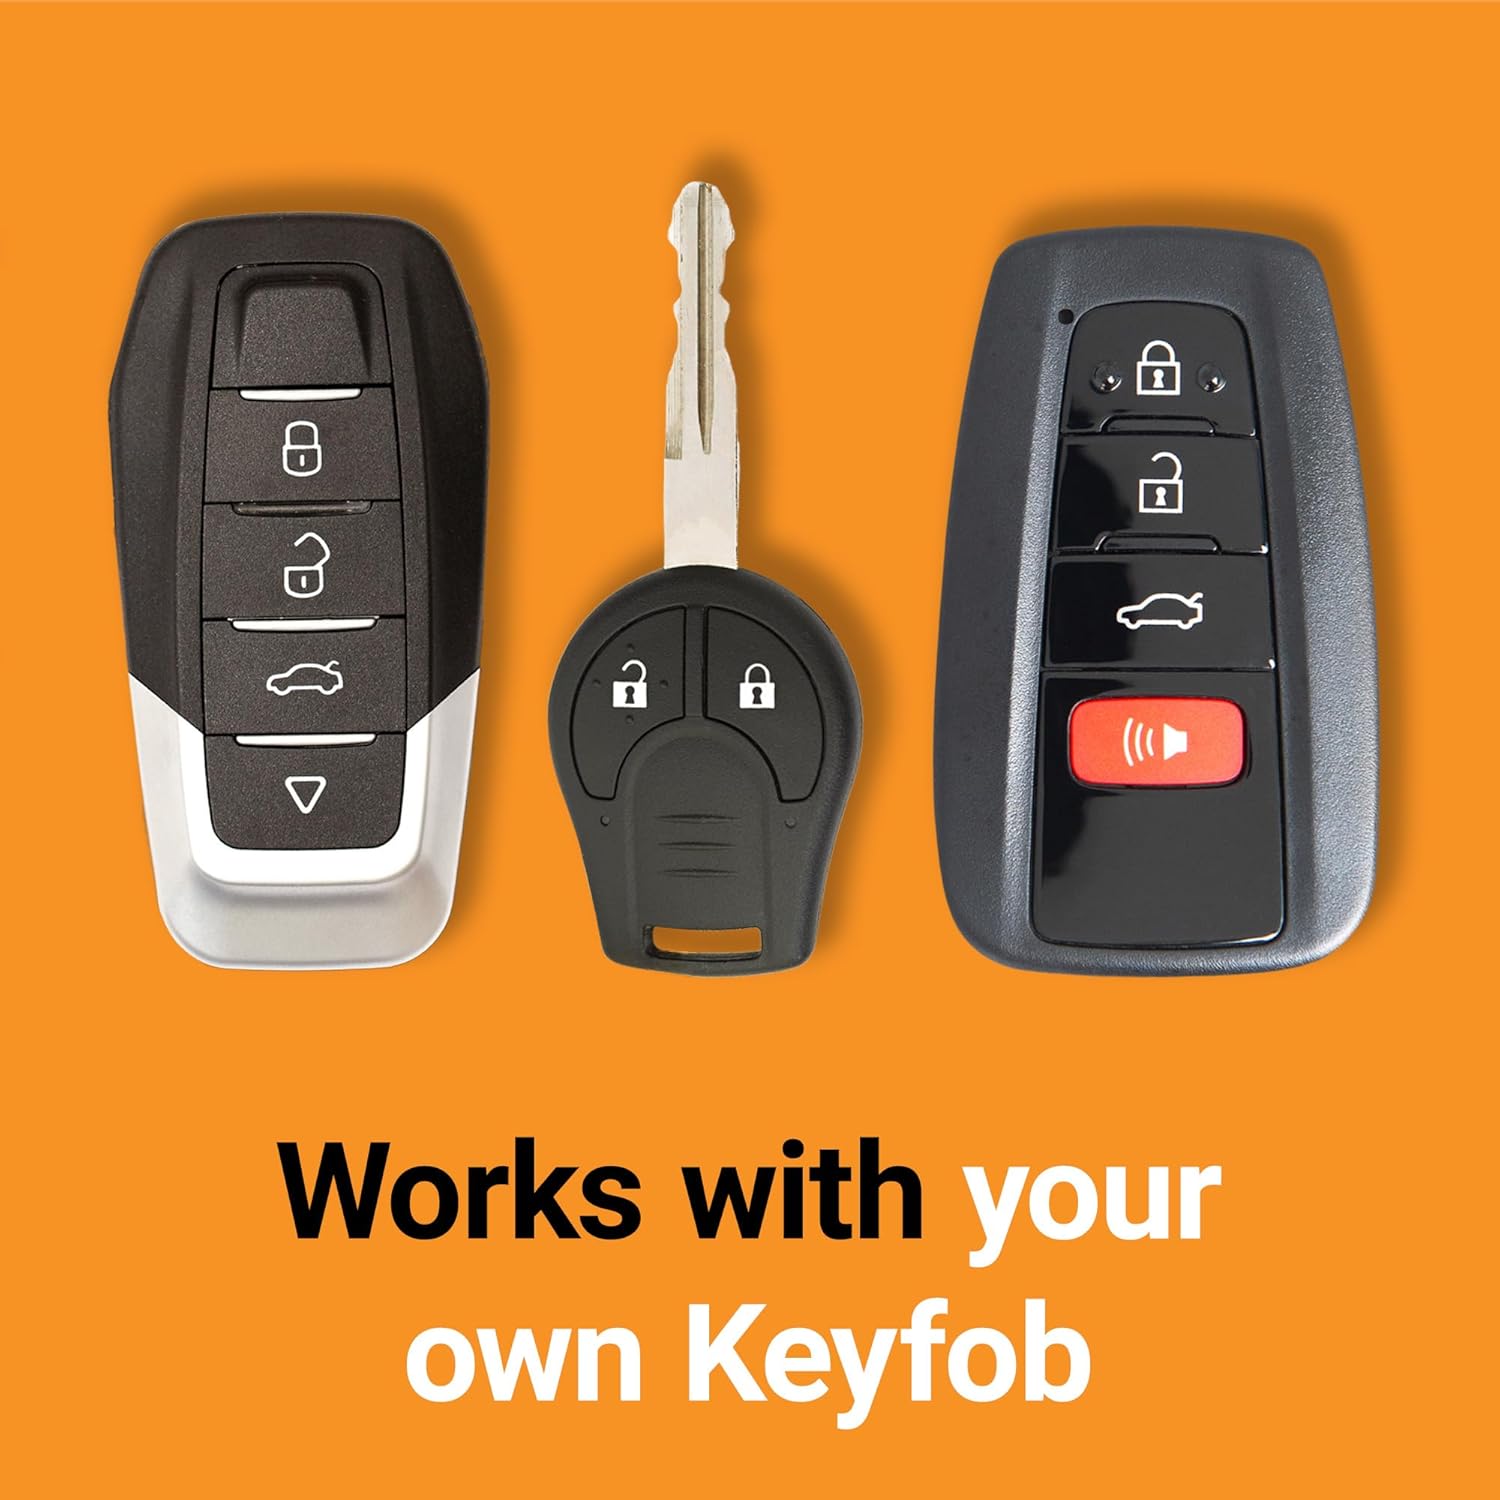
Image 7.1: Various car key fobs displayed, illustrating that the remote starter works with the vehicle's original remote.
7.1. Remote Starting the Vehicle
- Ensure the vehicle doors are closed and locked.
- Press the Lock button on your factory key fob three (3) times consecutively.
- The vehicle's parking lights will flash, and the engine will start.
- The engine will run for approximately 15 minutes before automatically shutting off.
- The remote start range is limited to the effective range of your factory key fob.
7.2. Entering the Vehicle After Remote Start
- Unlock the vehicle using your factory key fob.
- Enter the vehicle. The engine will continue to run.
- Insert your key into the ignition and turn it to the ON/RUN position.
- Press the brake pedal. The remote start system will disengage, and the vehicle will transition to normal operation under key control.
- Note: If the brake pedal is pressed before the key is in the ON/RUN position, the engine will shut off.
7.3. Shutting Off the Vehicle Remotely
- While the vehicle is running via remote start, press the Lock button on your factory key fob three (3) times consecutively.
- The engine will shut off.
7.4. Disabling/Enabling Horn Beep on Activation
To toggle the horn beep sound that occurs during remote start activation:
- Hold down both the Lock and Unlock buttons on your factory remote for approximately 3 seconds.
- The parking lights will flash, and the horn will either beep (if enabling) or remain silent (if disabling), indicating the change in setting.
8. Troubleshooting
This section addresses common issues that may arise during or after installation.
| Problem | Possible Cause | Solution |
|---|---|---|
| Remote start does not activate. |
|
|
| Engine starts but shuts off immediately when brake is pressed. |
|
|
| Horn beeps loudly during remote start. |
|
|
| Red light on module does not blink or module does not program. |
|
|
9. Specifications
| Feature | Detail |
|---|---|
| Model Number | N5 |
| Compatibility | Nissan Frontier 2008-2019 (Automatic Transmission, Key Ignition, Immobilizer, Gas Only) |
| Activation Method | 3x Lock on Factory Key Fob |
| Automatic Shut-off Timer | Approximately 15 minutes |
| Item Weight | 1.5 pounds |
| Package Dimensions | 8.74 x 4.65 x 3.66 inches |
10. Warranty and Support
For technical assistance, troubleshooting beyond this manual, or warranty inquiries, please refer to the contact information provided on the included Welcome Card or visit the official Start-X website.
Keep your purchase receipt for warranty validation.


