
1. Introduction
This manual provides comprehensive instructions for the installation, operation, and maintenance of your YoLuKe P2 PTZ Outdoor WiFi IP Camera. Please read this manual carefully before using the product to ensure proper setup and functionality. Keep this manual for future reference.
2. Product Overview
The YoLuKe P2 is a 5-megapixel outdoor PTZ (Pan-Tilt-Zoom) camera designed for surveillance. It features 20X optical zoom, 360° horizontal and 90° vertical rotation, human detection, auto-tracking, two-way audio, and night vision capabilities. The camera is IP66 weatherproof, making it suitable for various outdoor environments.
2.1 Key Features
- 5MP HD Resolution: Provides clear and detailed video footage.
- 20X Optical Zoom: Allows for detailed viewing of distant objects without loss of image quality.
- PTZ Functionality: 360° horizontal pan and 90° vertical tilt for comprehensive area coverage.
- Human Detection & Auto Tracking: Intelligently identifies human figures and tracks their movement.
- HD Night Vision: Equipped with IR LEDs for clear monitoring up to 400ft in low-light conditions.
- Two-Way Audio: Built-in microphone and speaker for real-time communication.
- IP66 Weatherproof: Designed to withstand outdoor weather conditions.
- Local Storage: Supports up to 128GB SD card (not included) for video recording.
- Mobile App Control: Remote operation via the "CamhiPro" app.
2.2 Camera Components and Dimensions

Image: YoLuKe P2 PTZ Camera showing dimensions and labeled components including Reset Button, Network Interface, Power Interface, Built-in Mic & Speaker, and SD Card Slot.
The image above illustrates the physical dimensions and key interfaces of the YoLuKe P2 camera. Important components include the reset button, network interface, power interface, built-in microphone and speaker, and the SD card slot for local storage.
3. Setup Instructions
3.1 Package Contents
Before installation, ensure all components are present:
- YoLuKe P2 PTZ Camera
- Power Adapter
- Mounting Screws and Anchors
- Waterproof Kit for Network Cable
- Quick Start Guide (refer to this manual for detailed instructions)
- 1/2-Inch Collet (as per product specifications)
3.2 Physical Installation
- Choose a Location: Select an outdoor location that provides the desired viewing angle and is within range of your Wi-Fi network or Ethernet connection. Ensure the camera is mounted securely.
- Mount the Camera: Use the provided mounting screws and anchors to securely attach the camera bracket to a wall or eave.
- Connect Power: Connect the power adapter to the camera's power interface and plug it into a suitable outdoor power outlet.
- (Optional) Ethernet Connection: If using a wired connection, connect an Ethernet cable to the camera's network interface. Use the waterproof kit to protect the connection.

Image: The YoLuKe P2 PTZ Camera shown mounted on a wall, illustrating a typical installation scenario.
The camera is designed for wall mounting, offering a wide field of view when positioned correctly.
3.3 Initial Network Setup (Wi-Fi)
- Download the App: Download the "CamhiPro" app from your mobile device's app store (available for iOS and Android).
- Power On: Ensure the camera is powered on and its indicator light is active.
- Connect to Camera's Wi-Fi (Direct):
- On your mobile phone, go to Wi-Fi settings.
- Search for the camera's broadcasted Wi-Fi signal (e.g., "IPCAM-XXXXXX").
- Connect to this network.
- Add Camera in CamhiPro App:
- Open the CamhiPro app.
- Follow the in-app instructions to add a new device. This typically involves scanning a QR code on the camera or searching for devices on the local network.
- Connect to Home Wi-Fi Network:
- Within the CamhiPro app, navigate to the camera's network settings.
- Select your home Wi-Fi network (2.4 GHz only) and enter the password.
- The camera will attempt to connect to your home Wi-Fi. Once connected, your phone can disconnect from the camera's direct Wi-Fi and connect to your home Wi-Fi to access the camera.

Image: A visual representation of the mobile phone setup process, showing the CamhiPro app interface and connection steps.
The CamhiPro app facilitates easy setup and remote control of the camera.
4. Operating Instructions
4.1 Live View and PTZ Control
Once connected, open the CamhiPro app to access the live view. Use the on-screen controls to:
- Pan (Horizontal Rotation): Rotate the camera 360° horizontally.
- Tilt (Vertical Rotation): Adjust the camera 90° vertically.
- Zoom: Utilize the 20X optical zoom feature to magnify specific areas of interest.

Image: The camera's 20X optical zoom capability is illustrated, showing a distant object magnified on a mobile screen.
The 20X optical zoom allows for clear magnification of distant subjects, as shown in the example of a vehicle.
4.2 Auto Tracking and Human Detection
The camera is equipped with intelligent features to enhance surveillance:
- Human Detection: The camera can distinguish human figures from other moving objects, reducing false alarms.
- Auto Tracking: When a human is detected, the camera can automatically pan and tilt to follow their movement within its field of view.
- Smart Alerts: Receive push notifications, email alerts, or FTP service uploads upon detection of motion or human figures.

Image: This image demonstrates the camera's auto-tracking and human detection features, highlighting detected figures and showing a push notification on a mobile device.
The camera's smart alerts provide timely notifications for detected activity, as illustrated by the human recognition warning.
4.3 Two-Way Audio
The built-in microphone and speaker enable two-way communication:
- Listen: Hear audio from the camera's location through the app.
- Speak: Transmit your voice through the camera's speaker from the app.
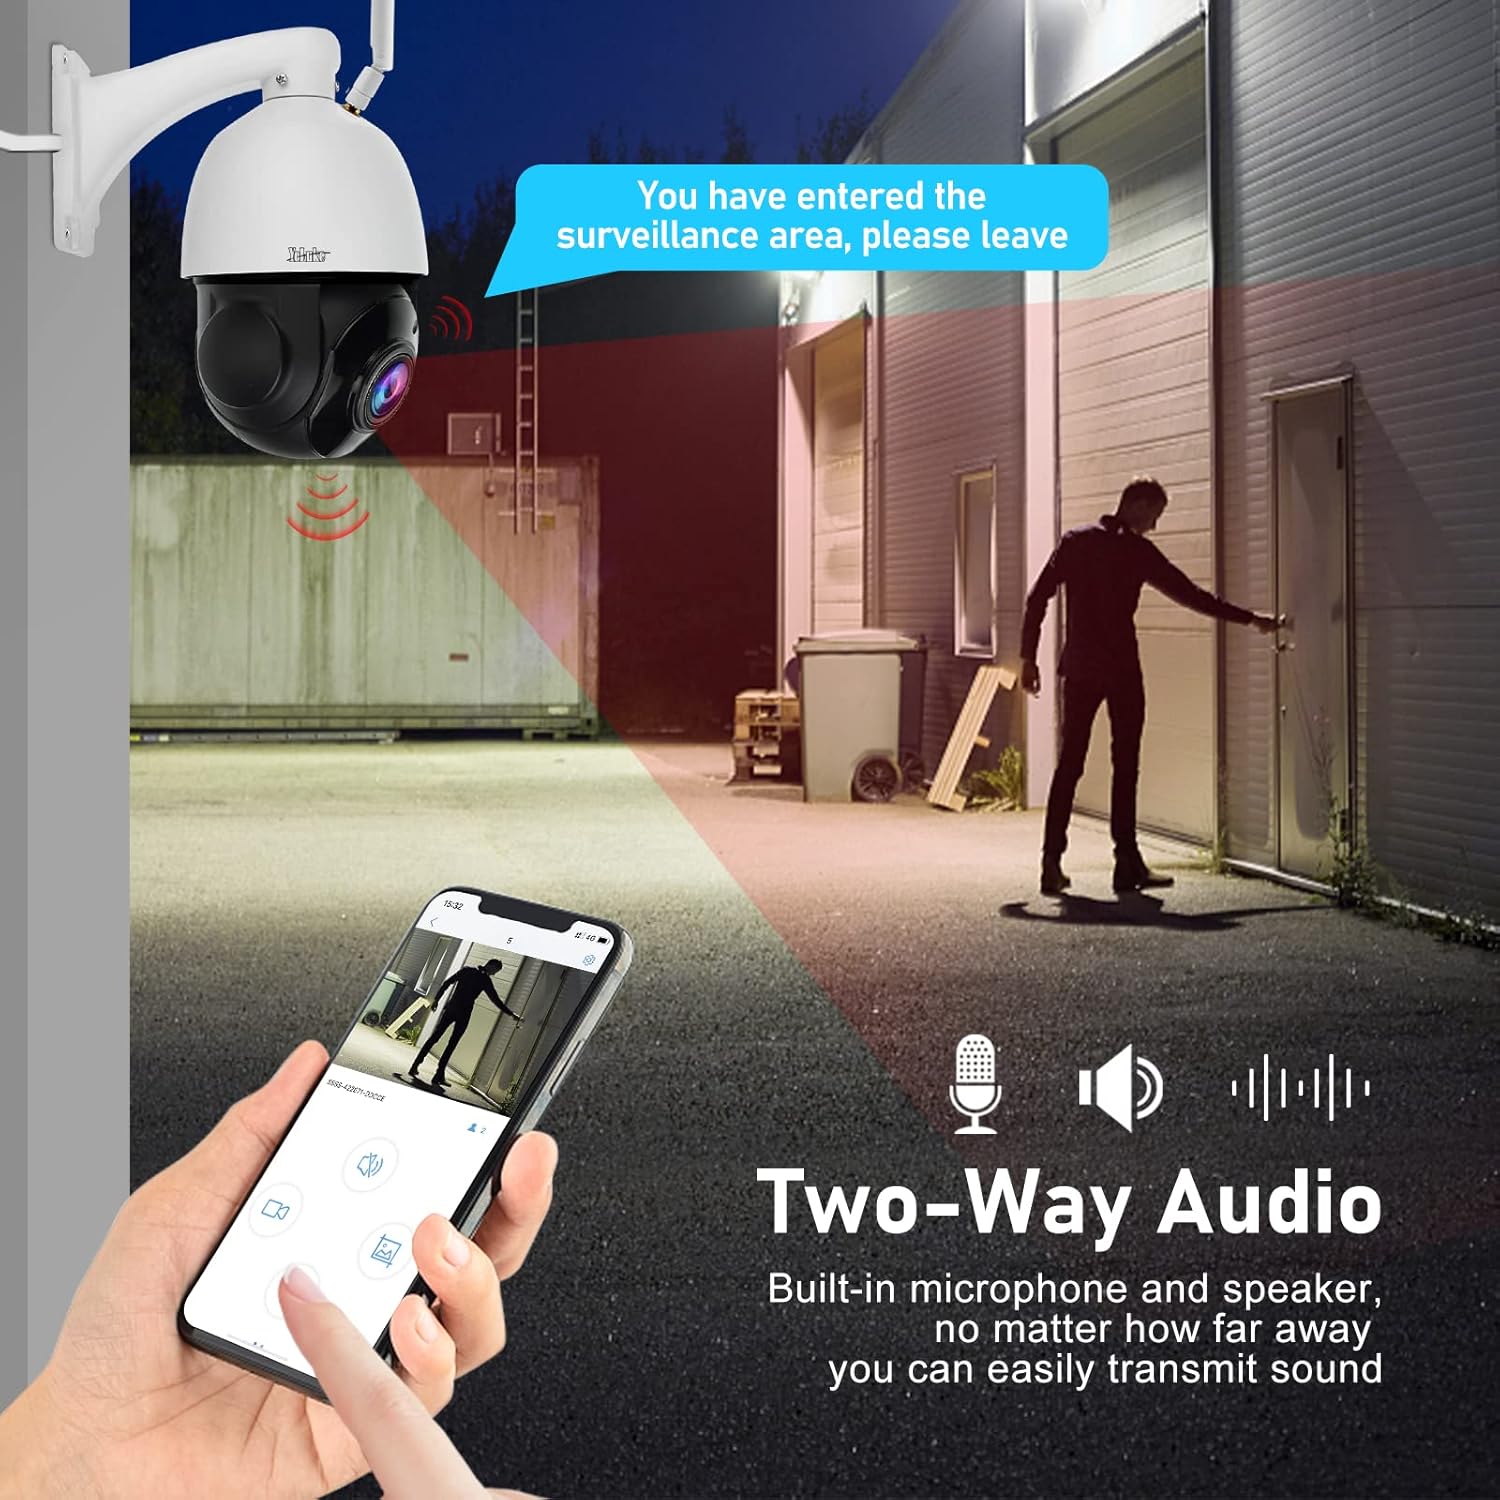
Image: An illustration of the two-way audio function, showing a person speaking through the camera and a message bubble indicating audio output.
The two-way audio feature allows for direct communication with individuals near the camera, such as delivering a verbal warning.
4.4 Night Vision
The camera automatically switches to night vision mode in low-light conditions, utilizing its IR LEDs to provide clear black and white images up to approximately 400ft.
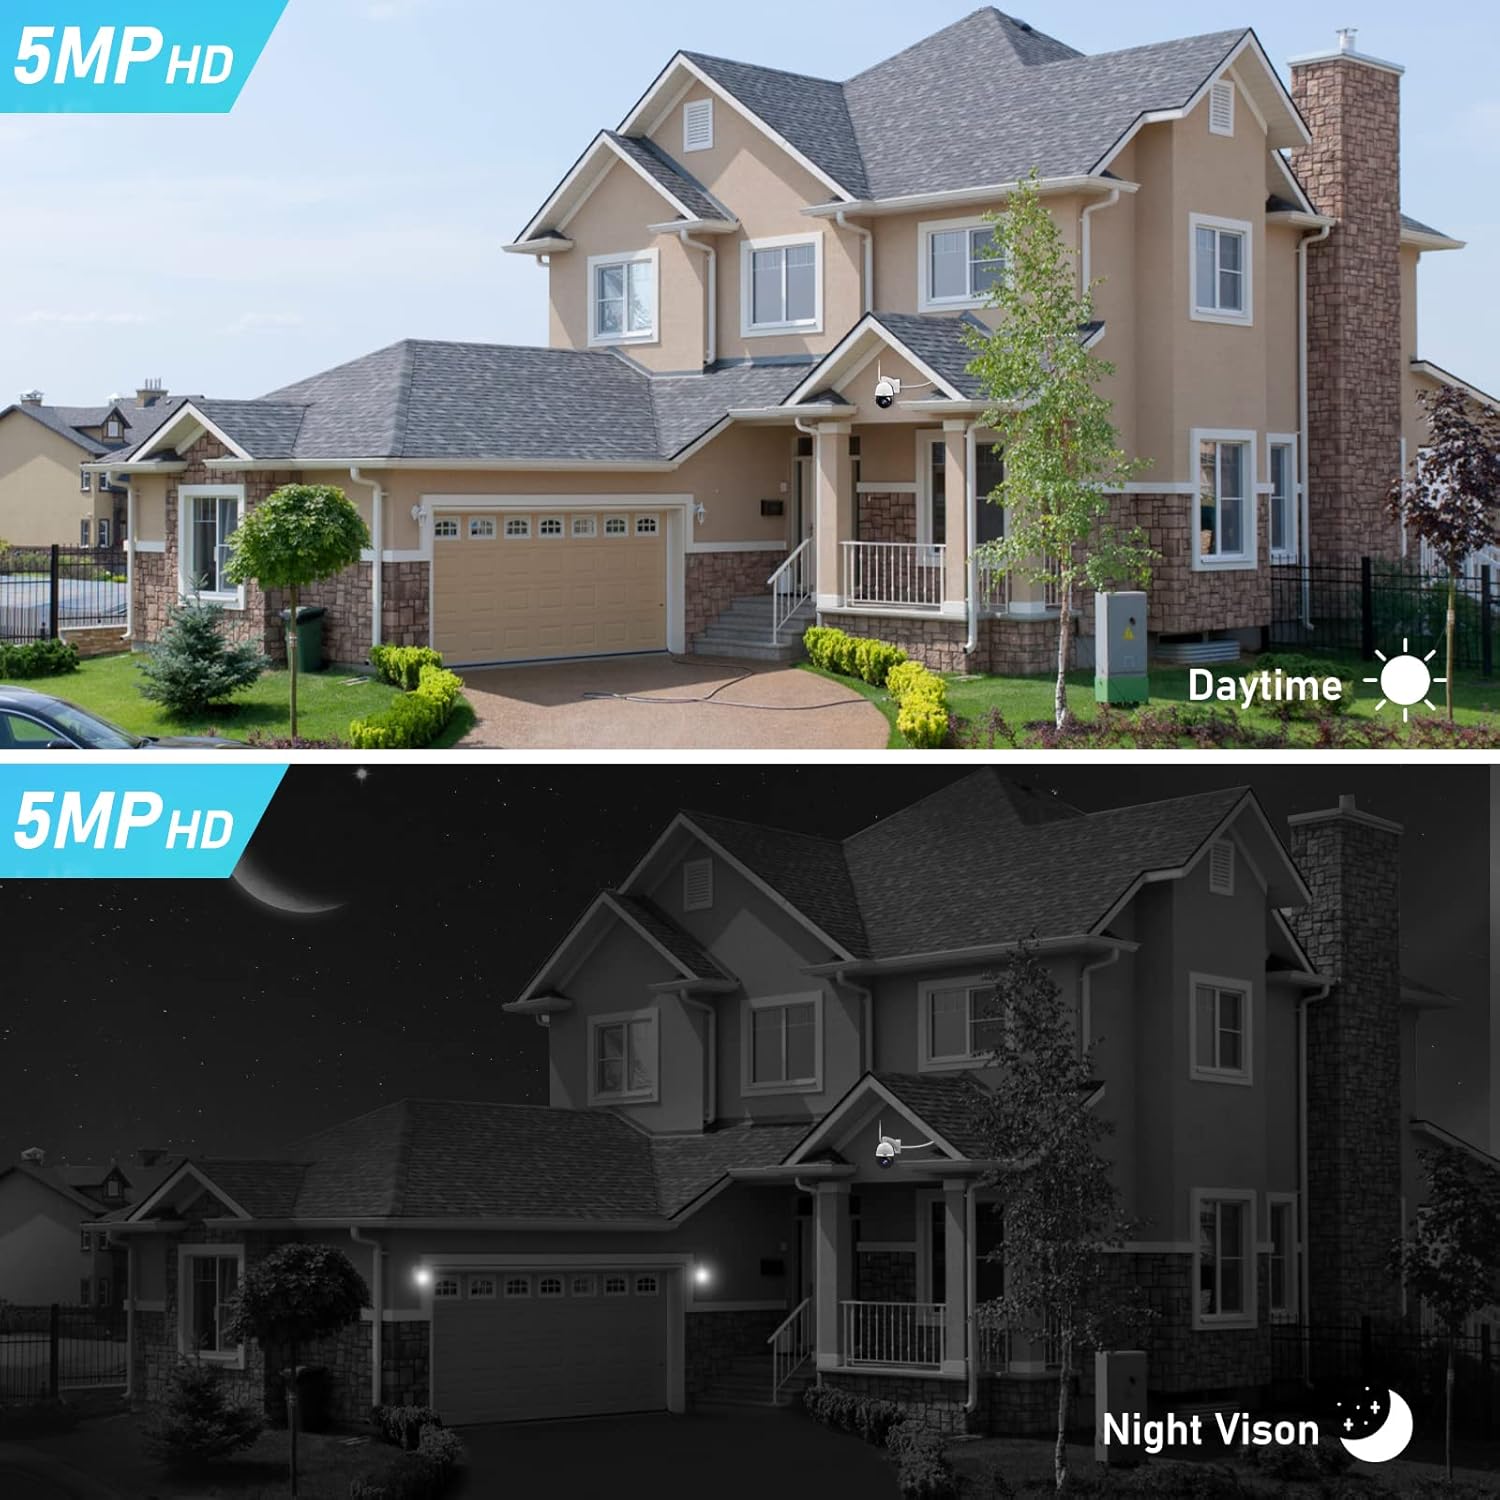
Image: A split image comparing the camera's view during daytime (color) and nighttime (black and white infrared night vision).
The comparison clearly shows the camera's effective transition to night vision for continuous monitoring.
4.5 Video Recording and Playback
The camera supports continuous recording or motion-triggered recording to a microSD card (up to 128GB, not included). Access recorded footage through the CamhiPro app for playback.
4.6 Third-Party Software Compatibility
The YoLuKe P2 camera is compatible with various third-party software and browsers, including:
- iSpy
- Milestone
- Blue Iris
- Chrome, Internet Explorer, Firefox browsers
This compatibility allows for integration into existing surveillance systems or preferred viewing platforms.
5. Maintenance
- Cleaning: Periodically clean the camera lens and housing with a soft, damp cloth. Avoid abrasive cleaners.
- Weather Protection: The camera is IP66 rated for weather resistance. Ensure all cable connections are properly sealed using the provided waterproof kit to maintain this rating.
- Firmware Updates: Check the CamhiPro app or YoLuKe's official website for available firmware updates to ensure optimal performance and security.

Image: Icon representing the IP66 waterproof rating, indicating protection against dust and powerful water jets.
The IP66 rating ensures the camera's durability in various weather conditions.
6. Troubleshooting
6.1 Common Issues and Solutions
| Issue | Possible Cause | Solution |
|---|---|---|
| Camera not connecting to Wi-Fi. | Weak Wi-Fi signal, incorrect password, camera too far from router. |
|
| No live view or offline status in app. | Network connectivity issues, camera power loss. |
|
| Poor image quality. | Dirty lens, low light conditions, network bandwidth. |
|
| Auto-tracking not working. | Feature disabled, environmental factors, software glitch. |
|
6.2 Advanced Wi-Fi Setup (Using a Wi-Fi Extender)
If the camera's Wi-Fi signal is too weak for a stable connection to your main router, consider using a Wi-Fi extender. Follow these steps:
- Acquire a Wi-Fi Extender: Purchase a 2.4 GHz compatible Wi-Fi extender (e.g., Linksys or similar).
- Position the Extender: Plug the extender into an AC outlet near your camera, ensuring it receives a strong signal from your main router.
- Configure Extender: Set up the Wi-Fi extender for 2.4 GHz wireless capability. It will typically broadcast a network name similar to your main router but with "_EXT" appended.
- Connect Camera to Extender:
- Connect your mobile phone directly to the camera's Wi-Fi signal (e.g., "IPCAM-XXXXXX").
- Open the CamhiPro app and note the camera's current IP address (e.g., 192.168.1.XX).
- Open a web browser on your phone and enter the camera's IP address. Log in using default credentials (admin/admin).
- Navigate to "Settings" > "Network" > "Wireless".
- Click "Search" and select the Wi-Fi extender's 2.4 GHz network (e.g., "YourNetwork_EXT"). Enter the password.
- Reconnect Phone: Connect your mobile phone's Wi-Fi to the same Wi-Fi extender network.
- Verify Connection: Open the CamhiPro app. The camera should now be accessible through the extender's network. Note the new IP address assigned to the camera by the extender.
- Adjust Time Zone: Access the camera settings via the web browser (using the new IP address) and change the time zone to your local time.
7. Specifications
| Feature | Detail |
|---|---|
| Model Name | P2 |
| Indoor/Outdoor Usage | Outdoor |
| Connectivity Technology | Wireless (Wi-Fi) |
| Video Capture Resolution | 5 MP |
| Optical Zoom | 20X |
| Pan Rotation | 360 Degrees |
| Tilt Rotation | 90 Degrees |
| Night Vision Range | Approximately 400 ft (IR LEDs) |
| Water Resistance Level | IP66 (Waterproof) |
| Two-Way Audio | Yes (Built-in Mic & Speaker) |
| Storage | MicroSD Card Slot (Max 128GB, not included) |
| Power Source | Corded Electric (12 Volts, 24 Watt-hours) |
| Operating Temperature | Up to 60 Degrees Celsius |
| Dimensions (L x W x H) | 11.42 x 9.06 x 6.69 inches |
| Item Weight | 15.8 ounces |
| Control Method | App (CamhiPro) |
| Material | Metal |
| UPC | 710670417786 |
8. Warranty and Support
For warranty information, please refer to the documentation included with your purchase or contact YoLuKe customer service. YoLuKe is committed to providing quality support for its products.
If you encounter any issues or require technical assistance, please contact YoLuKe customer support. Contact details are typically available on the official YoLuKe website or through your purchase platform. When contacting support, please have your product model (P2) and purchase details ready.


