1. Introduction
This manual provides detailed instructions for the assembly, operation, and maintenance of your ThunderX3 Yama 1 Gaming Chair. Please read this manual thoroughly before assembly and use to ensure proper function and safety. The ThunderX3 Yama 1 is an ergonomic gaming chair designed for comfort and style, featuring AIR technology for breathability, a padded design with armor for comfort, and a durable high-tension mesh.
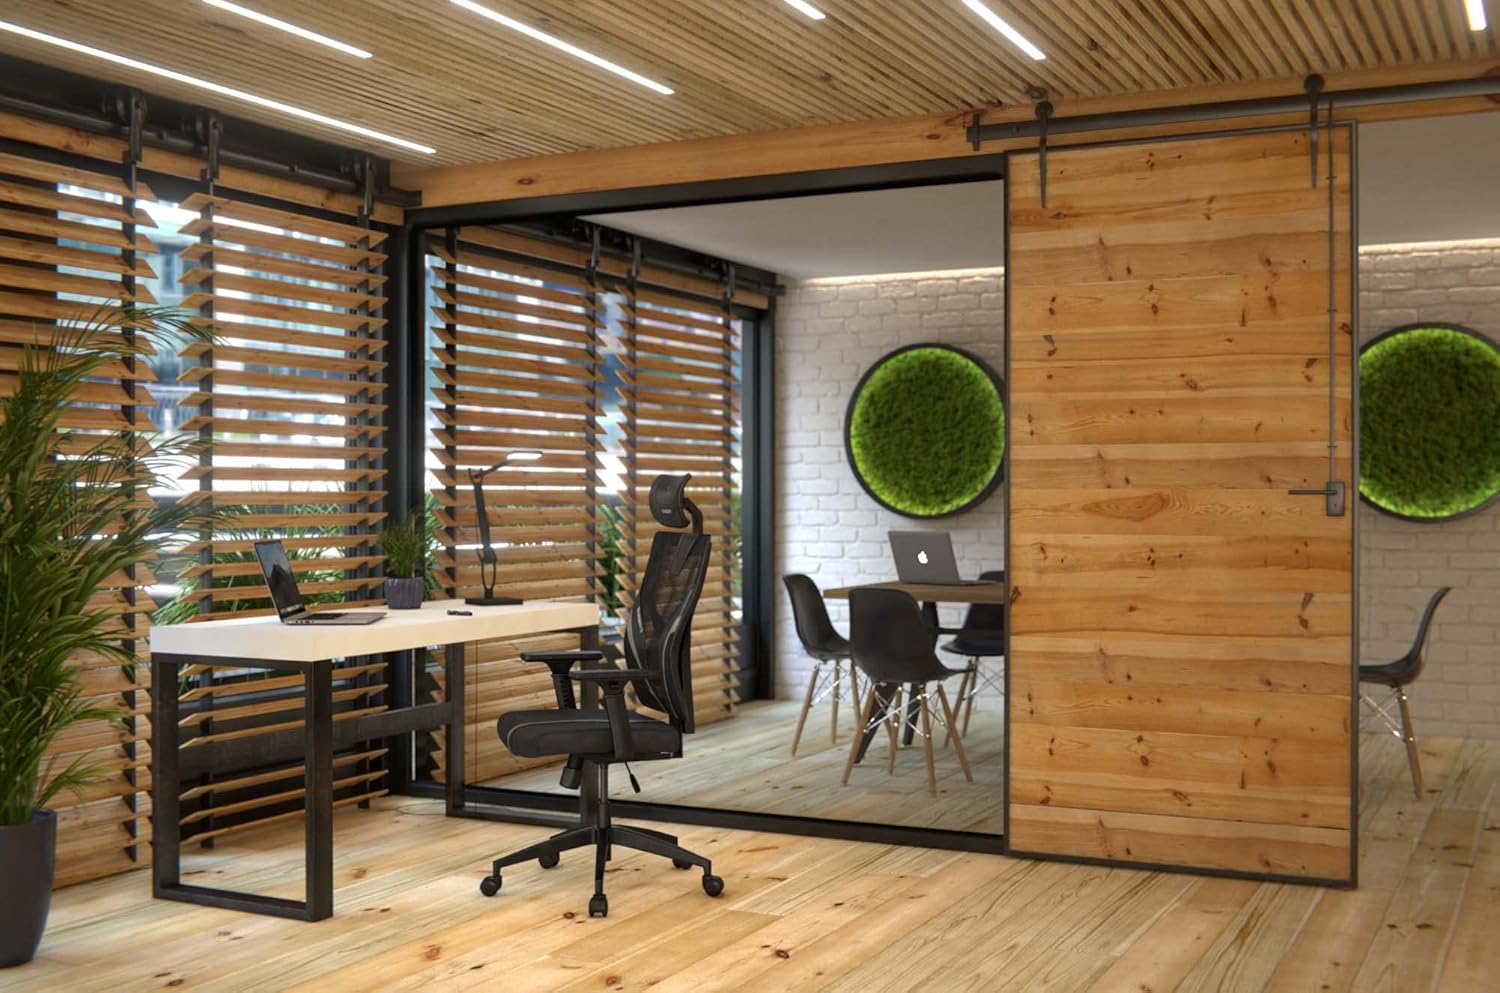
Image 1.1: ThunderX3 Yama 1 Gaming Chair in a modern office environment. This image showcases the chair's design and how it fits into a workspace.
2. Safety Warnings
WARNING: To prevent injury and damage to the chair, observe the following safety guidelines:
- Maximum Load Capacity: Do not exceed 150 kg (approximately 330 lbs). Exceeding this weight limit can damage the chair and cause personal injury.
- Height Adjustment: Adjust the chair height slowly and carefully to avoid injury.
- Assembly: Ensure all screws and bolts are securely tightened before use. Periodically check and re-tighten fasteners.
- Movement: Avoid standing on the chair or using it as a step stool. Do not lean excessively to one side while seated.
- Children: Keep children away from moving parts during adjustment.
3. Package Contents
Before beginning assembly, please verify that all components are present and undamaged. If any parts are missing or damaged, contact your retailer for assistance.
- Backrest
- Seat Base
- Armrests (2)
- Headrest
- Gas Lift Cylinder
- Gas Lift Cover
- Star Base
- Casters (5)
- Mechanism Plate
- Hardware Kit (screws, washers, Allen key)
4. Setup and Assembly Instructions
Follow these steps carefully to assemble your ThunderX3 Yama 1 Gaming Chair. It is recommended to assemble the chair on a soft, clean surface to prevent damage.
- Attach Casters to Star Base: Insert each of the five casters into the holes at the end of the star base until they click securely into place.
- Insert Gas Lift: Place the gas lift cylinder into the center hole of the star base. Cover it with the gas lift cover.
- Attach Mechanism Plate to Seat Base: Align the mechanism plate with the pre-drilled holes on the underside of the seat base. Ensure the front of the mechanism plate faces the front of the seat. Secure with screws and washers using the provided Allen key.
- Attach Armrests to Seat Base: Secure the armrests to the underside of the seat base using the designated screws. Ensure they are oriented correctly.
- Attach Backrest to Seat Base: Align the backrest with the mounting brackets on the seat base. Secure it using the appropriate screws and washers.

Image 4.1: Rear view of the chair, highlighting the backrest and adjustable lumbar support.
- Attach Headrest: Slide the headrest into the designated slots at the top of the backrest. Adjust its height as needed.
- Connect Seat to Gas Lift: Carefully place the assembled seat and backrest onto the gas lift cylinder, ensuring the center hole of the mechanism plate aligns with the top of the gas lift. Apply gentle downward pressure to secure.
- Final Check: Verify that all connections are tight and the chair is stable before use.
5. Operating Instructions (Adjustments)
Your ThunderX3 Yama 1 Gaming Chair offers several adjustment options to customize your seating experience for optimal comfort and ergonomics.
- Seat Height Adjustment:
Locate the lever on the right side, beneath the seat. Pull the lever upwards to raise the seat. To lower, remain seated and pull the lever upwards. Release the lever at the desired height.
- Backrest Recline Adjustment:
The backrest can recline from 90 to 135 degrees. Locate the recline lever on the left side of the chair. Pull the lever up to unlock the backrest, then lean back to the desired angle. Release the lever to lock the backrest in position.

Image 5.1: Side view illustrating the chair's recline capability and armrest adjustment.
- Armrest Adjustment (1-Directional):
The armrests are adjustable in one direction (height). Press the button located on the side of each armrest support and slide the armrest up or down to your preferred height. Release the button to lock.
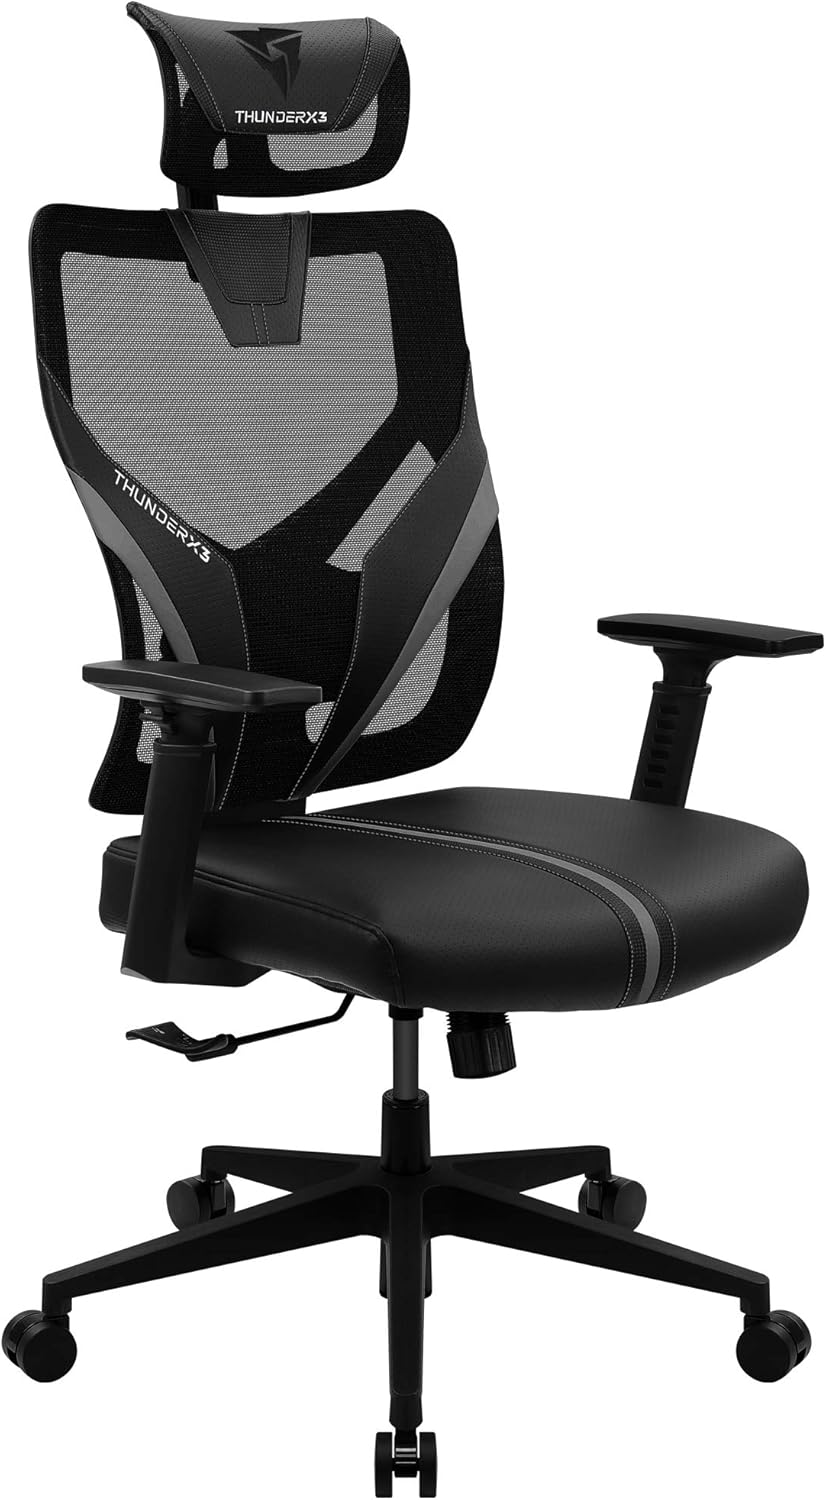
Image 5.2: Close-up view of the chair's adjustable armrests and headrest.
- Headrest Adjustment (2-Directional):
The headrest can be adjusted in two directions (height and tilt). Gently pull or push the headrest to adjust its height and angle for optimal neck support.
- Adjustable Lumbar Support:
The lumbar support is integrated into the backrest. Adjust it by rotating the knob or lever (if present) on the side or back of the chair to increase or decrease the support curve for your lower back.
6. Maintenance
Regular maintenance will extend the life and appearance of your ThunderX3 Yama 1 Gaming Chair.
- Cleaning:
- For faux leather surfaces, wipe with a soft, damp cloth. Use a mild soap solution for stubborn stains, then wipe with a clean, damp cloth and dry thoroughly.
- For mesh areas, use a soft brush or vacuum cleaner to remove dust and debris. Spot clean with a damp cloth and mild detergent if necessary.
- Avoid harsh chemicals, abrasive cleaners, or solvents, as these can damage the materials.
- Fasteners: Periodically check all screws and bolts to ensure they are tight. Re-tighten if necessary to maintain stability and prevent squeaking.
- Casters: Clean casters regularly to remove hair and debris that can impede movement.
- Gas Lift: Do not lubricate the gas lift cylinder. If it malfunctions, contact support.
7. Troubleshooting
If you encounter issues with your chair, refer to the following common problems and solutions.
| Problem | Possible Cause | Solution |
|---|---|---|
| Chair is unstable/wobbly | Loose screws; uneven floor | Check and tighten all assembly screws. Ensure the chair is on a flat surface. |
| Chair squeaks | Loose connections; friction between parts | Tighten all screws. Apply a small amount of silicone lubricant to moving parts if necessary (avoiding the gas lift). |
| Gas lift not adjusting height | Lever mechanism stuck; gas lift failure | Check if the lever is fully engaged. If the gas lift is faulty, it may need replacement. Contact customer support. |
| Casters not rolling smoothly | Debris in casters; damaged casters | Remove any hair or debris from the caster wheels. If damaged, casters may need replacement. |
8. Specifications
- Brand: ThunderX3
- Model Number: YAMA1BK
- Color: Black
- Material: Faux Leather (Simili cuir), Mesh (Grille haute tension)
- Dimensions (L x W x H): 70 x 69 x 132 cm (27.5 x 27.1 x 52 inches)
- Item Weight: 19.8 Kilograms (43.6 lbs)
- Maximum Load Capacity: 150 kg (330 lbs)
- Backrest Recline: 90 - 135 degrees
- Gas Lift: Class 4 BIFMA approved
- Special Features: Adjustable Armrest, Ergonomic Design, Adjustable Height, Adjustable Headrest, Adjustable Lumbar Support
9. Warranty and Support
Information regarding specific warranty terms for the ThunderX3 Yama 1 Gaming Chair is not available in this document. Please refer to the warranty card included with your purchase or visit the official ThunderX3 website for detailed warranty information.
For technical support, replacement parts, or further assistance, please contact your retailer or the ThunderX3 customer service department. Keep your purchase receipt and model number (YAMA1BK) handy when contacting support.


