
1. Introduction
This manual provides comprehensive instructions for the installation, operation, and maintenance of your AMOCAM 4.3-Inch Wired Video Intercom Doorbell System, Model 168M41. Please read this manual thoroughly before installation and use to ensure proper functionality and safety.
The AMOCAM video intercom system enhances home security by allowing you to see, hear, and speak with visitors at your door, and remotely unlock electric door/gate locks from the indoor monitor. It features a 4.3-inch color LCD touch monitor and a 700TVL outdoor camera with IR night vision.
2. Package Contents
Verify that all items listed below are included in your package. If any items are missing or damaged, please contact customer support.
- 4.3-inch Indoor Monitor
- Outdoor Doorbell Camera (700TVL)
- Power Supply
- Connection Cable (4-wire)
- Mounting Bracket for Indoor Monitor
- Screws and Accessories for Installation

Figure 2.1: Contents of the AMOCAM 4.3-Inch Wired Video Intercom System package, including the indoor monitor, outdoor doorbell, power supply, connection cables, and mounting hardware.
3. Product Specifications
| Feature | Description |
|---|---|
| Model Number | 168M41 |
| Indoor Monitor | 4.3-inch Color LCD Touch Screen |
| Outdoor Camera | 700TVL, 120-degree wide view angle, IR Night Vision |
| Connectivity | Wired (4-wire system) |
| Intercom | Two-way audio, Hands-free communication |
| Unlocking Function | Remote unlock for 12V electric locks (lock not included) |
| Night Vision | IR LED projection for clear vision in darkness |
| Ringtones | 25 selectable melodies |
| Installation | Wall-mounted |
| Power Source | Wired Power Supply |
| Dimensions (Outdoor Unit) | Approximately 4.9 x 2.0 x 1.8 inches |
| Dimensions (Indoor Monitor) | Approximately 195mm x 185mm x 30mm |

Figure 3.1: Detailed dimensions of the outdoor doorbell camera, highlighting its compact design and rain cover.

Figure 3.2: Detailed dimensions and control labels for the indoor monitor, including ring cancel, ring/volume adjustment, intercom, unlock, and monitor buttons.
4. Setup and Installation
Follow these steps for proper installation of your AMOCAM video intercom system.
4.1 Wiring Diagram
The system uses a 4-wire connection between the indoor monitor and the outdoor doorbell. Ensure all connections are secure before powering on the device.

Figure 4.1: Wiring diagram illustrating the connections between the indoor unit, outdoor unit, power adapter, and optional electric lock. Pay close attention to the color-coded wires for correct setup.
4.2 Installation Steps
- Mounting the Outdoor Unit: Choose a suitable location near your door, ensuring it is protected from direct weather exposure (a rain cover is included). Use the provided screws and bracket to securely mount the outdoor doorbell camera.
- Mounting the Indoor Monitor: Select an indoor location where the monitor is easily accessible. Use the provided mounting bracket and screws to fix the monitor to the wall.
- Connecting the Units: Connect the outdoor doorbell camera to the indoor monitor using the 4-wire cable. Ensure the wires are correctly matched according to the wiring diagram (Figure 4.1).
- Power Connection: Connect the power supply to the indoor monitor.
- Optional Electric Lock Connection: If using an electric lock, connect it to the outdoor unit as shown in the wiring diagram. The system supports 12V electric locks.
4.3 Installation Video Guide
Video 4.1: This video demonstrates the installation and basic operation of the AMOCAM 168 video door phone system, including wiring and function testing.
5. Operating Instructions
The AMOCAM video intercom system is designed for user-friendly operation.
5.1 Basic Functions
- Answering a Call: When a visitor presses the doorbell button, the indoor monitor will ring and display the visitor's image. Press the 'Answer' button on the monitor to initiate two-way communication.
- Monitoring: To view the outside area without a call, press the 'Monitor' button on the indoor unit. This activates the outdoor camera.
- Unlocking the Door: During a call or while monitoring, press the 'Unlock' button on the indoor monitor to remotely open a connected electric lock.
- Adjusting Settings: Use the touch controls on the monitor to adjust brightness, volume, contrast, and select from 25 different ringtones.

Figure 5.1: Illustration of the one-key functions on the indoor monitor for monitoring, unlocking, and communication.
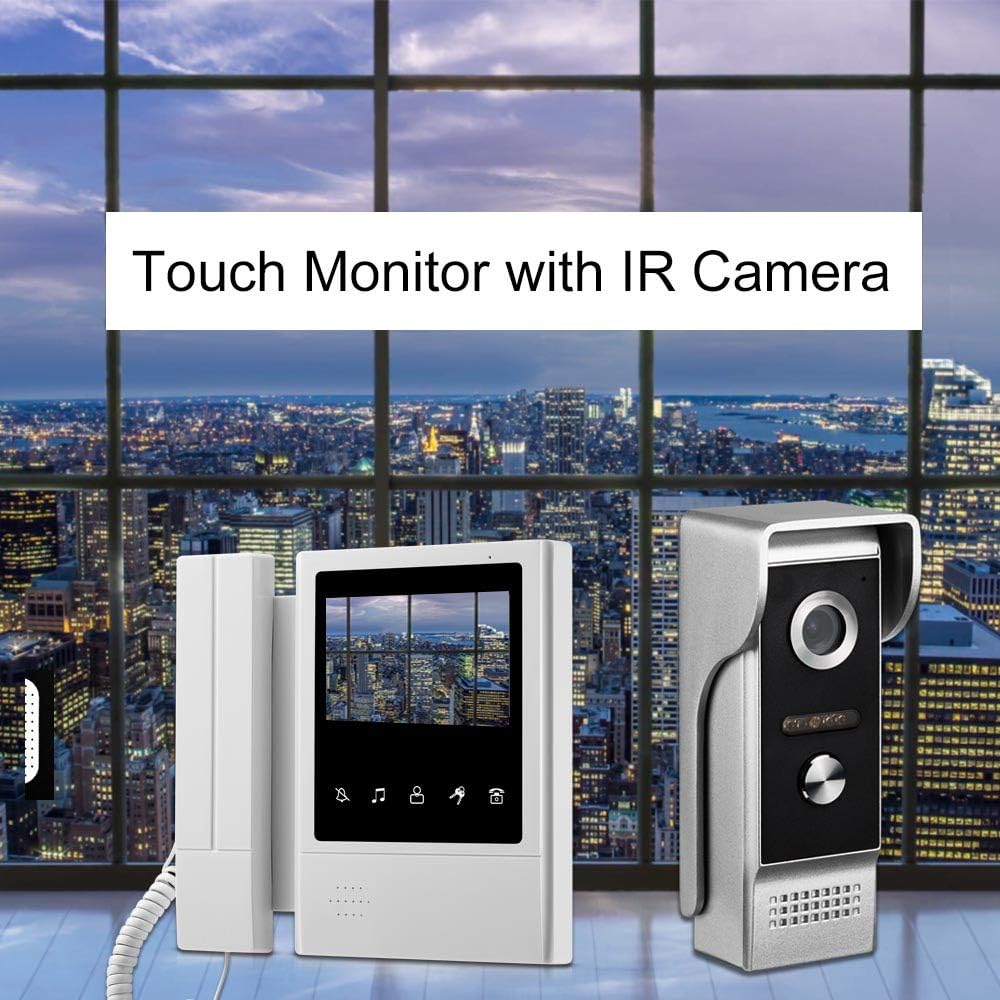
Figure 5.2: The 4.3-inch touch monitor displaying a visitor, highlighting the clear visual and interactive interface.
5.2 Night Vision
The outdoor camera is equipped with IR (infrared) LEDs, providing clear night vision for identifying visitors even in low-light conditions or complete darkness. The IR LEDs activate automatically.

Figure 5.3: The outdoor doorbell camera featuring HD camera, IR night vision, two-way intercom, one-key unlock, 92-degree view, and rainproof design.
6. Maintenance
Regular maintenance ensures the longevity and optimal performance of your video intercom system.
- Cleaning: Use a soft, dry cloth to clean the indoor monitor and outdoor camera. Avoid abrasive cleaners or solvents that may damage the surfaces.
- Cable Inspection: Periodically check all wiring connections for any signs of wear, damage, or loose connections.
- Outdoor Unit Protection: Ensure the outdoor unit's rain cover is properly installed to protect it from harsh weather conditions.
7. Troubleshooting
If you encounter issues with your AMOCAM video intercom system, refer to the following common problems and solutions:
| Problem | Possible Cause | Solution |
|---|---|---|
| No image on indoor monitor | Loose cable connection, power issue, camera malfunction | Check all wiring connections. Ensure the power supply is connected and working. Contact customer support if the issue persists. |
| No audio during intercom | Microphone/speaker issue, loose audio wire | Verify audio connections. Check monitor volume settings. |
| Door unlock not working | Incorrect wiring to electric lock, incompatible lock, lock malfunction | Ensure the electric lock is 12V compatible and correctly wired. Test the lock independently. |
| Poor image quality | Dirty camera lens, insufficient lighting, cable interference | Clean the camera lens. Ensure adequate lighting. Check cable integrity. |
8. Warranty and Support
AMOCAM products are designed for reliability and performance. For warranty information or technical assistance, please refer to the contact details provided with your purchase or visit the official AMOCAM website.
Customer Support: For further assistance, please contact AMOCAM customer service through the vendor's contact information provided at the time of purchase or via their official website.

