
1. Introduction
The Juniper Networks EX2300-48MP is a high-performance, compact, and power-efficient Ethernet switch designed for low-density branch deployments, commercial access, and enterprise workgroup environments. This managed Layer 3 switch features 48 ports, including 32x 1 Gigabit Ethernet ports and 16x 1 Gigabit/2.5 Gigabit Ethernet ports, with Power over Ethernet (PoE) capabilities. This manual provides essential information for the safe and effective installation, operation, and maintenance of your EX2300-48MP switch.
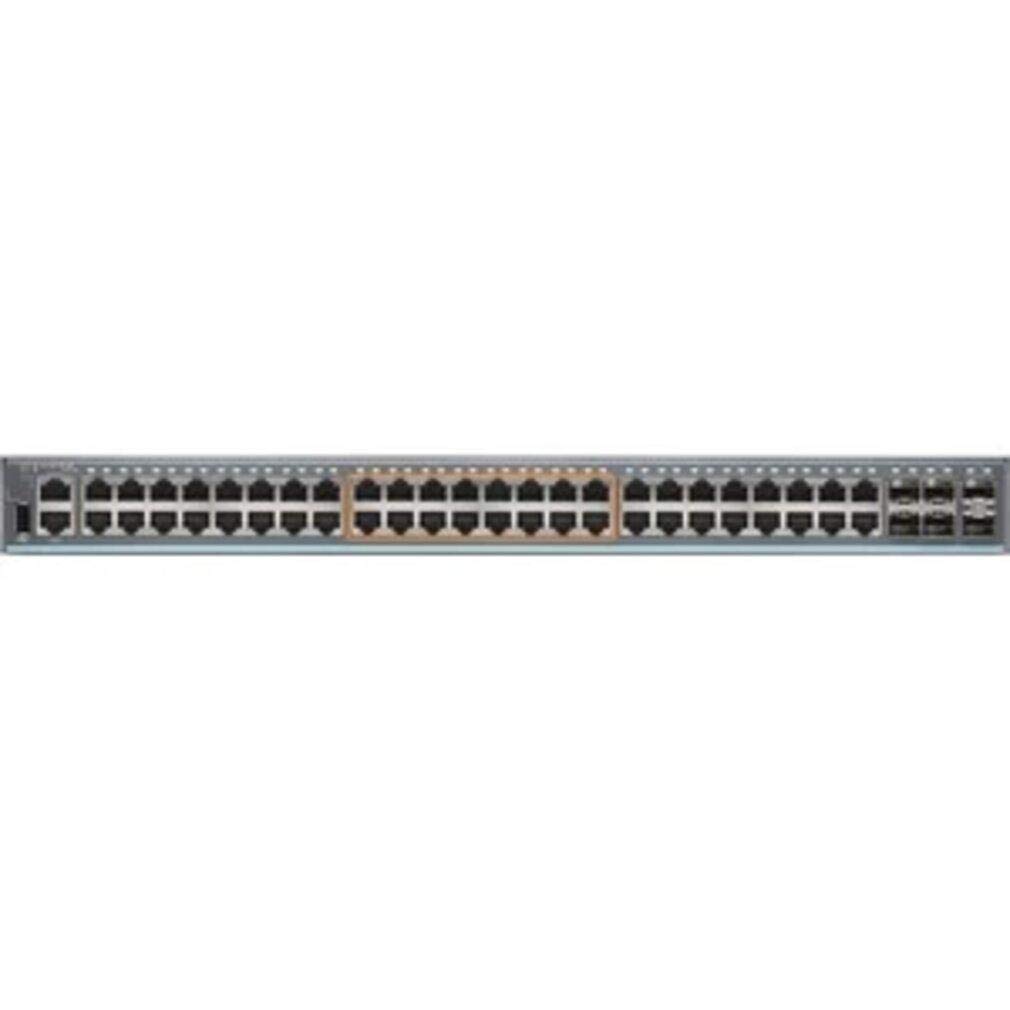
Figure 1: Front view of the Juniper Networks EX2300-48MP Ethernet Switch, showing the various network ports and LED indicators.
2. Safety Information
Please read all safety warnings and instructions before installing or operating this equipment. Failure to follow these instructions can result in injury or damage to the product.
- Electrical Safety: Ensure the power source matches the switch's voltage requirements. Use only the provided power cord or an approved replacement. Do not operate the switch with a damaged power cord.
- Grounding: The switch must be properly grounded to prevent electrical shock.
- Ventilation: Do not block ventilation openings. Ensure adequate airflow around the switch to prevent overheating.
- Environment: Operate the switch within the specified temperature and humidity ranges. Avoid exposure to moisture or extreme temperatures.
- Lifting: The switch may be heavy. Use proper lifting techniques or assistance to avoid injury.
3. Setup
3.1 Unpacking and Inspection
Carefully unpack the switch and its accessories. Inspect all components for any signs of damage. If any items are damaged or missing, contact your vendor immediately.
3.2 Physical Installation
The EX2300-48MP switch can be installed on a desktop or mounted in a standard 19-inch equipment rack.
Desktop Installation:
- Place the switch on a flat, stable surface.
- Ensure sufficient space around the switch for proper ventilation (at least 5 cm or 2 inches on all sides).
Rack Installation:
- Attach the provided rack-mount brackets to the sides of the switch using the supplied screws.
- Secure the switch into the equipment rack using appropriate rack screws.
- Ensure the rack is stable and properly grounded.
3.3 Connecting Power
- Connect the power cord to the AC power inlet on the rear panel of the switch.
- Plug the other end of the power cord into a grounded AC power outlet.
- The switch will power on automatically once connected to power.
3.4 Connecting Network Cables
- RJ45 Ports: Connect standard Ethernet cables (Cat5e or higher) from your network devices to the RJ45 ports on the front panel.
- SFP/SFP+ Ports: Insert compatible SFP or SFP+ transceivers into the uplink ports, then connect fiber optic cables as required.
3.5 Initial Configuration Access
For initial configuration, connect a console cable (RJ-45 to DB-9) from your management workstation to the console port on the switch. Use a terminal emulation program (e.g., PuTTY, Tera Term) with the following settings:
- Baud rate: 9600
- Data bits: 8
- Parity: None
- Stop bits: 1
- Flow control: None
4. Operating the Switch
4.1 Power On/Off
- Power On: Connect the power cord to an active AC outlet. The switch will automatically power on.
- Power Off: Disconnect the power cord from the AC outlet. For controlled shutdown, use the appropriate command-line interface (CLI) commands before disconnecting power.
4.2 LED Indicators
The front panel of the EX2300-48MP switch features various LEDs that indicate the operational status of the system and individual ports. Refer to the official Juniper Networks documentation for a detailed explanation of each LED's behavior.
- System Status LEDs: Indicate power, system status, and alarm conditions.
- Port Status LEDs: Indicate link activity, link speed, and PoE status for each network port.
4.3 Management Interfaces
The EX2300-48MP switch can be managed using the following interfaces:
- Command-Line Interface (CLI): Accessed via the console port, Telnet, or SSH. Provides full control over switch configuration and monitoring.
- J-Web Interface: A web-based graphical user interface (GUI) for simplified management. Accessible via a web browser after initial IP configuration.
5. Maintenance
5.1 Cleaning
- Periodically clean the exterior of the switch with a soft, dry, lint-free cloth.
- Do not use liquid or aerosol cleaners, as they may contain flammable substances or cause electrical shock.
- Ensure ventilation openings are free from dust and debris.
5.2 Firmware Updates
Regularly check the Juniper Networks support website for the latest firmware updates. Keeping your switch's firmware up-to-date ensures optimal performance, security, and access to new features. Follow the instructions provided with the firmware package for the update procedure.
5.3 Environmental Considerations
Maintain the operating environment within the specified ranges for temperature and humidity to ensure the longevity and reliable operation of the switch.
6. Troubleshooting
This section provides basic troubleshooting steps for common issues. For more complex problems, refer to the Juniper Networks support documentation or contact technical support.
6.1 No Power
- Verify the power cord is securely connected to both the switch and the power outlet.
- Check if the power outlet is functional by plugging in another device.
- Ensure the power supply unit (if external) is properly seated and powered.
6.2 No Link on Port
- Check the Ethernet cable for damage and ensure it is securely connected at both ends.
- Verify the connected device is powered on and functioning correctly.
- Check the port configuration on the switch and the connected device (e.g., speed, duplex settings).
- Try a different port on the switch or a different cable.
6.3 Network Connectivity Issues
- Verify IP address, subnet mask, and gateway settings on connected devices.
- Check VLAN configurations if applicable.
- Use diagnostic tools like
pingortraceroutefrom a connected device to identify where connectivity breaks down. - Review switch logs for error messages or unusual activity.
7. Specifications
The following table outlines the key specifications for the Juniper Networks EX2300-48MP Ethernet Switch:
| Feature | Description |
|---|---|
| Brand | Juniper Networks |
| Model | EX2300-48MP |
| Number of Ports | 48 (32x 1G, 16x 1G/2.5G) |
| Interface | RJ45, SFP, SFP+ |
| Data Transfer Rate | Up to 2.5 gigabits per second |
| Switch Type | Managed, PoE, Layer 3, Fixed-configuration |
| Compatible Devices | Desktop (and rack-mount) |
| Case Material | Plastic |
| Upper Temperature Rating | 40 °C |
8. Warranty and Support
For detailed warranty information, please refer to the official Juniper Networks warranty statement available on their website. Technical support, additional documentation, and software downloads can be accessed through the Juniper Networks support portal:


