
ASHATA ASHATA97gy1wus3z
ASHATA Smart Anti-Theft Door Lock User Manual
Model: ASHATA97gy1wus3z
1. Introduction
Thank you for choosing the ASHATA Smart Anti-Theft Door Lock. This electronic door lock offers multiple secure access methods including fingerprint, IC card, password, and mechanical key. Designed for enhanced home security, it features a robust zinc alloy construction, anti-monitoring virtual password input, and a durable double-tongue lock body. This manual provides detailed instructions for installation, operation, maintenance, and troubleshooting to ensure optimal performance and longevity of your smart lock.
2. Safety Information
- Read all instructions carefully before installation and use.
- Keep mechanical keys in a secure location outside the property.
- Do not expose the lock to extreme temperatures or direct water immersion. While the lock modules are processed with waterproof, moisture-proof, and mildew-proof features, excessive exposure can cause damage.
- Use only specified battery types (4xAAA batteries). Do not mix old and new batteries or different battery types.
- Ensure proper polarity when inserting batteries.
- Do not attempt to disassemble or repair the lock yourself. Contact qualified personnel for service.
3. Package Contents
Please verify that all components are present in your package:
- ASHATA Smart Anti-Theft Door Lock (Front and Rear Panels)
- Mortise Lock Body
- Mechanical Keys (2)
- IC Cards (2)
- Mounting Screws and Accessories
- User Manual (This document)

Image: Front and rear panels of the ASHATA Smart Anti-Theft Door Lock, showing the sleek black design and integrated fingerprint sensor.

Image: Illustration of the various components included with the lock, such as the main lock units, mortise, keys, and screws.
4. Setup and Installation
This section outlines the general steps for installing the ASHATA Smart Anti-Theft Door Lock. Professional installation is recommended if you are unfamiliar with door lock mechanisms.
4.1 Pre-Installation Checks
- Ensure your door thickness is compatible with the lock.
- Verify the door's opening direction (left or right) as the handle direction can be changed accordingly.
- Confirm all parts are present as per the package contents.
4.2 Mortise Lock Body Installation
Install the double-tongue mortise lock body into the door. The lock body features an oblique tongue for automatic locking and a square tongue for double lock engagement by uplifting the handle.

Image: Close-up view of the double-tongue lock body, highlighting its robust construction and locking mechanisms.

Image: Diagram showing the precise dimensions of the mortise lock body, crucial for proper installation.
4.3 Installing Front and Rear Panels
- Connect the necessary cables between the front and rear panels.
- Align the panels with the mortise lock body and secure them using the provided screws.
- Ensure the handles operate smoothly and the lock engages correctly.
4.4 Battery Installation
The lock is powered by 4xAAA batteries. Locate the battery compartment on the rear panel, insert the batteries according to the polarity markings, and close the compartment cover.
5. Operating Instructions
The ASHATA Smart Anti-Theft Door Lock offers multiple convenient ways to unlock your door.

Image: Visual representation of the various unlocking methods: fine metal construction, key unlock, fingerprint, card opening, password unlock, and smart chip technology.
5.1 Fingerprint Unlock
Place your registered fingerprint on the sensor located on the handle. The lock will verify the fingerprint and unlock the door.
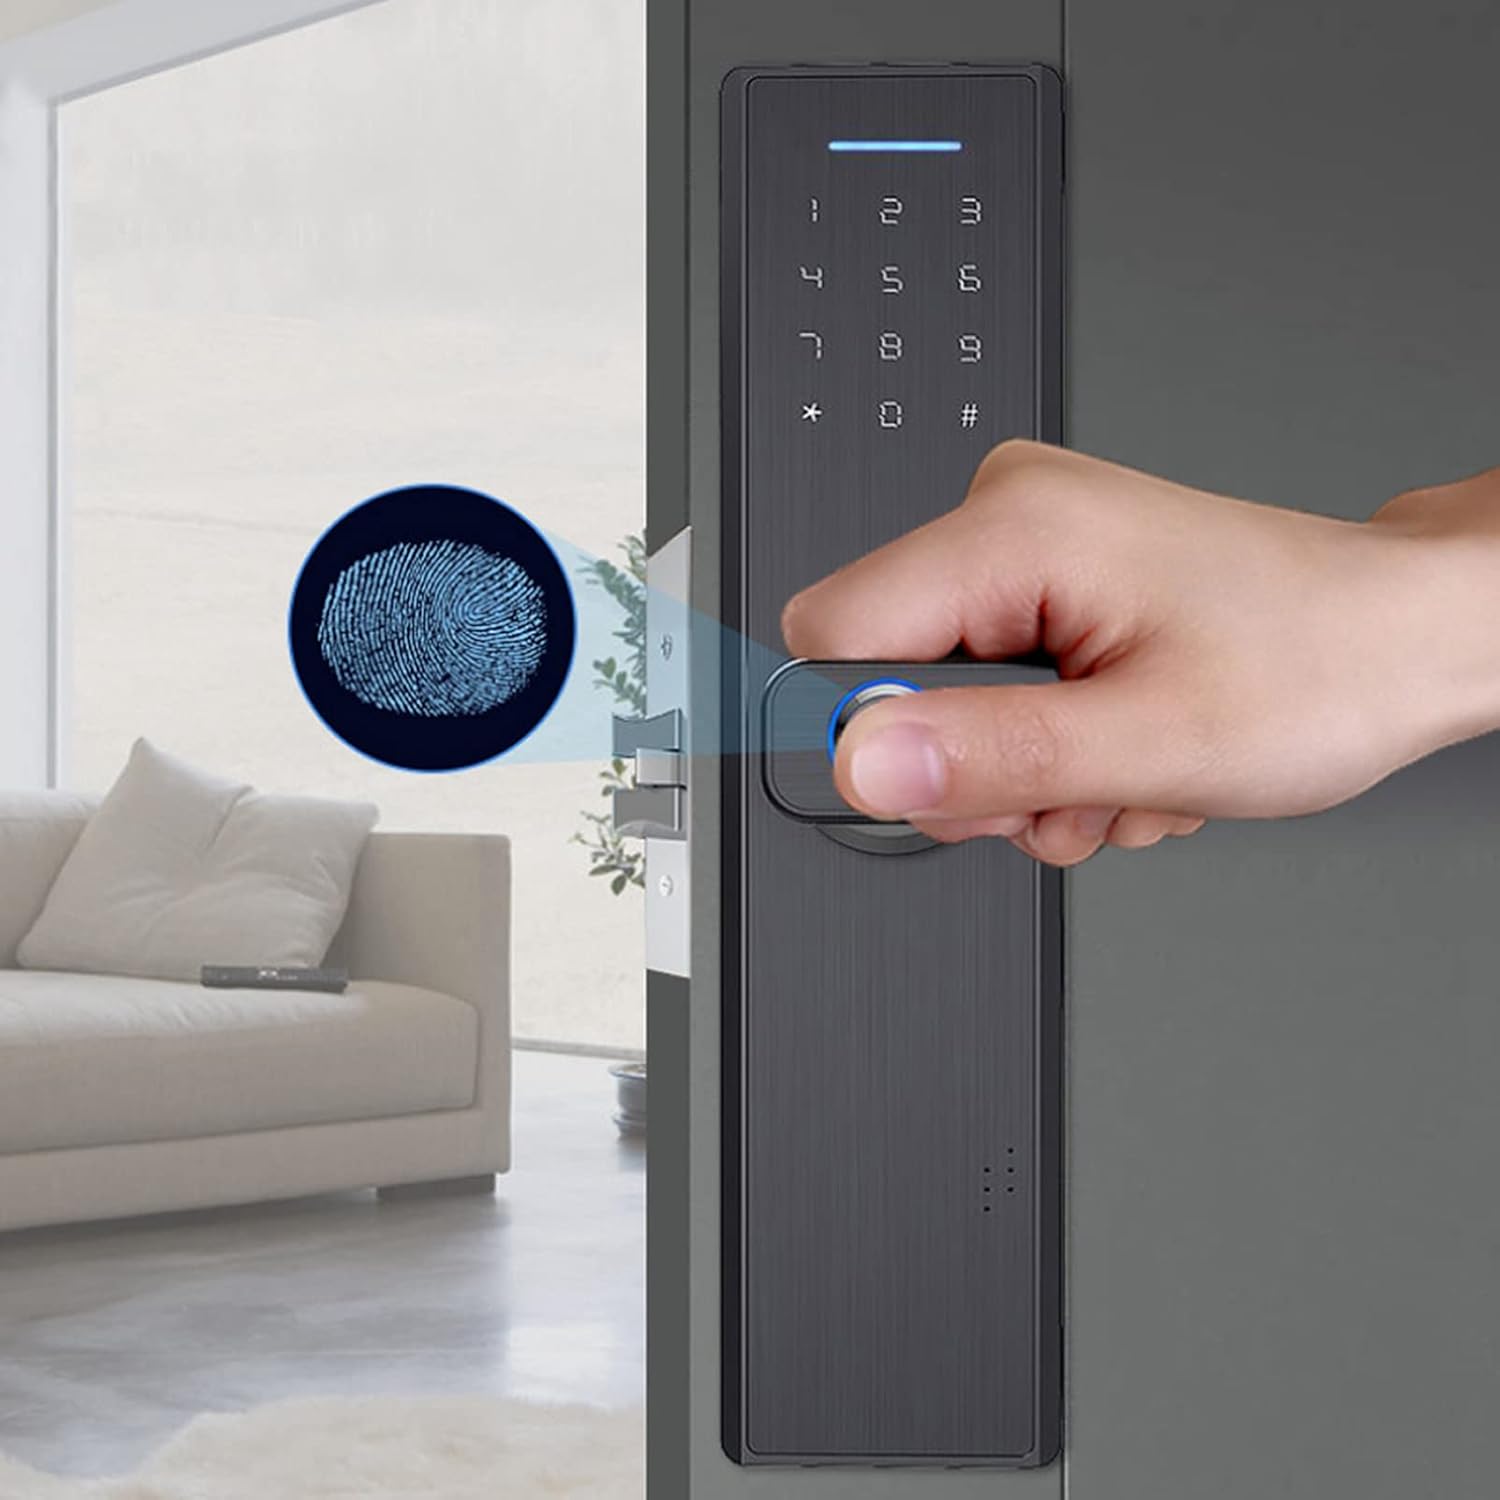
Image: A hand demonstrating the use of the fingerprint sensor on the door lock for quick and secure access.
5.2 IC Card Unlock
Tap a registered IC card against the card reader area on the lock. The lock will verify the card and unlock the door.
5.3 Password Unlock (Virtual Password Function)
Enter your registered password on the keypad. The lock features a virtual password input with an anti-monitoring function. This allows you to input random digits before and after your actual password to prevent others from guessing your code. For example, if your correct password is 123456, inputting 00000+123456+000 will also successfully open the door.

Image: Illustration of the virtual password function, showing how random digits can be added before and after the correct password for enhanced security.

Image: A hand pressing digits on the smart lock's keypad, demonstrating the touch interface for password entry.
5.4 Mechanical Key Unlock
In case of emergency or battery depletion, use the provided mechanical key to unlock the door. Insert the key into the keyhole and turn to unlock.
5.5 User Management (Adding/Deleting Users)
The lock supports number-based management for adding and deleting users (fingerprints, cards, passwords). Refer to the on-screen prompts or voice guidance from the lock for specific steps to enroll or remove users. This process is designed to be easy and convenient.
5.6 Low Battery Alarm
The lock features a low power design, providing approximately 1 year of normal battery life. When the battery level is low, the lock will issue an alarm to notify you. Replace the 4xAAA batteries promptly to ensure continuous operation.
6. Maintenance
Proper maintenance ensures the longevity and optimal performance of your ASHATA Smart Anti-Theft Door Lock.
- Cleaning: Wipe the lock surface with a soft, dry cloth. Avoid using abrasive cleaners, solvents, or harsh chemicals, as these can damage the frosted finish.
- Environmental Protection: The door lock modules are processed with waterproof, moisture-proof, and mildew-proof features, making them adaptable to harsh environments. However, avoid direct and prolonged exposure to heavy rain or extreme humidity.
- Battery Replacement: Replace batteries as soon as the low battery alarm sounds. Do not wait until the batteries are completely depleted to avoid being locked out.
- Mechanical Parts: Periodically check the handles and mortise for any signs of wear or looseness. Ensure all screws are tightened.

Image: The ASHATA Smart Anti-Theft Door Lock installed on a wooden door, showcasing its modern, simple, and beautiful appearance with a frosted surface.
7. Troubleshooting
If you encounter issues with your ASHATA Smart Anti-Theft Door Lock, refer to the following common problems and solutions:
| Problem | Possible Cause | Solution |
|---|---|---|
| Lock does not respond. | Dead batteries. | Replace all 4xAAA batteries. Use mechanical key for immediate access. |
| Fingerprint/Card/Password not recognized. | User not registered or incorrect input. | Ensure fingerprint is clean and placed correctly. Re-register user if necessary. Double-check password entry. |
| Lock makes unusual noises. | Mechanical obstruction or internal issue. | Check for any obstructions around the latch or bolt. If problem persists, contact customer support. |
| Handle is loose. | Mounting screws are loose. | Tighten the mounting screws on both the front and rear panels. |
If the problem persists after attempting these solutions, please contact ASHATA customer support for further assistance.
8. Specifications
| Feature | Detail |
|---|---|
| Brand | ASHATA |
| Model Number | ASHATA97gy1wus3z |
| Material | Zinc Alloy (Metal) |
| Color | Default (Black) |
| Finish Type | Painted, Frosted |
| Lock Type | Biometric |
| Special Features | Keyless, Anti-theft, Virtual Password, Waterproof, Moisture-proof, Mildew-proof |
| Power Source | 4xAAA Batteries (Not included) |
| Battery Life | Approx. 1 year (normal use) |
| Item Weight | 1.86 kg |
| Recommended Use | Residential and Commercial Door Security |
9. Warranty and Support
For warranty information, technical support, or service inquiries, please contact your original point of purchase or refer to the ASHATA official website for customer service contact details. Please have your product model number (ASHATA97gy1wus3z) and purchase date ready when contacting support.
Ask a question about this manual
Ask about setup, troubleshooting, compatibility, parts, safety, or missing instructions. Manuals+ will review the question and use this page’s manual context to help answer it.