
1. Important Safety Instructions
Before using your Singer M2405 sewing machine, please read and understand all instructions. Keep this manual for future reference. Always follow basic safety precautions to reduce the risk of burns, fire, electric shock, or injury to persons.
- Always unplug the machine from the electrical outlet immediately after using and before cleaning, removing covers, lubricating, or making any other user servicing adjustments.
- Do not allow children to operate the machine unsupervised.
- Use this appliance only for its intended use as described in this manual.
- Never operate the machine if it has a damaged cord or plug, if it is not working properly, or if it has been dropped or damaged.
- Keep fingers away from all moving parts. Special care is required around the sewing machine needle.
- Always use the proper needle plate. The wrong plate can cause the needle to break.
- Do not pull or push fabric while stitching. This may deflect the needle, causing it to break.
2. Product Overview
The Singer M2405 is a versatile sewing machine designed for various daily sewing tasks, offering ease of use and robust performance.

Figure 2.1: Front view of the Singer M2405 Sewing Machine, showcasing its compact design and control dials.
Key Features:
- 8 Stitch Programs: Includes basic, decorative, and utility stitches.
- 4-Step Buttonhole: For easy and precise buttonhole creation.
- Adjustable Stitch Length: Customize stitch length for different fabrics and projects.
- Variable Needle Positions: Offers flexibility for various sewing techniques.
- Reverse Sewing: For securing stitches at the beginning and end of seams.
- Free Arm: Essential for sewing circular items like cuffs, sleeves, and pant hems.
- Staybright LED Lighting: Provides optimal illumination of the sewing area.
- Top-Loading Bobbin System: Easy to insert and monitor thread supply.
- Robust Metal Frame: Ensures stability and durability during operation.
3. Setup
3.1 Unpacking and Placement
Carefully remove the machine from its packaging. Place the machine on a stable, flat surface. Ensure there is adequate space around the machine for comfortable operation.
3.2 Power Connection
Connect the power cord to the machine and then to a suitable electrical outlet. Ensure the foot controller is also connected.
3.3 Threading the Upper Thread
Follow the numbered threading guides on the machine for correct upper thread tension and path.
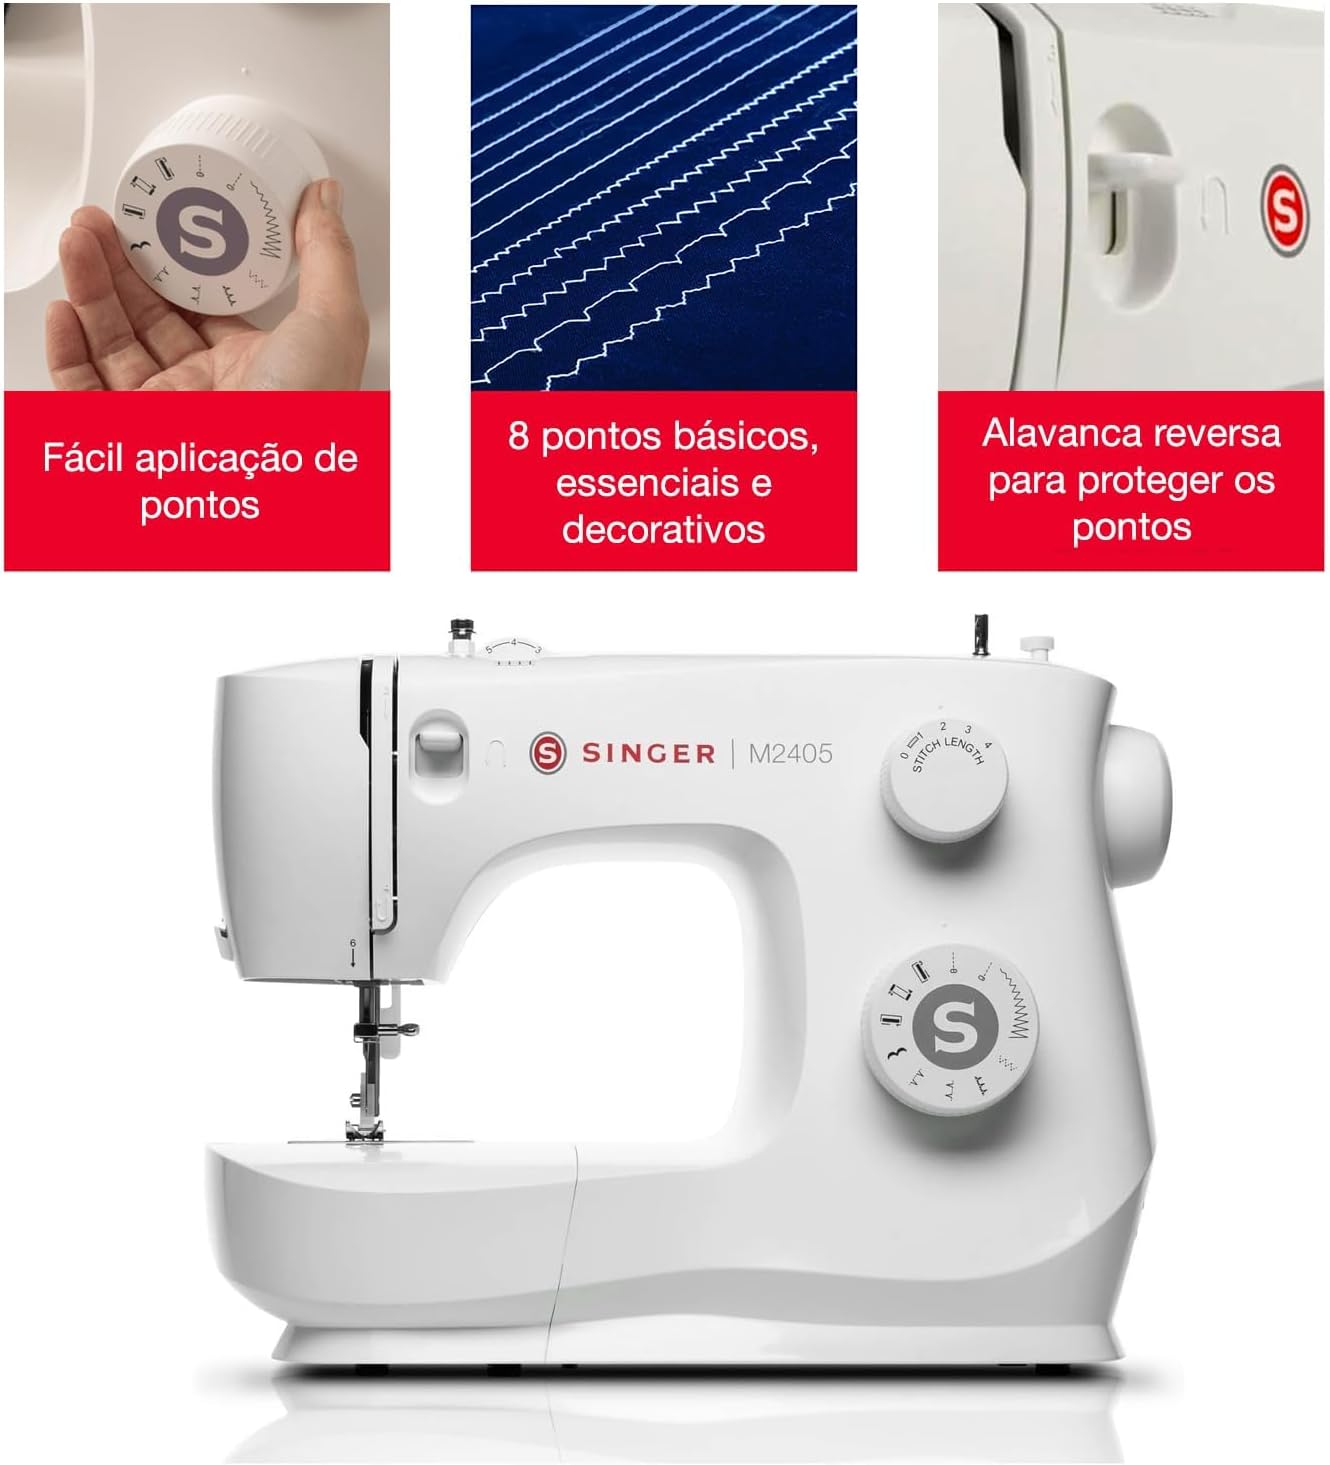
Figure 3.1: Clear threading guides on the Singer M2405 for easy upper thread setup.
3.4 Winding and Inserting the Bobbin
- Place an empty bobbin onto the bobbin winder spindle.
- Guide the thread from the spool through the bobbin winding tension disc.
- Wind the thread a few times manually around the bobbin.
- Push the bobbin winder spindle to the right.
- Press the foot controller to start winding. The machine will stop automatically when the bobbin is full.
- Remove the bobbin and trim the thread.
- Open the bobbin cover plate and insert the wound bobbin into the bobbin case, ensuring the thread unwinds in the correct direction (usually counter-clockwise).
- Pull the bobbin thread through the tension spring and out through the opening.
3.5 Needle Installation
Ensure the machine is unplugged before changing the needle. Loosen the needle clamp screw, remove the old needle, insert the new needle with the flat side facing the back, and tighten the screw securely.
4. Operating Instructions
4.1 Selecting Stitches
The Singer M2405 offers 8 stitch programs. Use the stitch selector dial to choose your desired stitch pattern. Refer to the stitch guide on the machine for available options.

Figure 4.1: The stitch control dial allows selection of 8 basic, essential, and decorative stitches.
4.2 Adjusting Stitch Length
The stitch length dial allows you to adjust the length of your stitches. Turn the dial to increase or decrease the stitch length according to your fabric and project requirements.

Figure 4.2: The stitch length dial for precise control over stitch dimensions.
4.3 Sewing a 4-Step Buttonhole
The M2405 features a convenient 4-step buttonhole function. Attach the buttonhole foot and follow the steps indicated on the machine's stitch selector for perfect buttonholes.
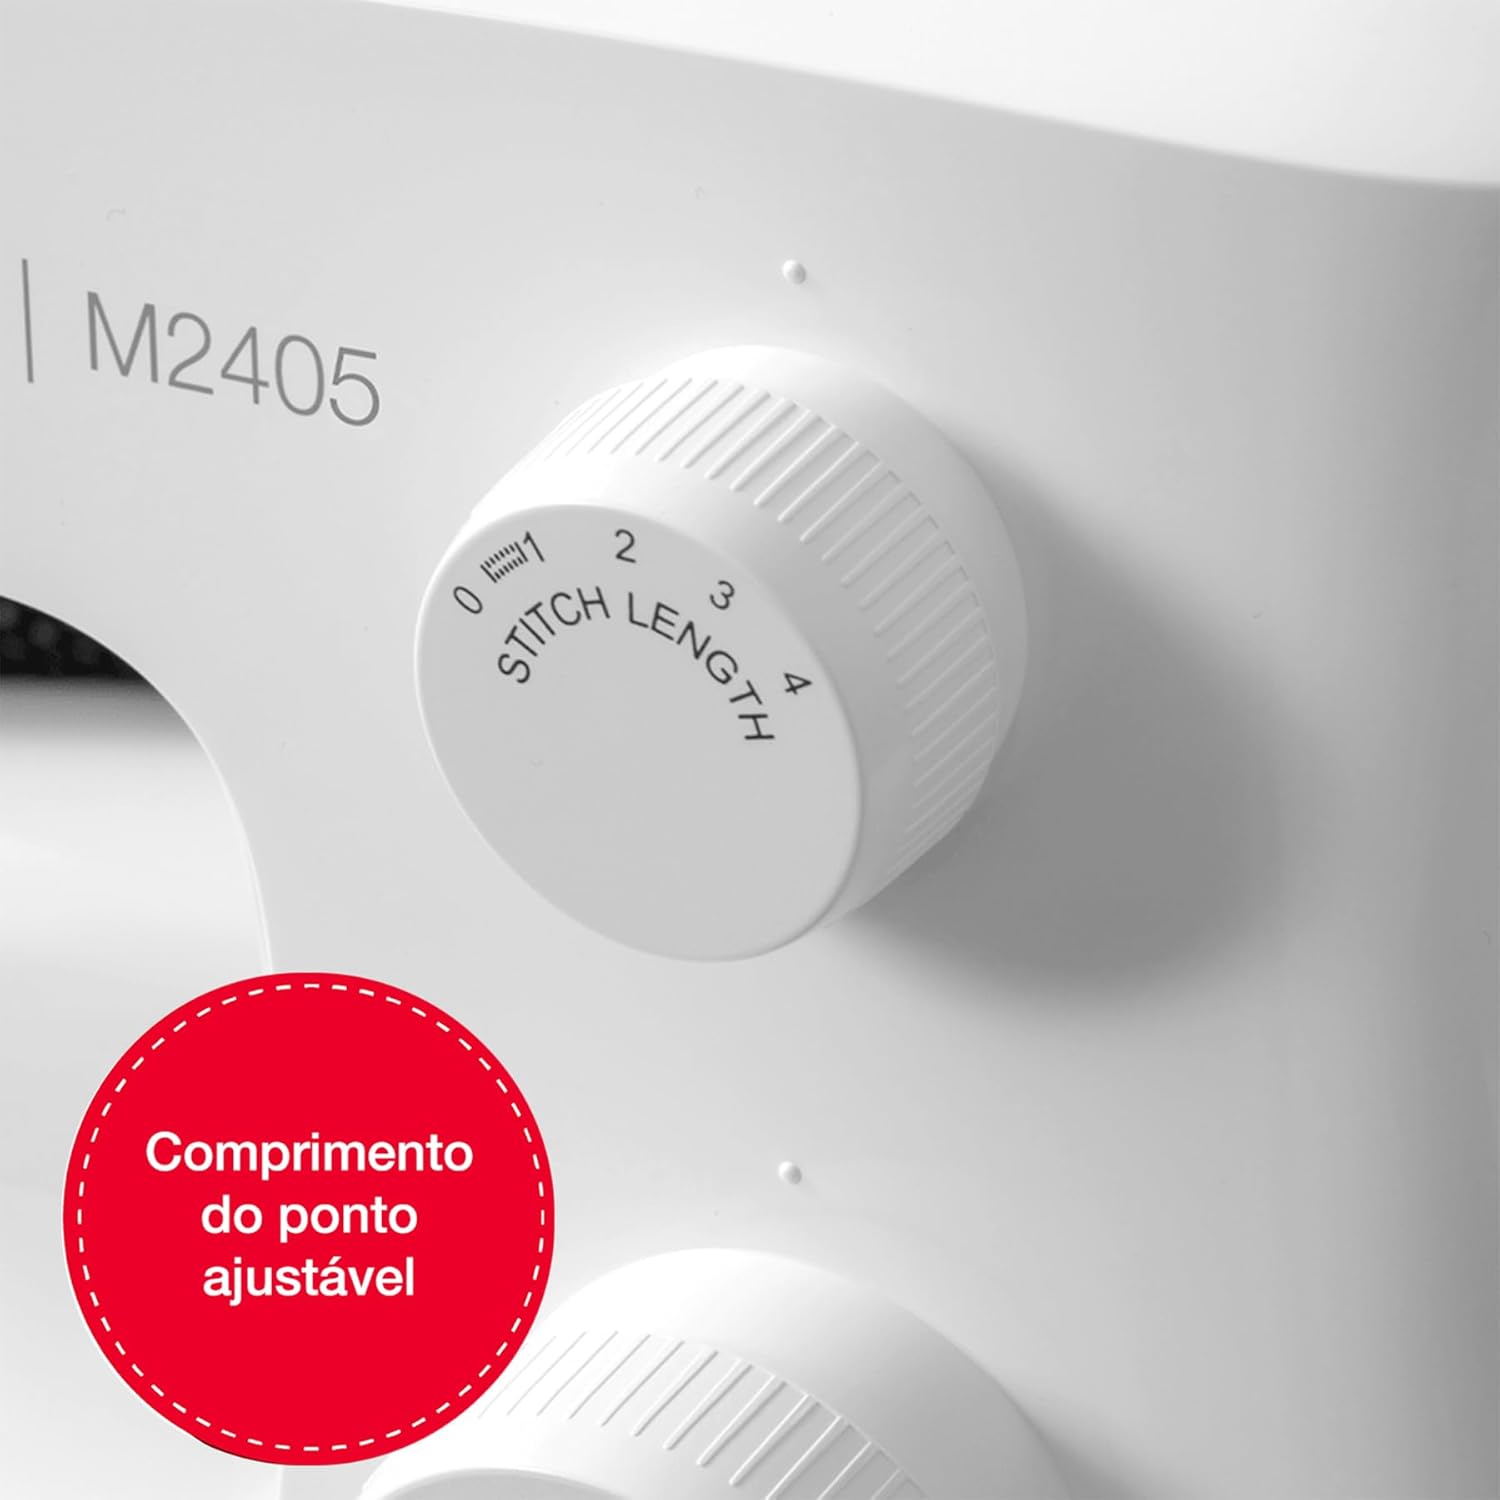
Figure 4.3: The 4-step buttonhole foot in action, simplifying buttonhole creation.
4.4 Reverse Sewing
To secure your stitches at the beginning and end of a seam, press and hold the reverse lever. The machine will sew backward. Release the lever to resume forward stitching.
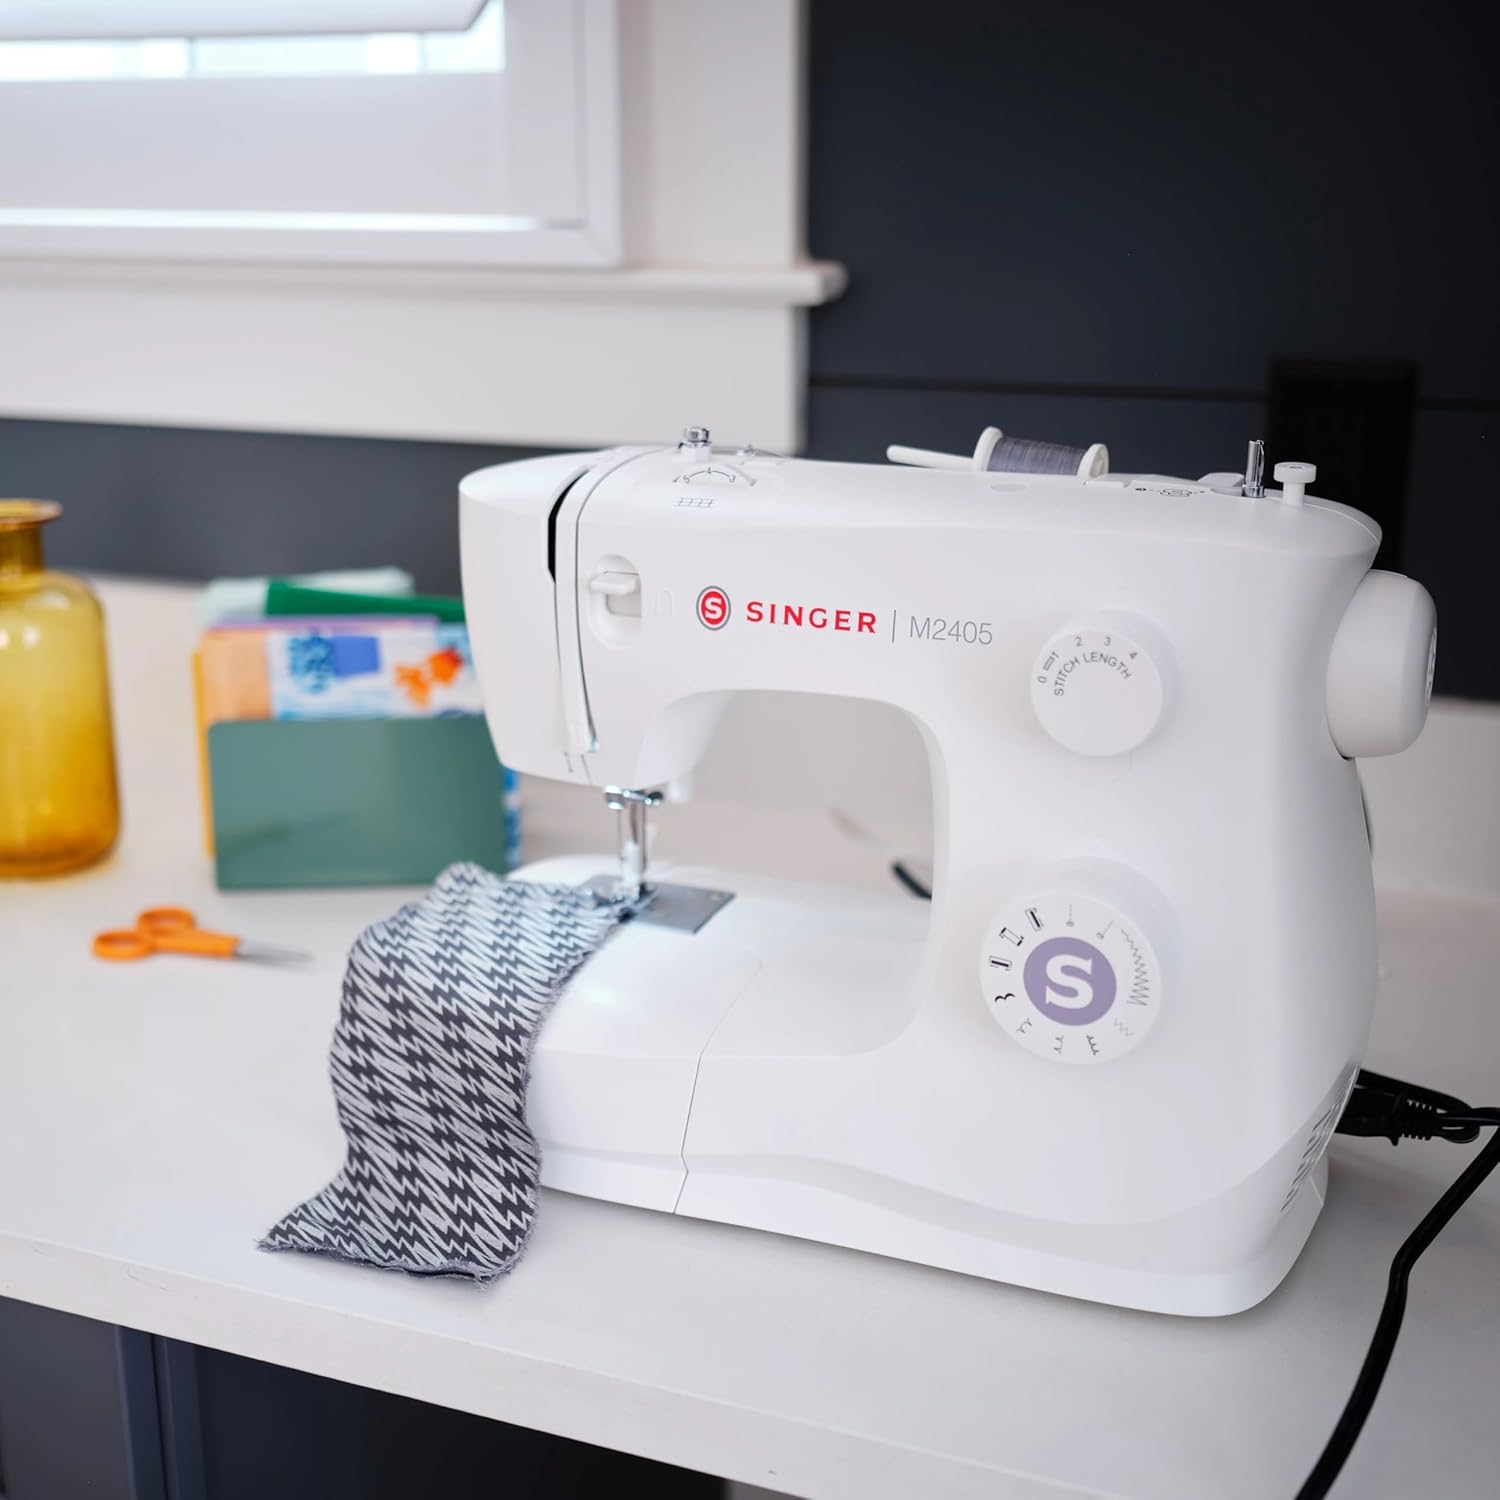
Figure 4.4: The reverse lever, used to reinforce stitches.
4.5 Free Arm Sewing
Remove the accessory storage box to reveal the free arm. This feature is ideal for sewing small, tubular items such as sleeves, cuffs, and pant legs.
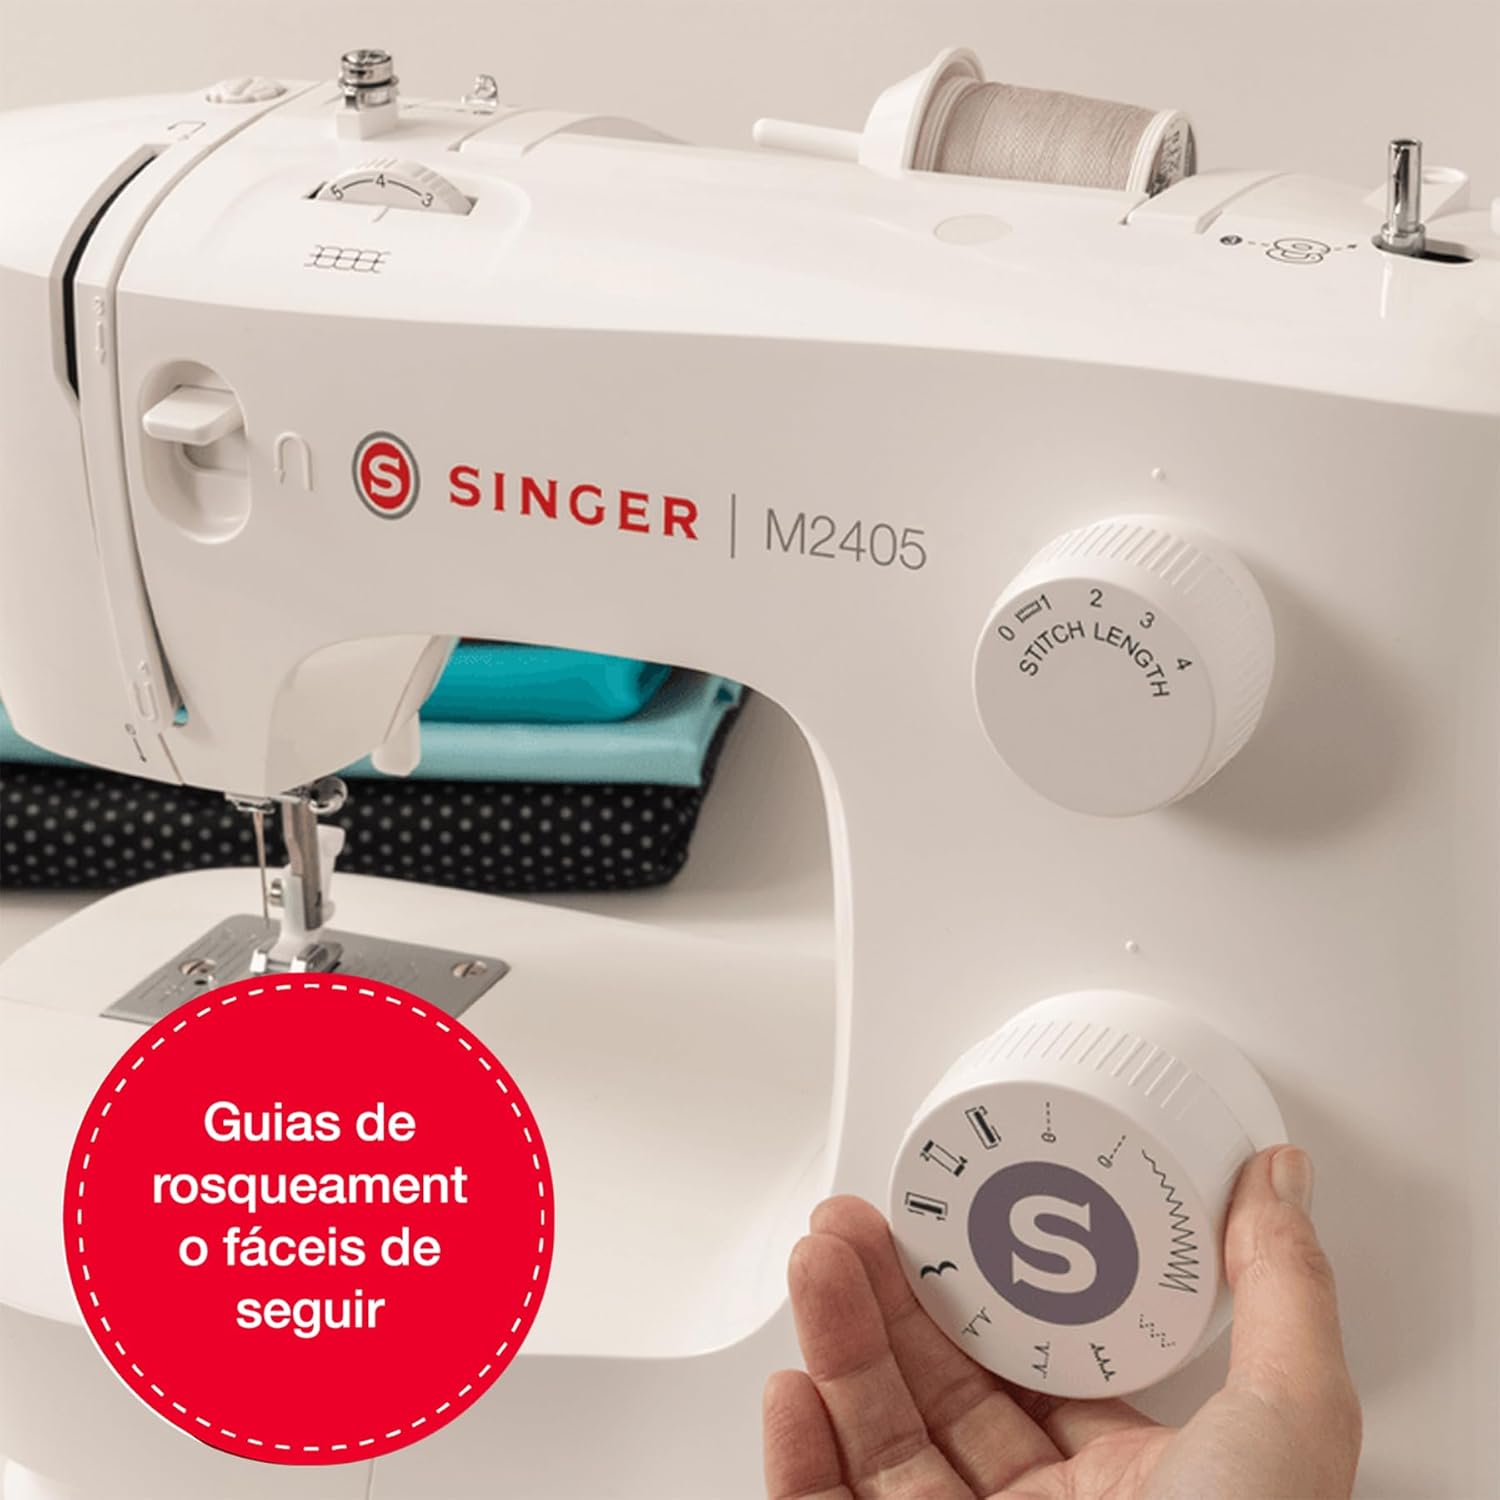
Figure 4.5: The free arm design facilitates easy sewing of tubular garments.
4.6 General Sewing Operation
Place your fabric under the presser foot, lower the presser foot lever, and gently press the foot controller to begin sewing. Guide the fabric smoothly without forcing it.

Figure 4.6: The Singer M2405 in use, demonstrating smooth fabric feeding.
5. Maintenance
5.1 Cleaning the Machine
Regular cleaning helps maintain your machine's performance. Always unplug the machine before cleaning.
- Remove the needle plate and bobbin case.
- Use a small brush to remove lint and dust from the feed dogs and bobbin area.
- Wipe the exterior of the machine with a soft, dry cloth. Do not use harsh chemicals.
5.2 Changing the Needle
Change the needle frequently, especially after 8-10 hours of sewing or if it becomes bent or dull. A damaged needle can cause skipped stitches or fabric damage. Always use genuine Singer needles appropriate for your fabric type.
5.3 General Care
When not in use, cover your sewing machine to protect it from dust. Store it in a dry place. If you experience any issues, refer to the troubleshooting section or consult a qualified service technician.
6. Troubleshooting
This section addresses common issues you might encounter with your Singer M2405 sewing machine.
| Problem | Possible Cause & Solution |
|---|---|
| Thread Tangling or Bunching |
|
| Difficulty with Thick Fabrics |
|
| Bobbin Thread Not Pulling Up |
|
| Machine is Noisy or Vibrates Excessively |
|
| Skipped or Irregular Stitches |
|
| Machine Feels Heavy |
The machine features a robust metal frame, designed for power and stability, contributing to its weight. |
7. Specifications
| Brand | Singer |
| Model | M2405 |
| Color | White |
| Material | Stainless Steel |
| Product Dimensions (D x W x H) | 43.5 cm x 23.2 cm x 35.5 cm |
| Item Weight | 5.4 Kilograms |
| Power Source | Electric Cable |
| Number of Stitch Programs | 8 |
| Buttonhole Type | 4-step |
| Included Components | Accessory bag (feet, needles, screwdriver, etc.) |
| Country of Origin | Vietnam |
| Manufacturing Year | 2025 |
8. Warranty and Support
8.1 Warranty Information
The Singer M2405 sewing machine comes with a 2-year warranty from the date of final customer purchase. Please retain your proof of purchase for warranty claims.
Spare parts availability in the EU is guaranteed for 7 years.
8.2 Additional Support
For further assistance, you may refer to the official Singer website or contact customer support. Digital copies of the user manual and troubleshooting guide are often available online.
- Official User Manual (PDF): Download Here
- Troubleshooting Guide (PDF): Download Here


